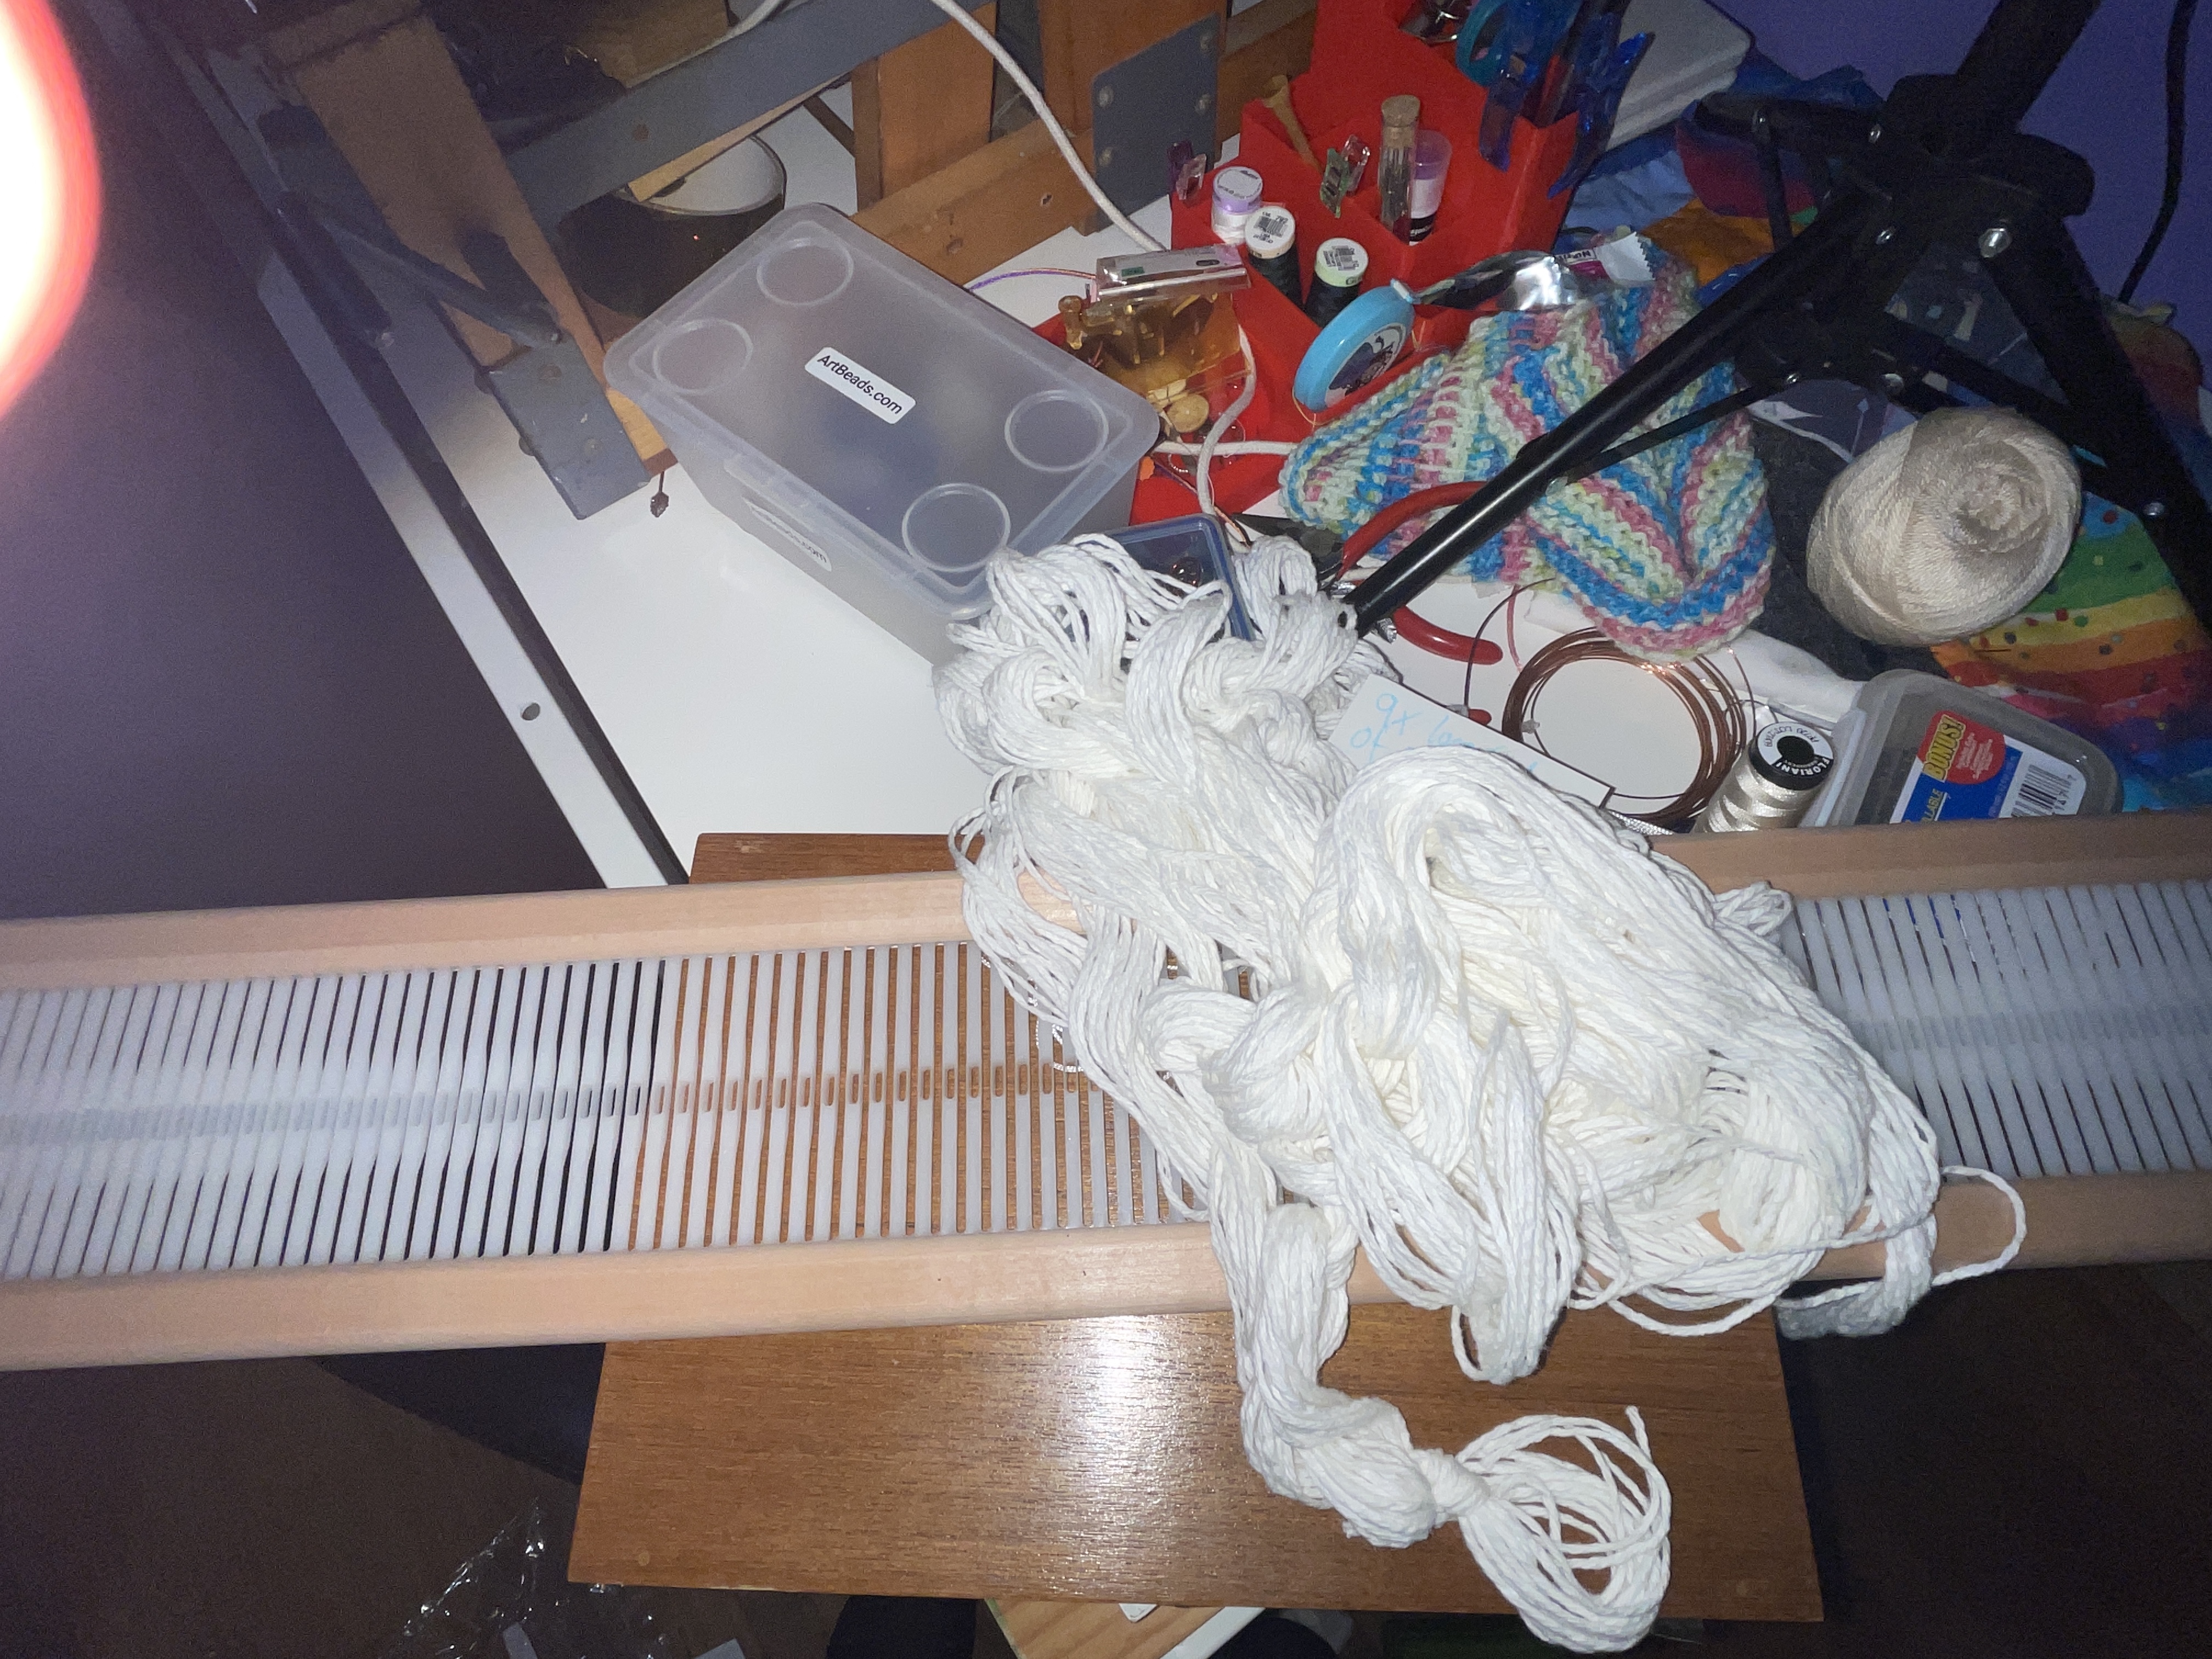
Cotton yarn mordanted with approximately 10% WOF gallnut for 2 hours. After pouring out the tannin, gallnut, I put in about 15% alum and 15% soda ash, each dissolved, into the dye pot with the fiber and plenty of water. The mixture did not foam up as the instructions indicated so I am not certain if my materials are too old.
There are 2 mini skeins of worsted weight yarn and 1 larger hank of sport weight yarn. Each of the mini skeins were immediately submersed in the different dye pots, while the sport weight yarn was left to dry with all mordant materials on it. This allows me to separate the skein into two or three smaller hanks to dye in different baths.
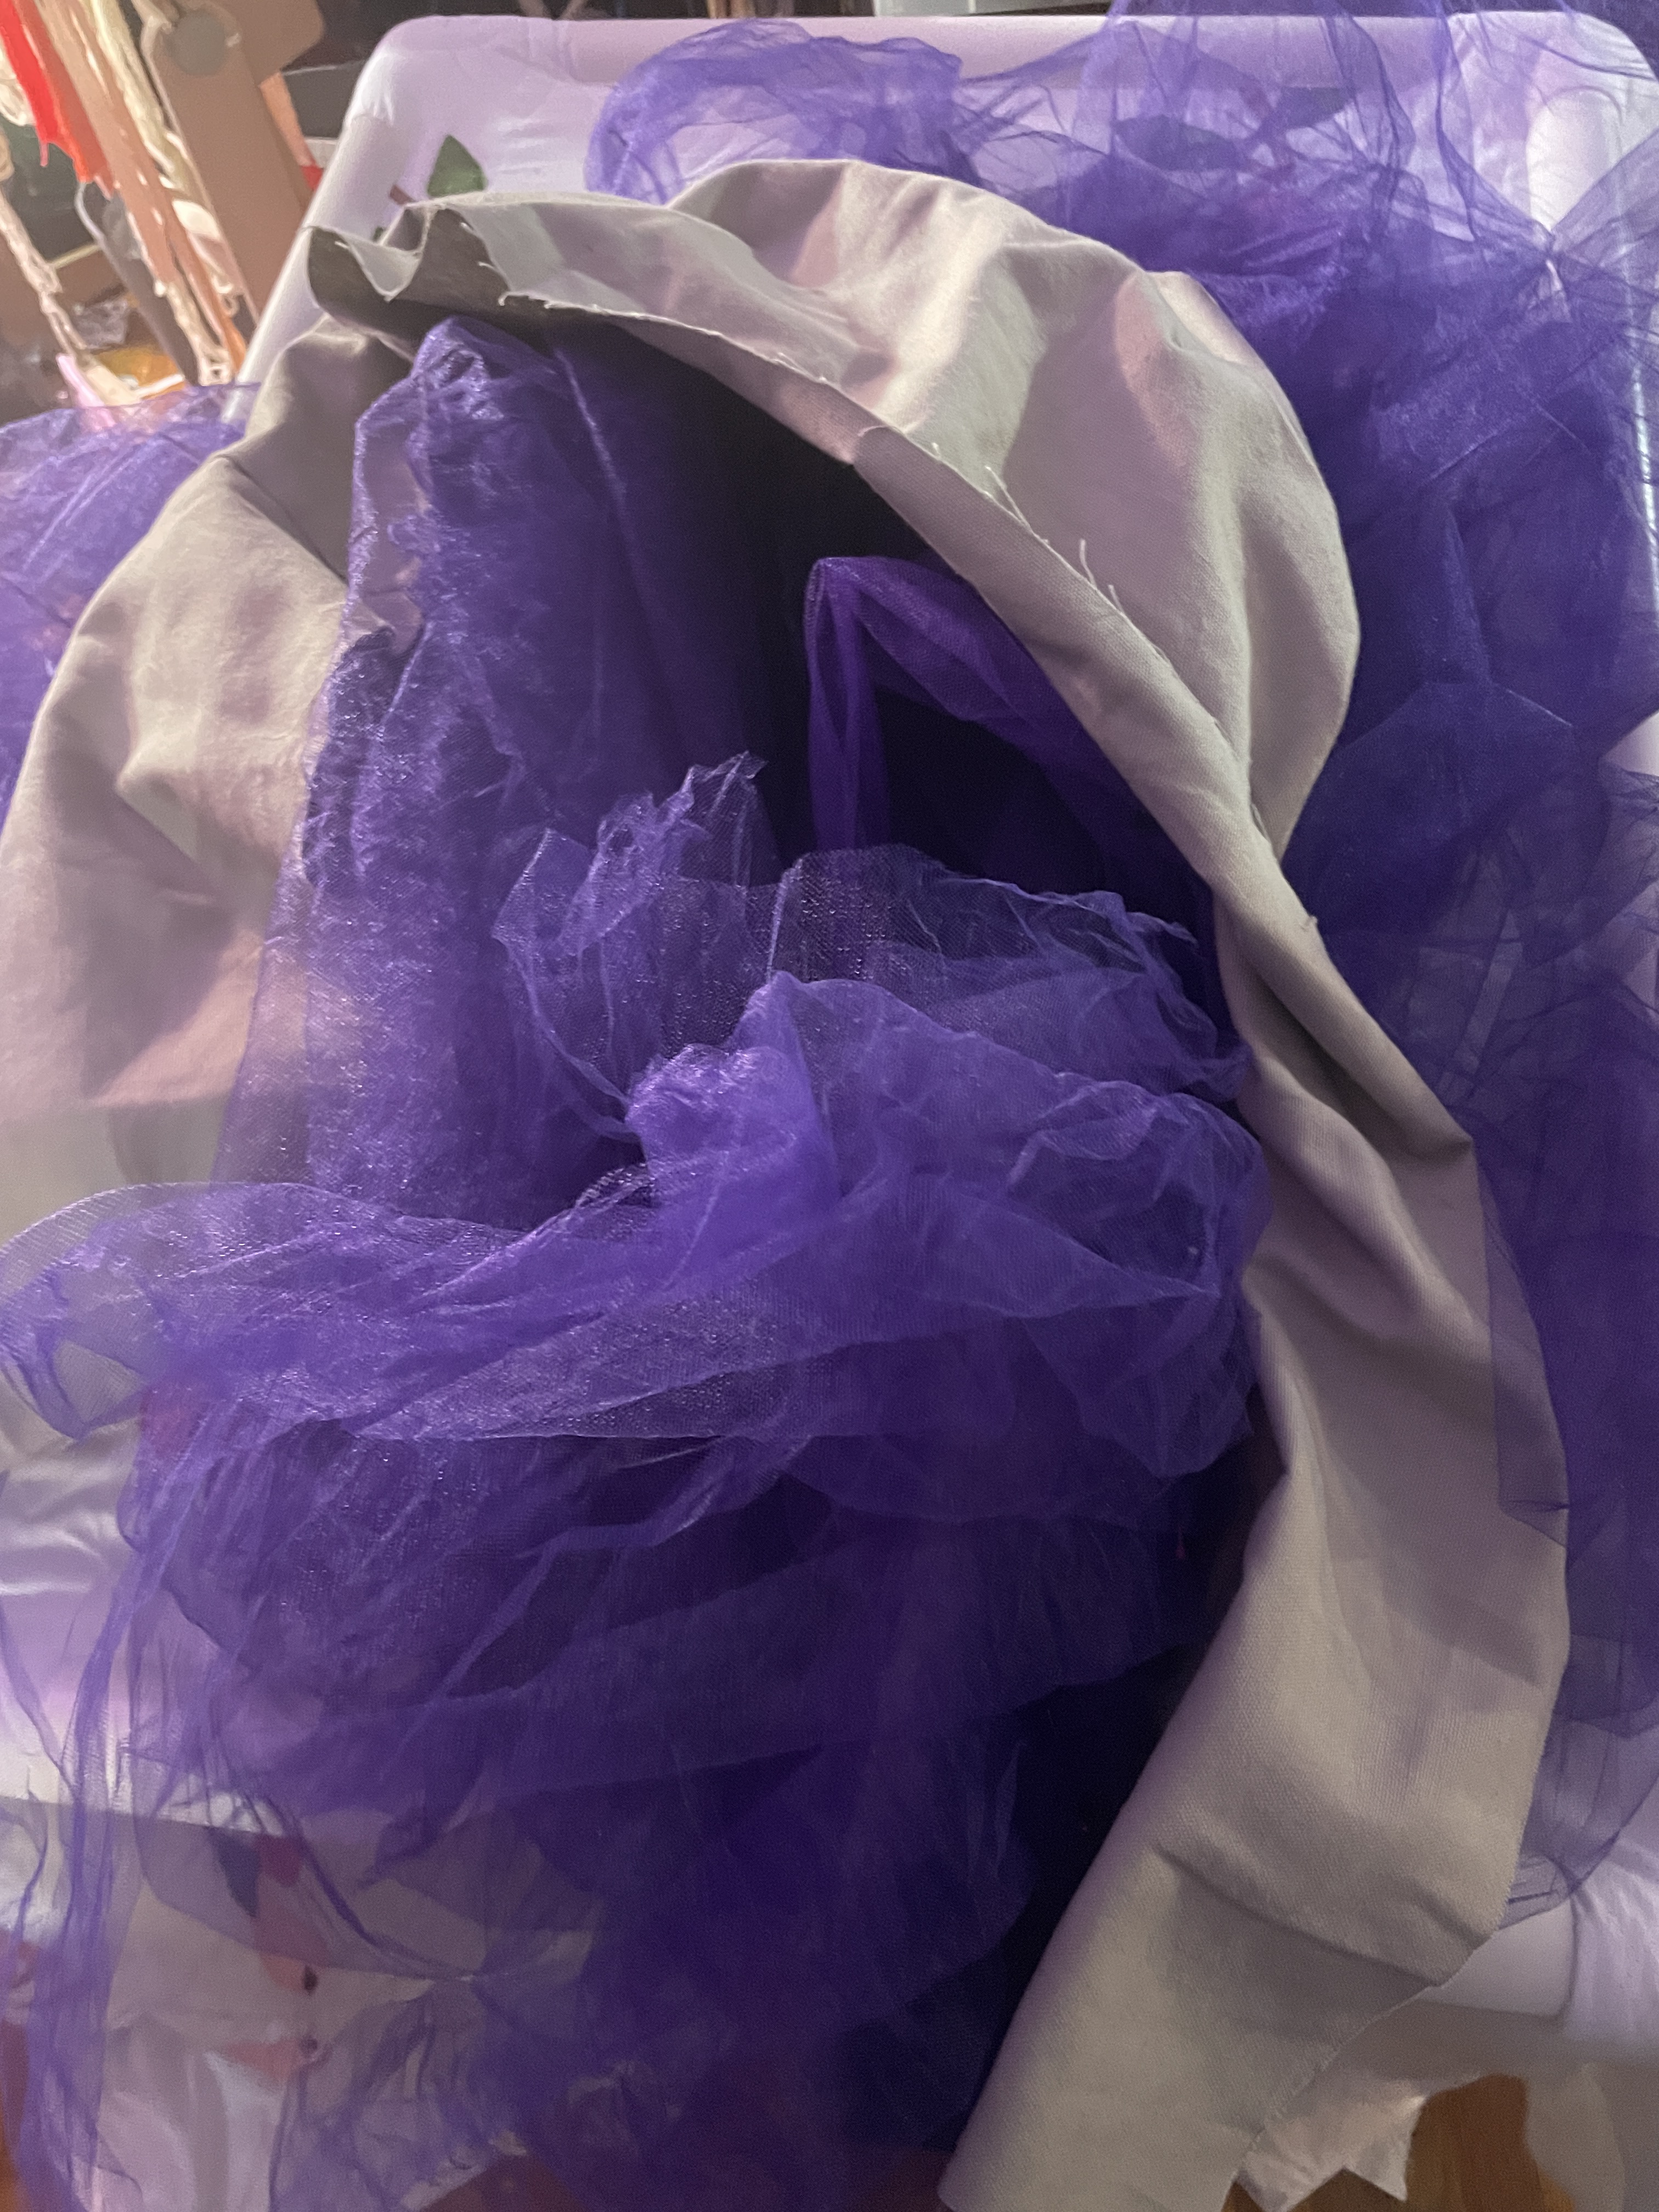
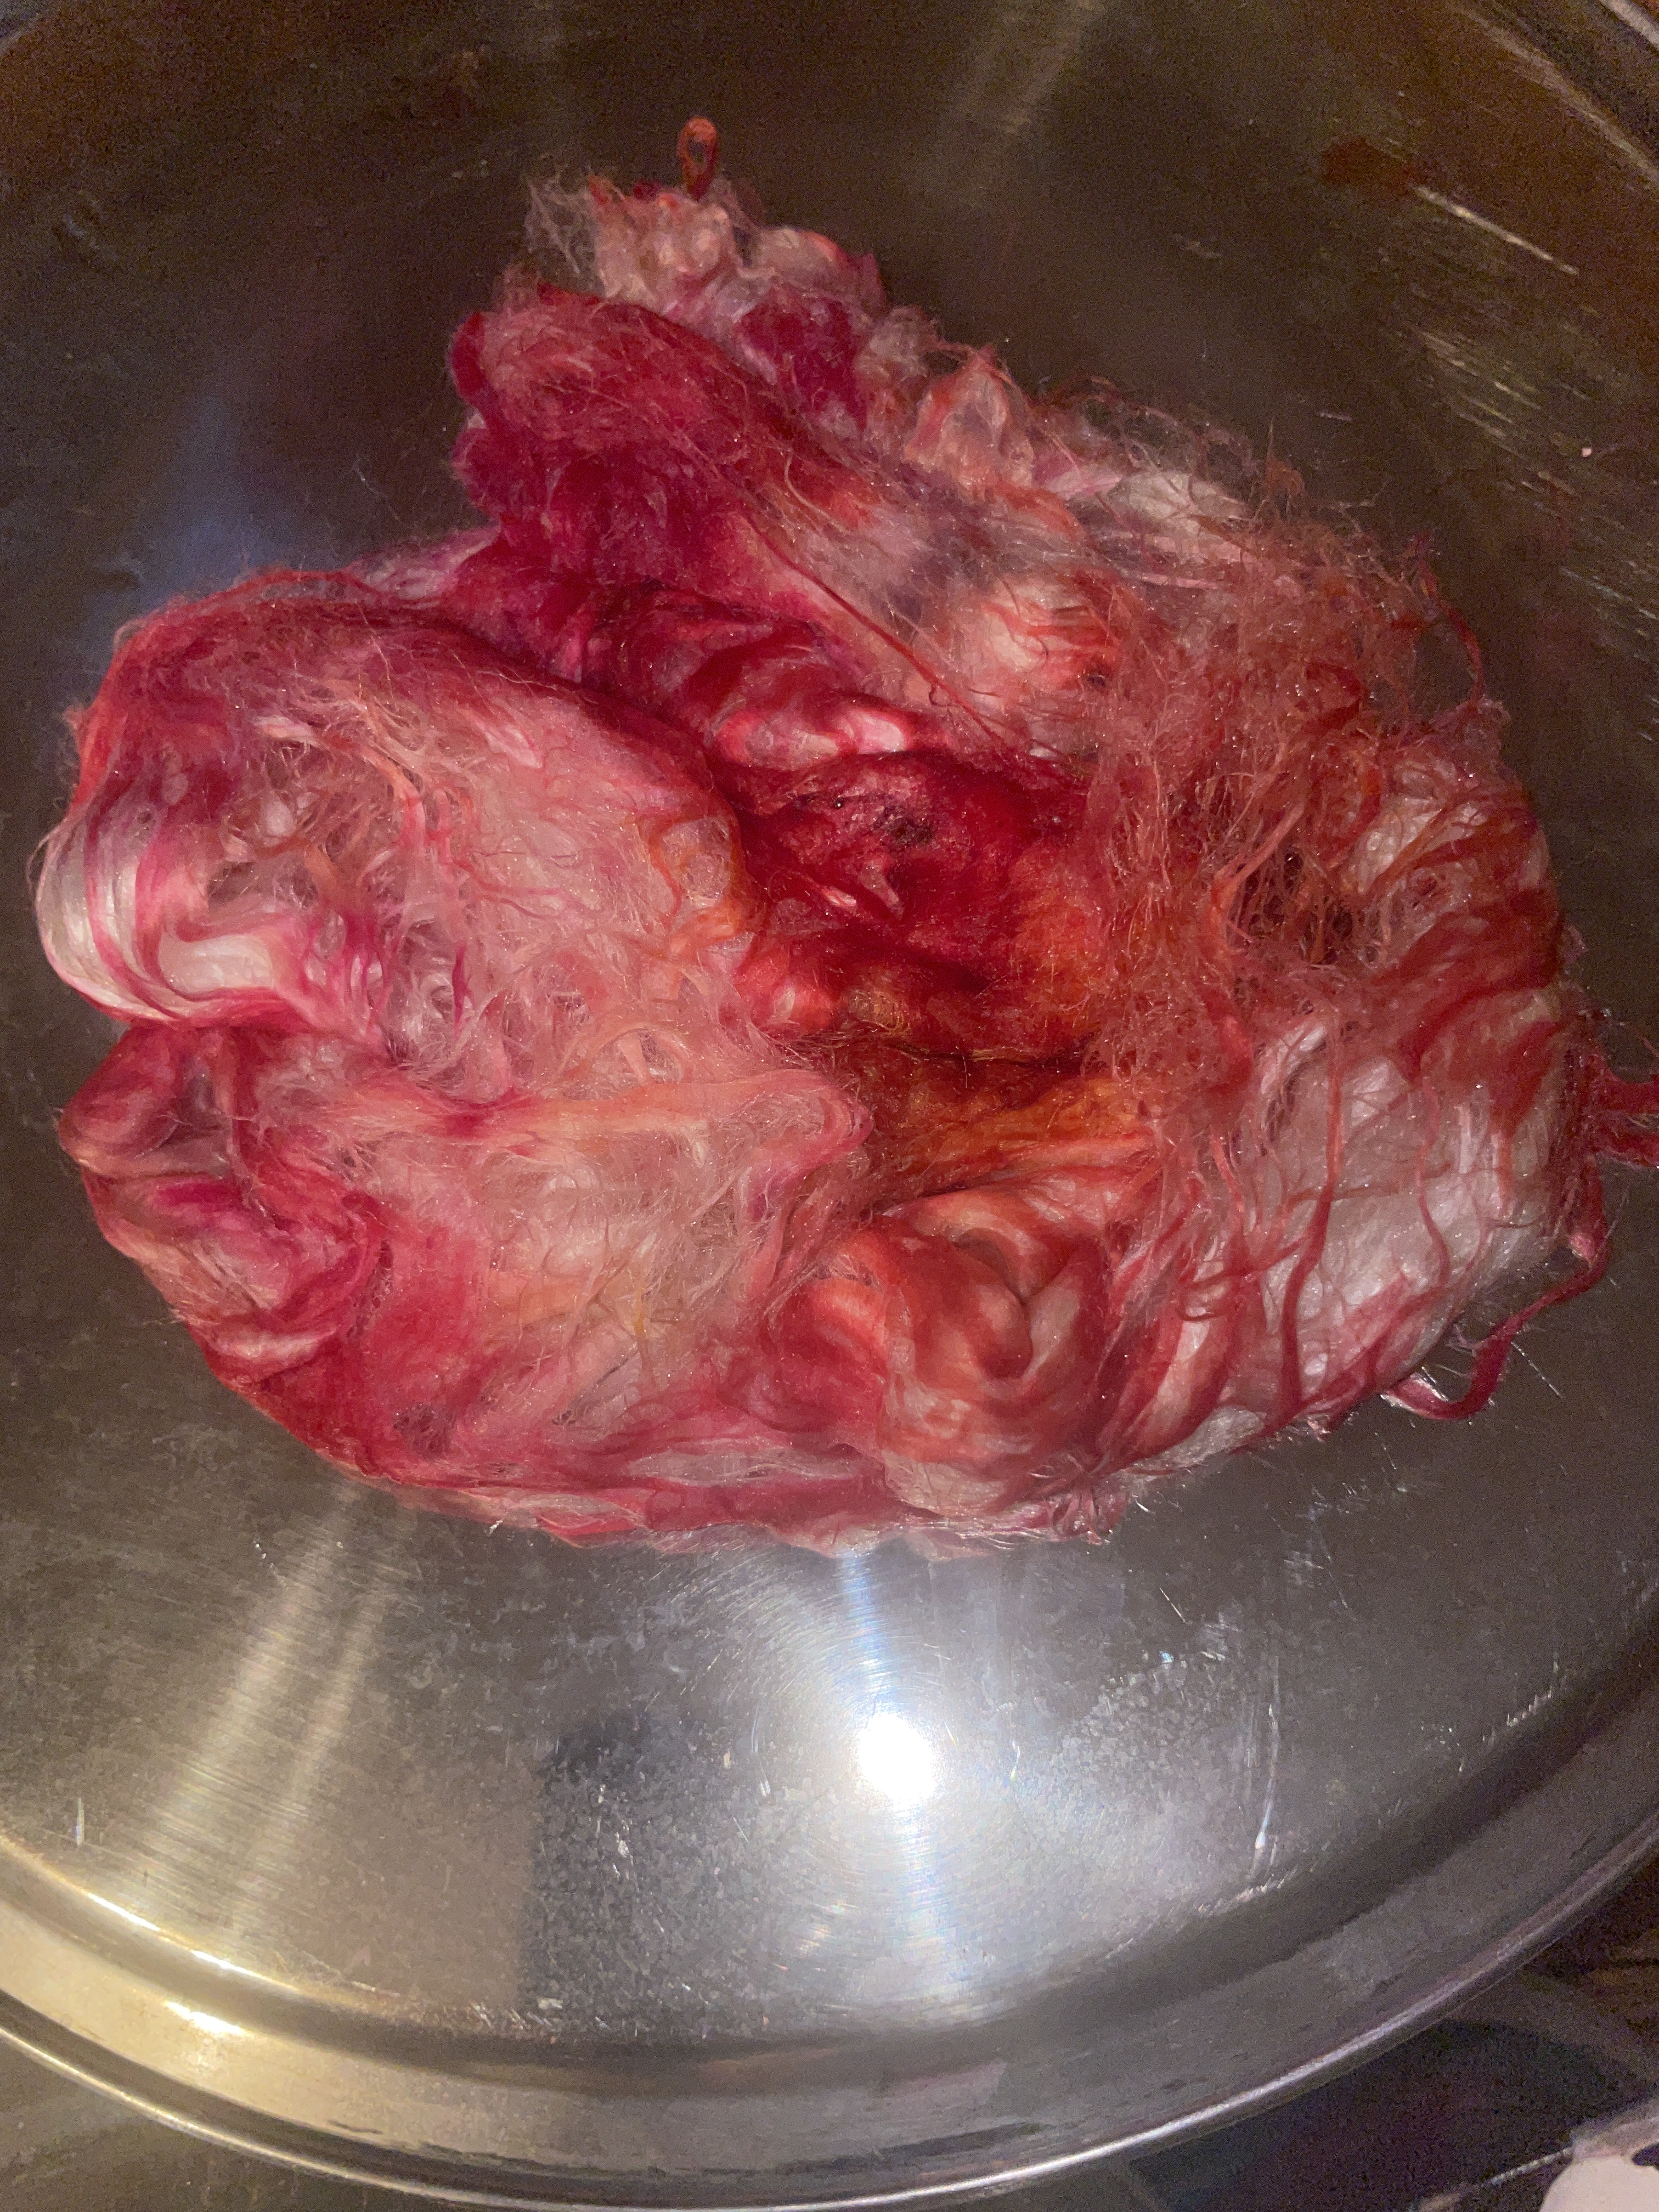
Cochineal is boiled in water for about 90 minutes. Log Wood is soaked in cold water for about an hour then simmered for another half-hour while the Cochineal cools. Both are deep rich colors, I pulled out the logwood, in reusable tea bags, to dry off so that I can try to reuse them again likely for wool and or silk in the near future. I am going to leave the cochineal in the pot throughout the dyeing process, hopefully getting slight variations in the finished product.
After soaking for about 20 minutes I checked on the Logwood dyed yarn and it looks intensely dark purple. They will soak overnight and I will check on the color in the morning, hopefully putting up photos then.
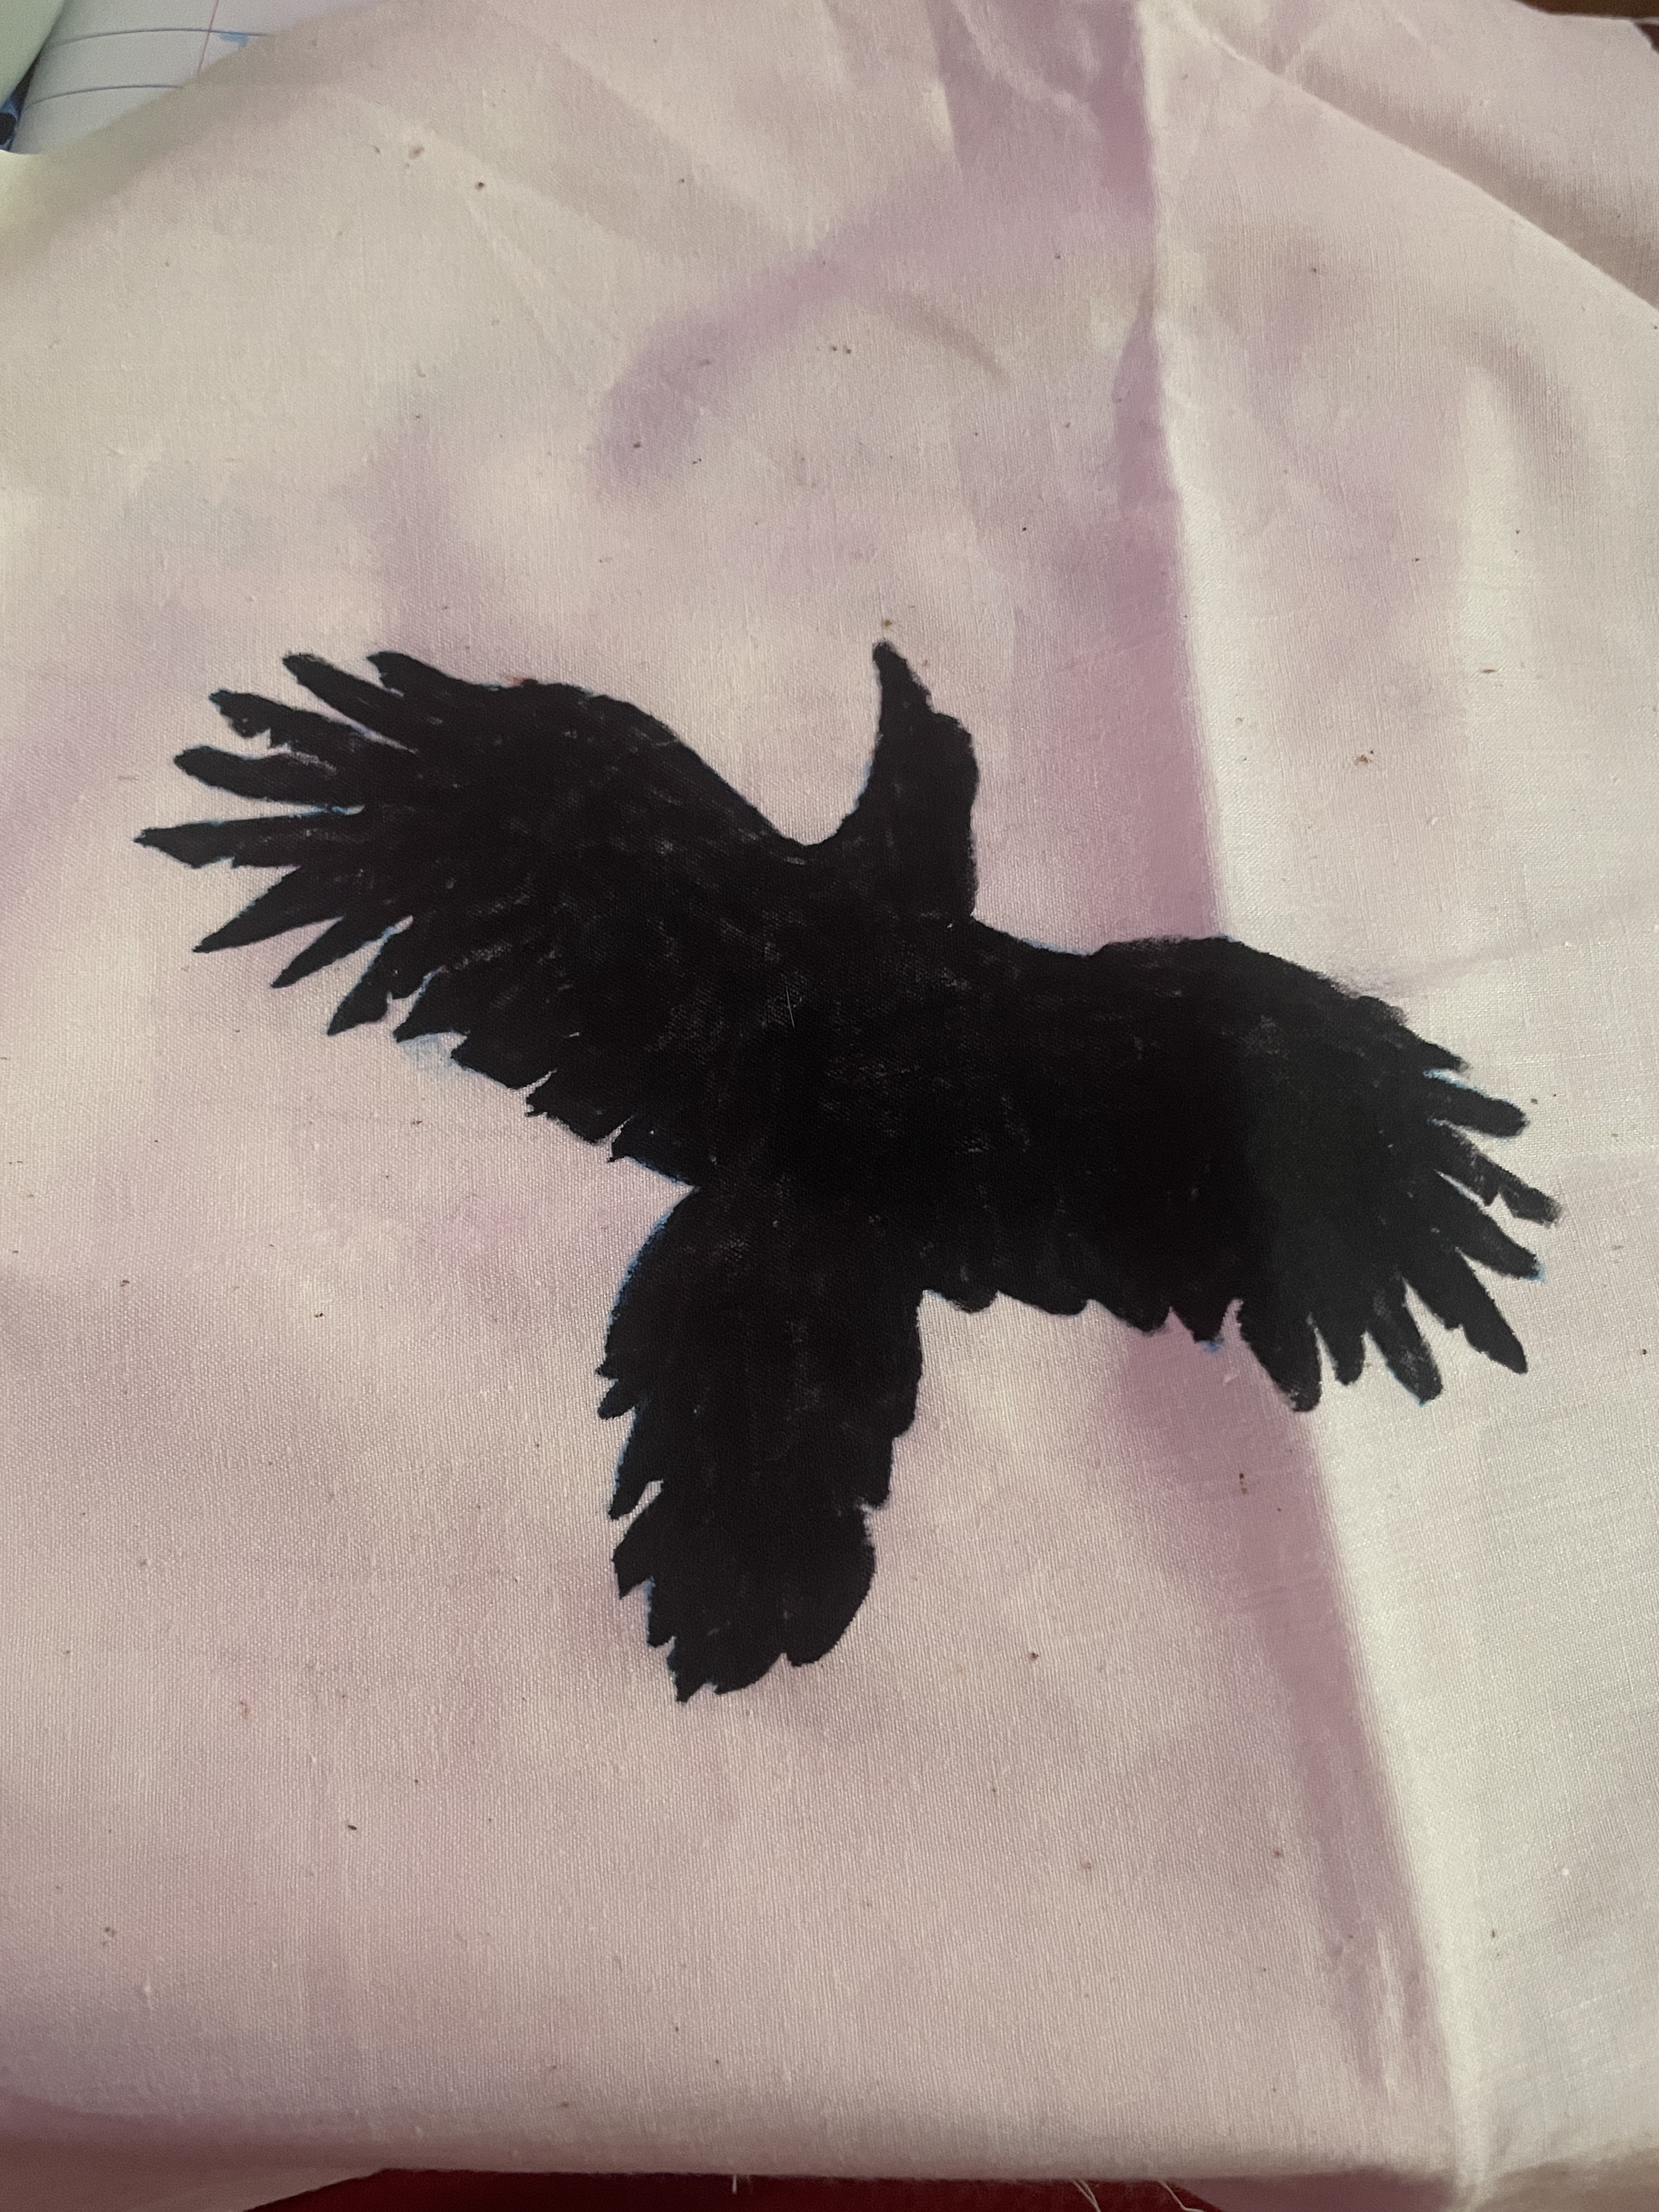
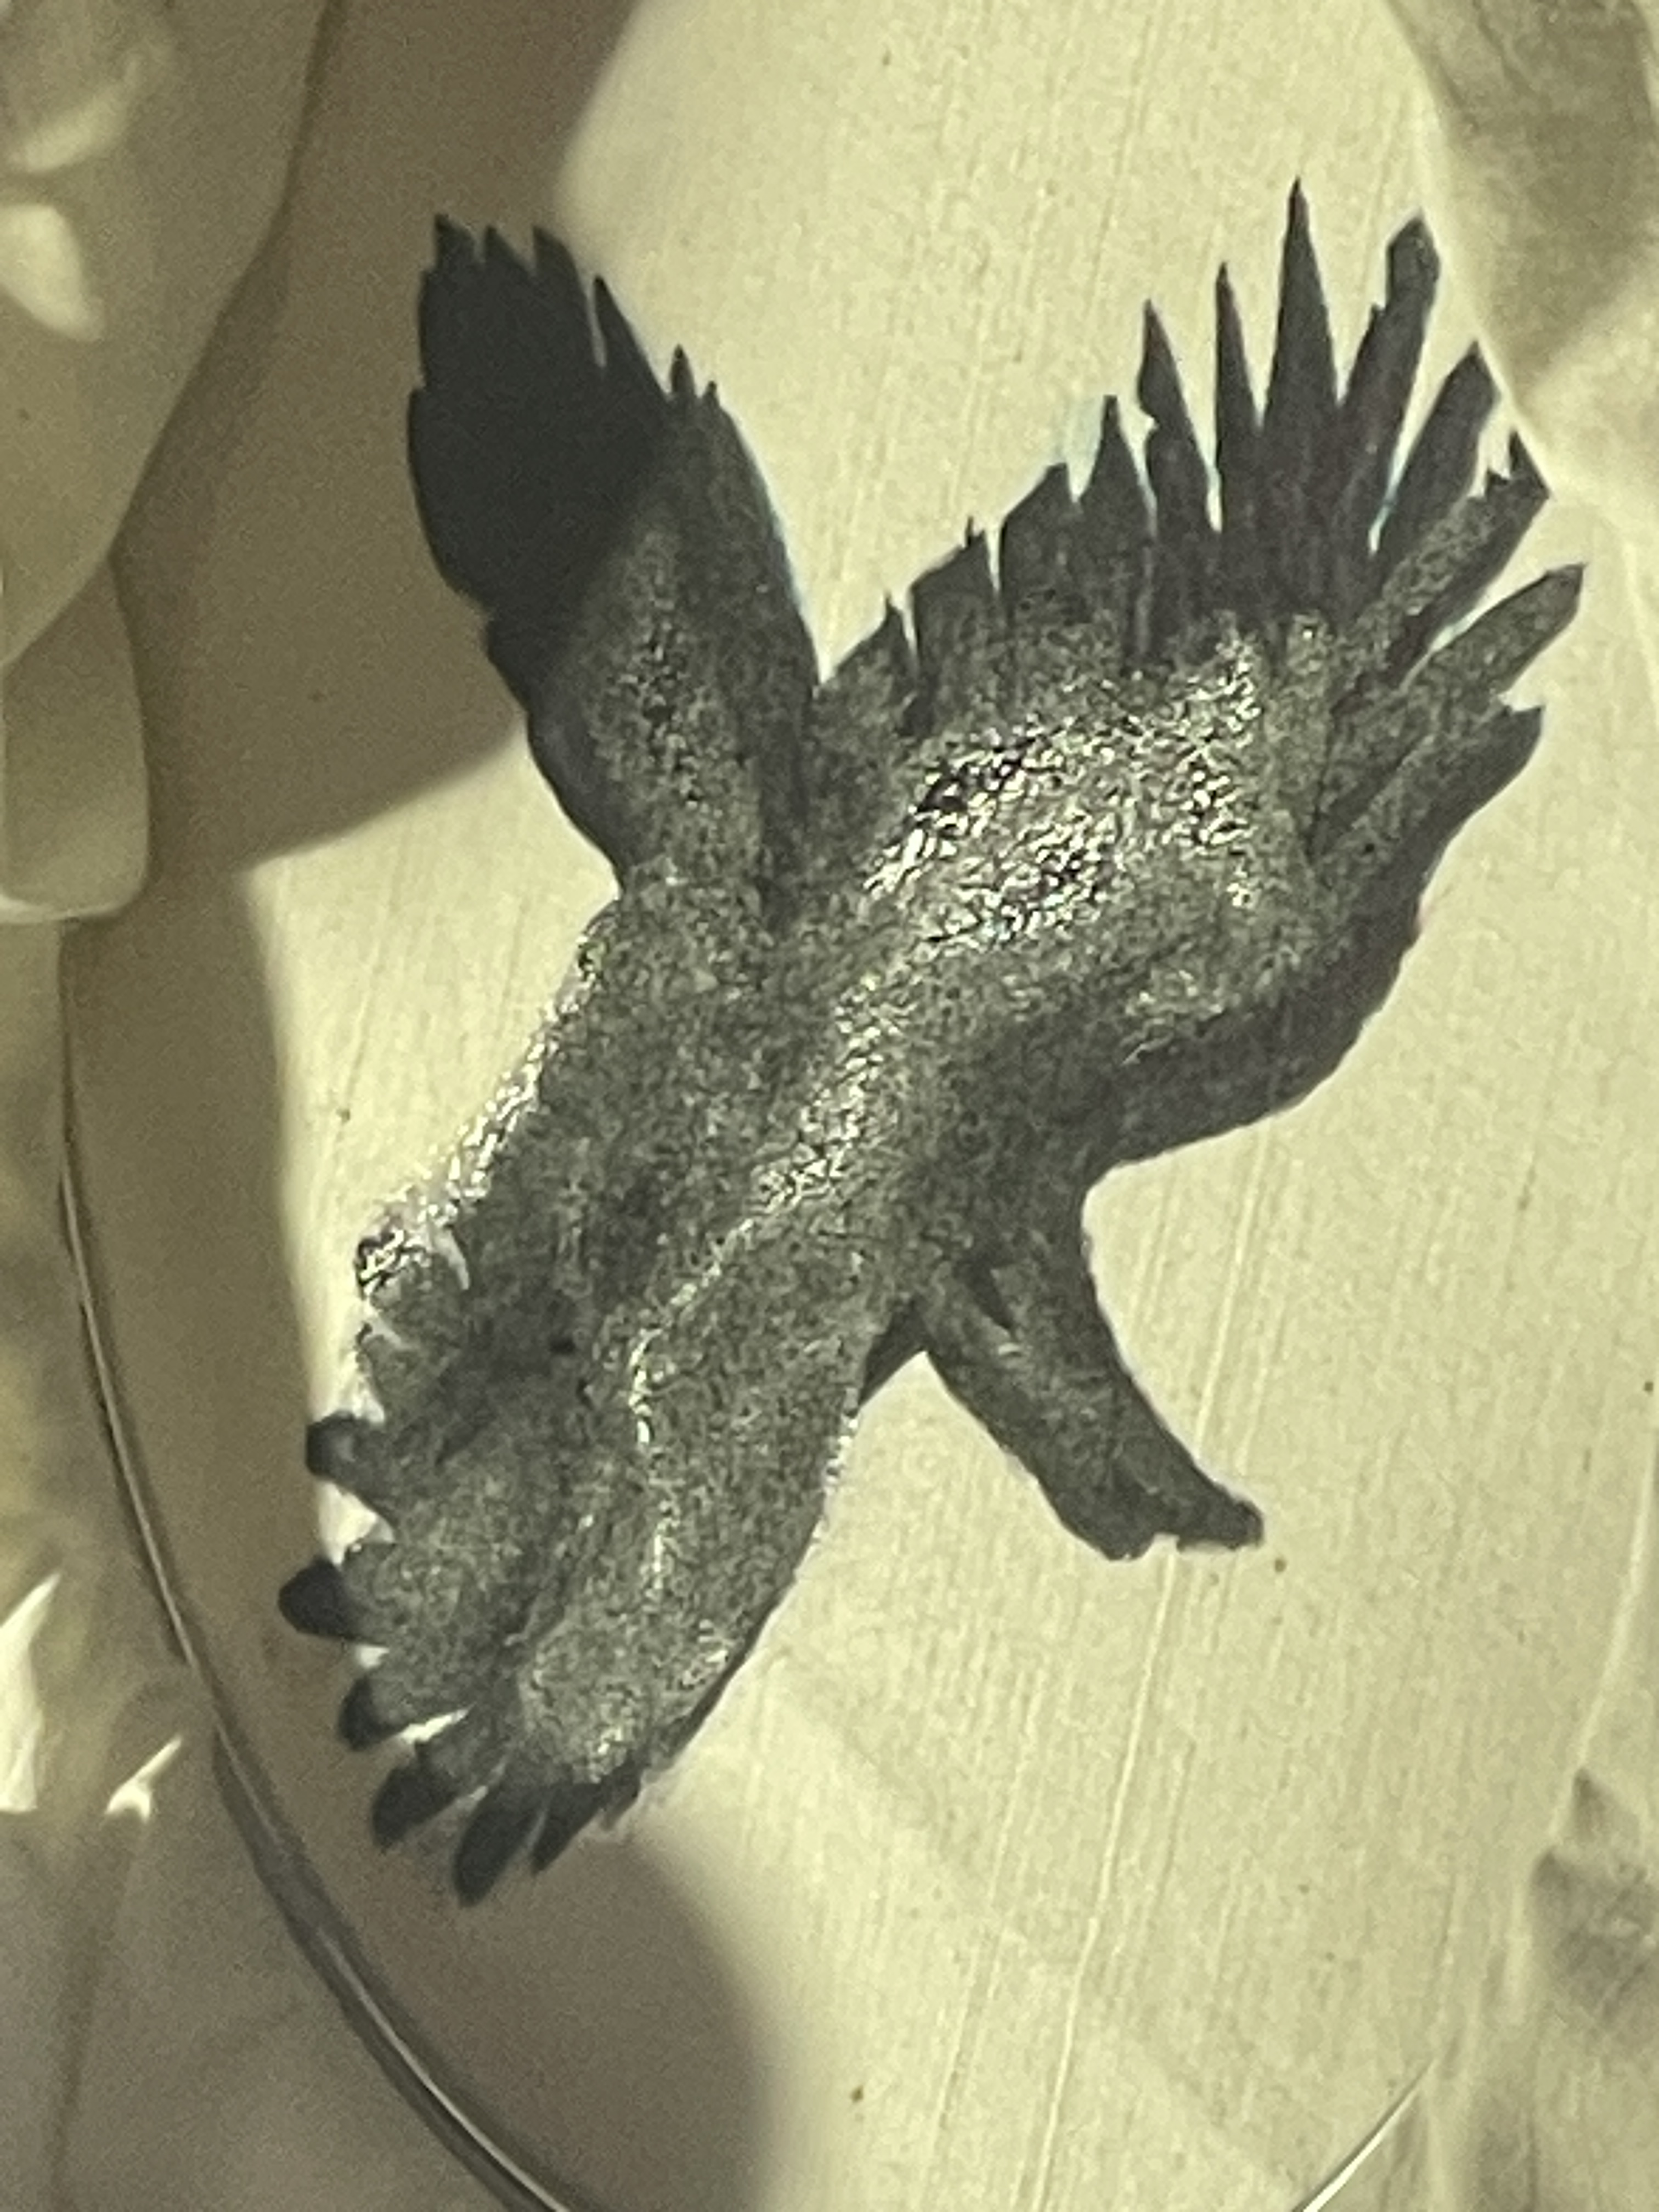
While working on my dye baths I decided to paint the fabric medium on my watercolor raven…and it did just what I was afraid it would. The colors started to run a bit on the edges of the feathers. To avoid that continuing I chose to just paint the medium on the large solid parts and try to carefully go around the inside of some of the feathers. I plan on letting that dry for a couple of days before I work on stitching it. I believe that this will end up a display piece so I am not too worried about how washable this will be. In the future I intend to experiment with different fabric mediums and inktense dry watercolor sticks to create unique pieces.
As you can tell, this post took a couple of days for me to type up. This is how all of the dye experiments turned out:
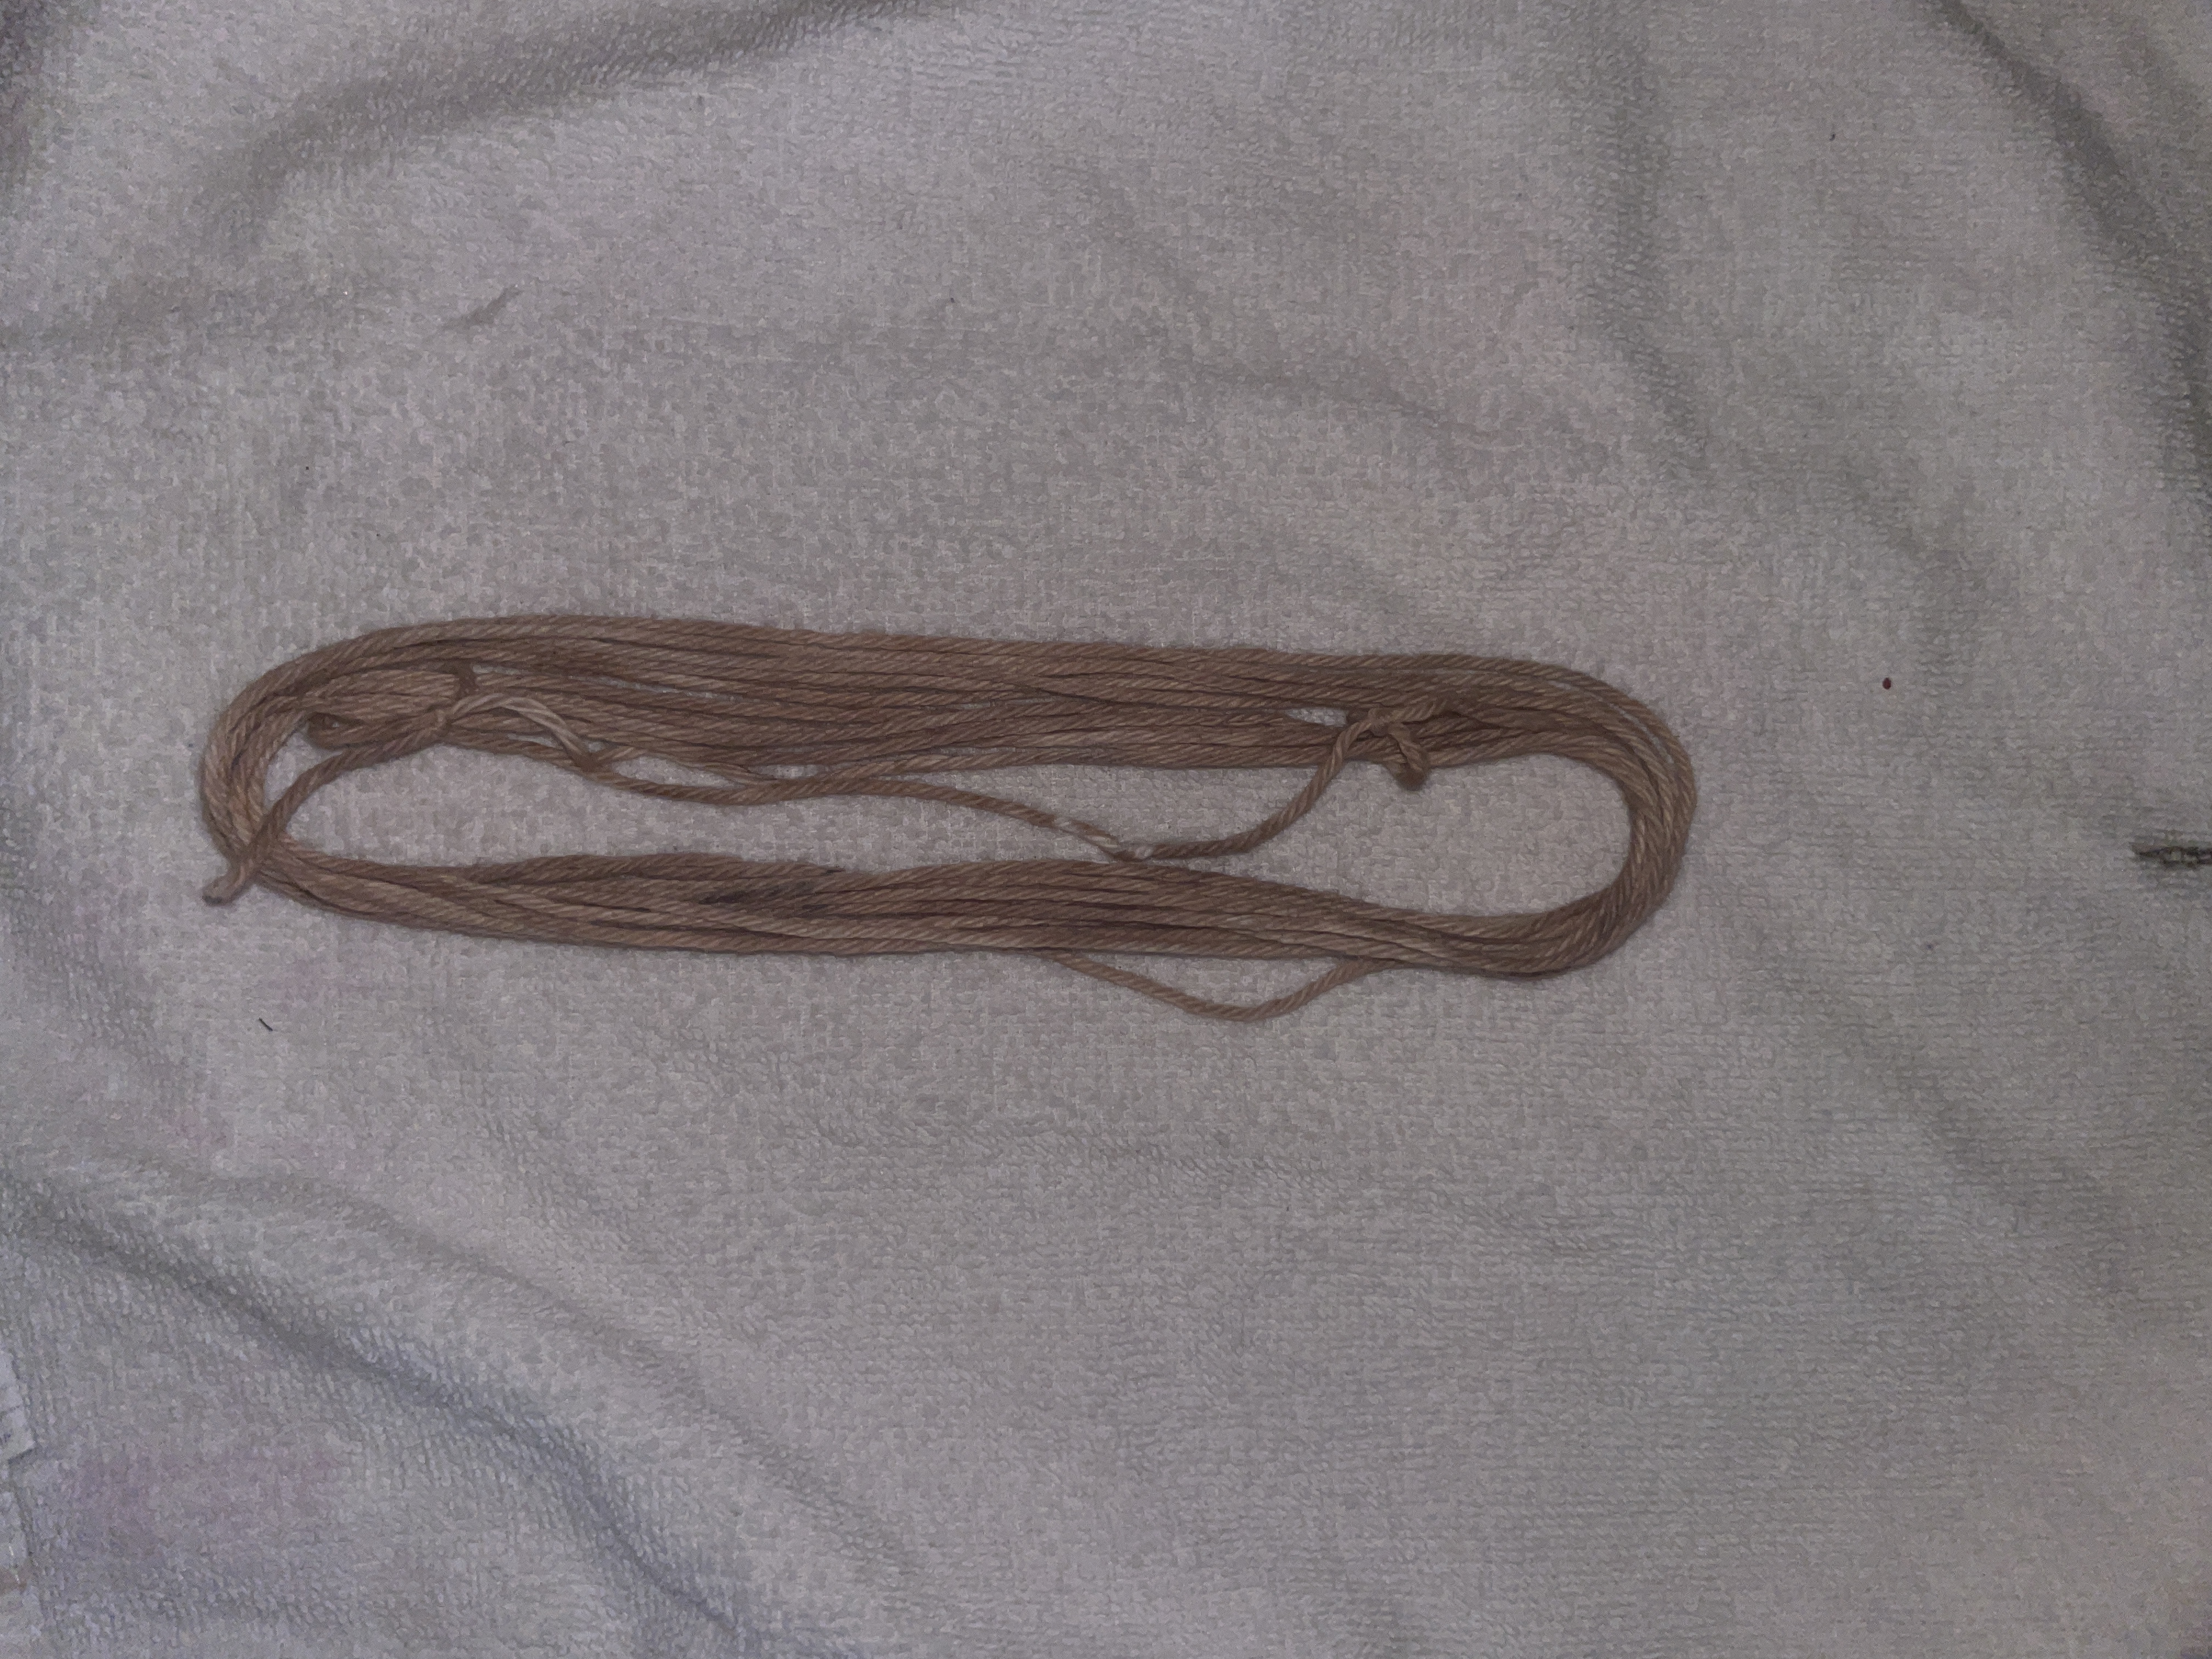
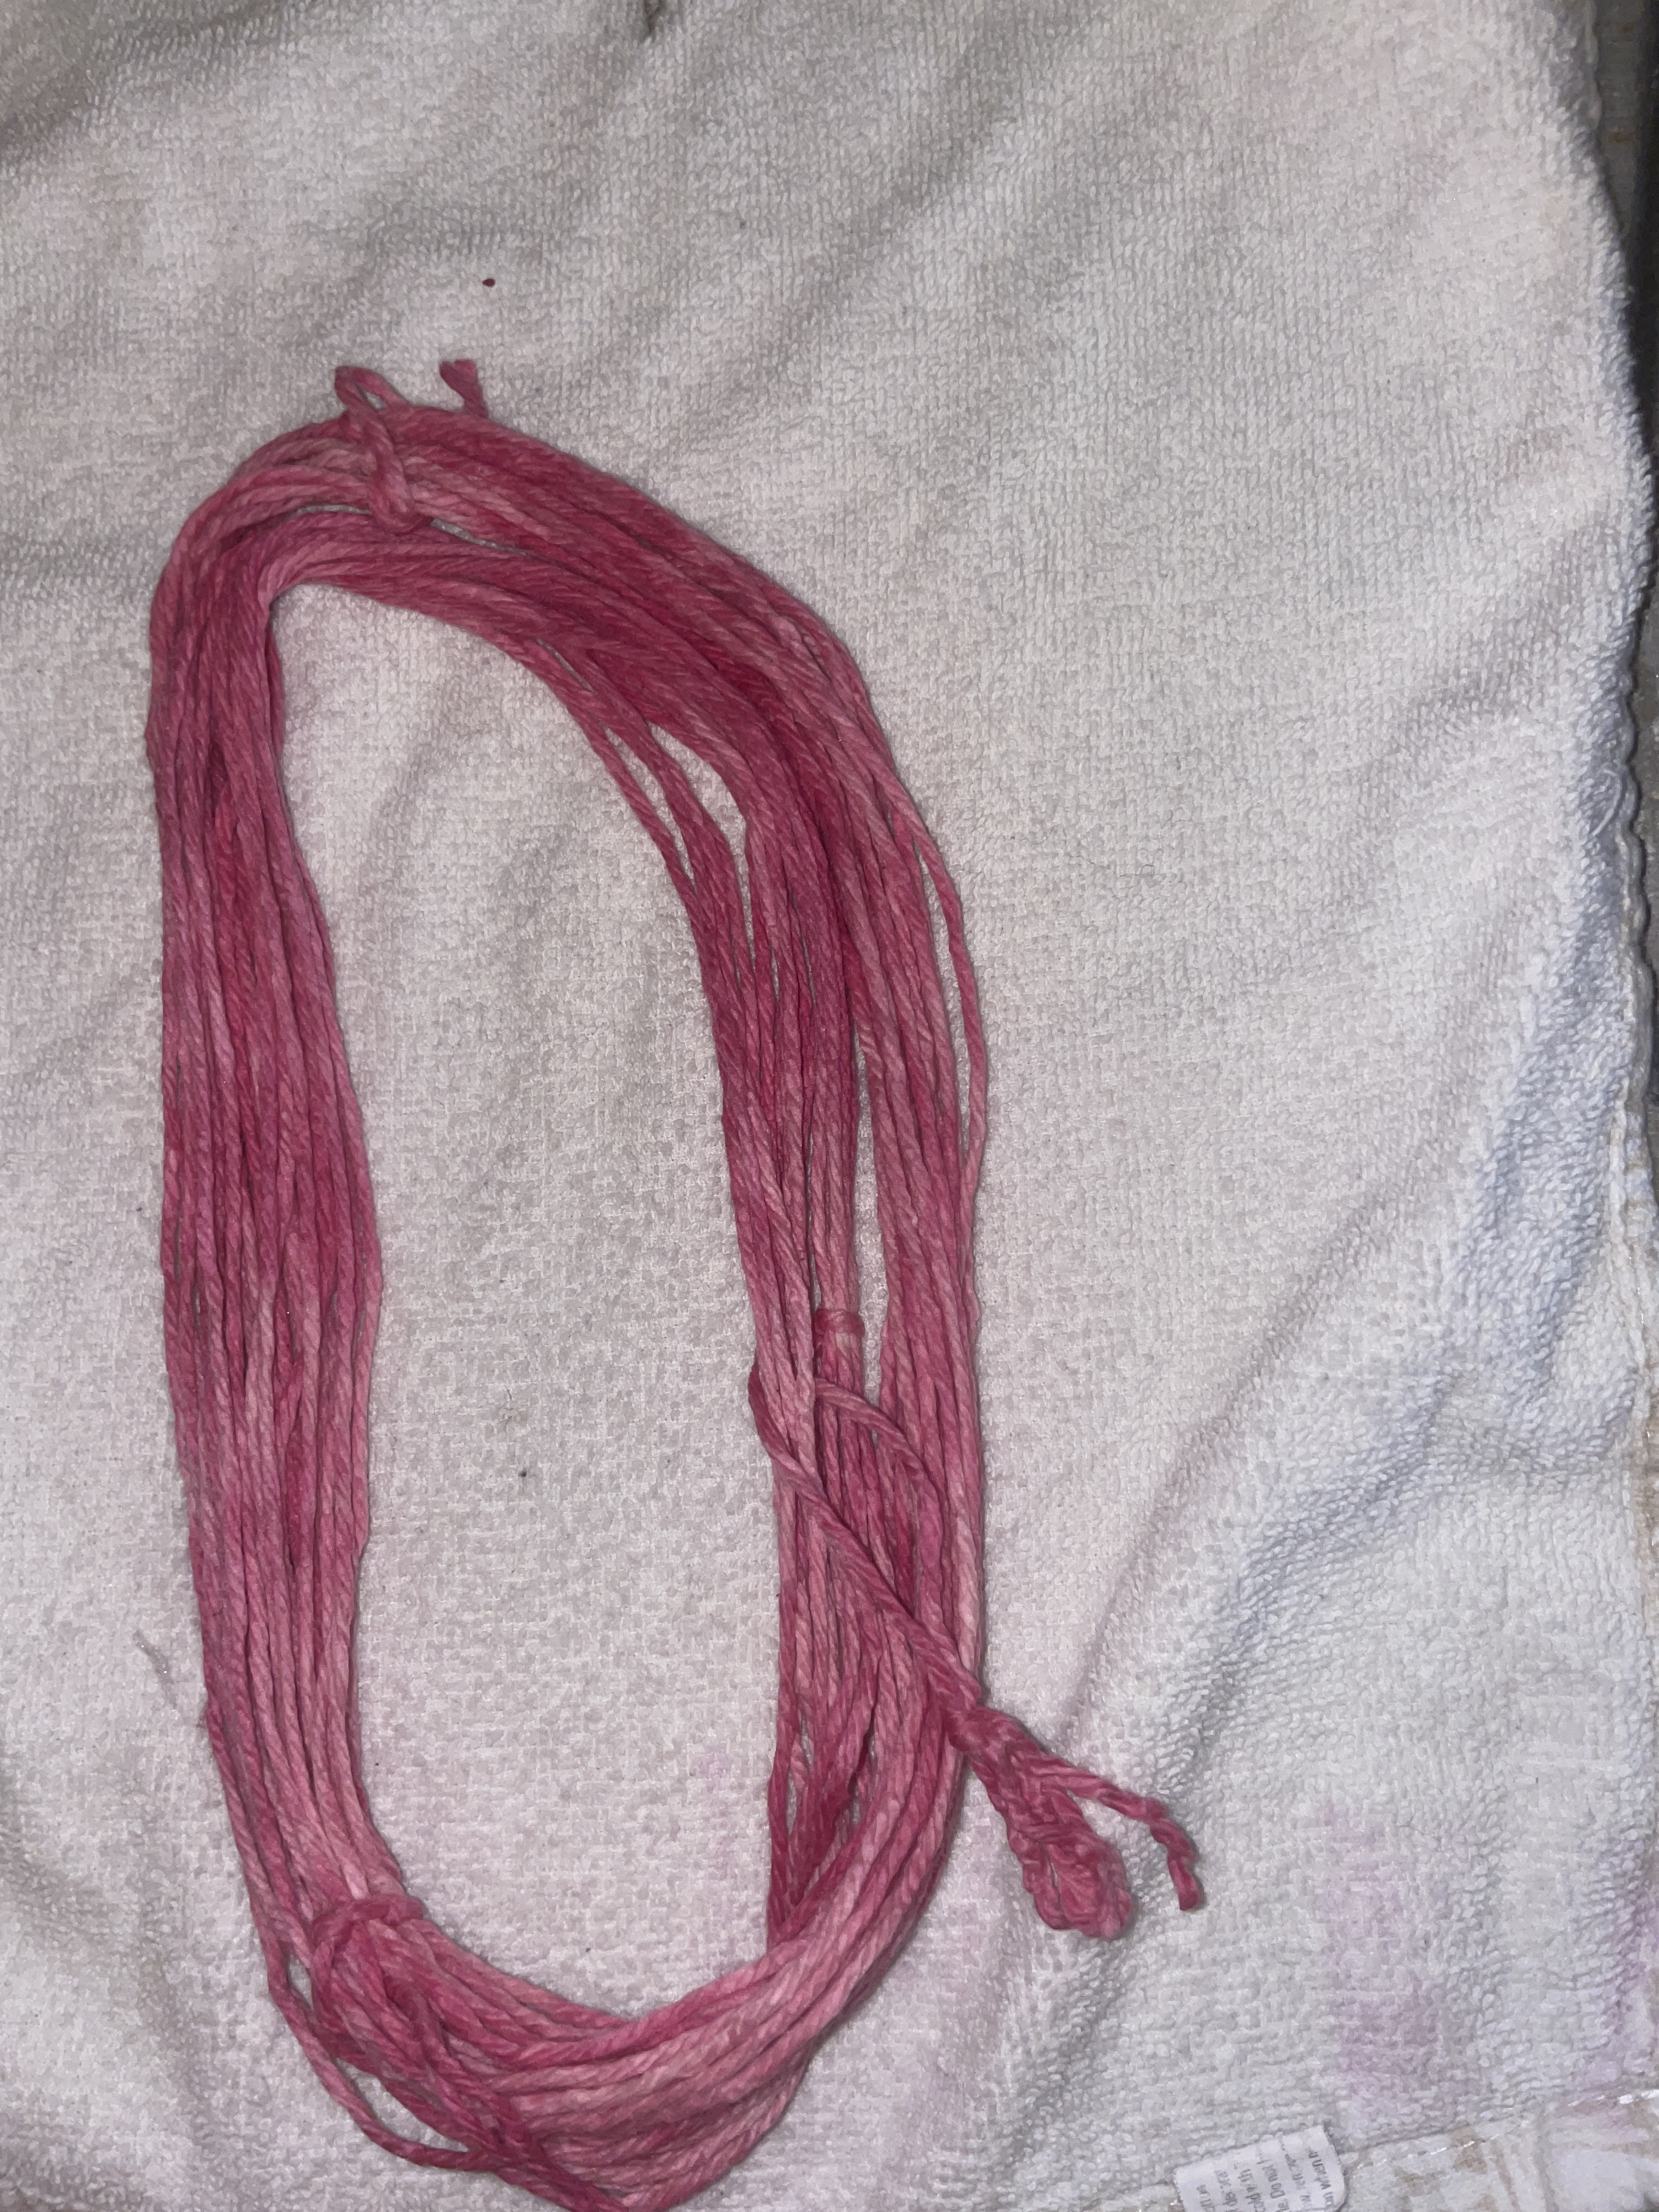
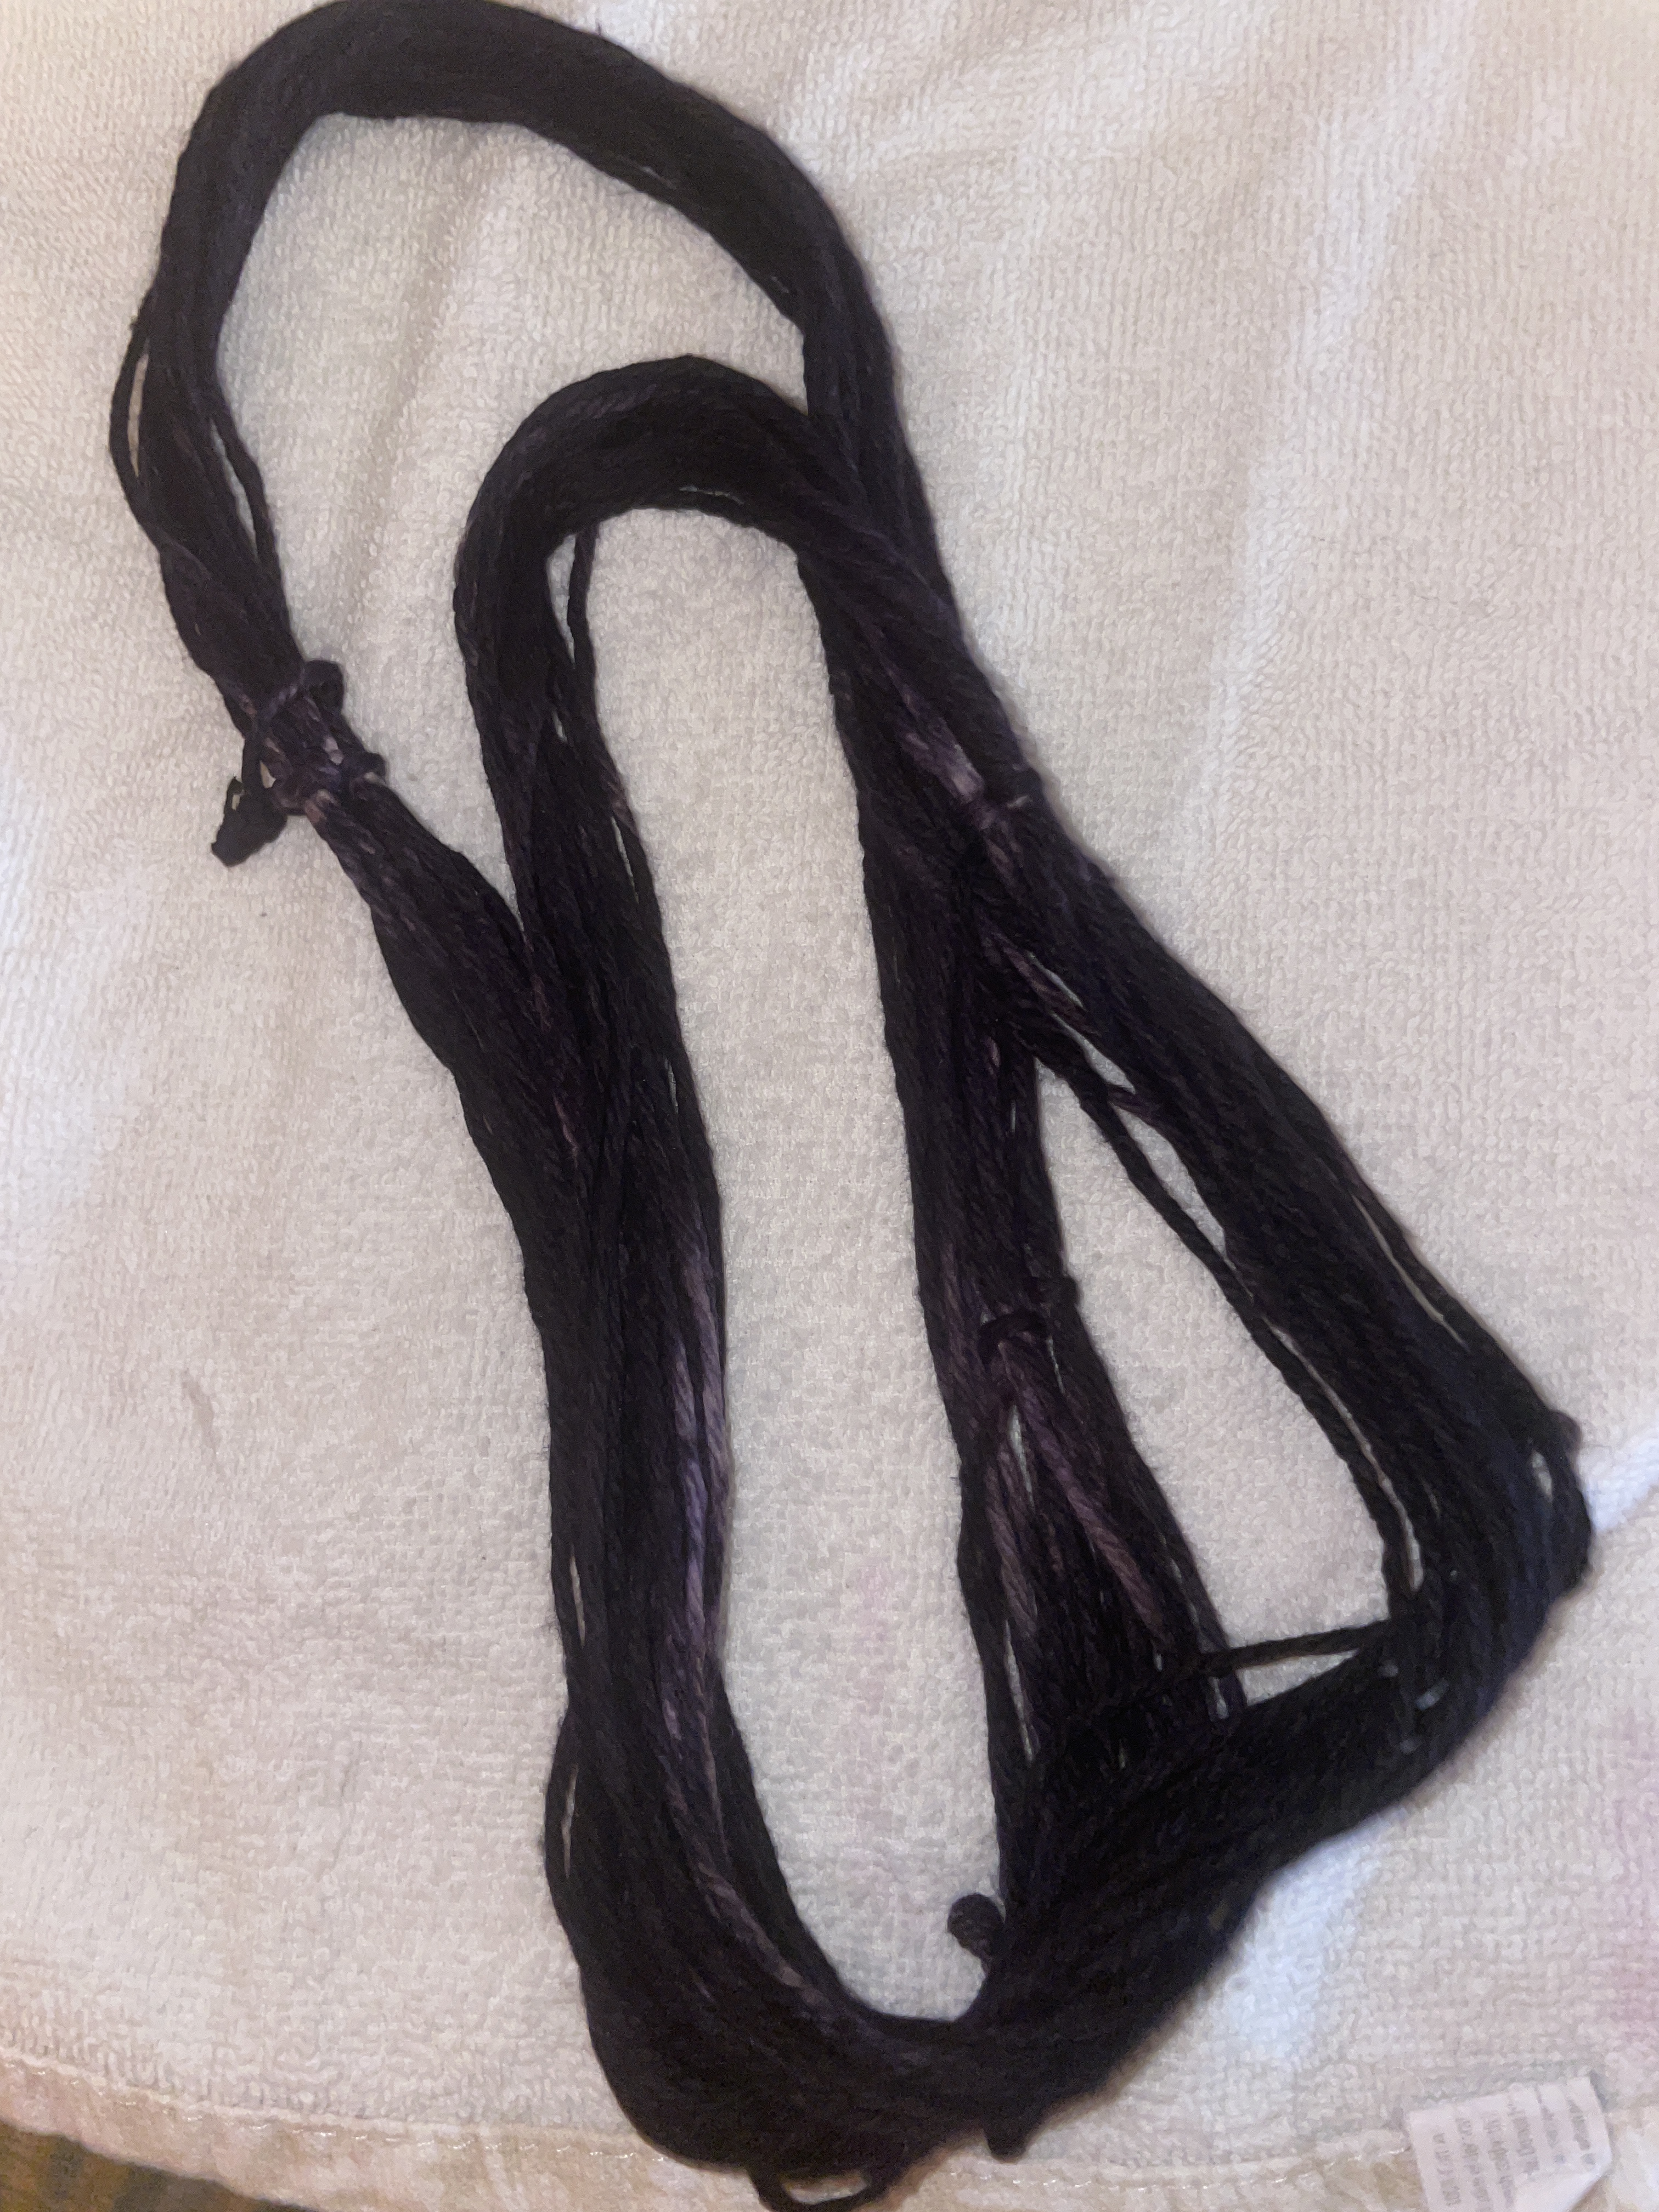
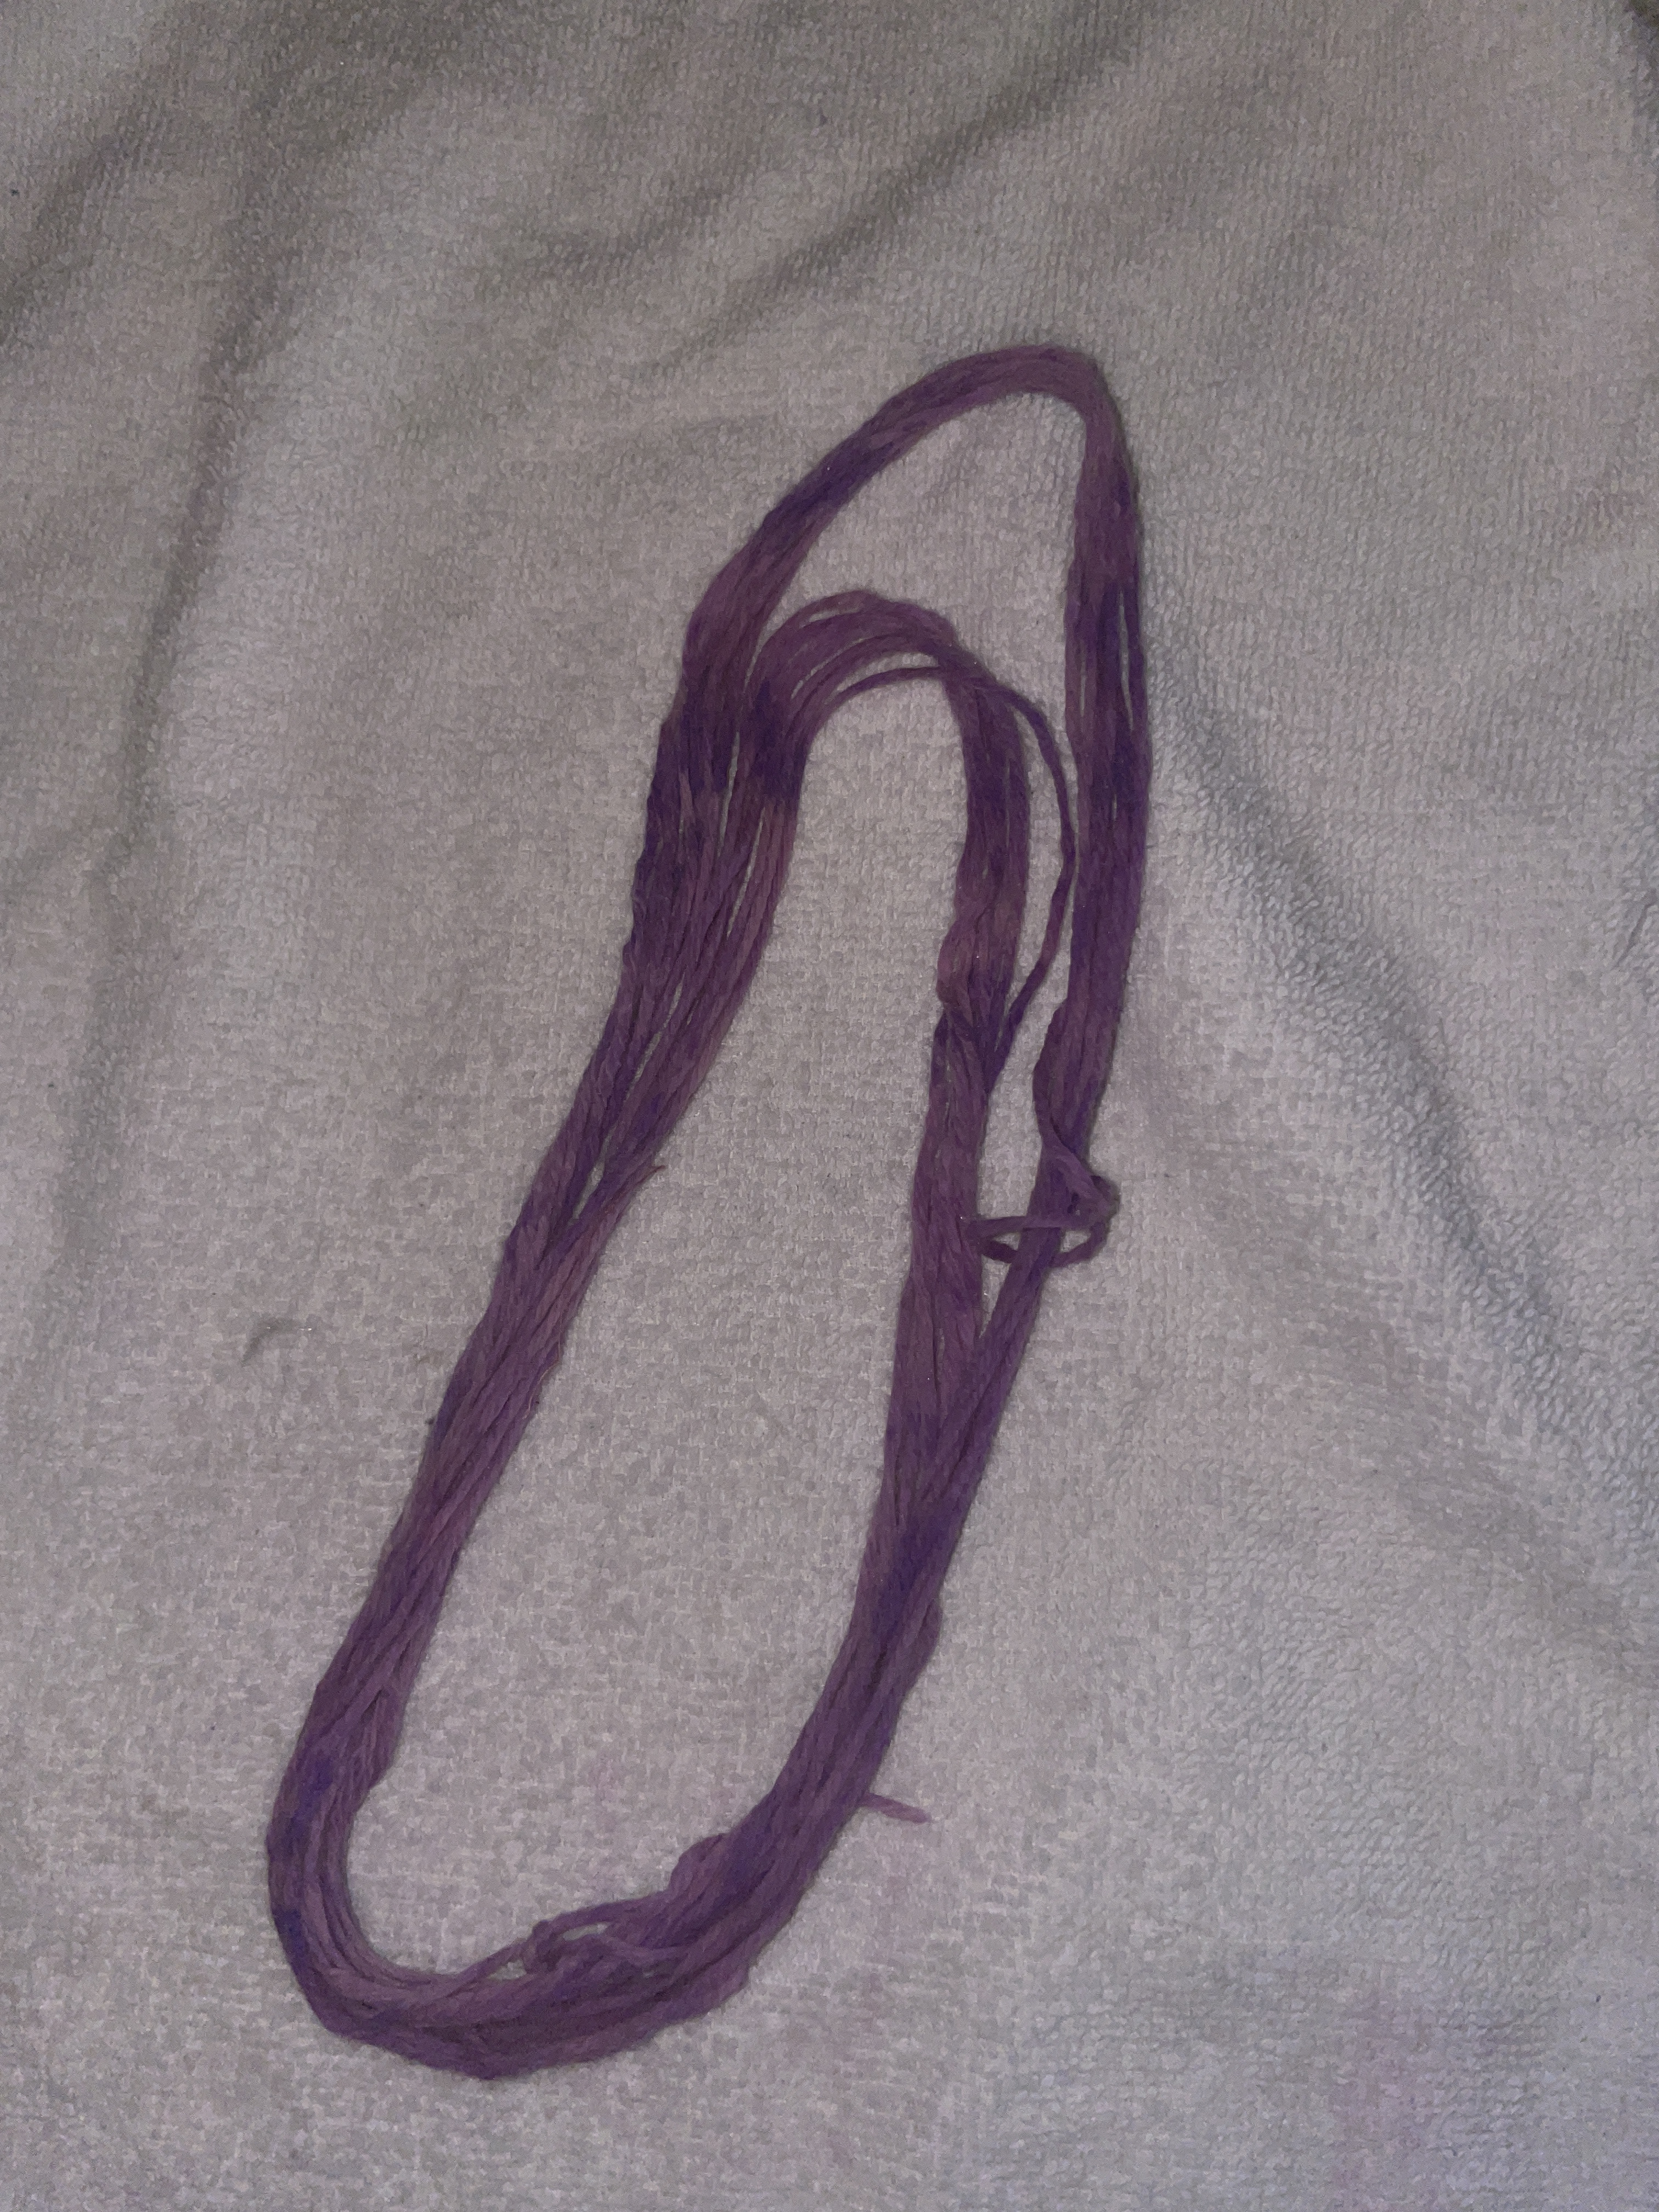
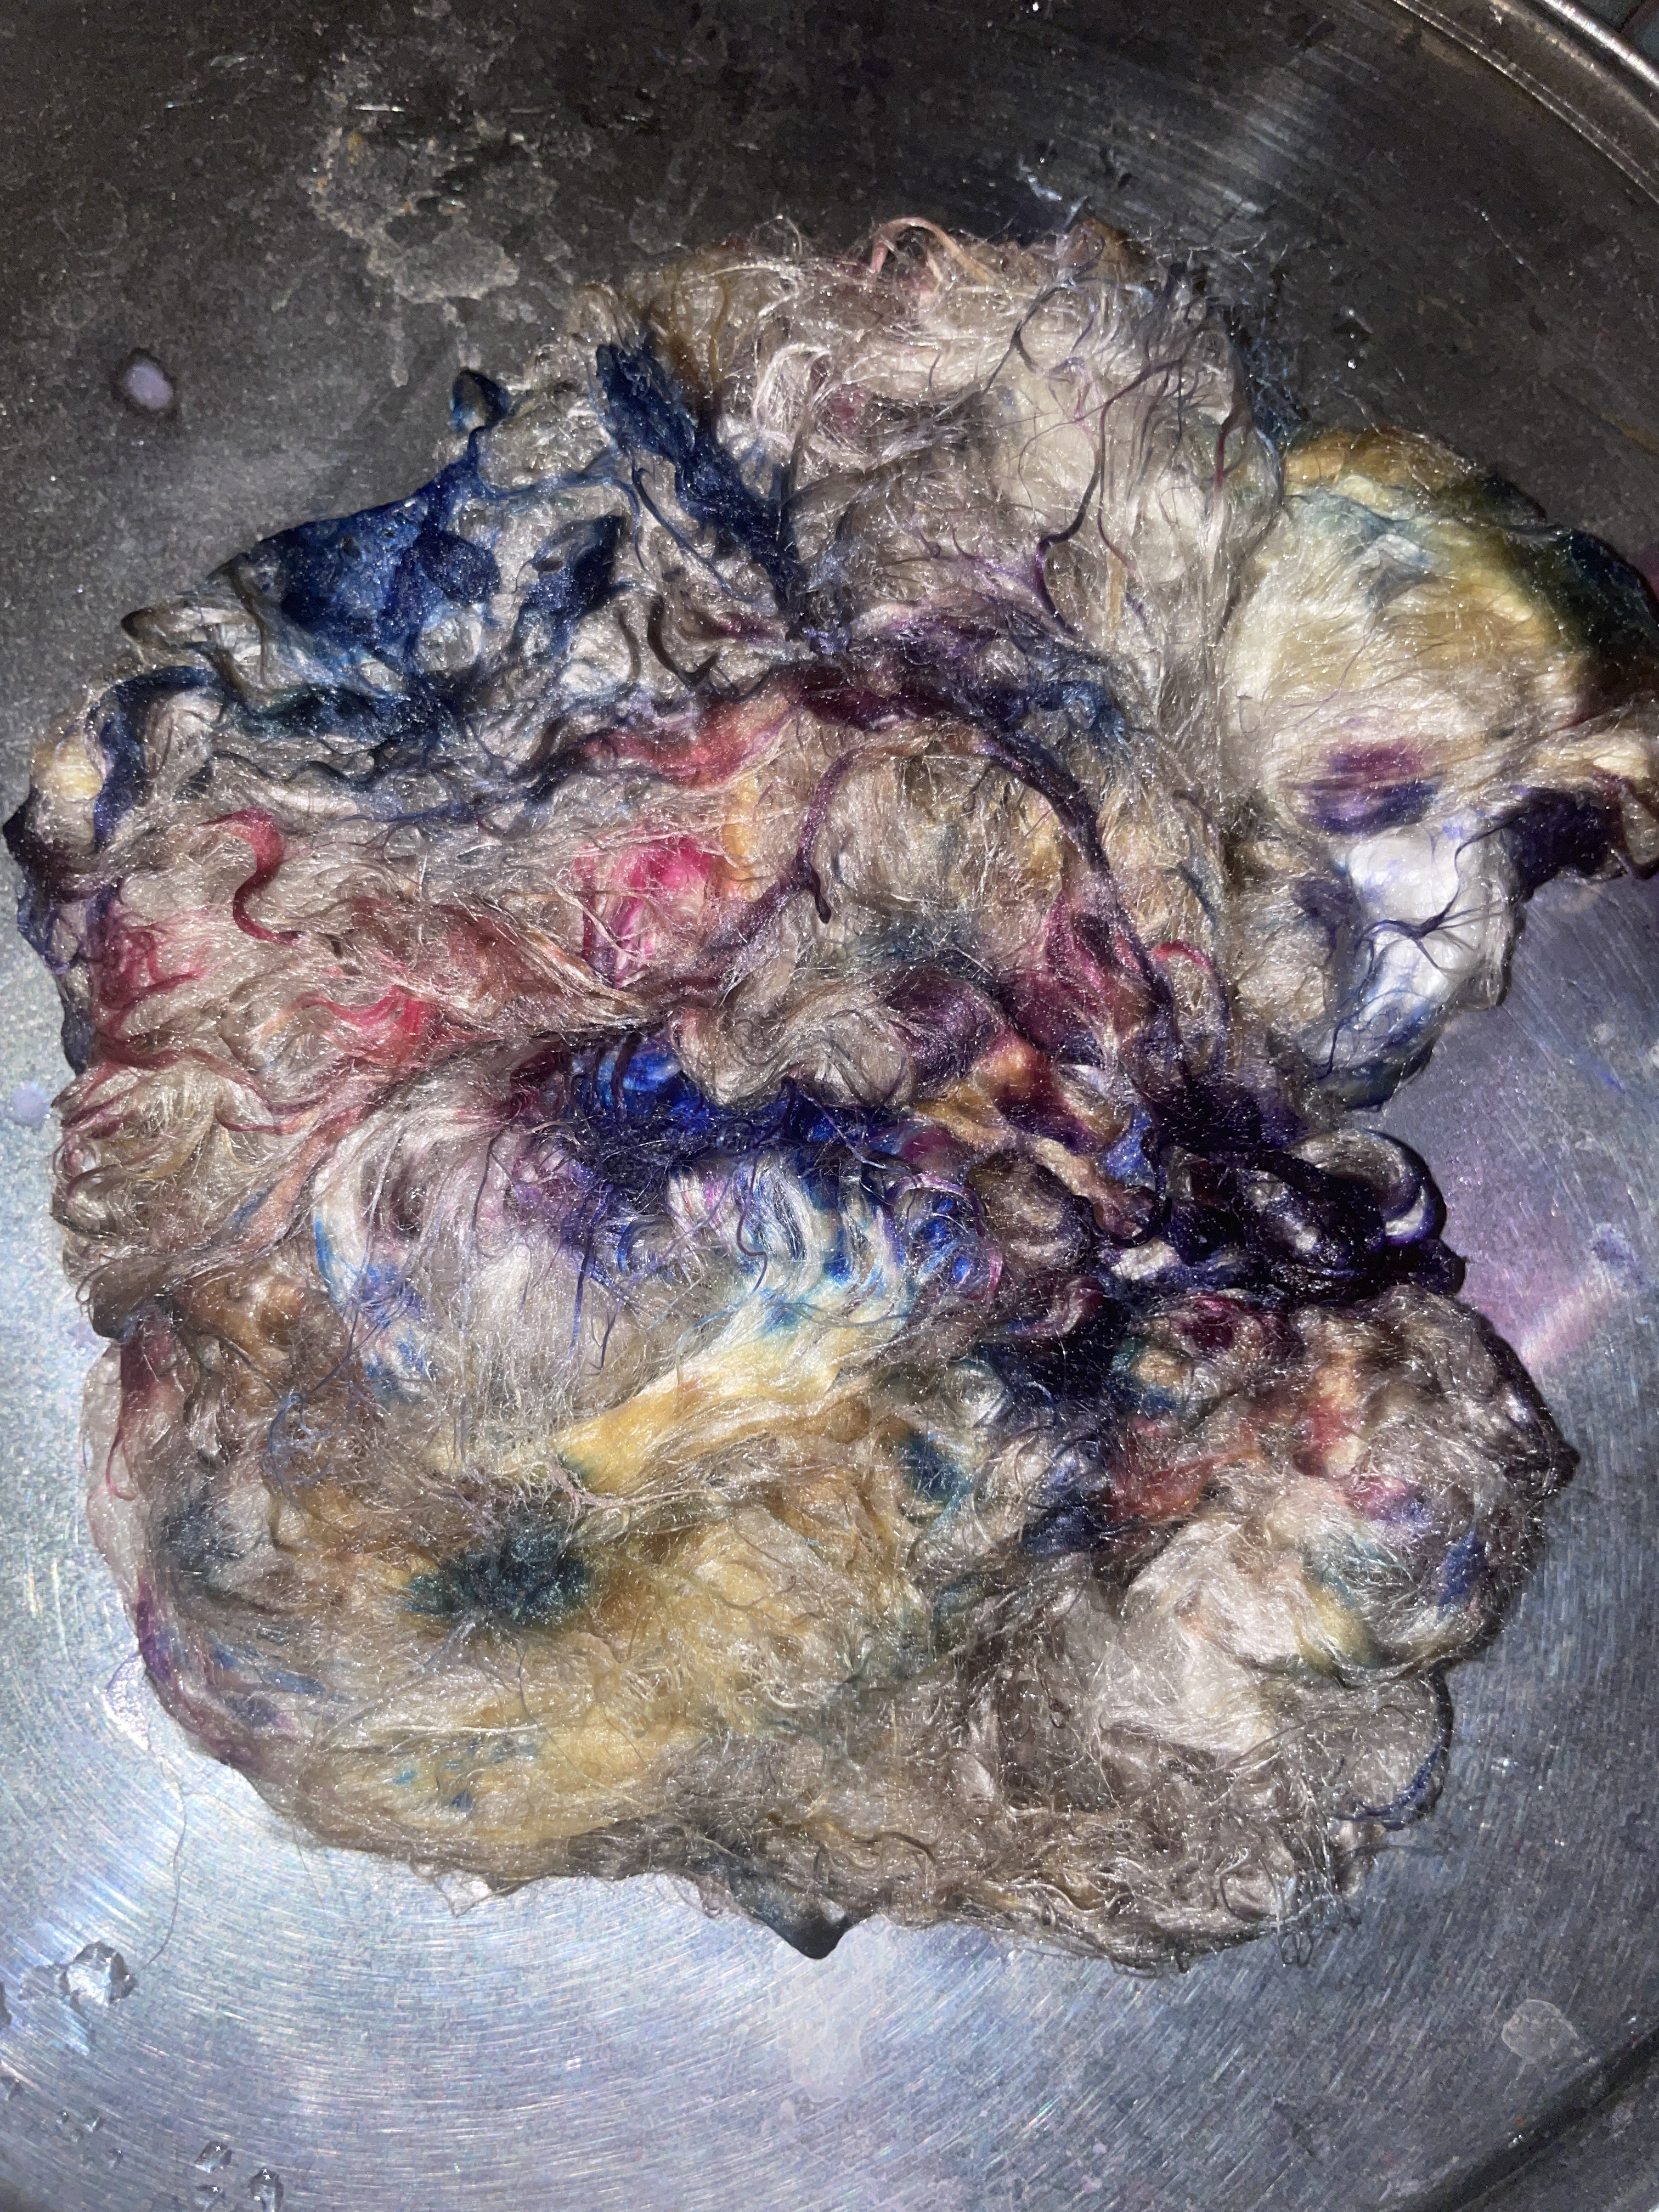
The Logwood turned such a dark purple it almost looks black. The second try turned brown, so I suspect that the mordant interacted with the dye. I used some acid dyes and country classics to create a lighter purple that I can use. The cochineal created such beautiful pinks. I tried to use the leftover dye on silk, the results were very underwhelming so I added in some acid dye powders and steamed them to set the dye. I had so much fun with this experiment. It reminded me that when I have the materials on hand (and specific dye pots so I do not contaminate the rest of my food stuffs) I am able to create dyed cloth with very little disturbance to my day to day life. This is going to make dyeing and attempting cloth creation more reasonable as a casual activity.
Live Life a Little More Abstract!