I was lucky enough this past week to have encountered a rare productivity burst. Throughout this burst I was able to get one of my rooms organized, start several projects, and make progress on other projects.
Not all of my projects turned out great, but most of them did what I wanted. The first paragraph is going to be about outside projects I was able to complete during a warm day, and the rest is going to be about crafts I have started, some are a little more artistic than crafty, but everything I do comes back around to crafts eventually. Even my garden, which is what the next paragraph is going to be about, is going to have plants that are good natural dye producers. Speaking of, onto the outdoor projects.
During a windstorm my downspout decided to blow off of my house. This seemed like a sign to add a rain barrel to my gardening. I bought a rain barrel, and the device to connect it to my downspout. To see if I was able to get away with a cheap solution I purchased a connector that was a little too big, sealant, and some screws intended for a downpipes, under $10, and decided to try to connect it from the ground… It didn’t work, but I really didn’t think it would I was just really hopeful.
This means that I am going to have to wait a little longer since I will need to purchase a 7′ ladder, new downspout, and probably an elbow for the top. I also noticed that there is no downspout on the gutter that surrounds my porch so I’m probably going to add one on just to be sure. The downspout was not my only outside project, I also managed to put up my mini pop-up greenhouse. It is weighed down with some stones from my front yard and it currently houses my mower, clippers, and a few other gardening things. This prompted me to finally put together my two workbench sawhorses, one of which is currently in the greenhouse. I’m hoping to start some plants in March or April. Okay, let’s get into crafts now!
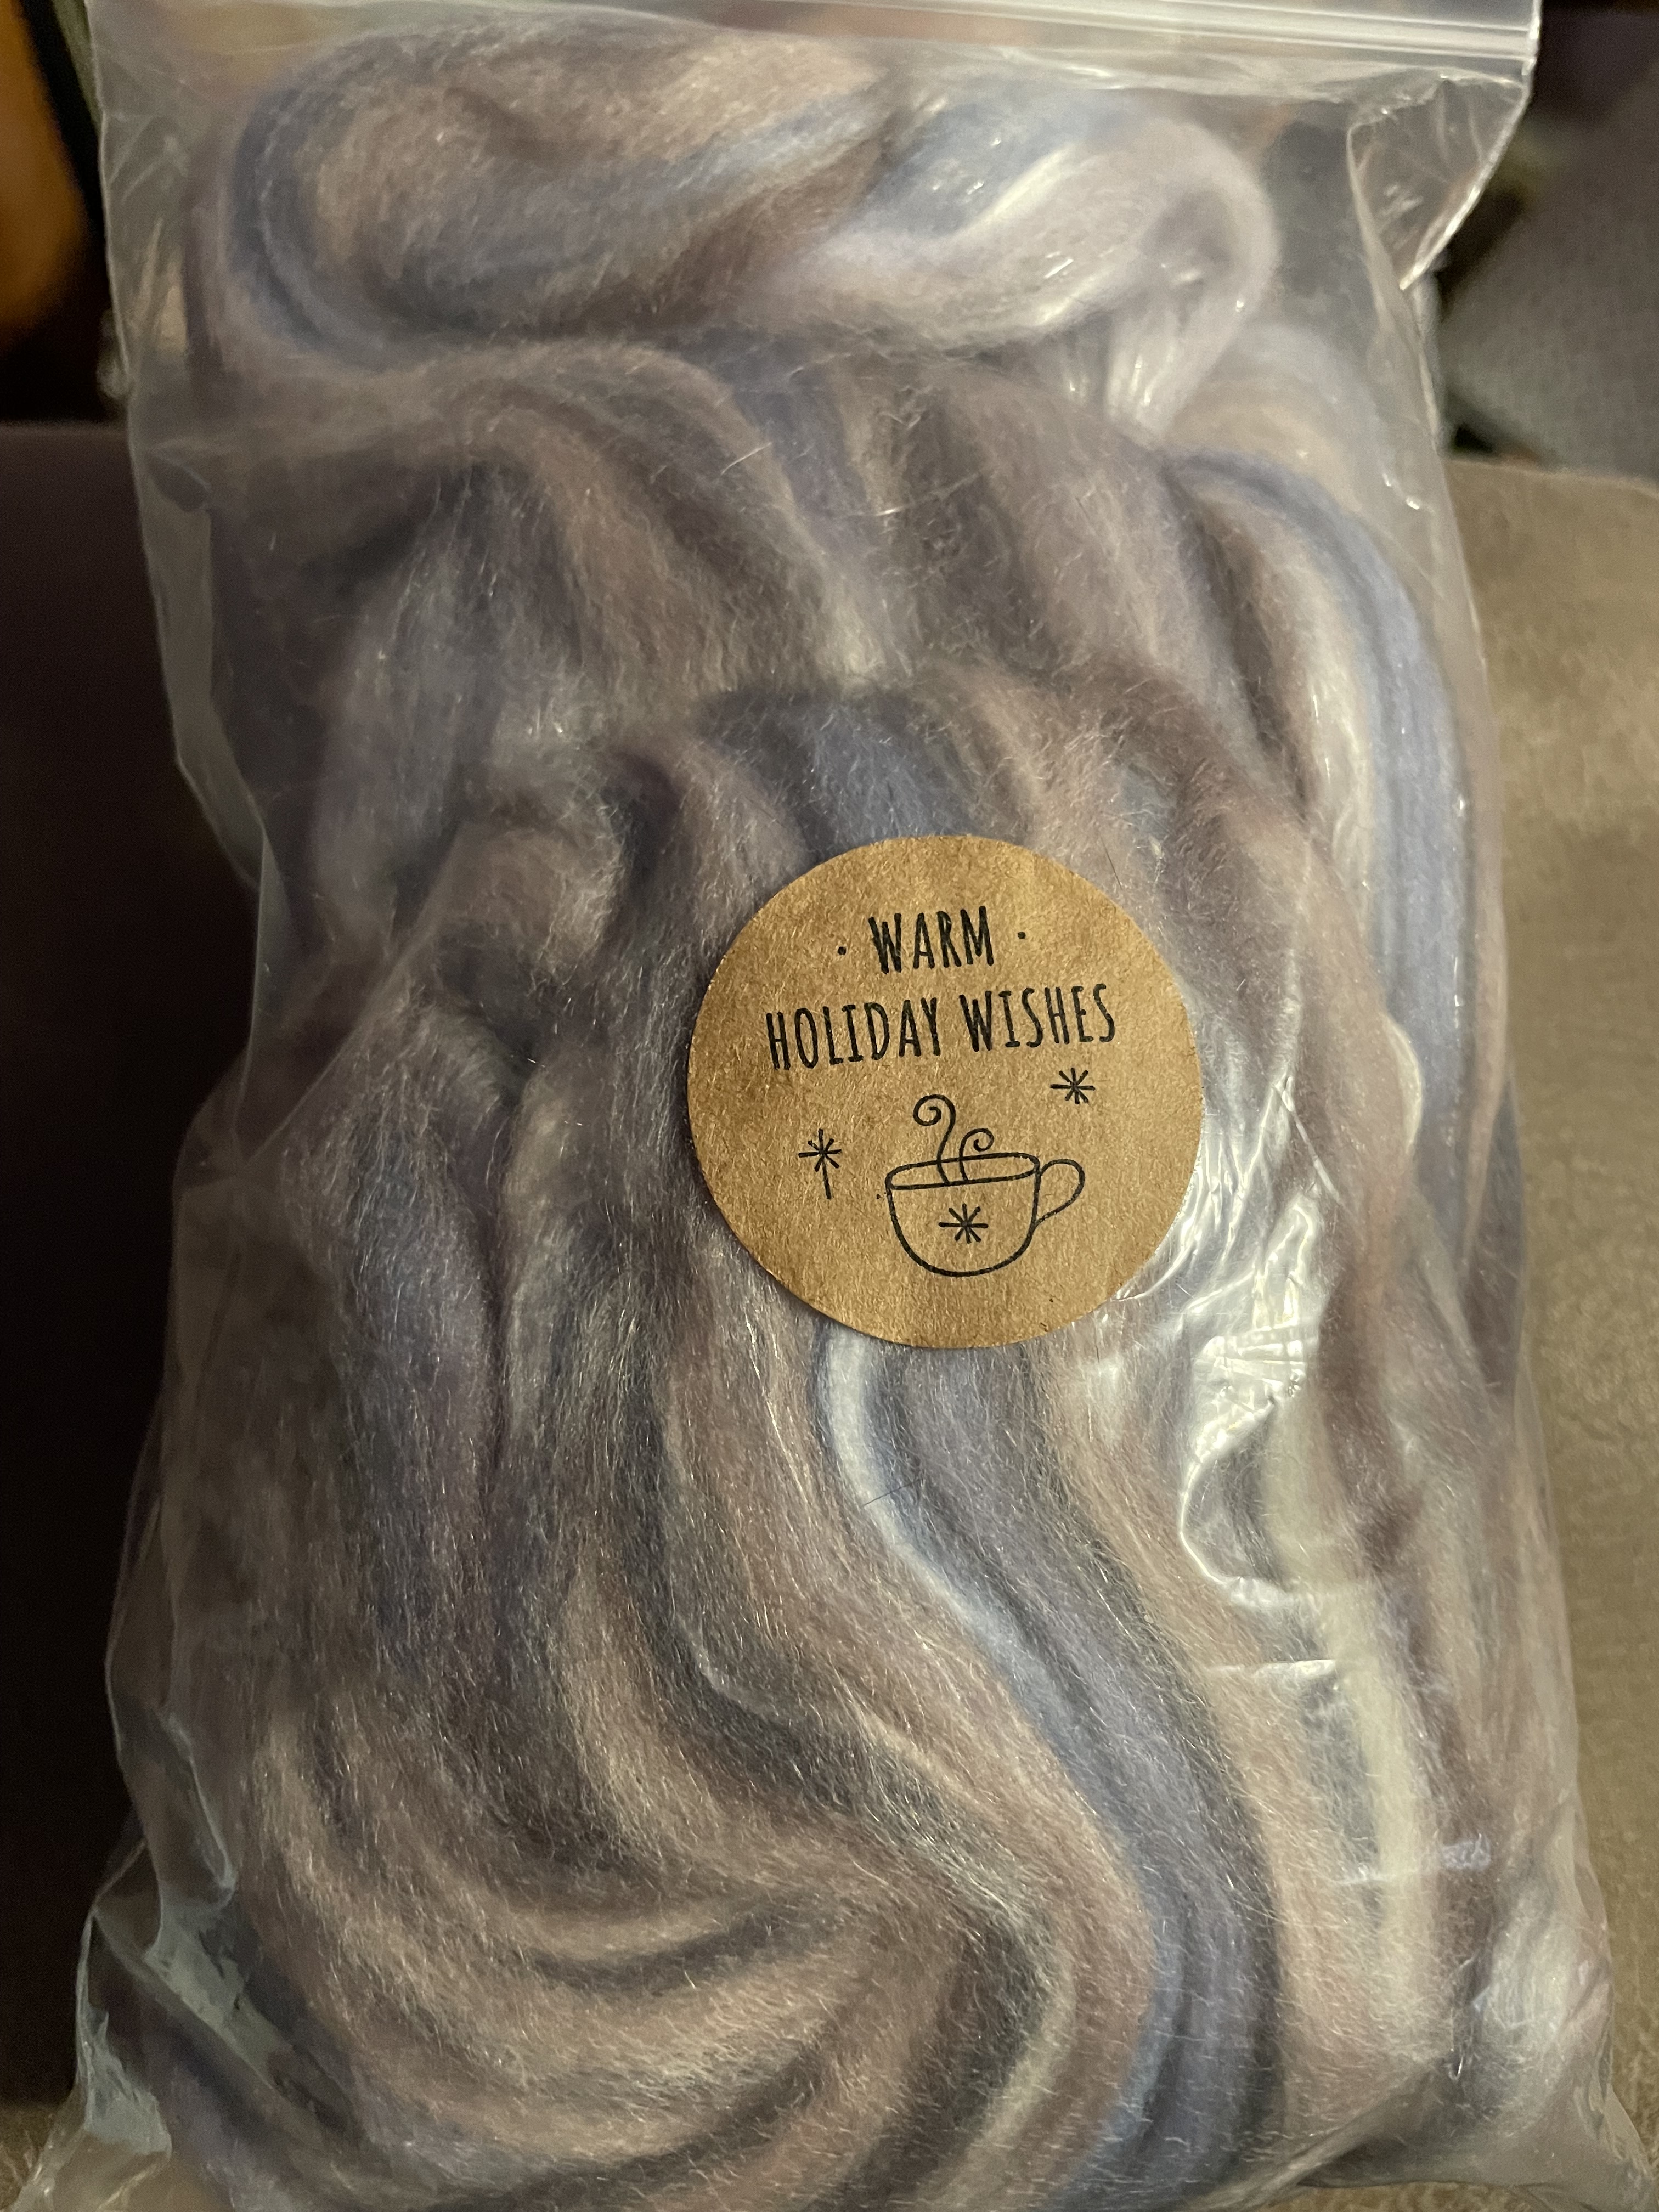
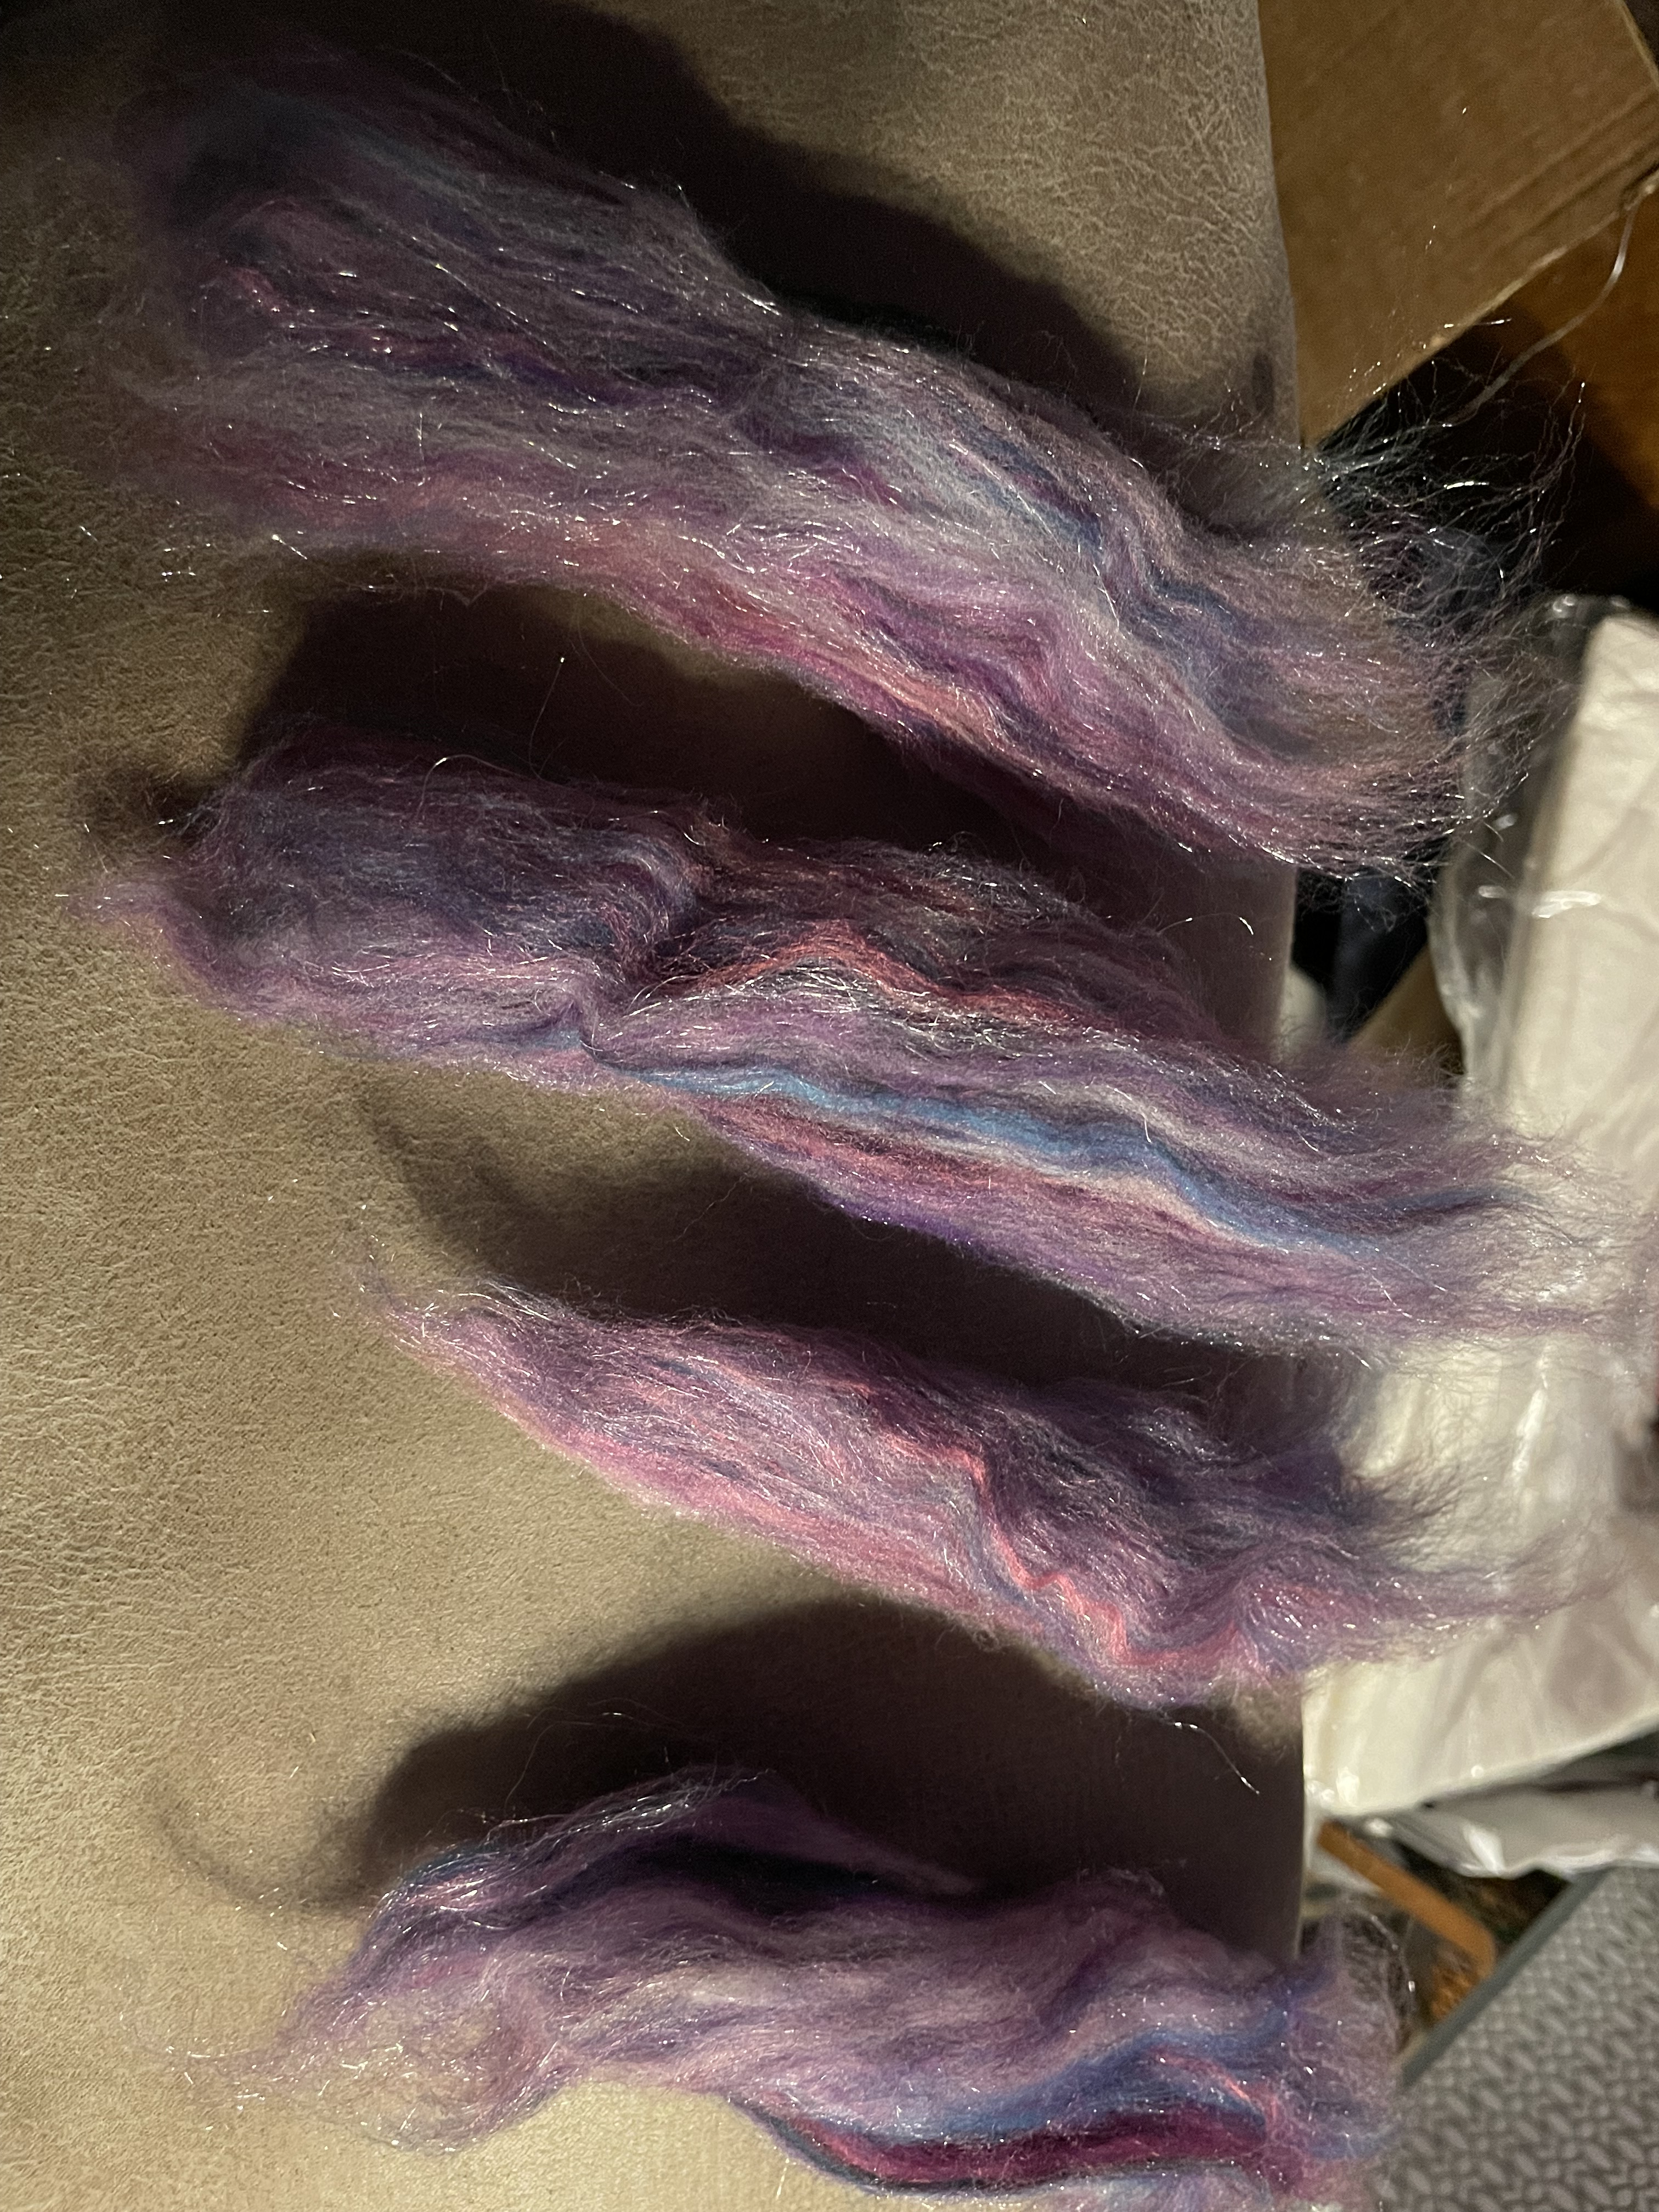
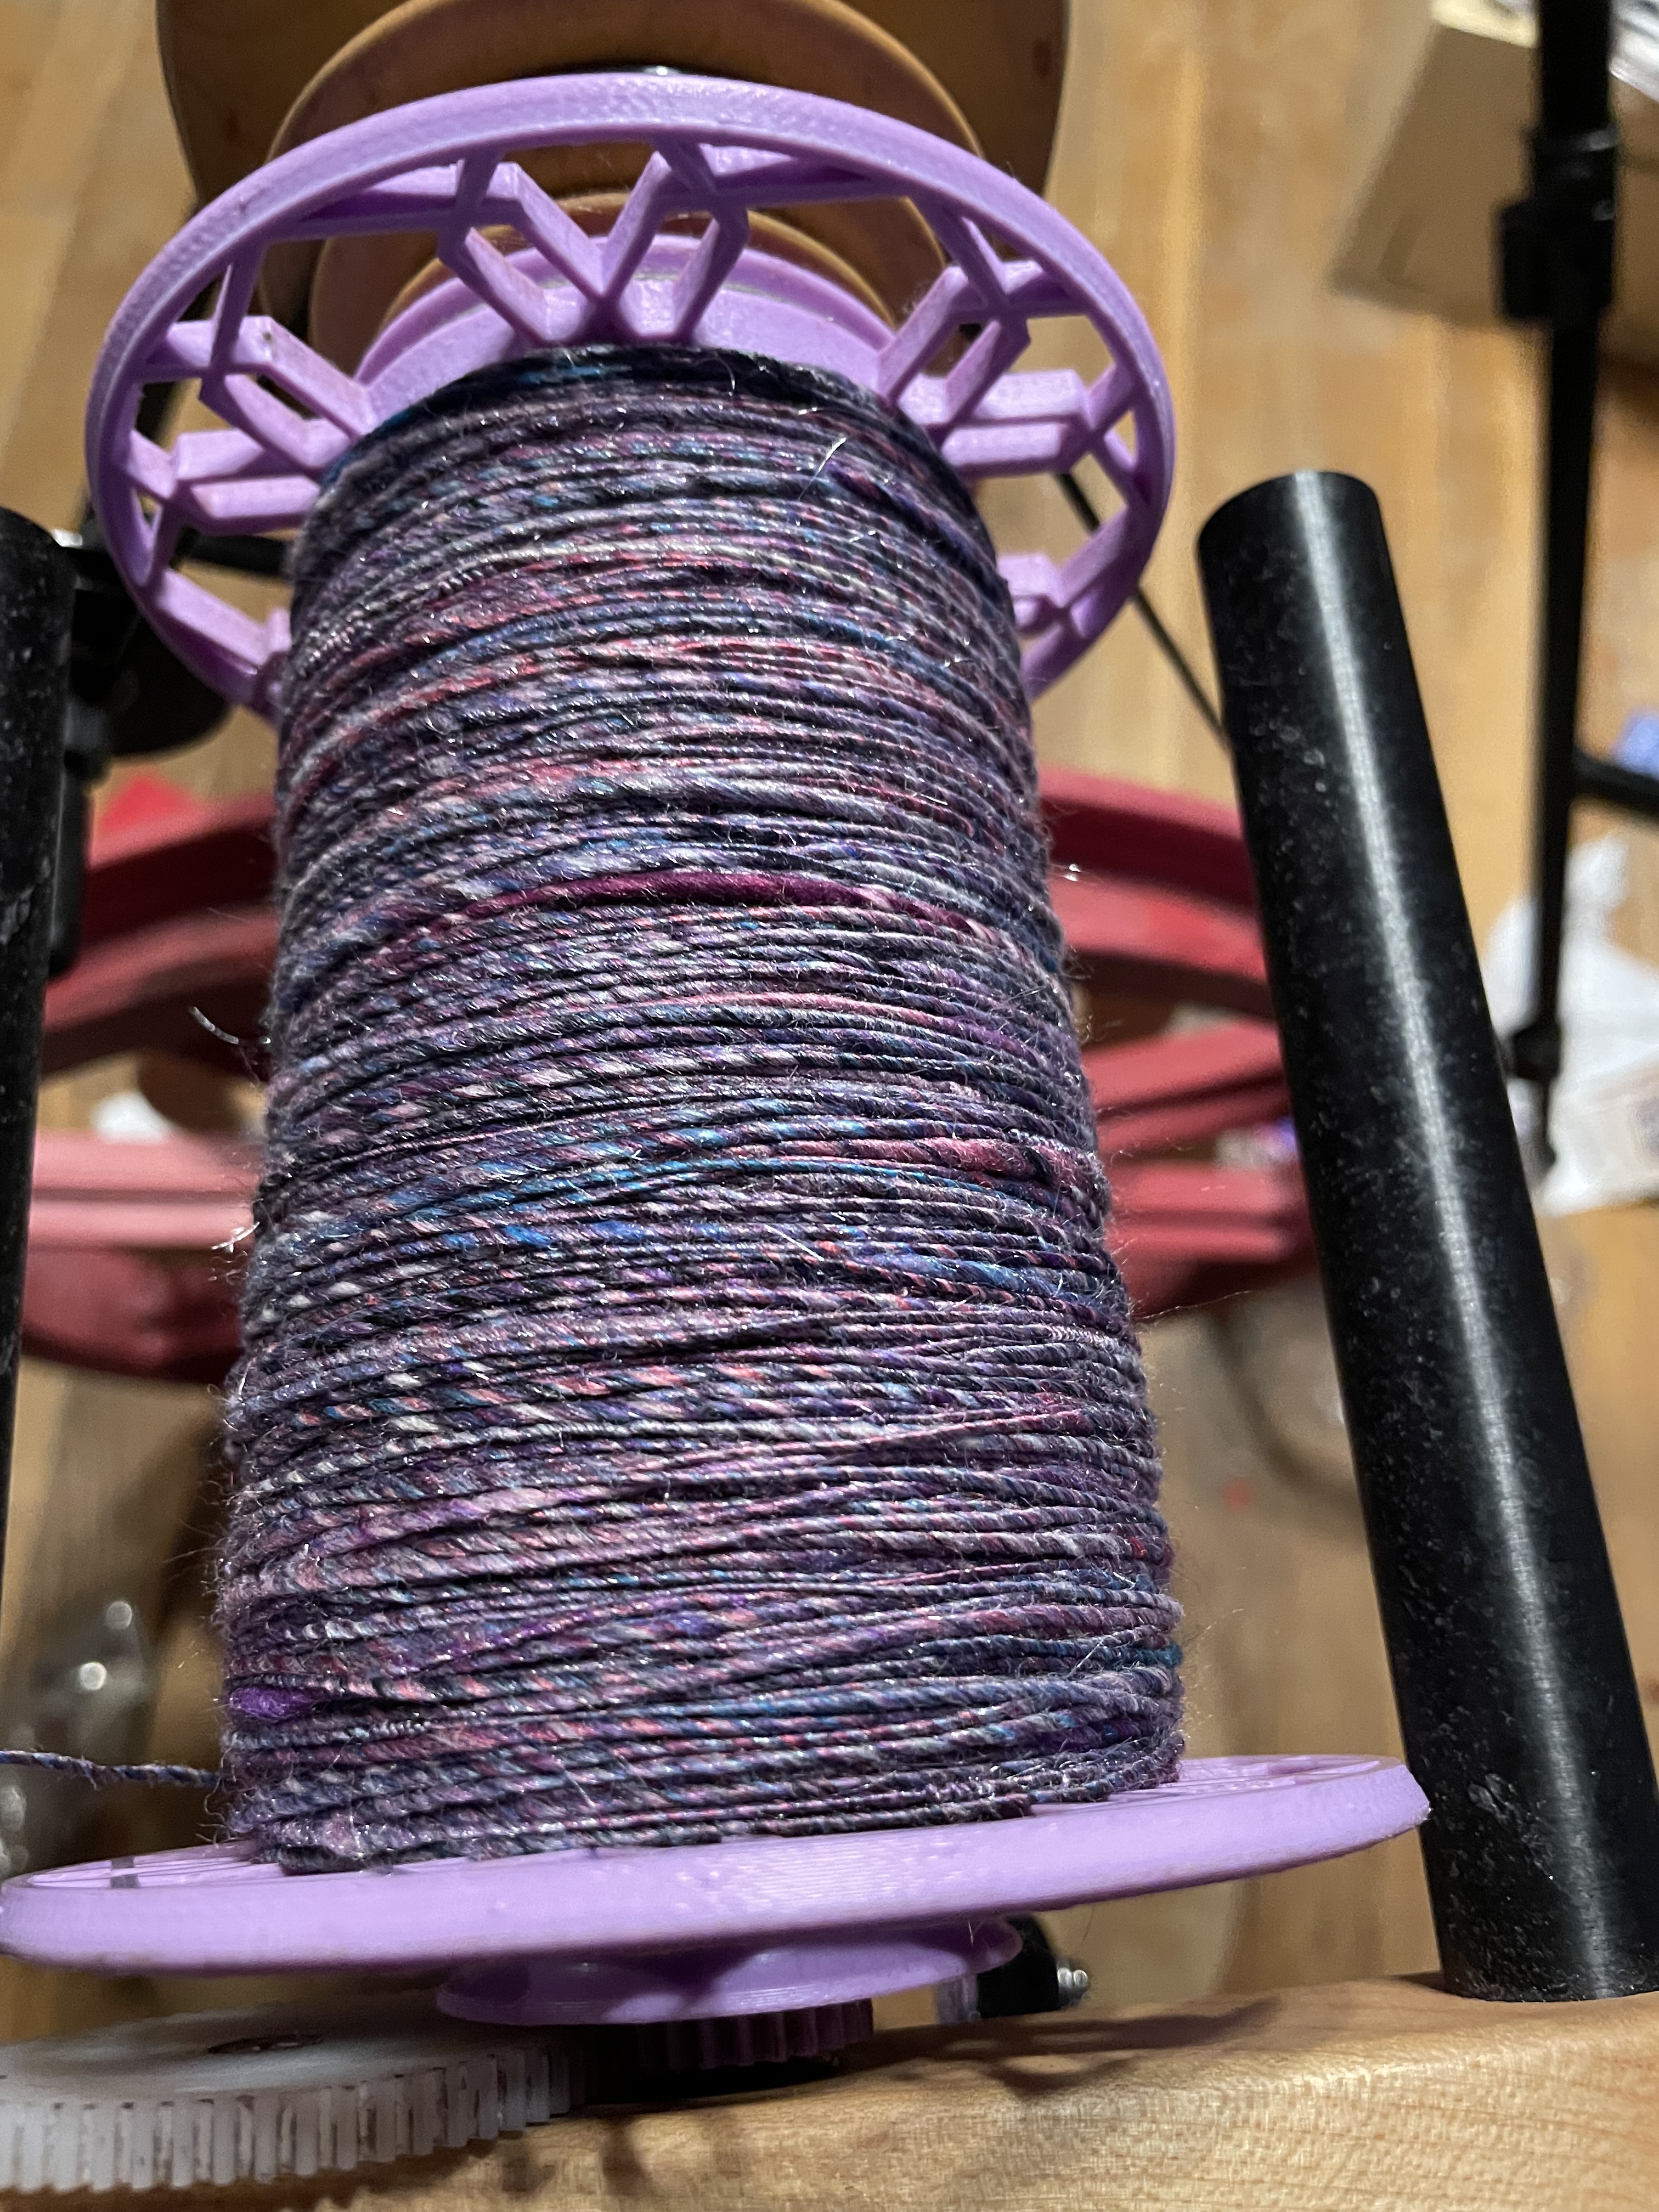
In getting my home back in order I have discovered several projects that I have been meaning to work on for quite some time. One of which is my Unicorn in the Library fiber from Hipstrings. I finally managed to finish spinning it up, I did split the last puff into 4 pieces so that I could spin some other fibers in between that I will use as ply experiments. I also rediscovered my love for spinning silk, this caused me to spin up some lengths that I will allow my library craft patrons to use in their slow stitching project. That reminds me I need to make up a sample for that sometime this week.

I have been exploring some crochet techniques, mosaic crochet was not as much of a success as I would like, I found a Tunisian Crochet pattern video that I am working through and transcribing into a written pattern, and I will be seeking out resources for two sided mosaic crochet to eliminate the weird stair-stepping I am getting on the inside of my mosaic crochet.
Now we are getting to the part where I can never be content, I have to try everything. I don’t know if I mentioned that I bought a Rock Tumbler? If not, well yes, I bought a rock tumbler, some sample rocks, ceramic media, and enough grit to last me a while. I have been watching YouTube Videos by Michigan Rocks for some time, and my Aunt mentioned not getting around to using her rock tumbler, plus a way to force myself to go outside to find rocks all combined to have me starting this new hobby. I have had a ton of fun so far, I have owned it for a month, and I managed to get my ceramic media tumbled through the first 3 stages ( I didn’t bother to polish it), as well as some of the bag of tiny chips that I only half regret purchasing. They aren’t going to turn into anything great, but I’ll run them through the cleaning and two polishing stages to see if I can get them to have a shine. I did put about three pounds of the bigger rocks into each of my two tumblers to get them started on the stage 1, I’ll pull them off on Saturday to see what they look like. I’ll put out a post of how to get started Rock Tumbling, as well as linking to some great resources later.
Of course I cannot start just one hobby at a time, you think I have any self control? I haven’t started this one but it is going to go hand-in-hand with the rock tumbling, I plan on wrapping the rocks in wire when they are tumbled. To be able to sell these for something like a decent price I plan on purchasing some Sterling Silver wire. I’m not selling necklaces, just the wrapped stones for now. This brings me to my last two projects that I’m working on, skipping over the fishing poles I purchased today because I found out that there are ‘no license fishing days’ in New York State. I will need to find pictures of the types of fish it is legal for me to keep, and I have to remember to invite my friend out since I bought her a (cheap like mine) fishing pole.
Okay, so I did manage to have a sale on my Etsy site (thank you to whomever bought the Dino Plushie) and that caused me to realize that I hate having to pay Etsy out of what I had calculated as earnings. I know that people look for inexpensive items, deals, and sales. This means that I’m going to be paying about .20 per item, every quarter (I think that is how often), create listings, and pay for shipping, to make very little if any money. I do plan on creating some spreadsheet and other printable items to put up on Etsy once I have them perfected, to create something like a passive income stream. I have some great ideas I just need to slow down and find enough time to start working on them, I think I might start staying a couple extra hours on the days I’m supposed to leave early, or go to Panera Bread for a couple of hours before I’m supposed to be at work to get these things done.
Due to the slow nature of my Etsy Sales I have decided instead of dripping my products onto Etsy as I get them done, and sort of rushing to get them done, I will take a little more time and sign up for a couple of craft shows this Fall. There is one in September and another in October I would like to sign up for. There are registration fees, I’ll need another table, and I need to take photos of my setup, but all of that should be doable by September. I’m really sort of excited about this, though I am not sure what type of craft I should bring. There is an apple festival that mentions having old-fashioned crafts, so I’m thinking about seeing if spinning and weaving would work for them.
I think that this is long enough of a rambling post to be getting on with for now. Until next time remember to Live Life A Little More Abstract!