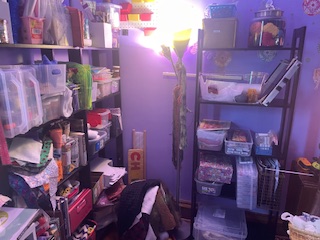
I was lucky enough to attend H&H Americas as a volunteer demonstrator for the HGA booth. I am not sponsored or affiliated with any of the organizations that I will mention. I also was very careful to not draw the attention of the vendors away from their intended customers, as this is their livelihood. That being said, I was lucky enough to purchase some items while I was there, I will not be giving you the prices that I paid as I mostly paid wholesale prices.

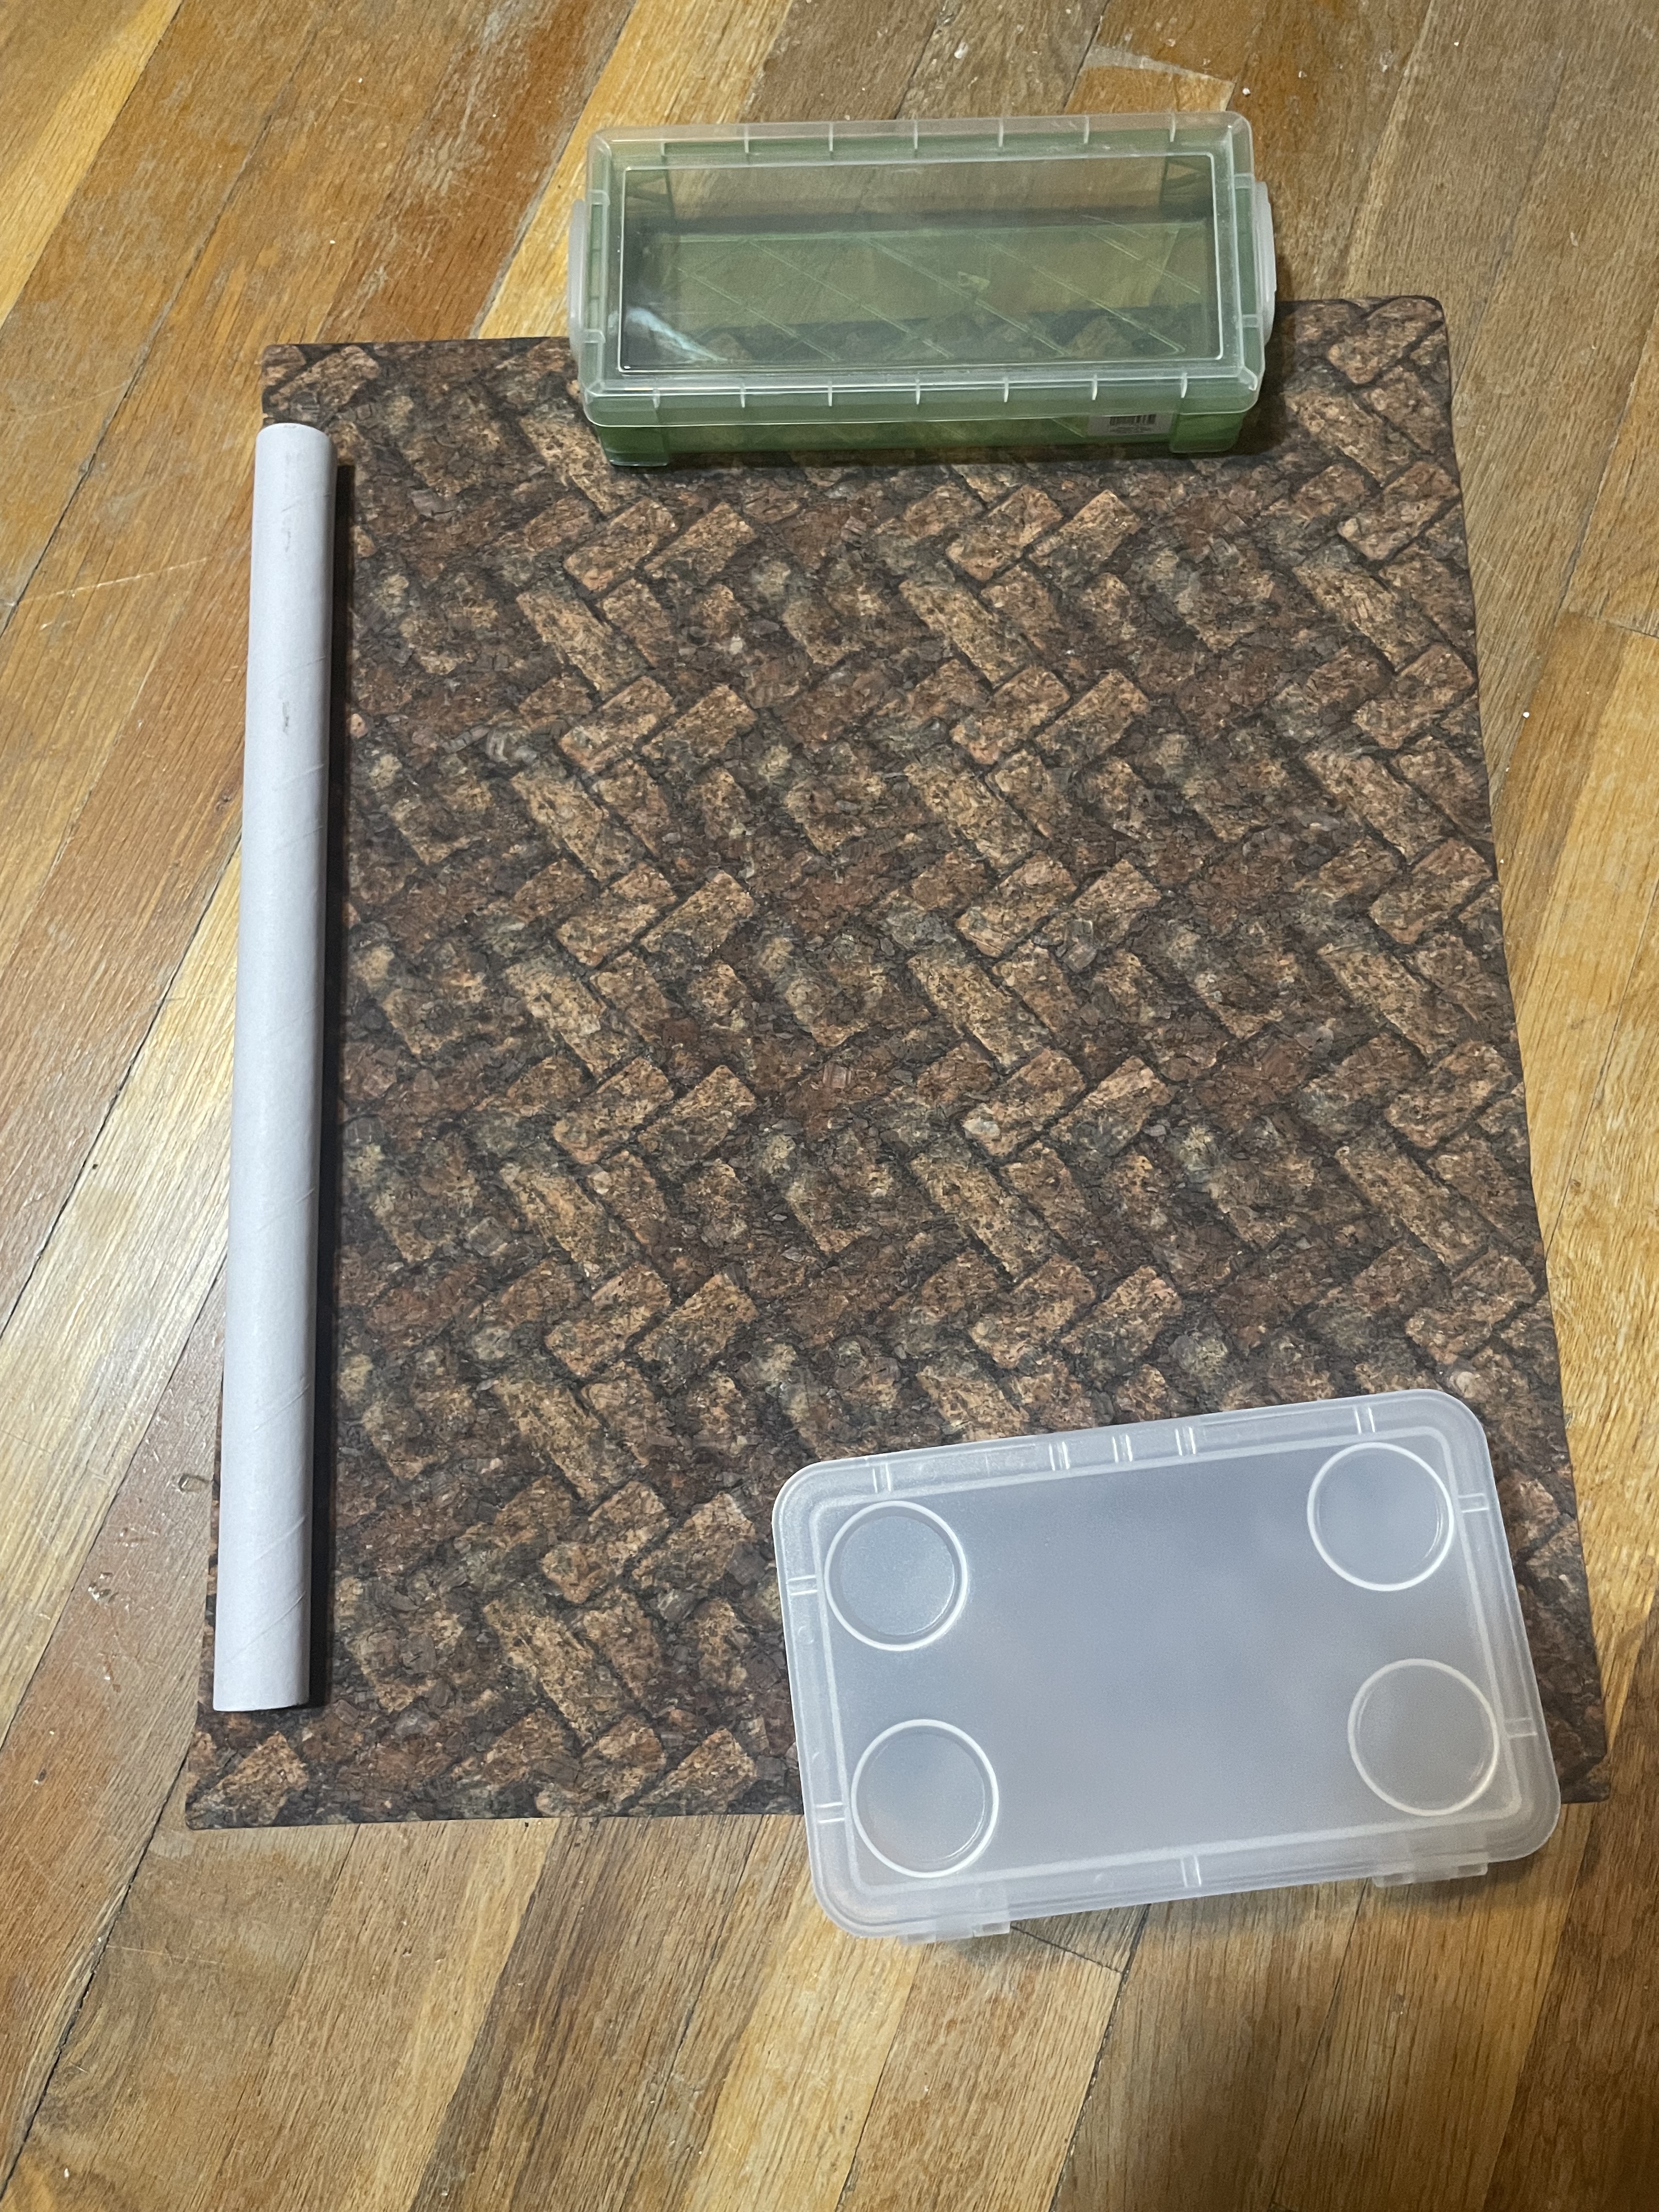

This is Belagio cork fabric, I purchased three lovely, 15”x18” pieces. These are more like fabric than the cork fabric I have used in the past to make purses. The designs are lovely, this can be ironed with a cover and a dry iron on high. This cannot be washed, only wiped clean. I rolled them the opposite way to make it lay a little flatter as they arrived, tightly wrapped around a very firm cardboard, core. I look forward to working and experimenting with these, I believe that if I am going to use them in a purse or a pocketbook/wallet type situation, I would use a fairly firm stabilizer just to give them a little bit more body.
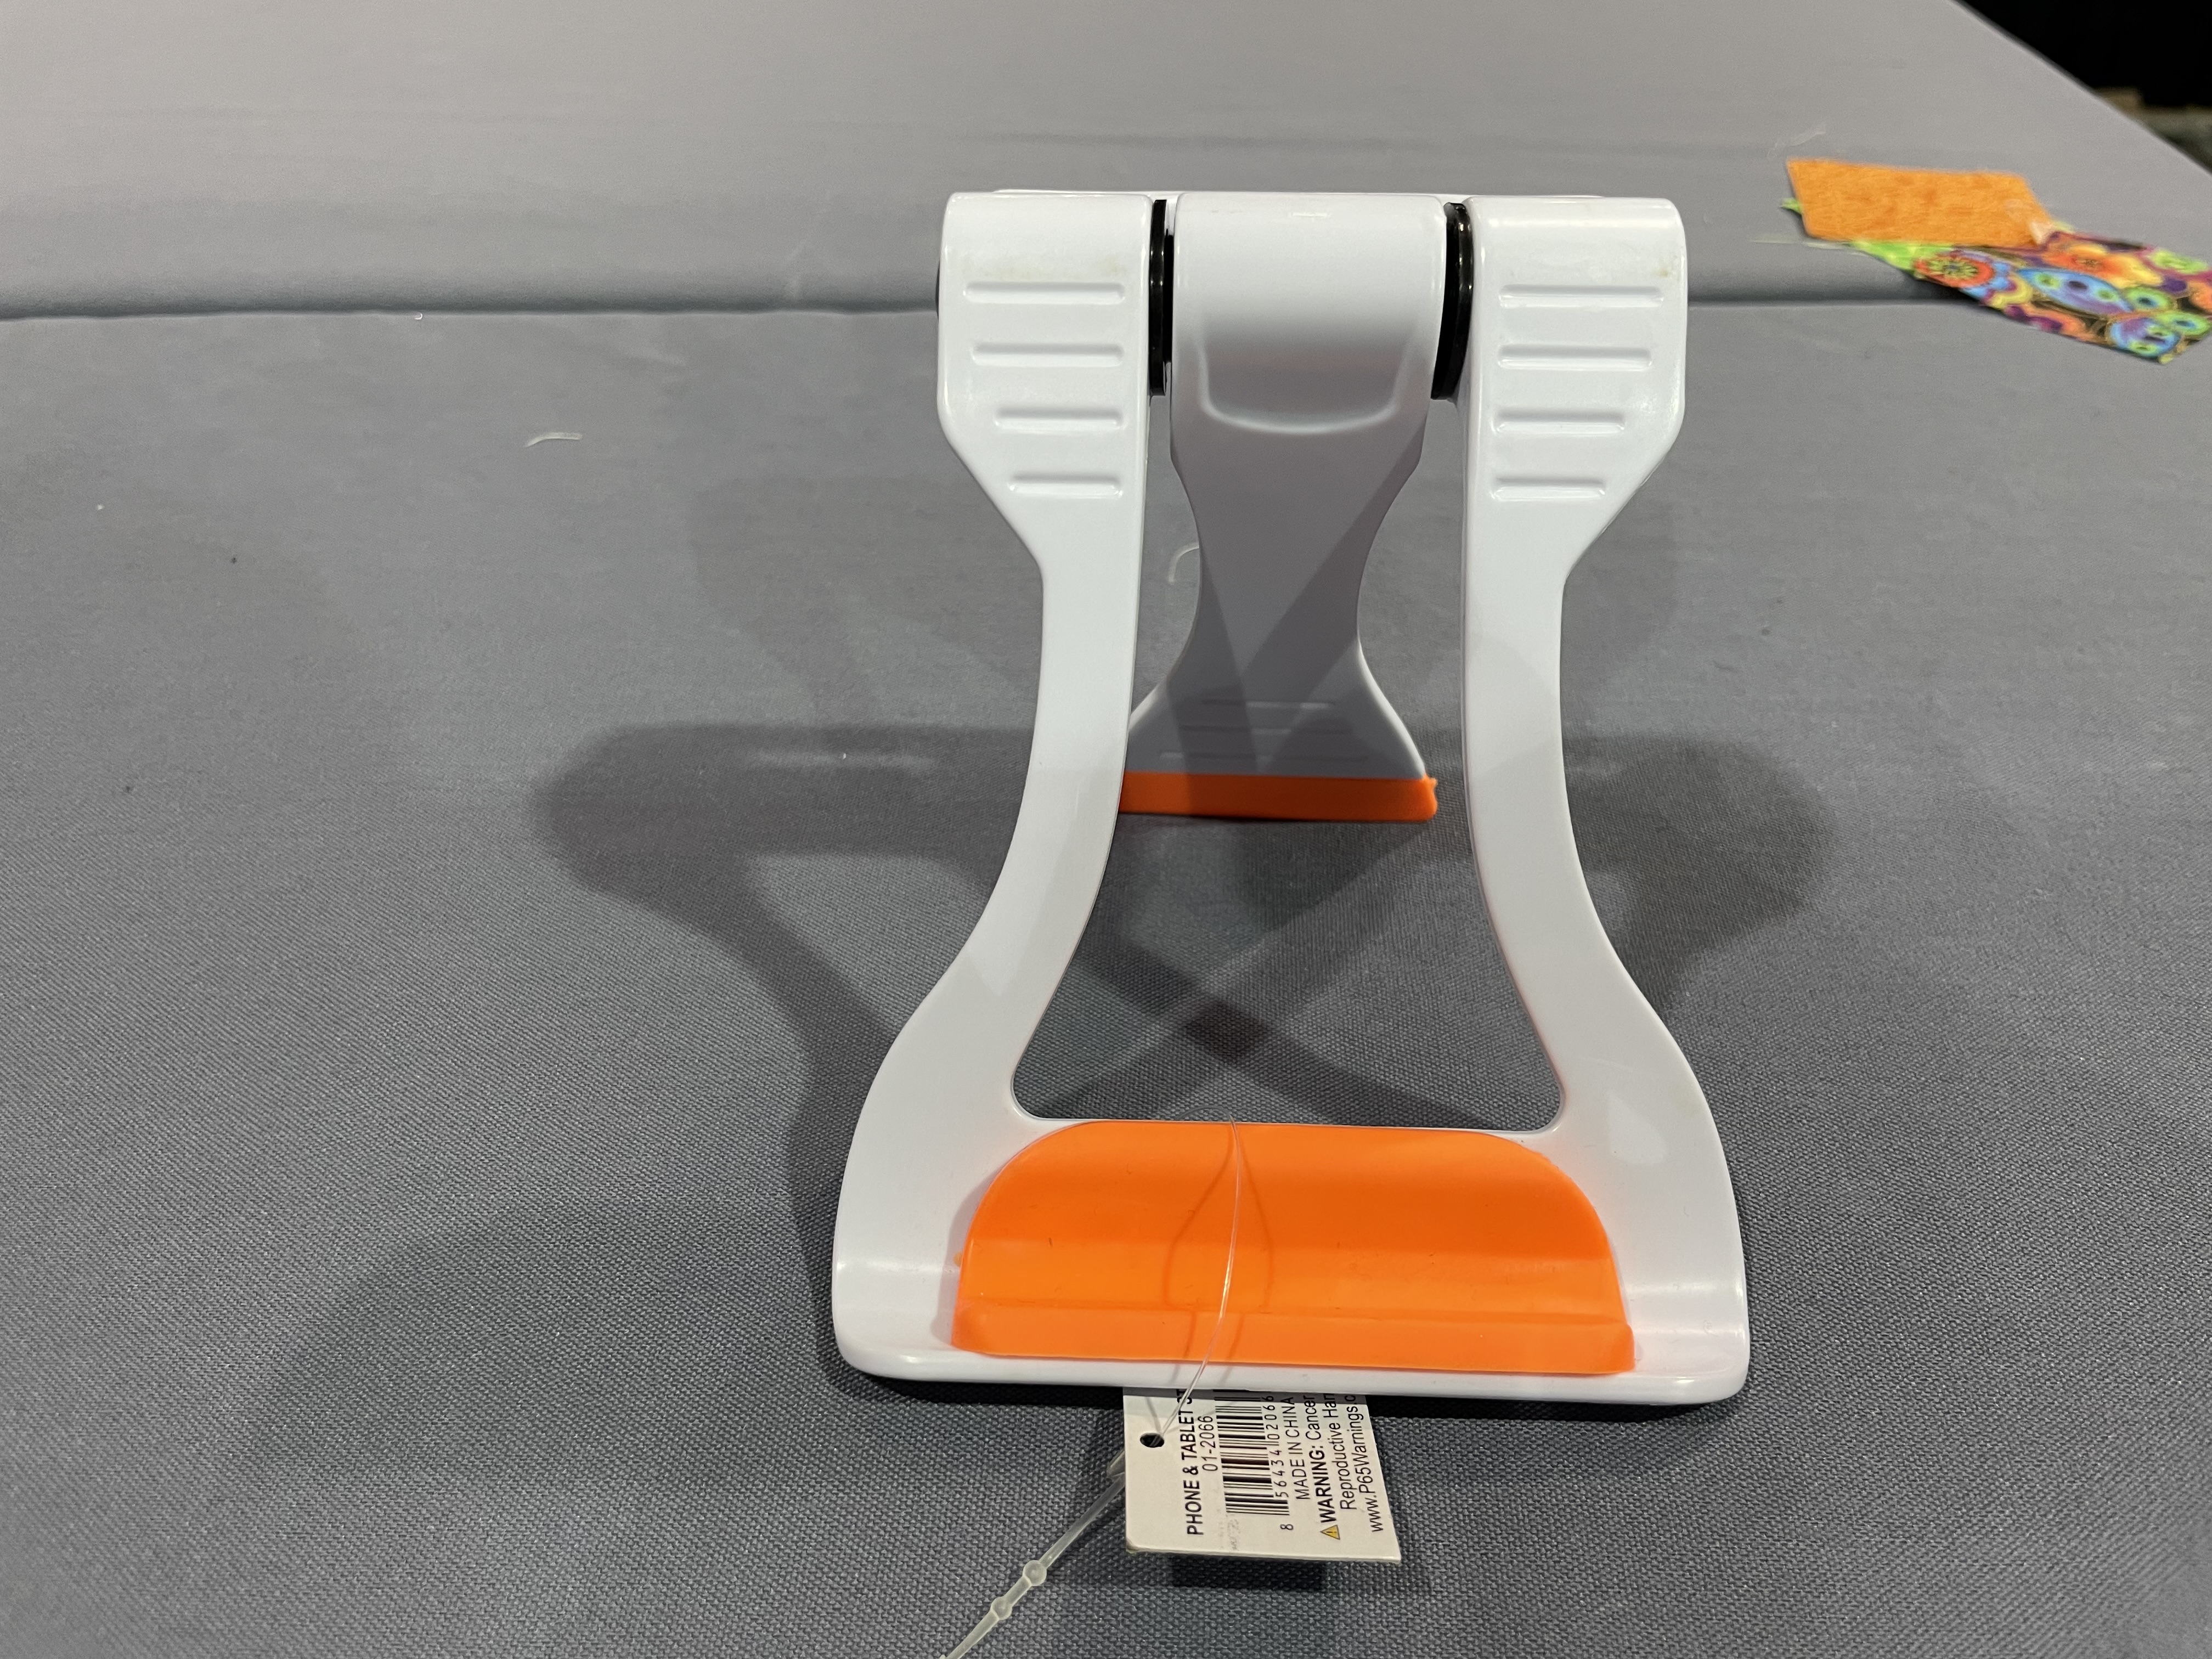
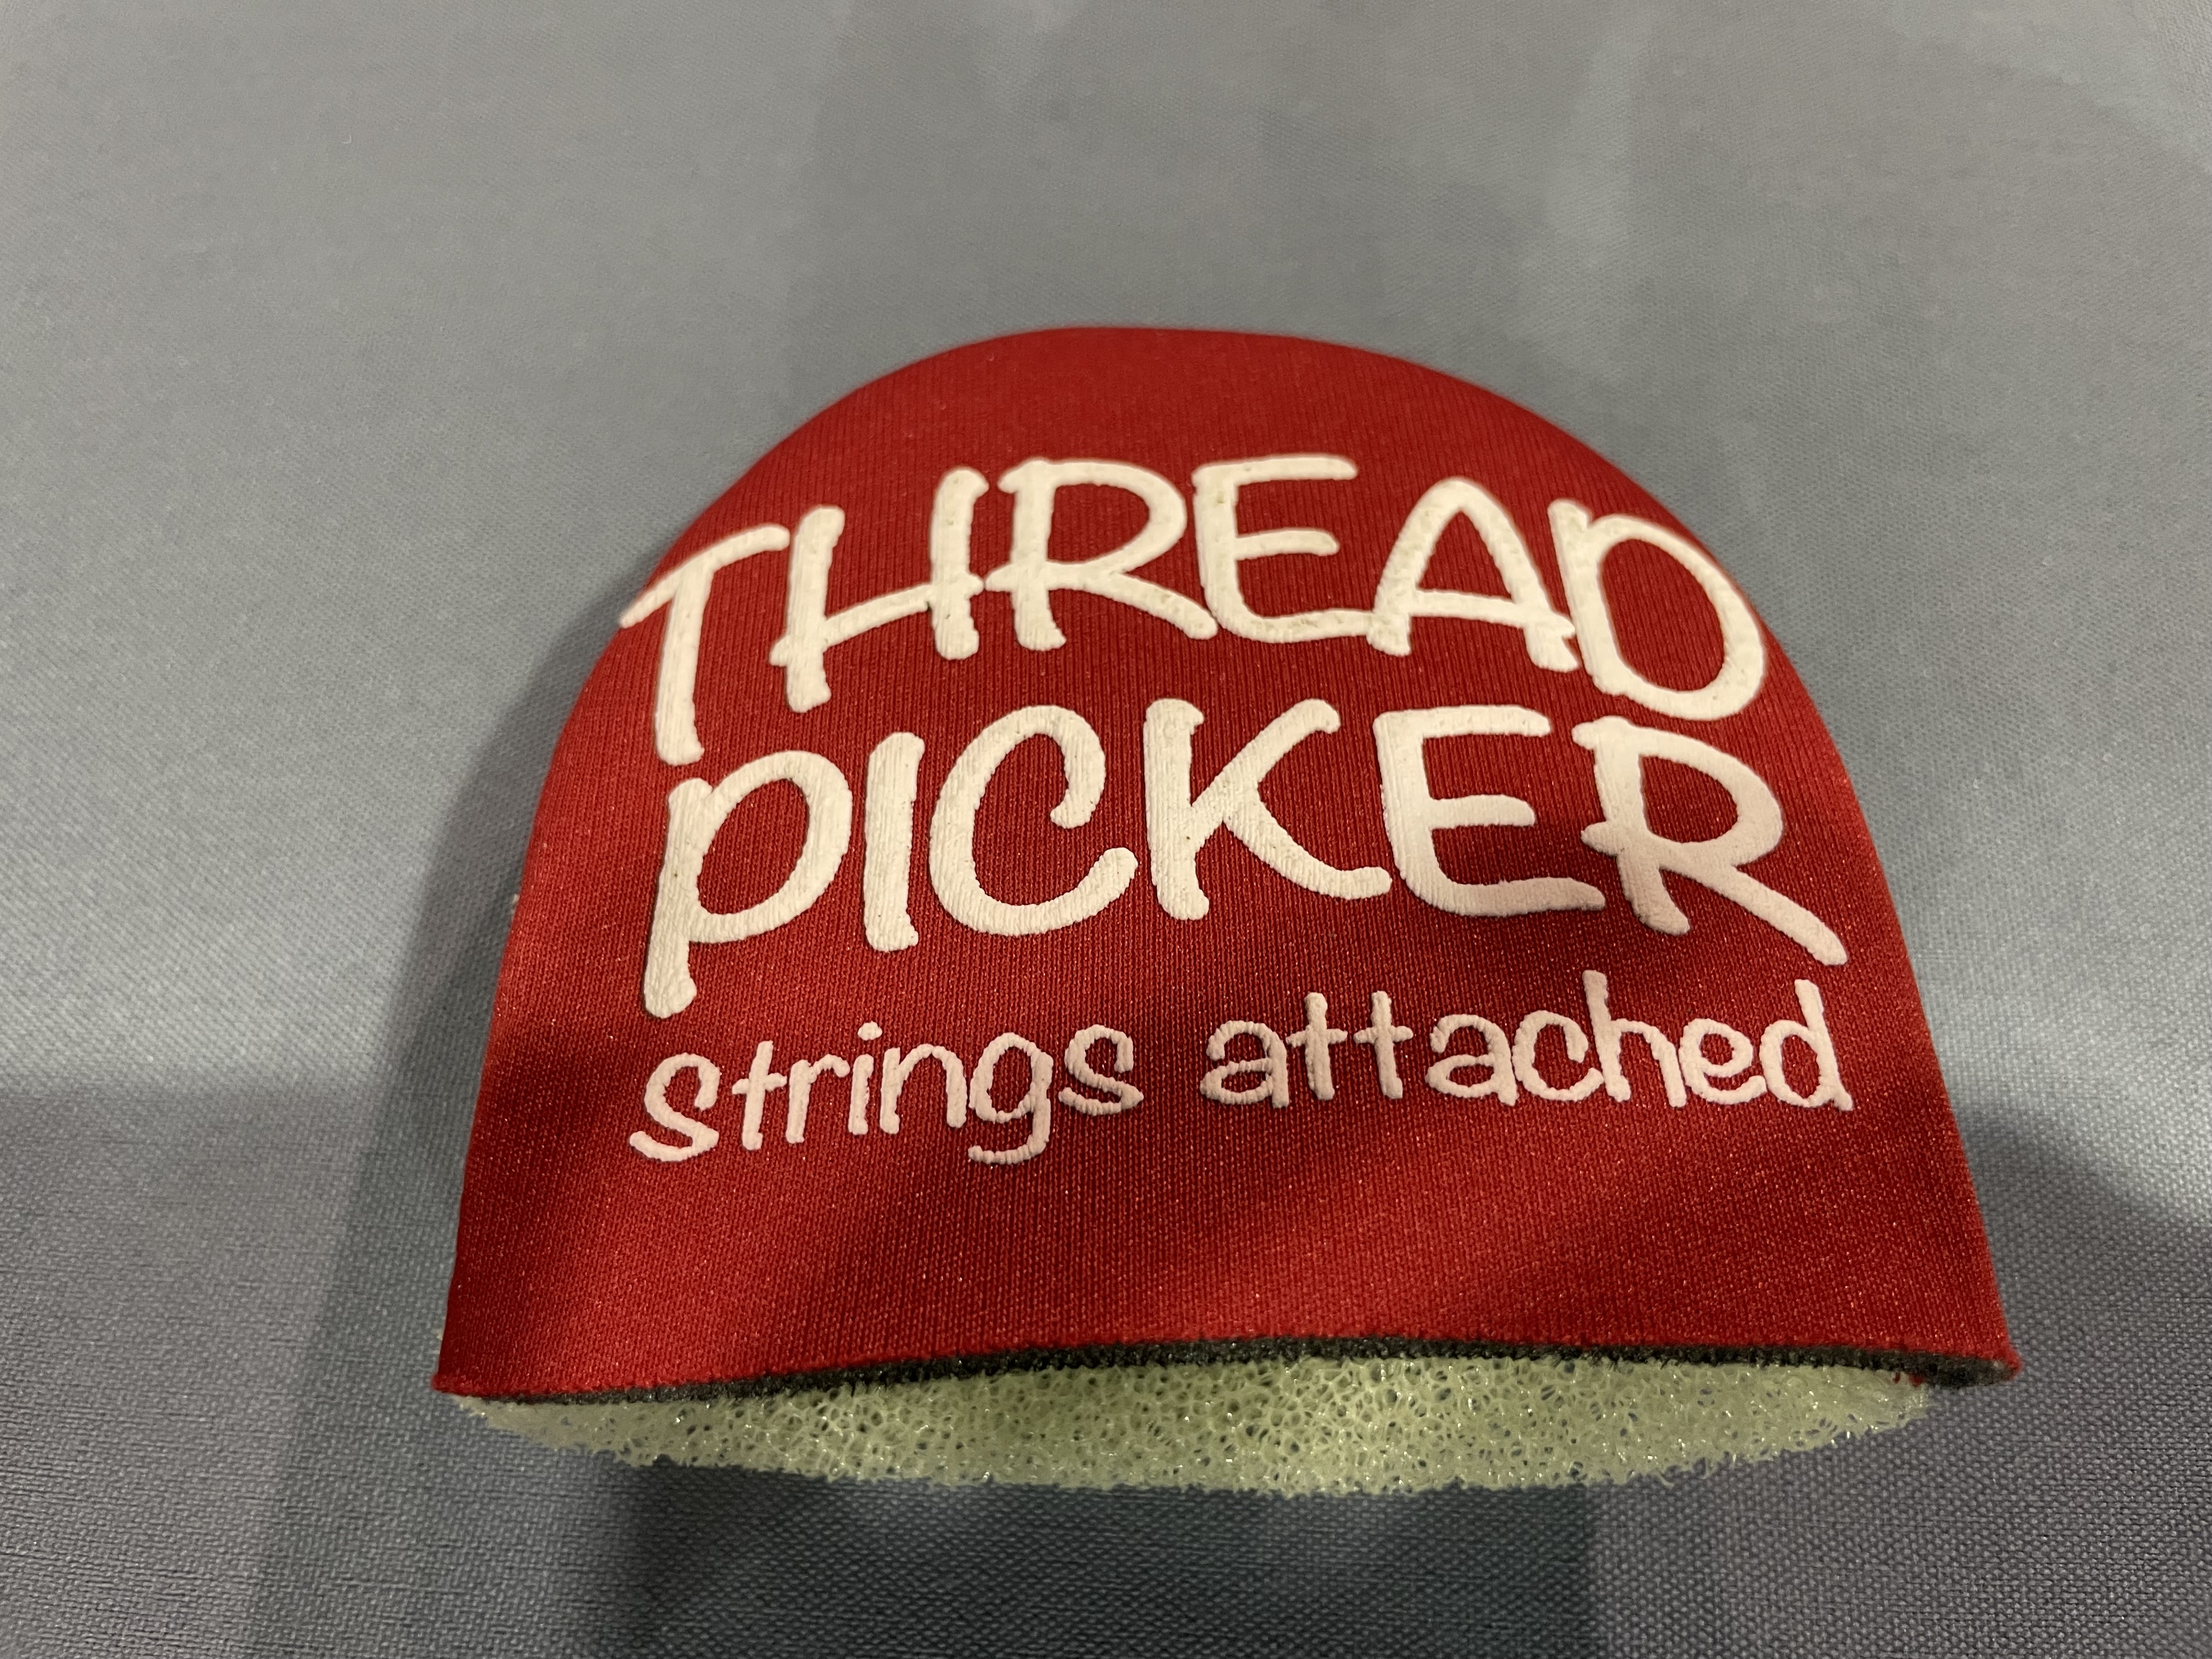
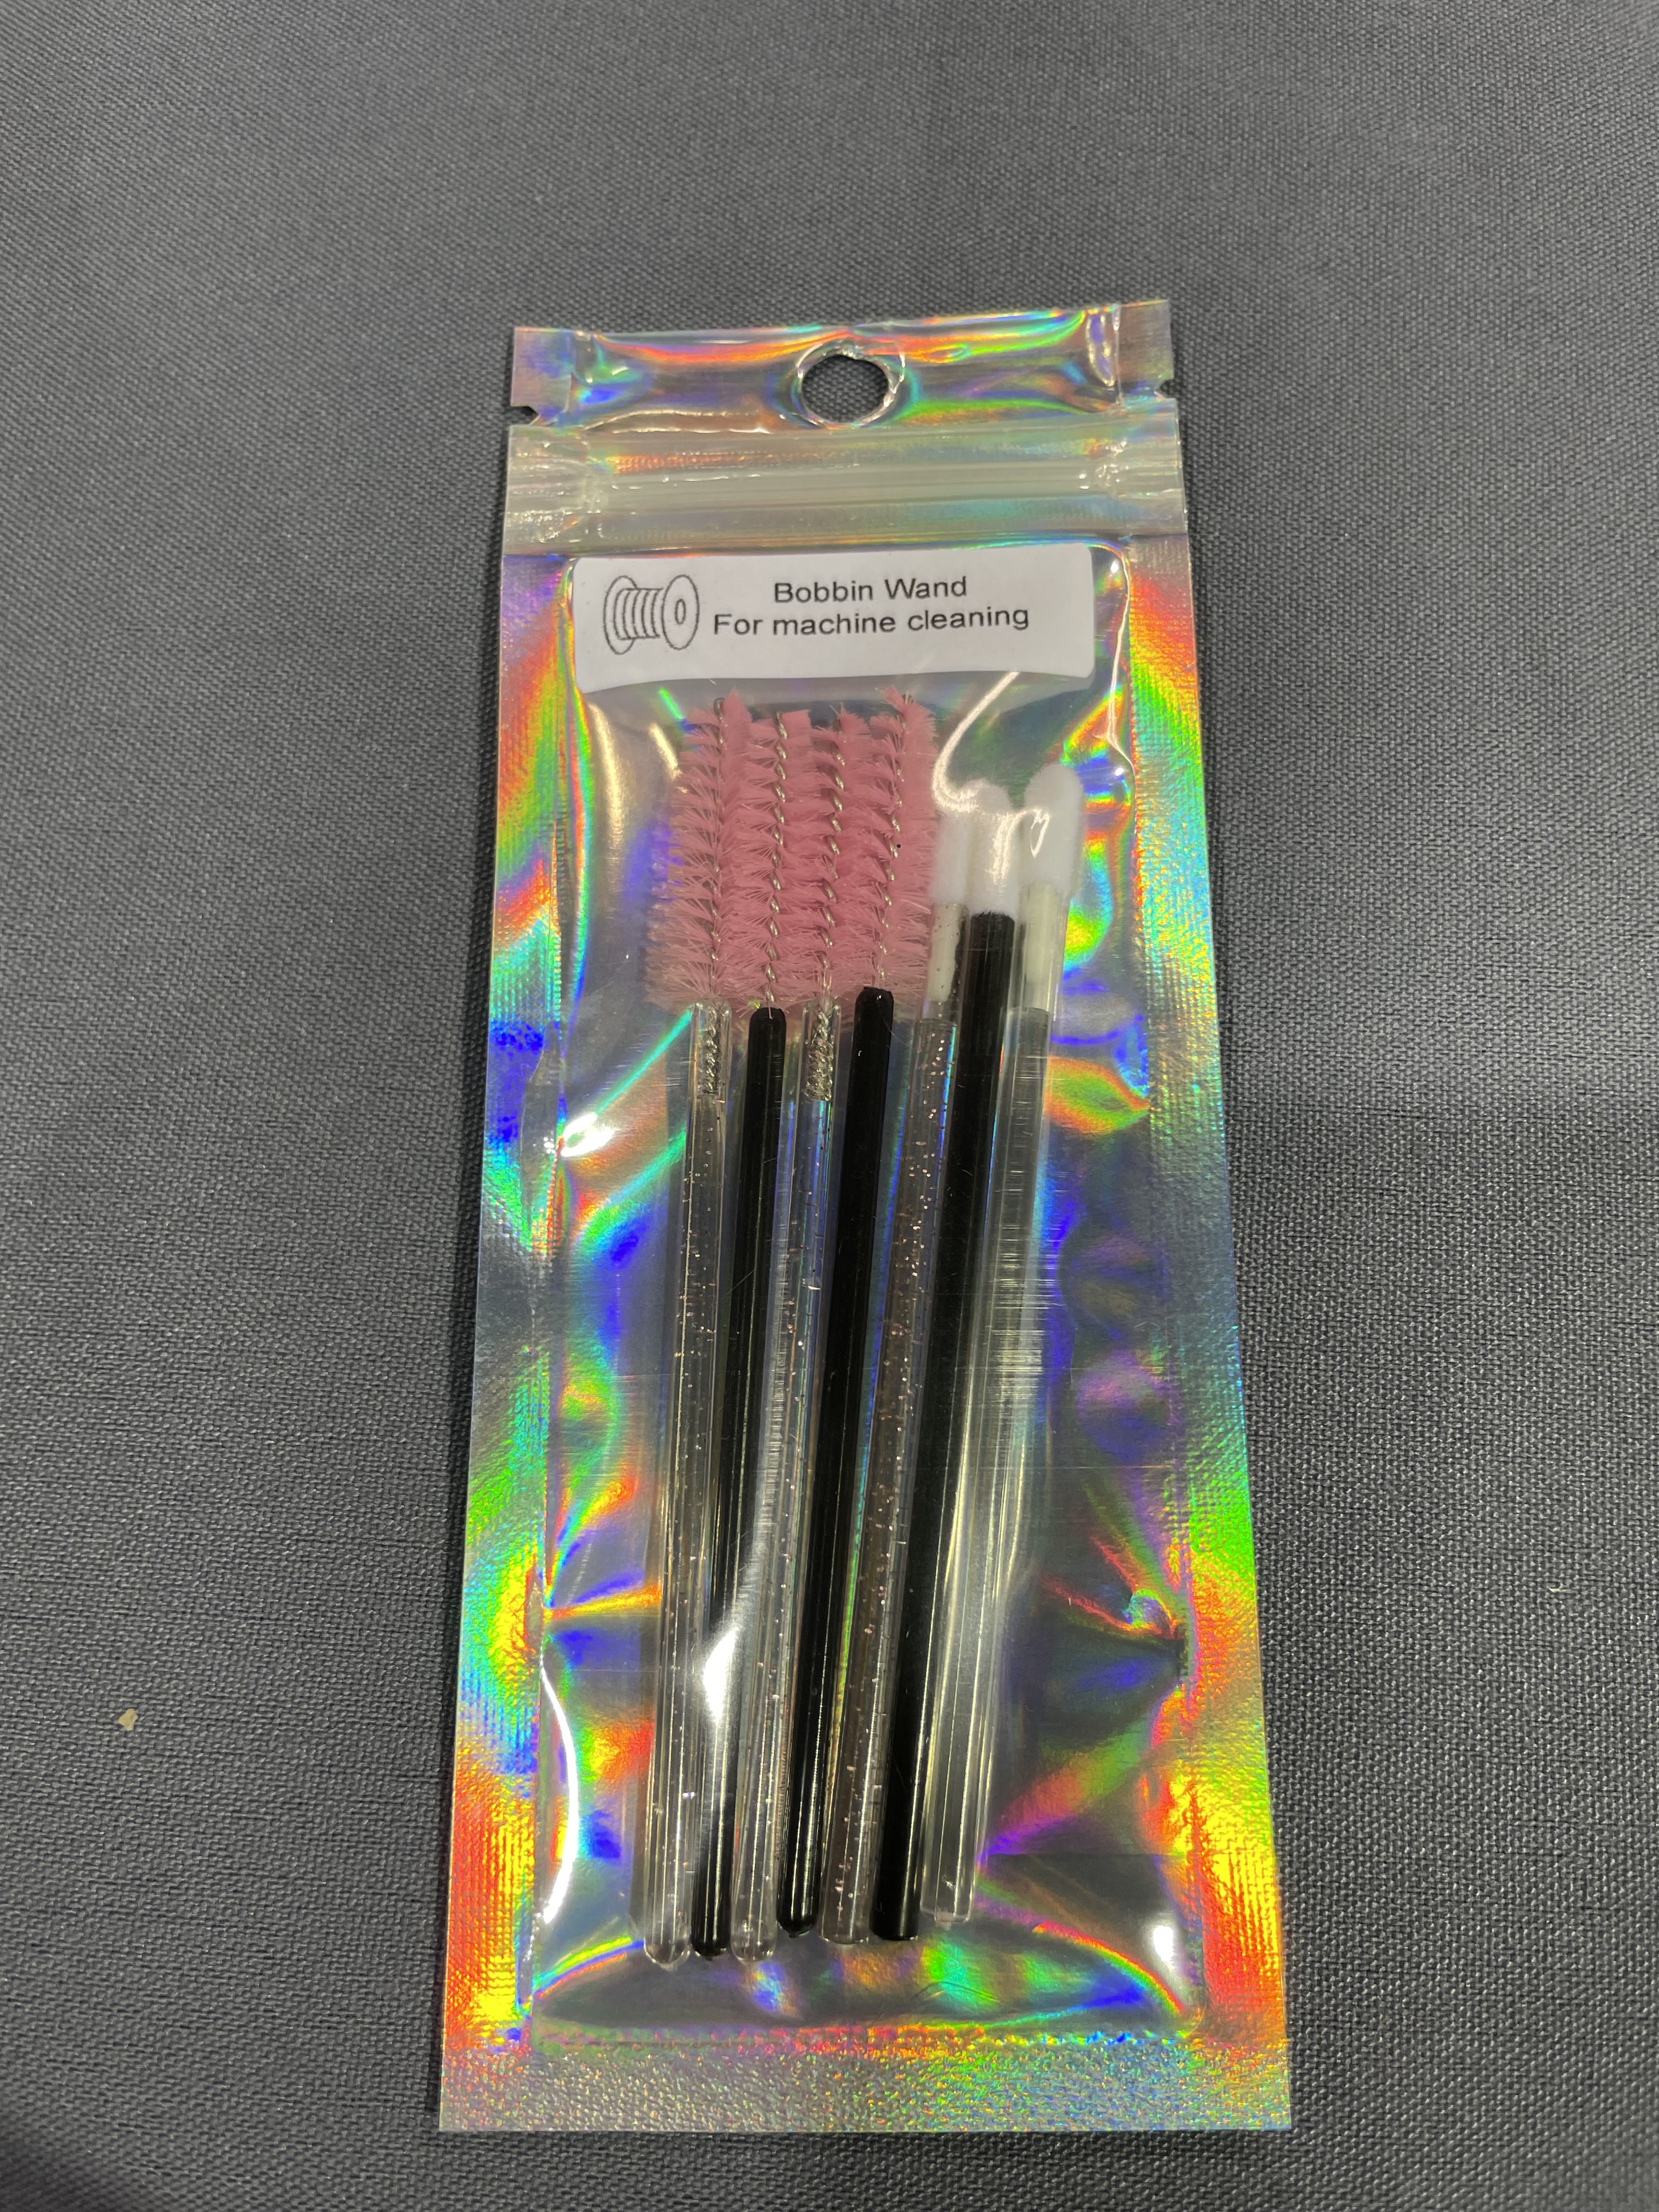
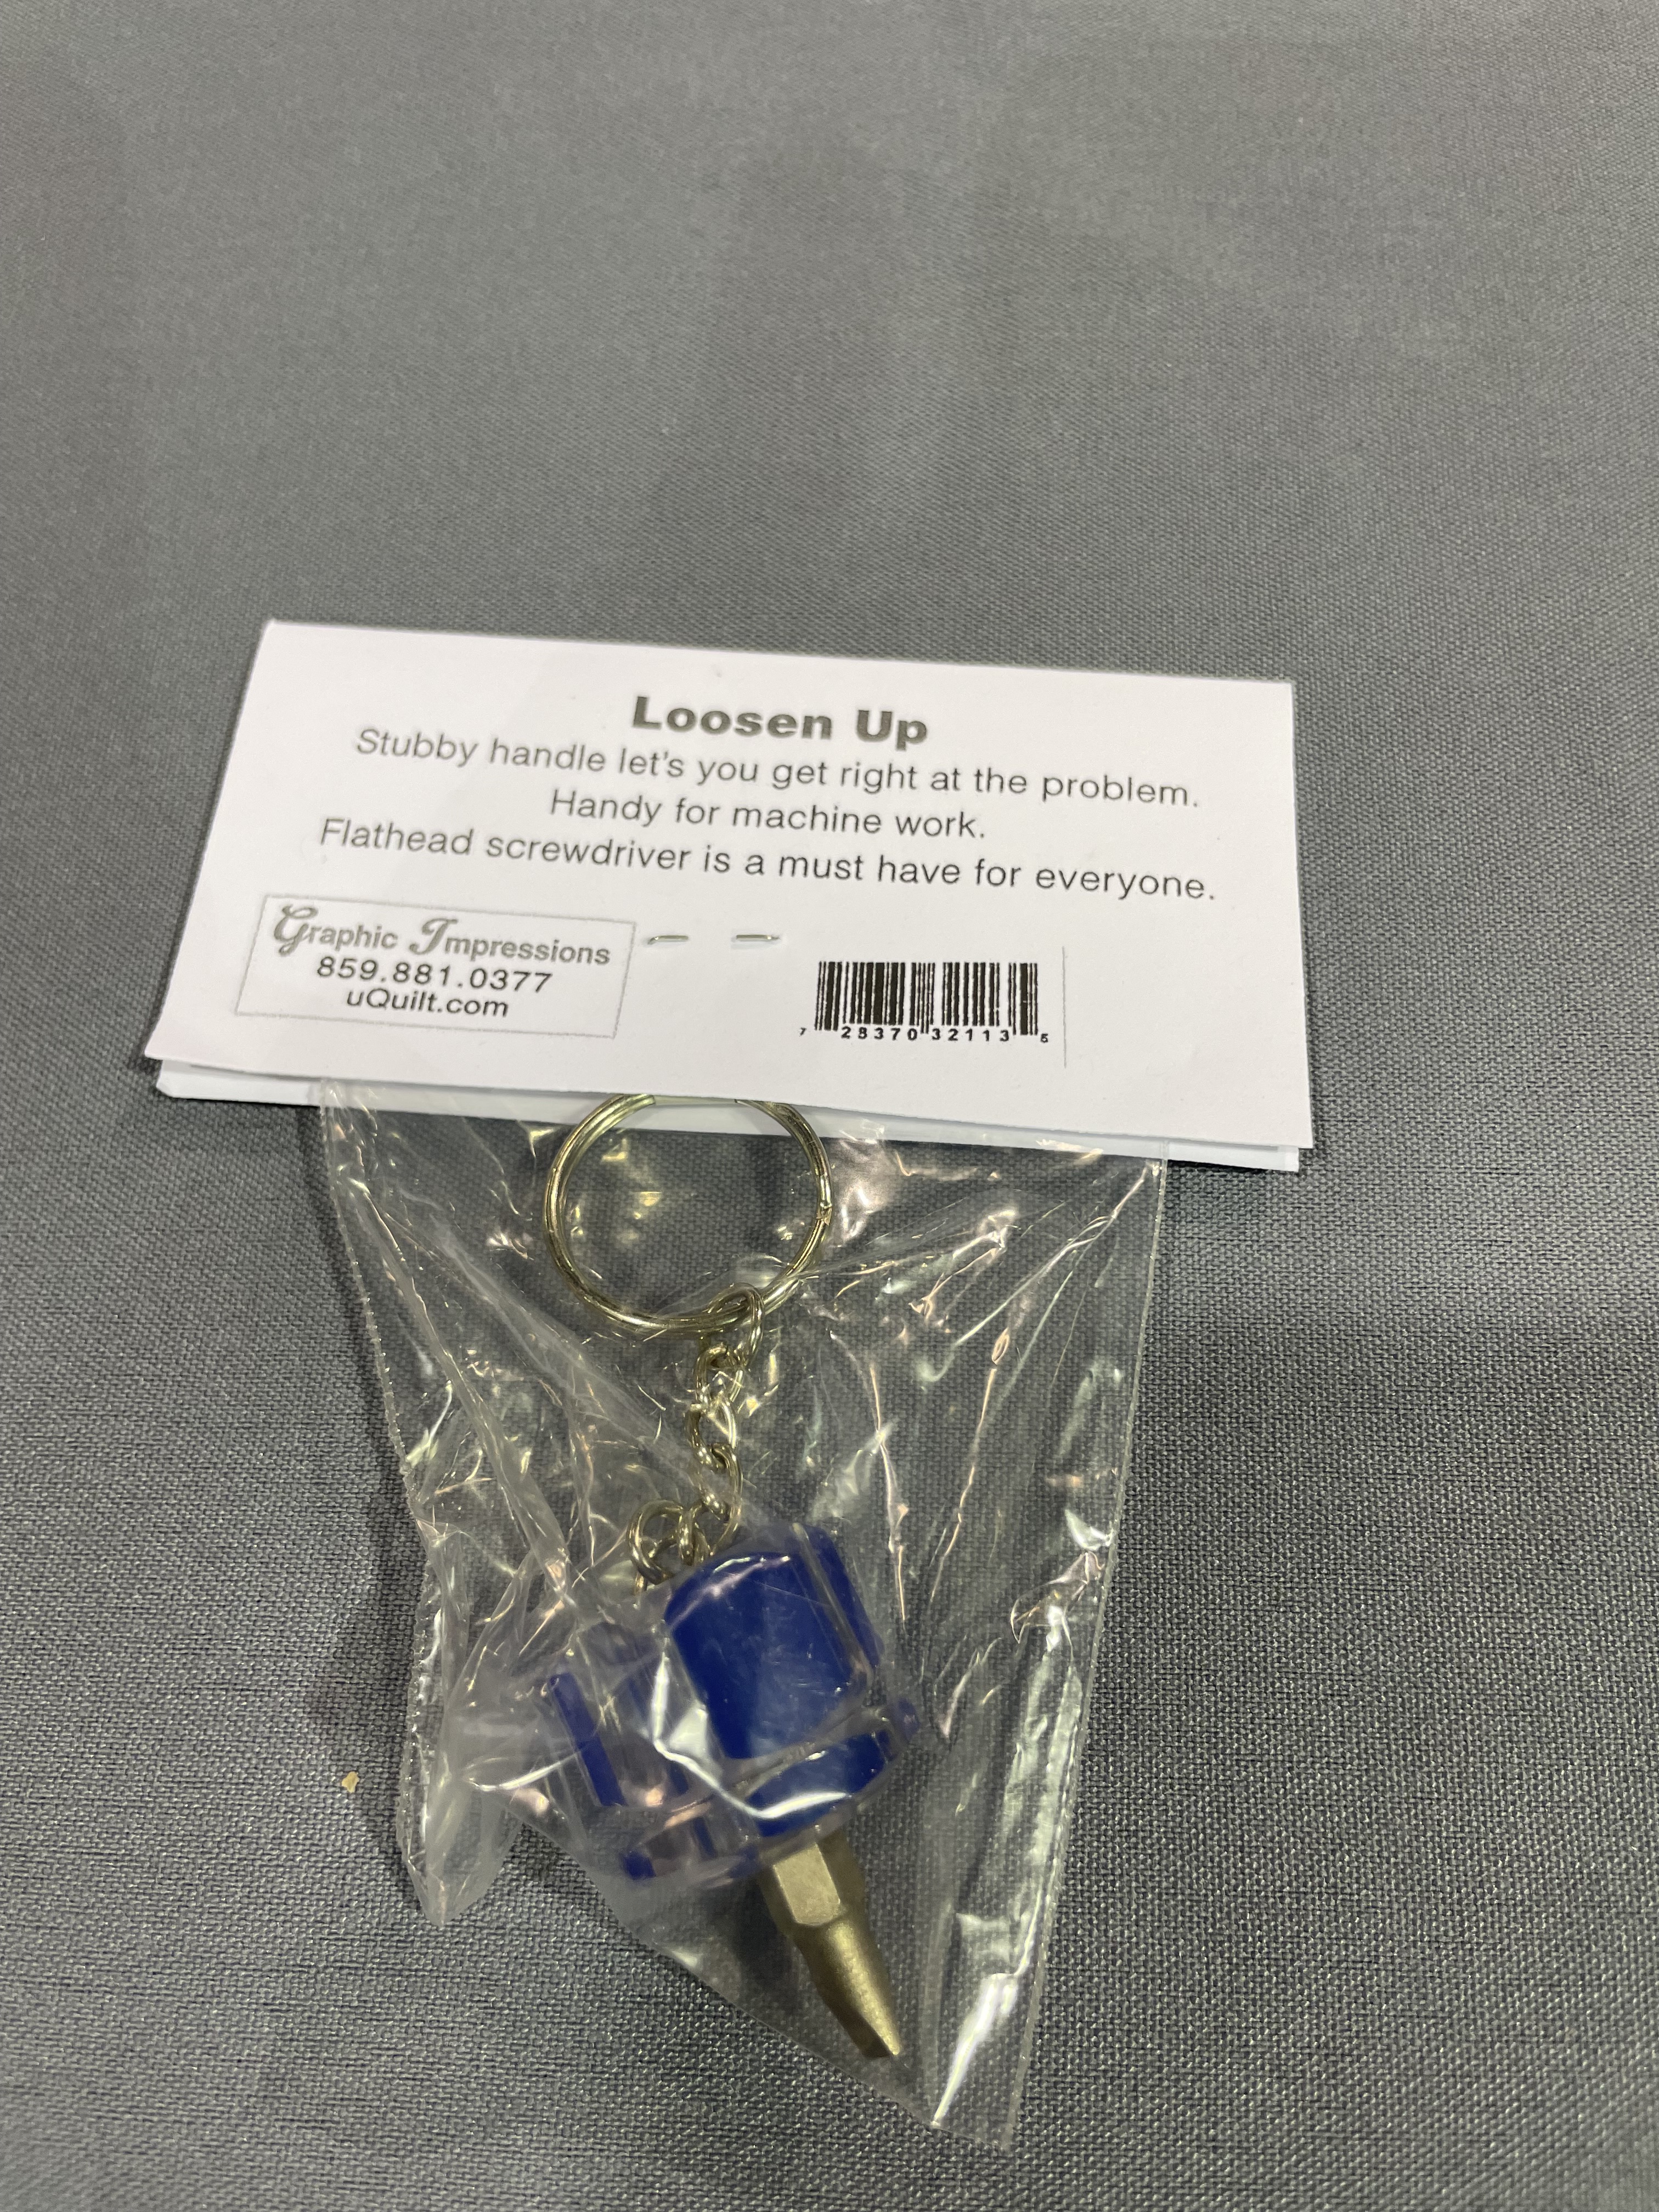

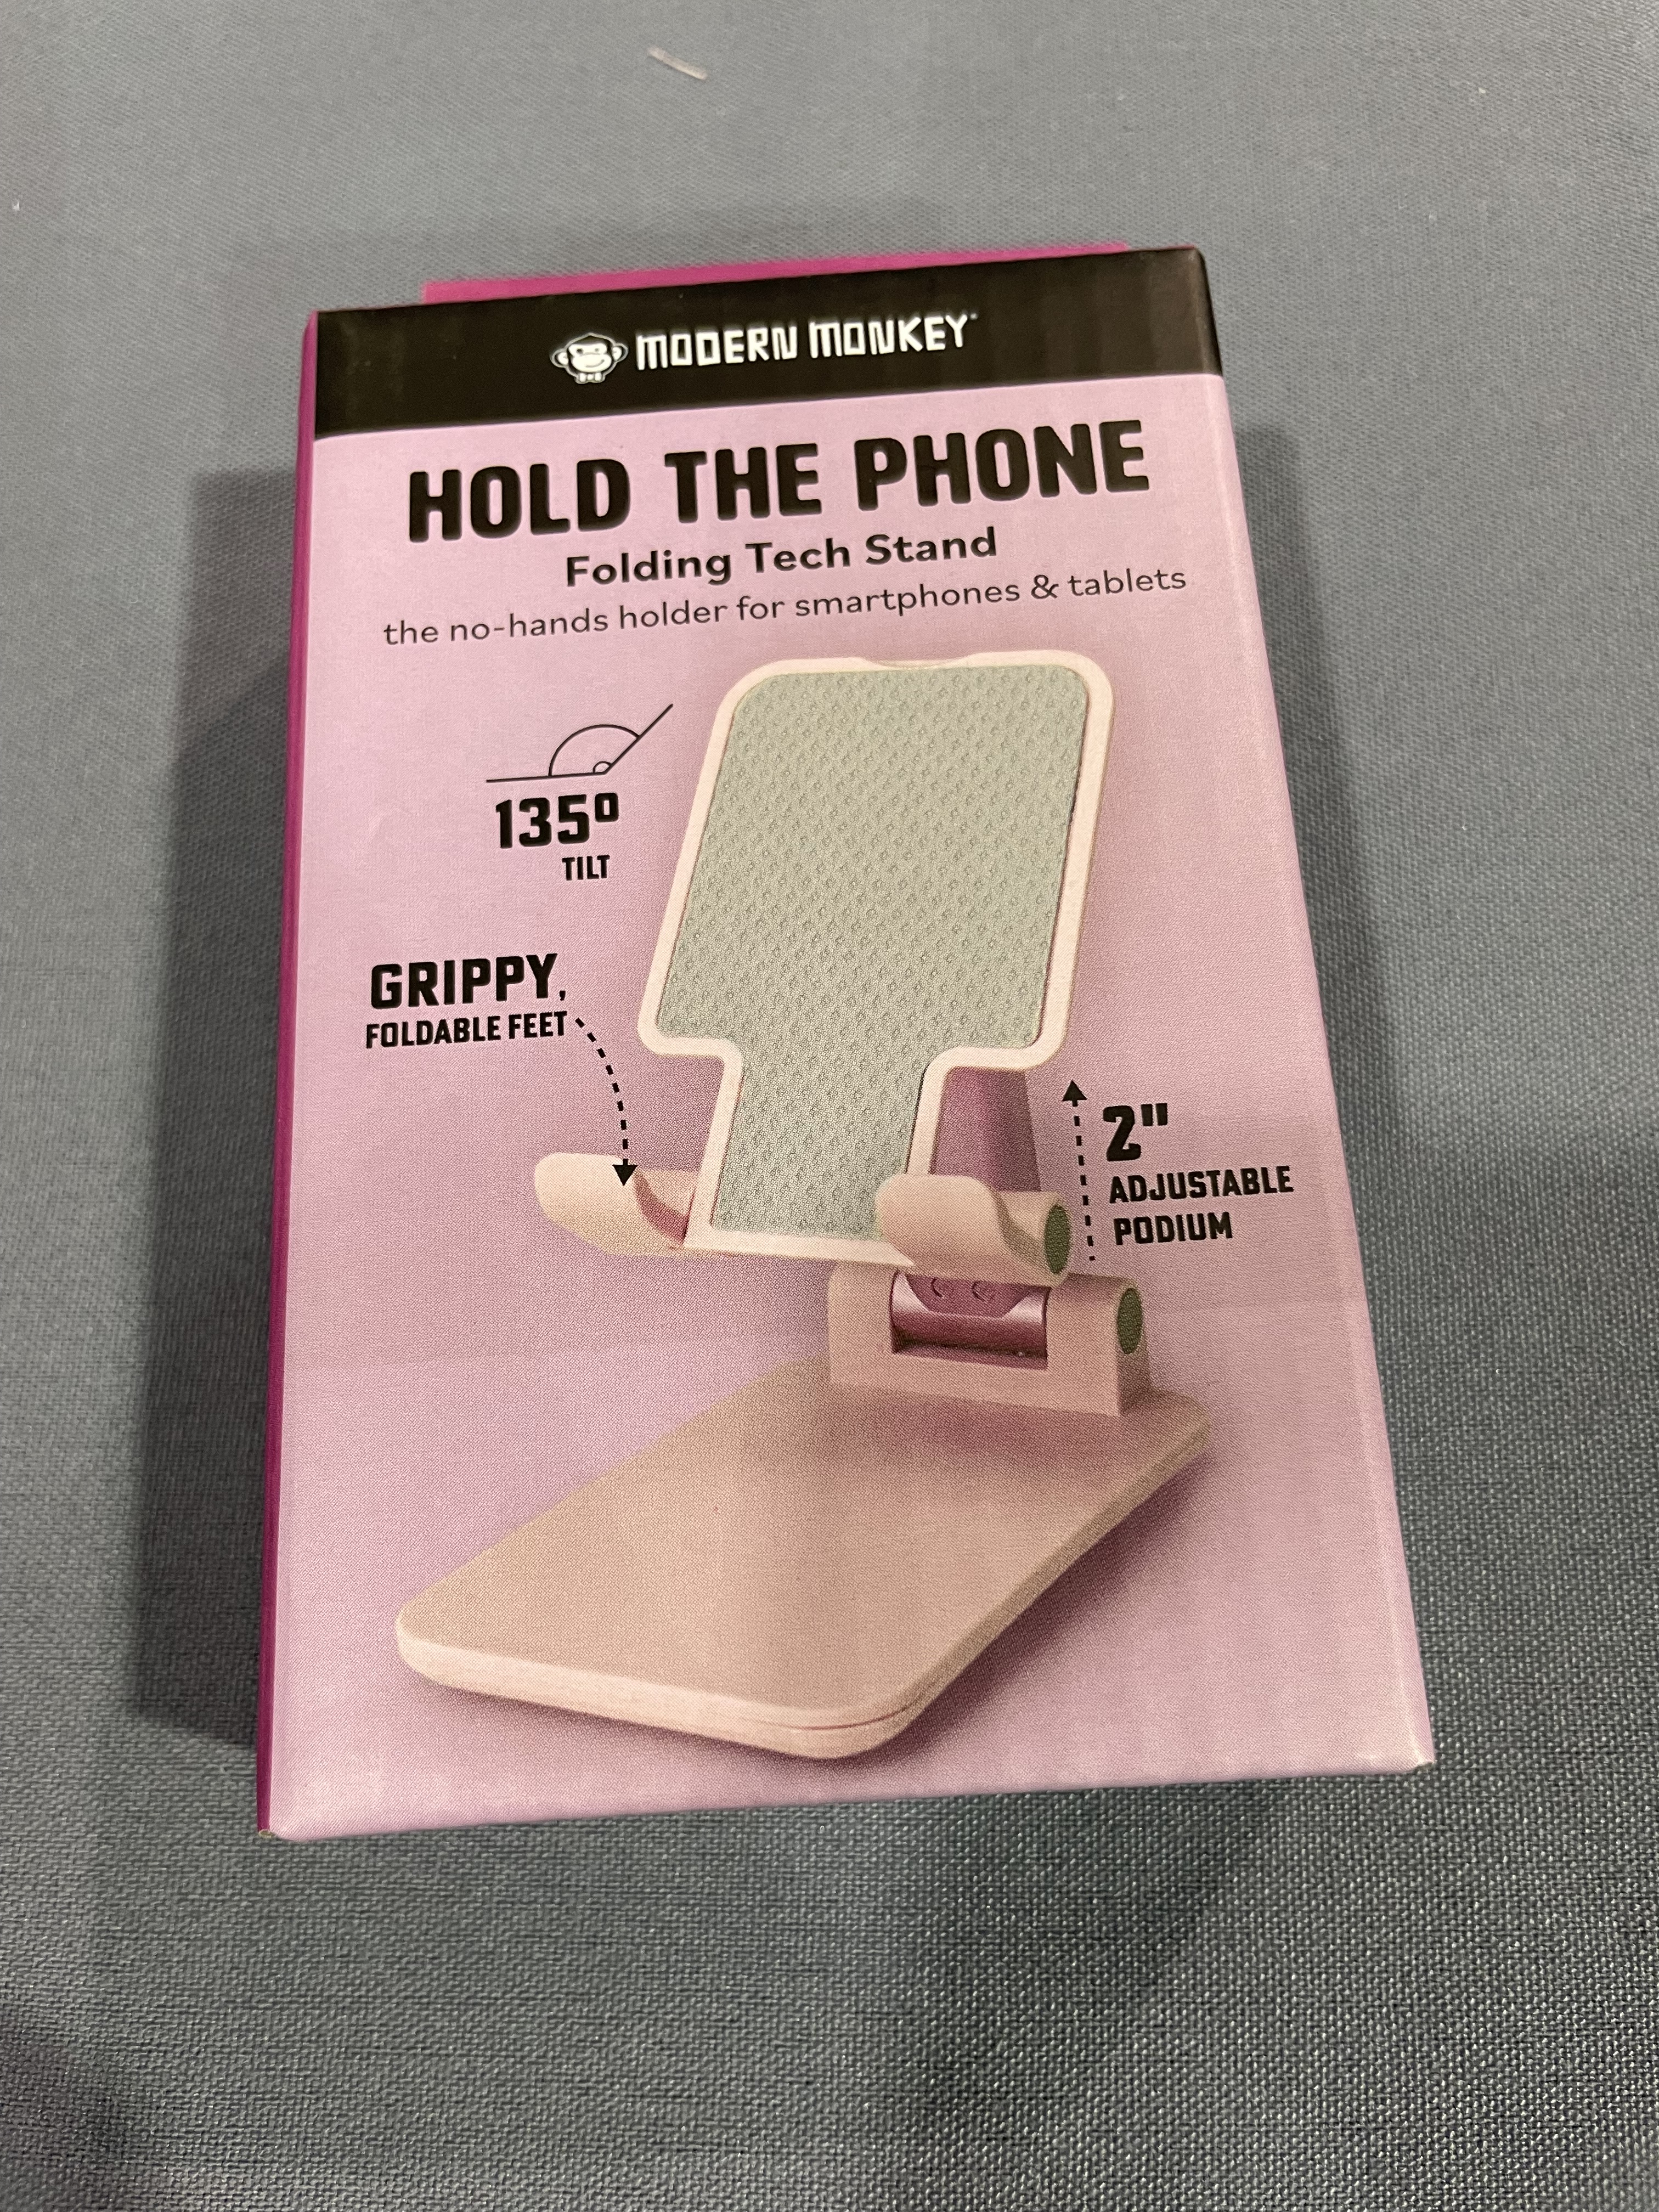
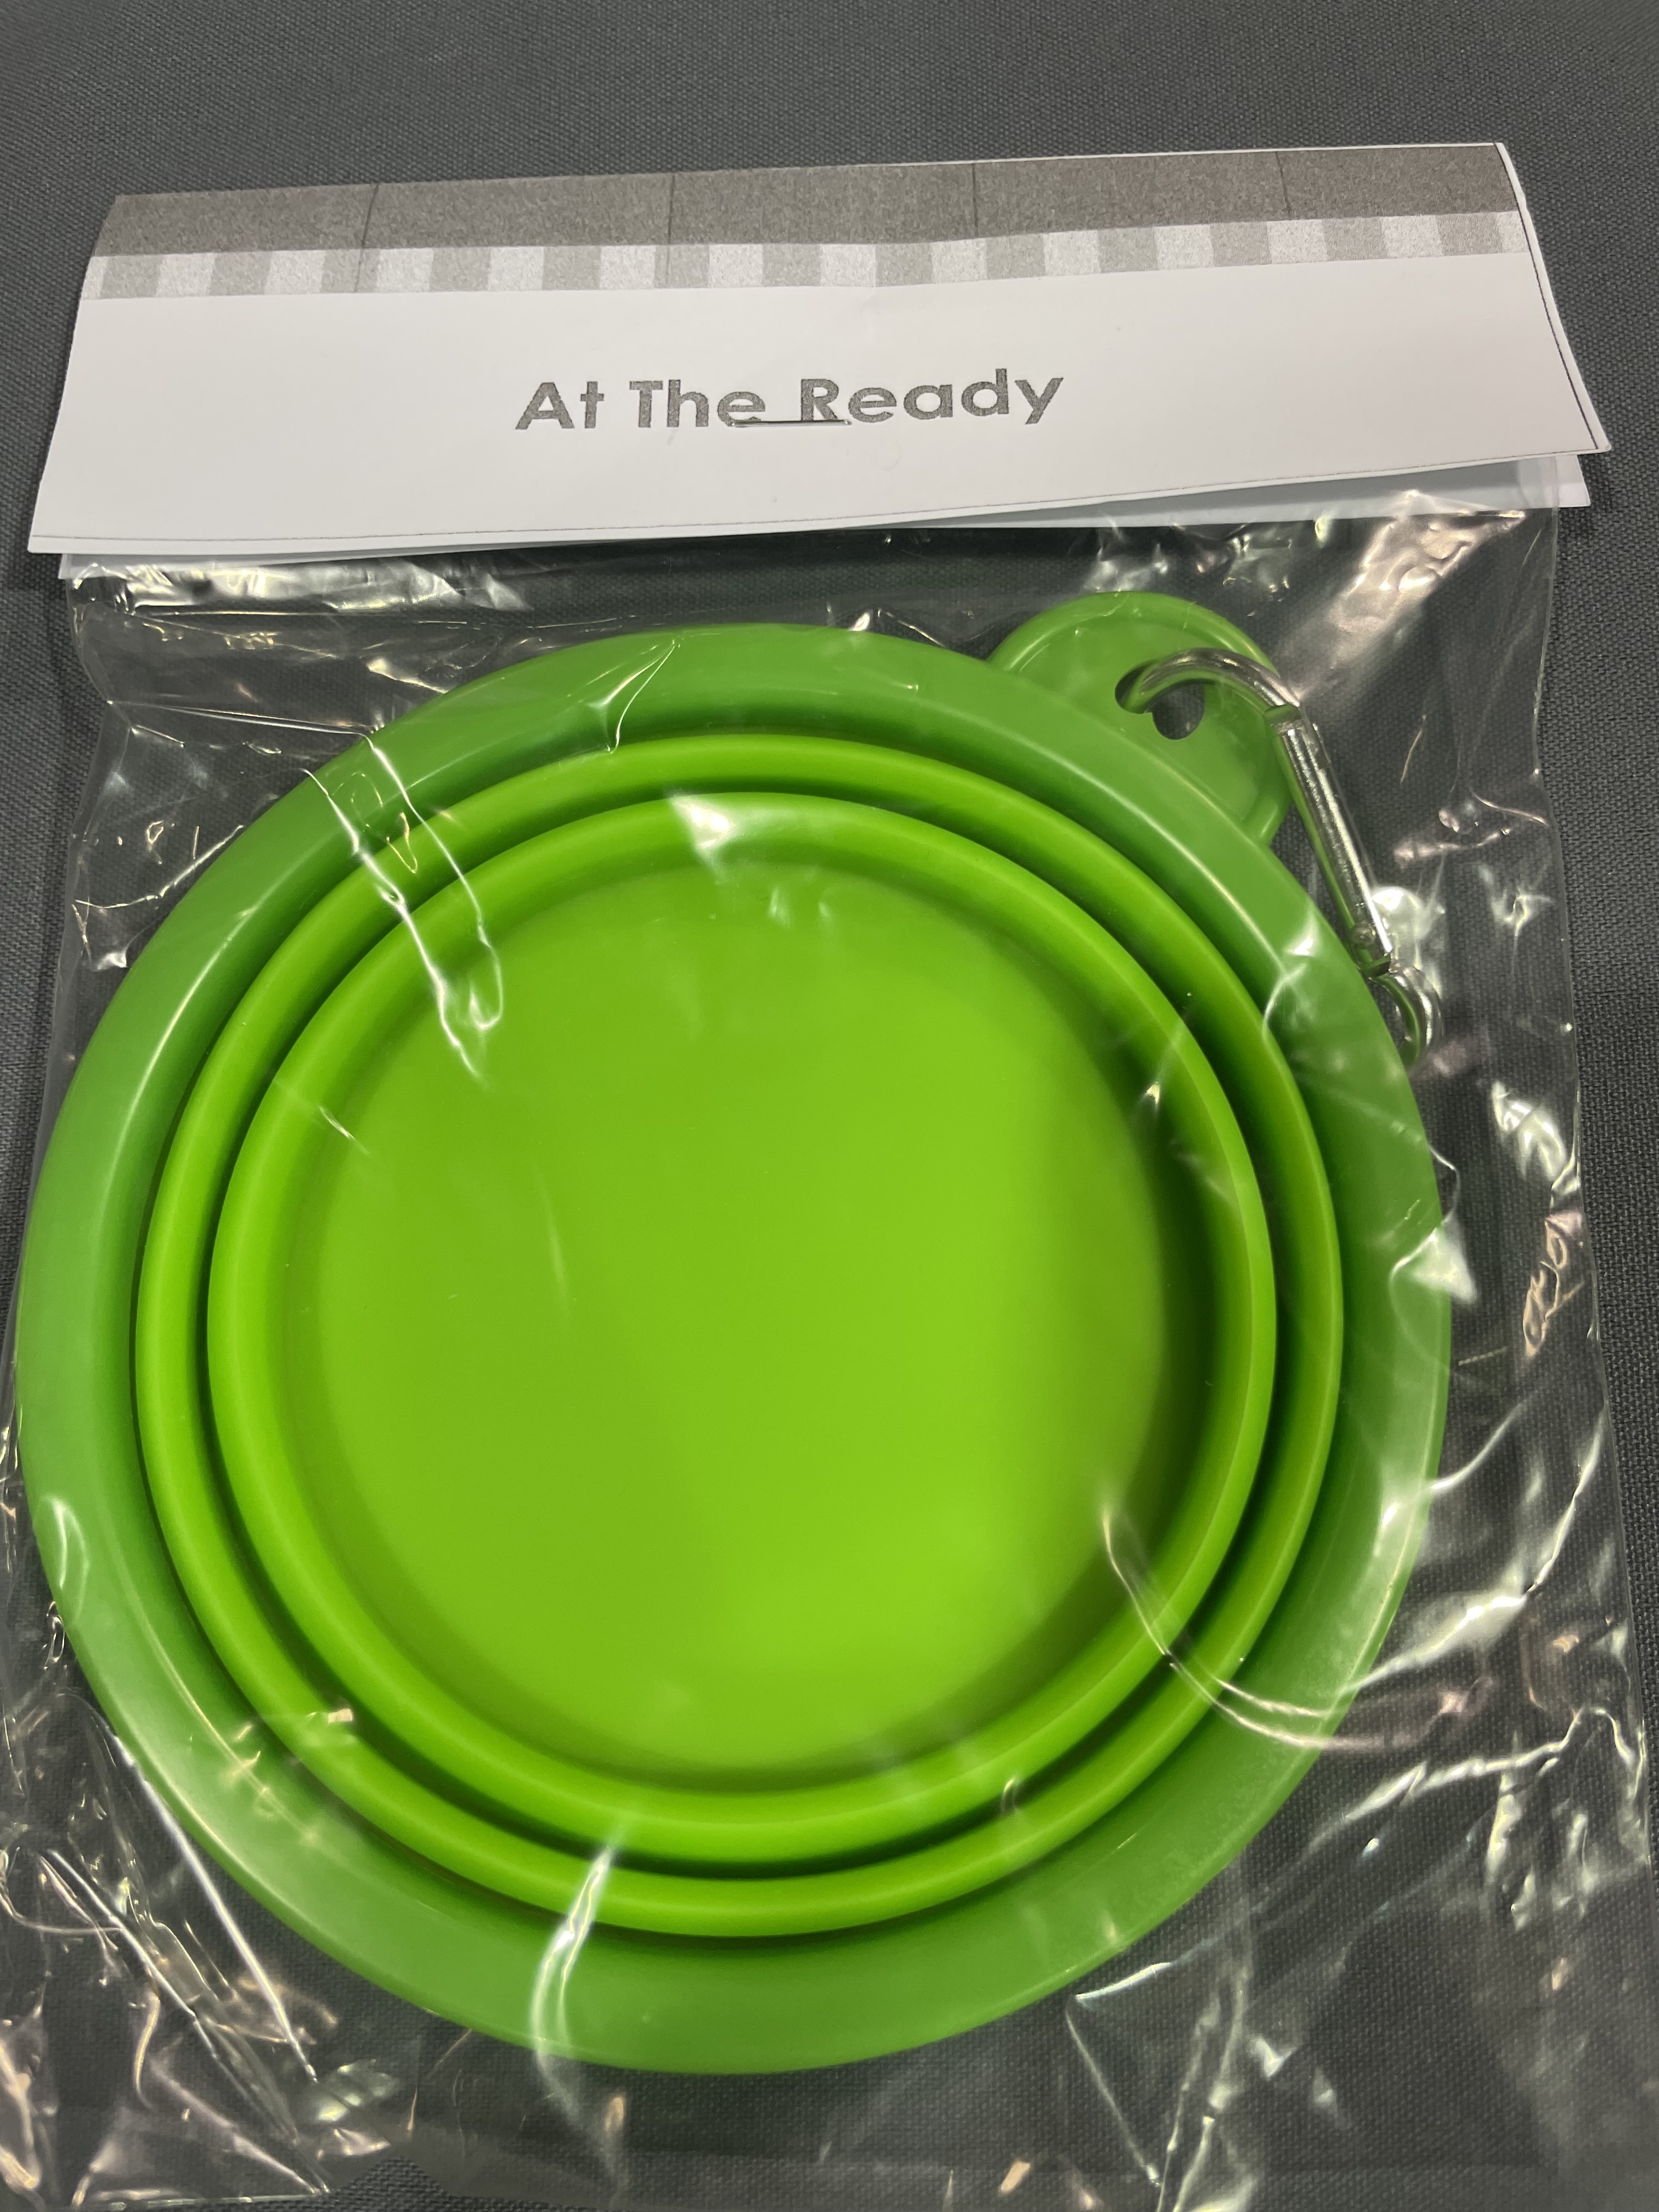
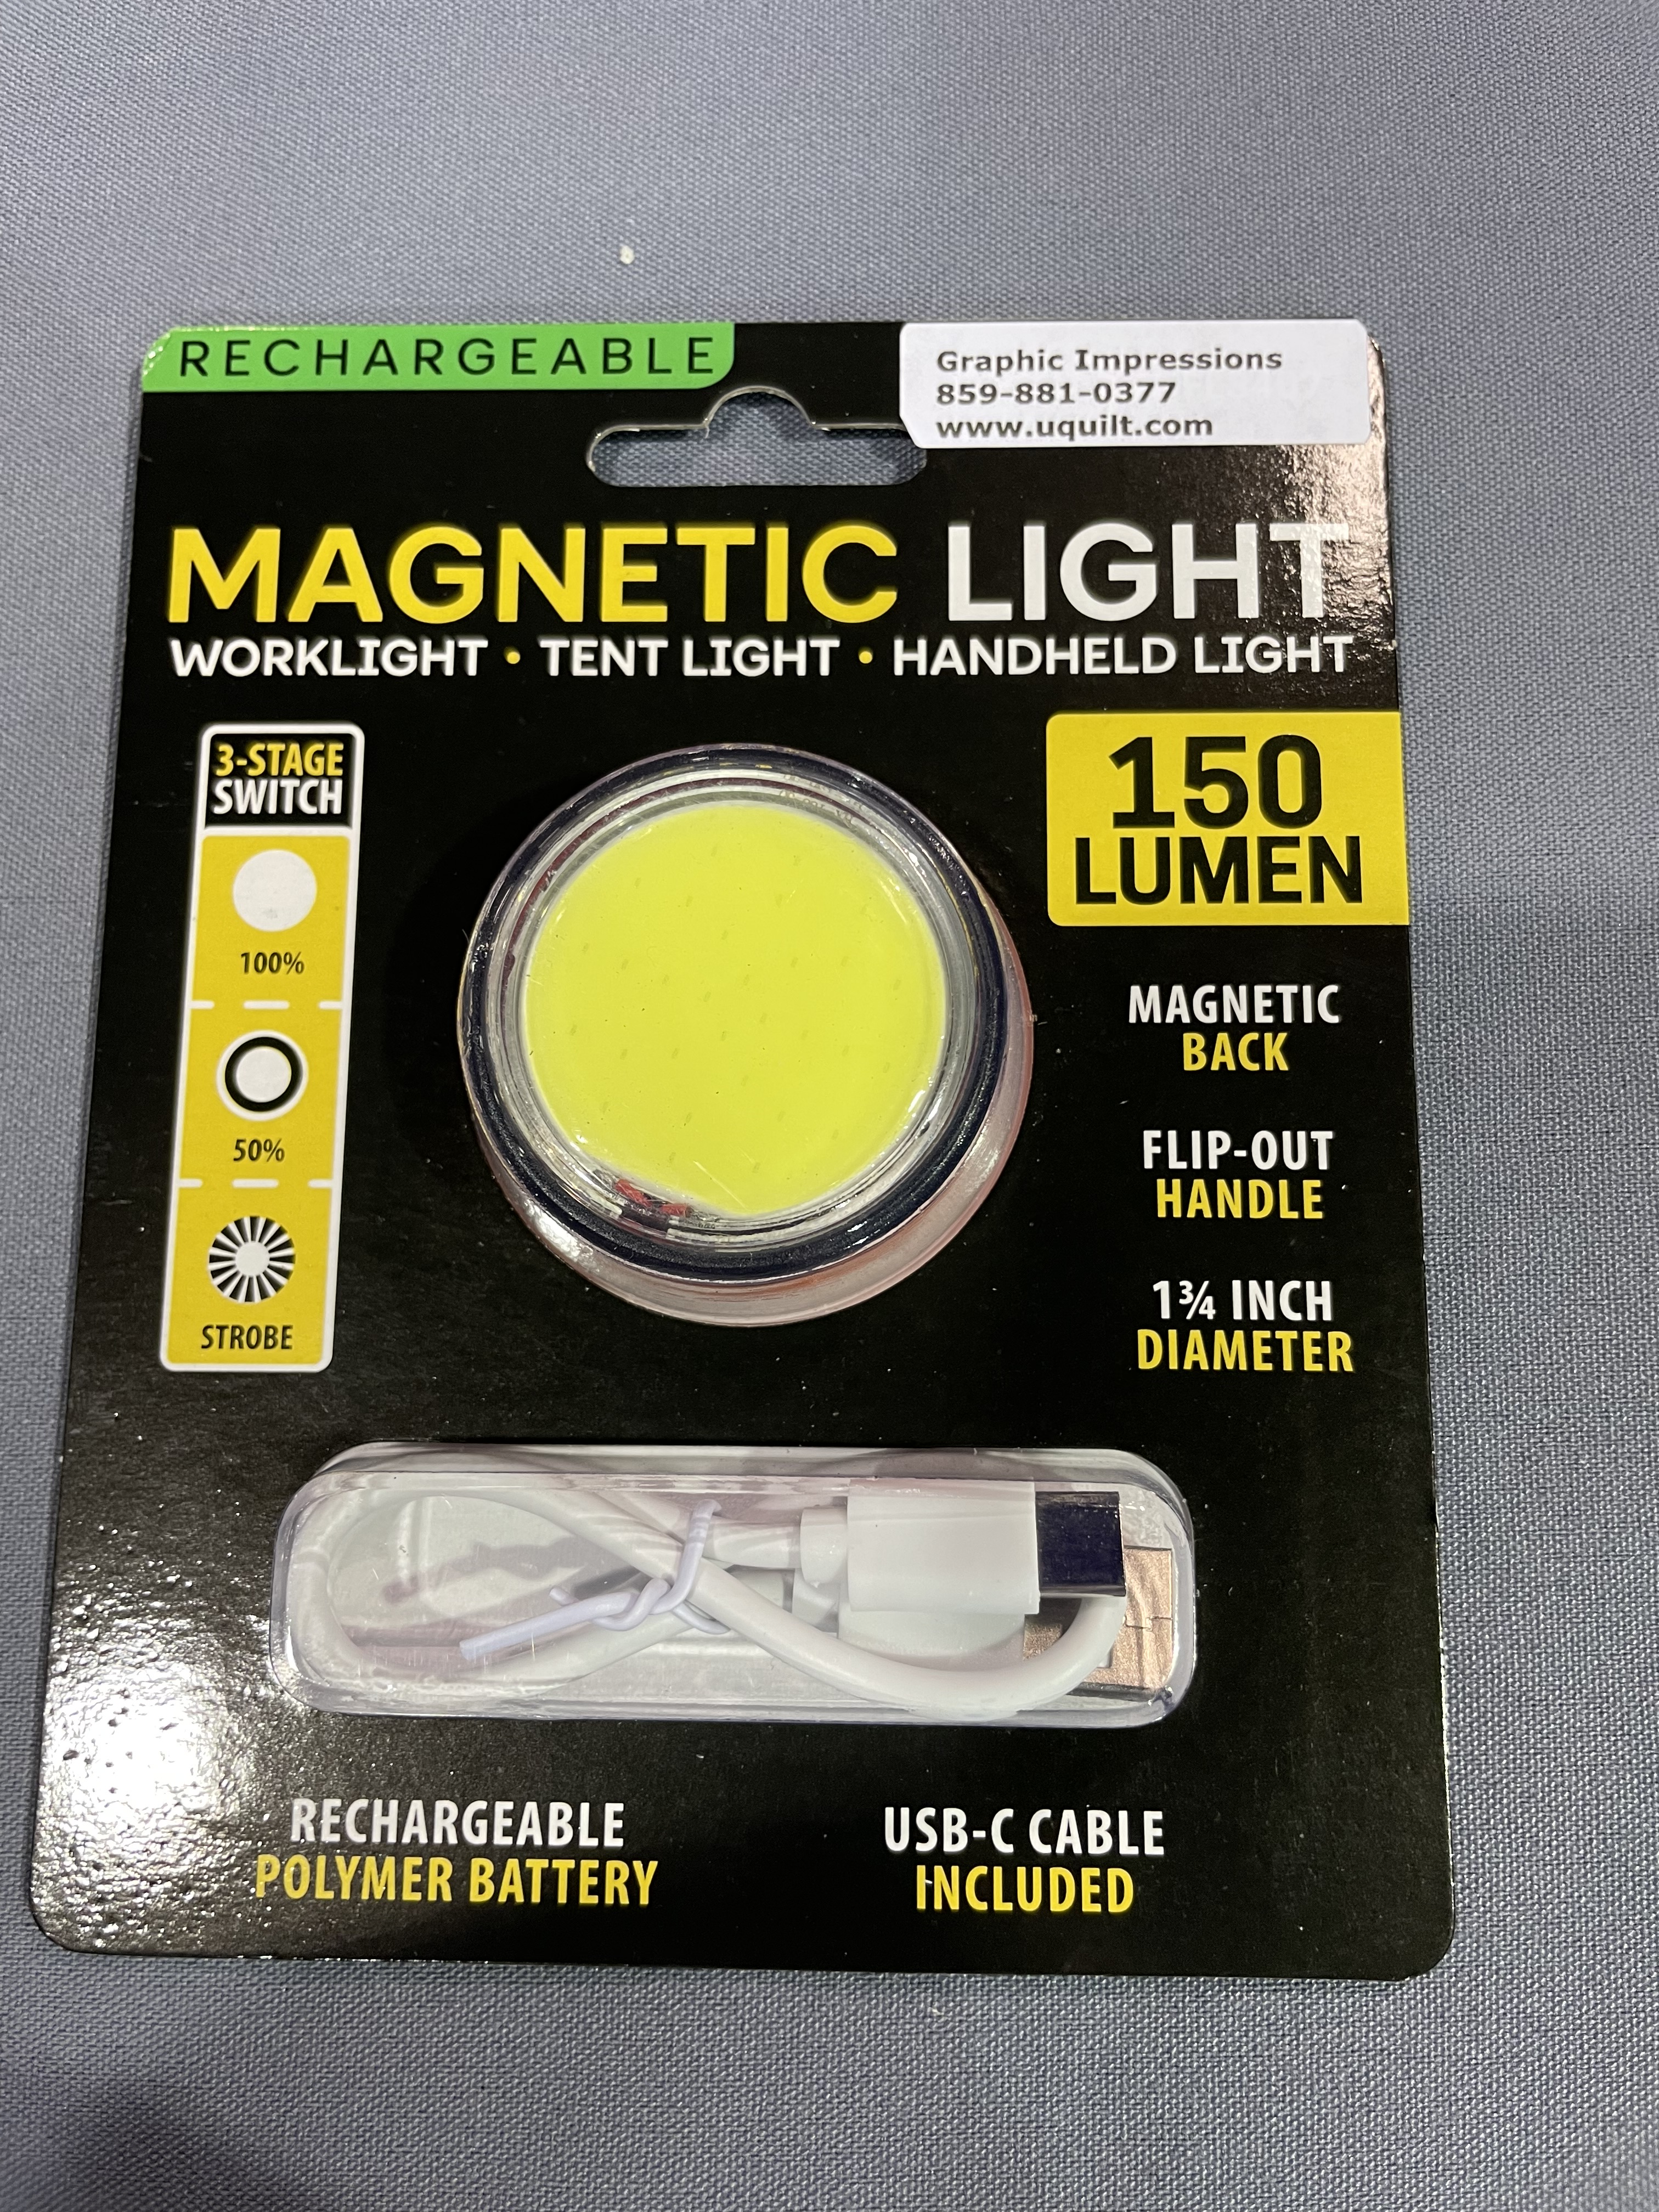
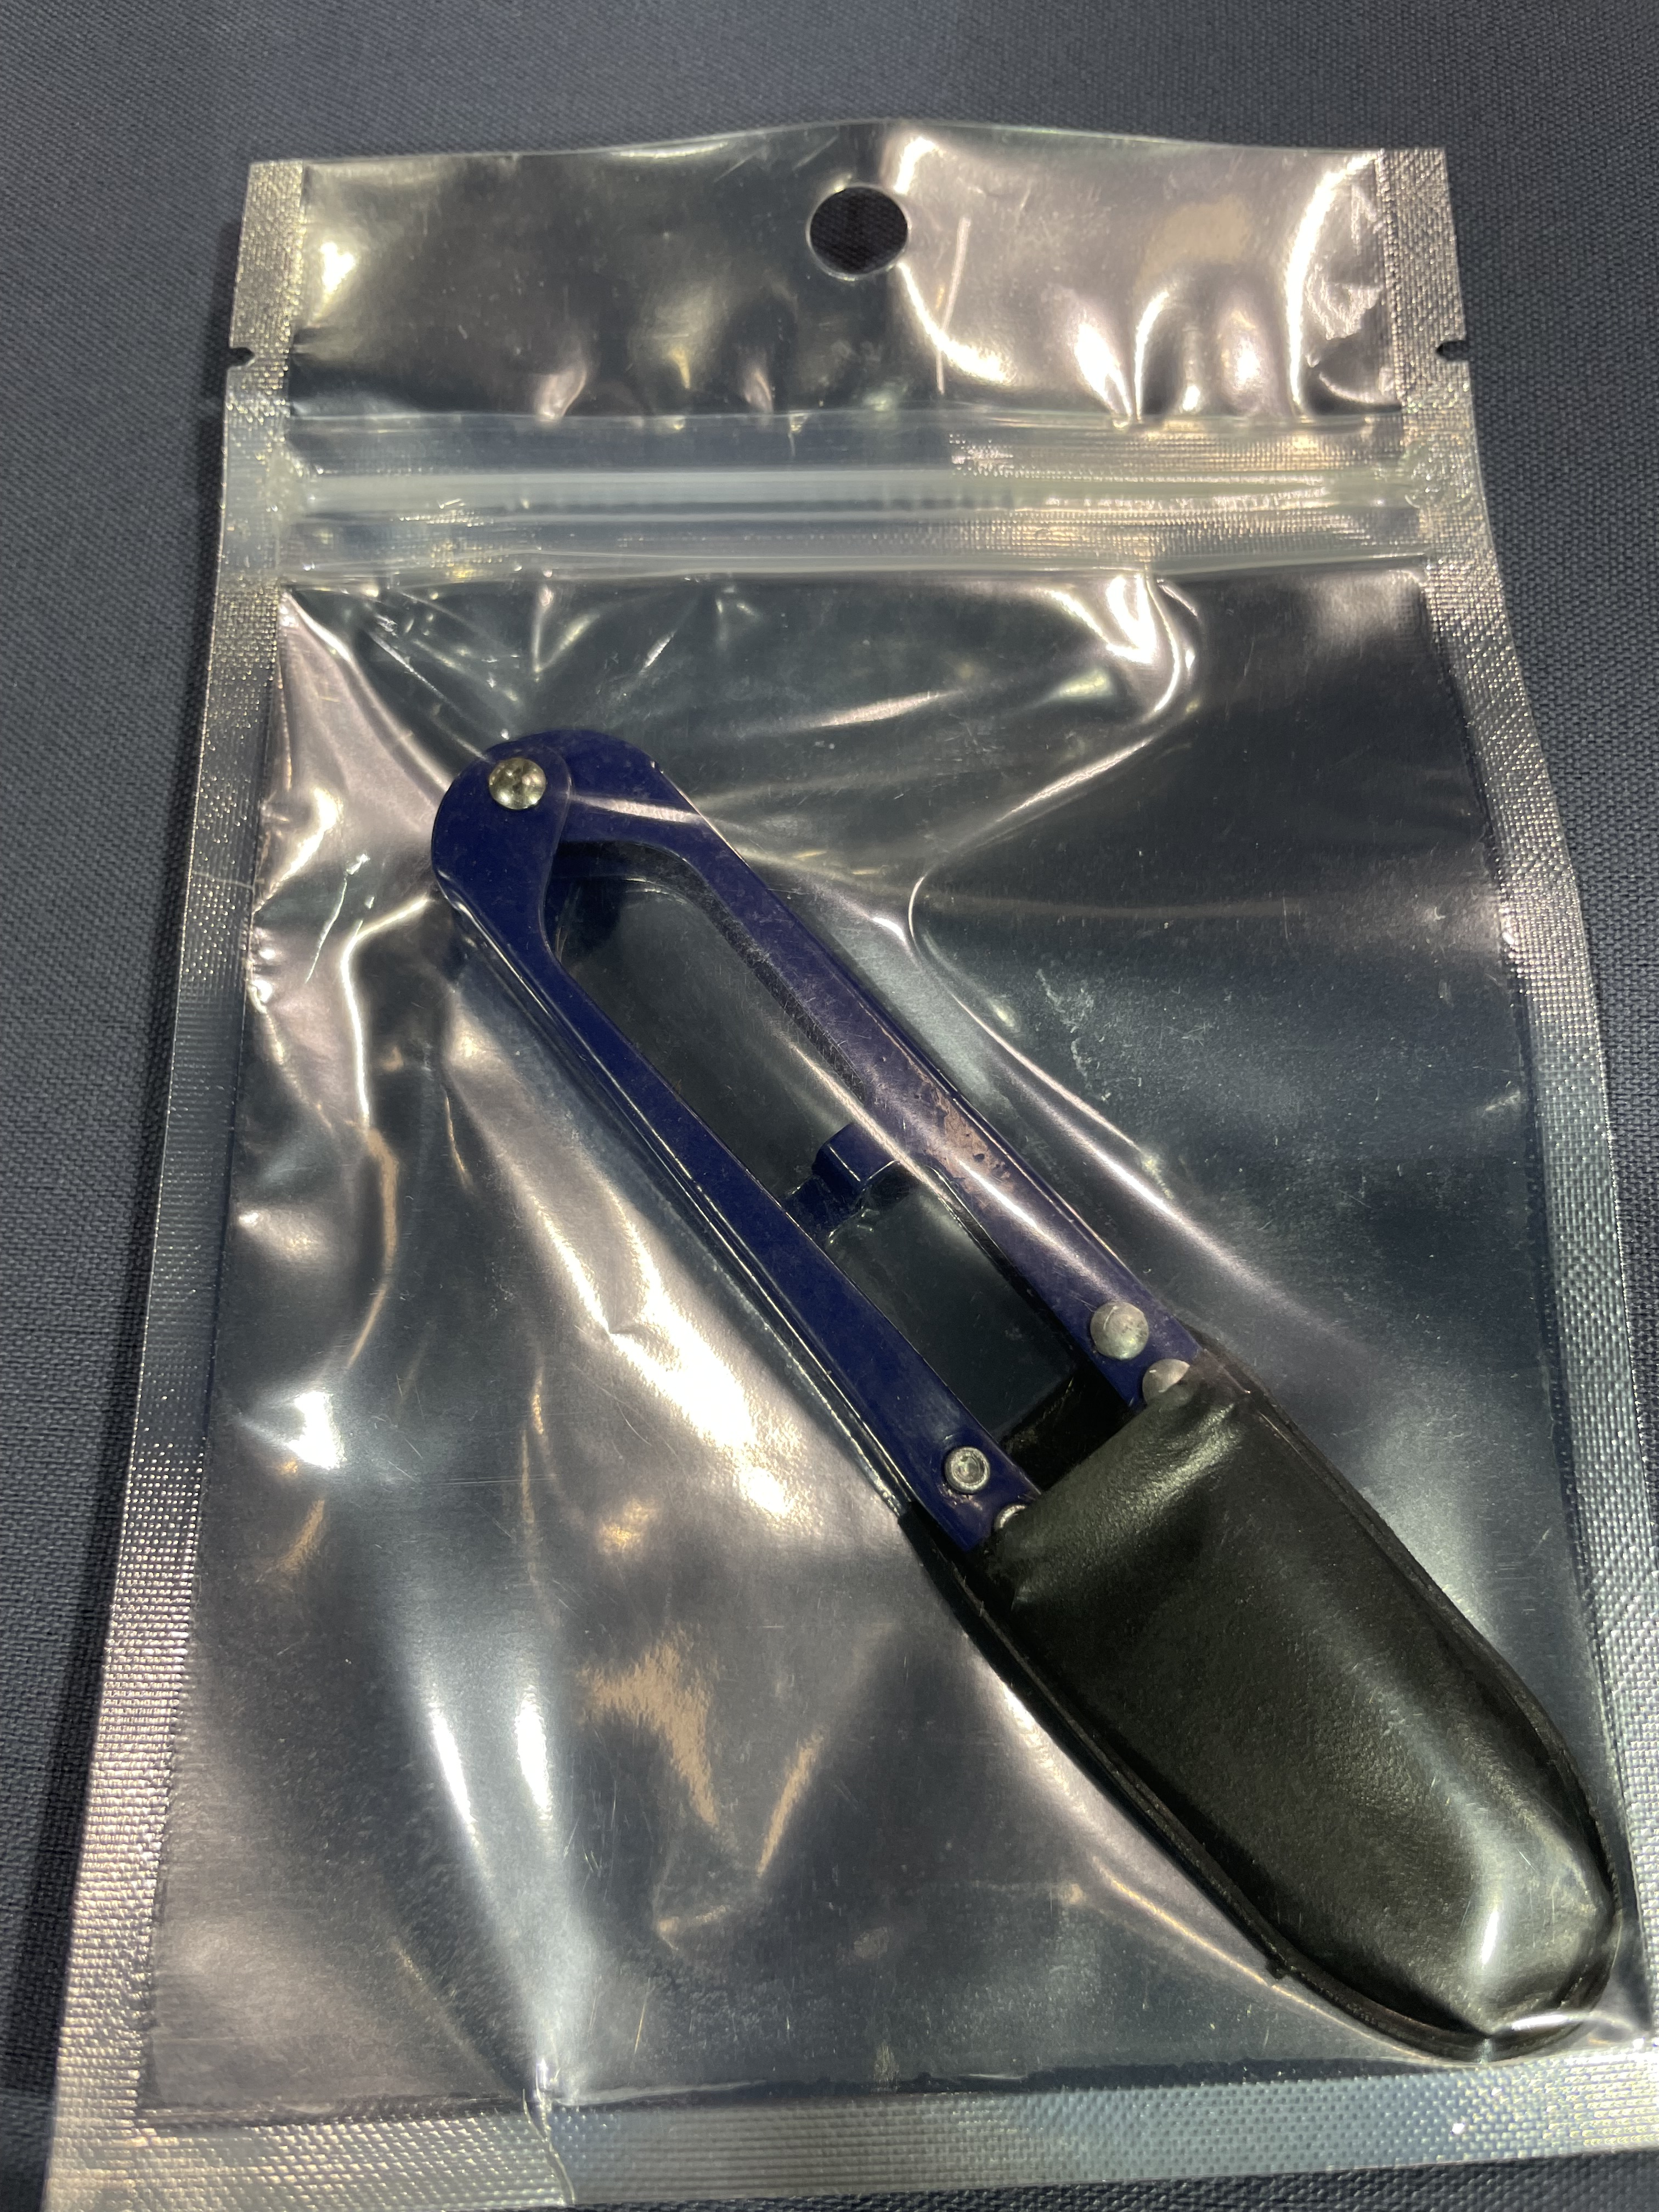
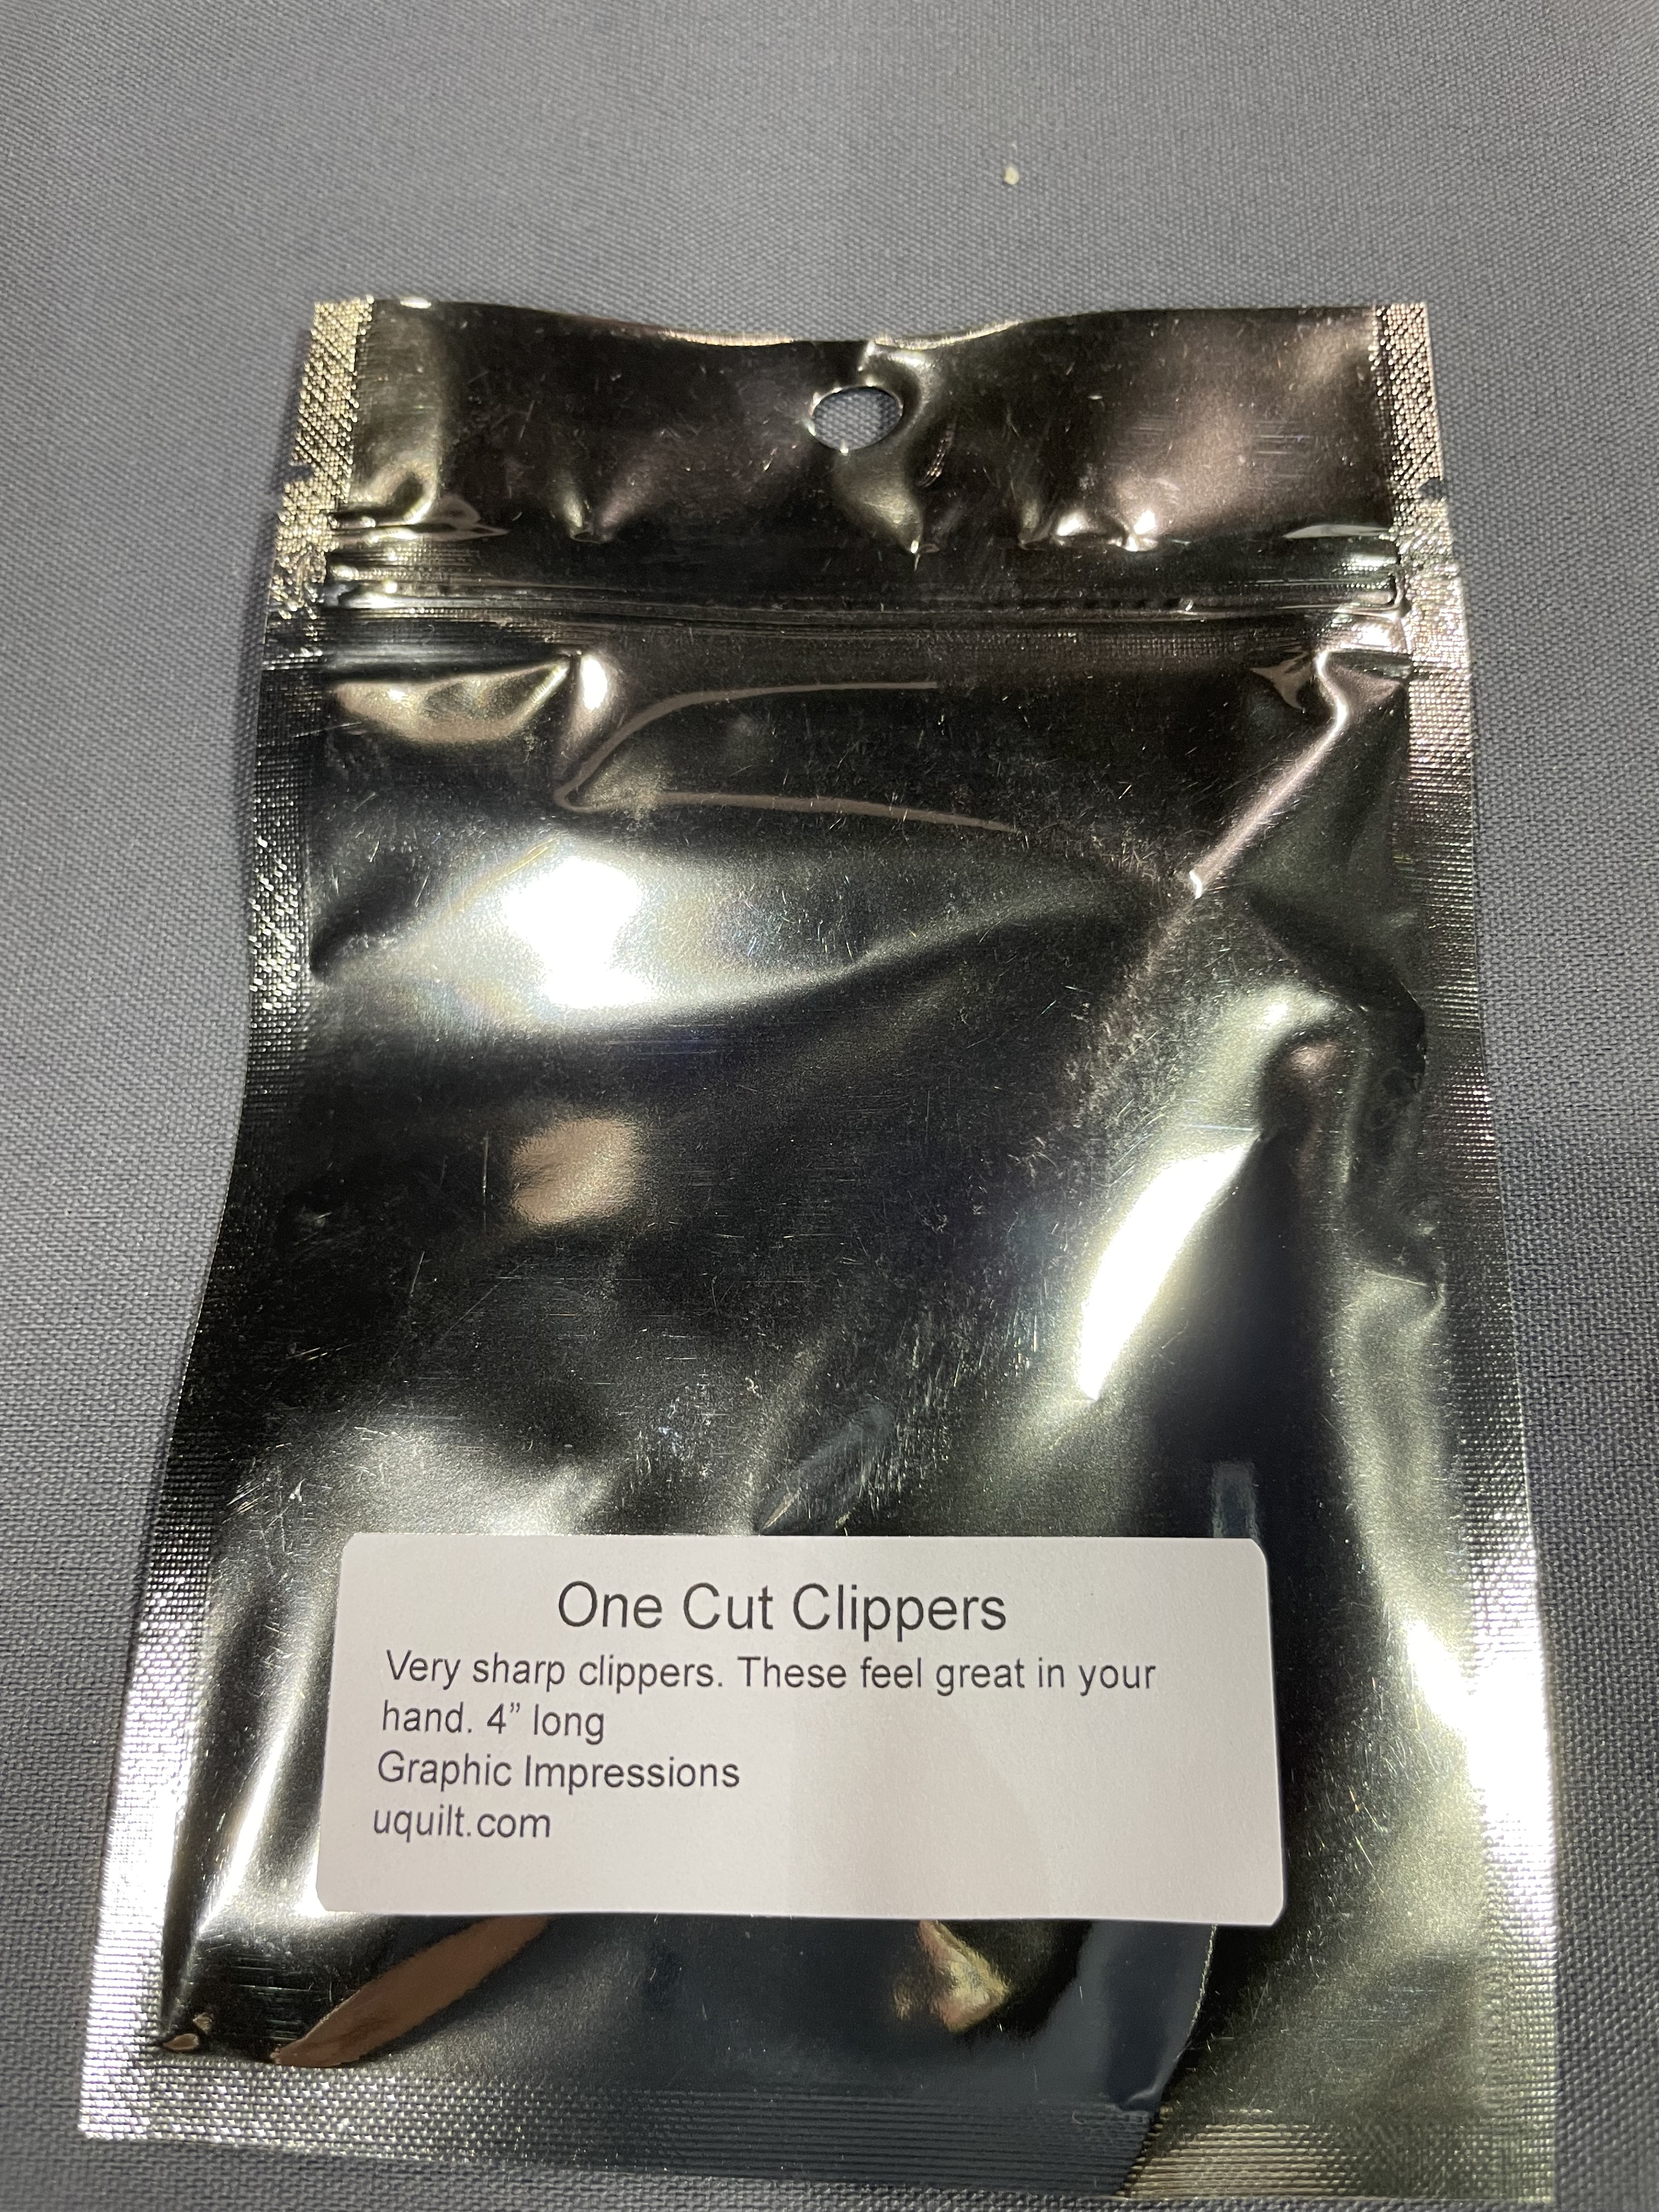

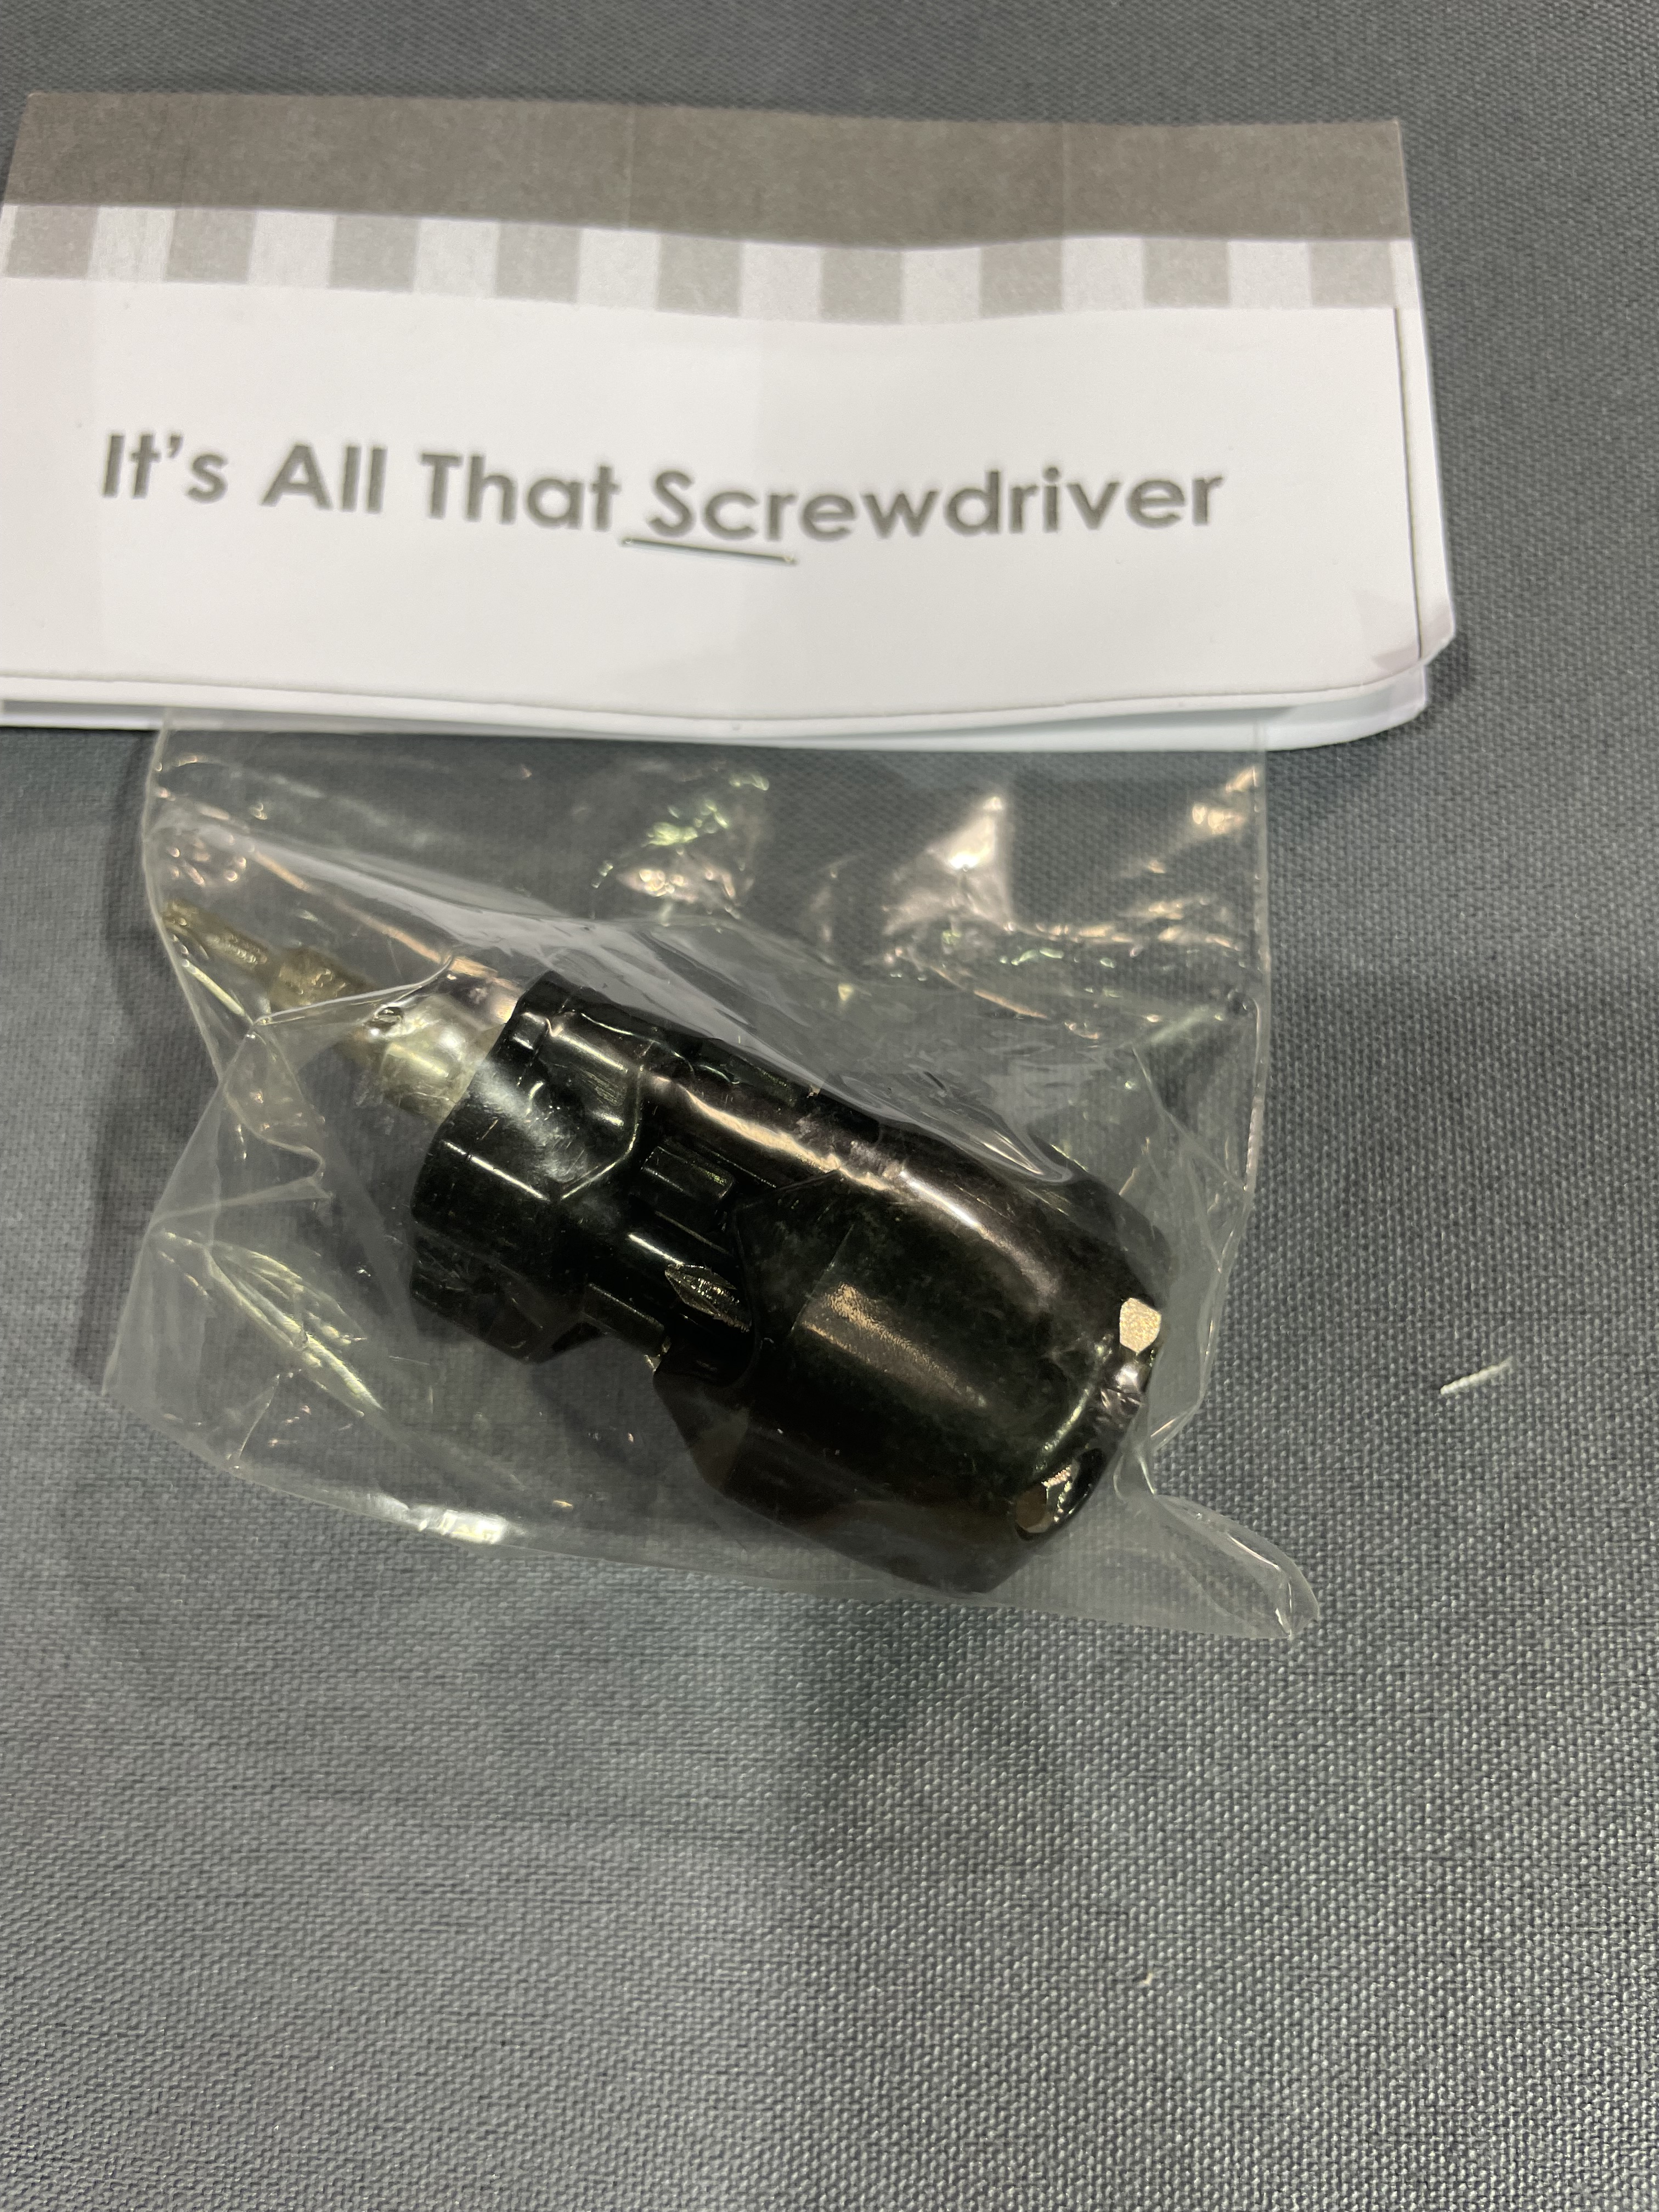
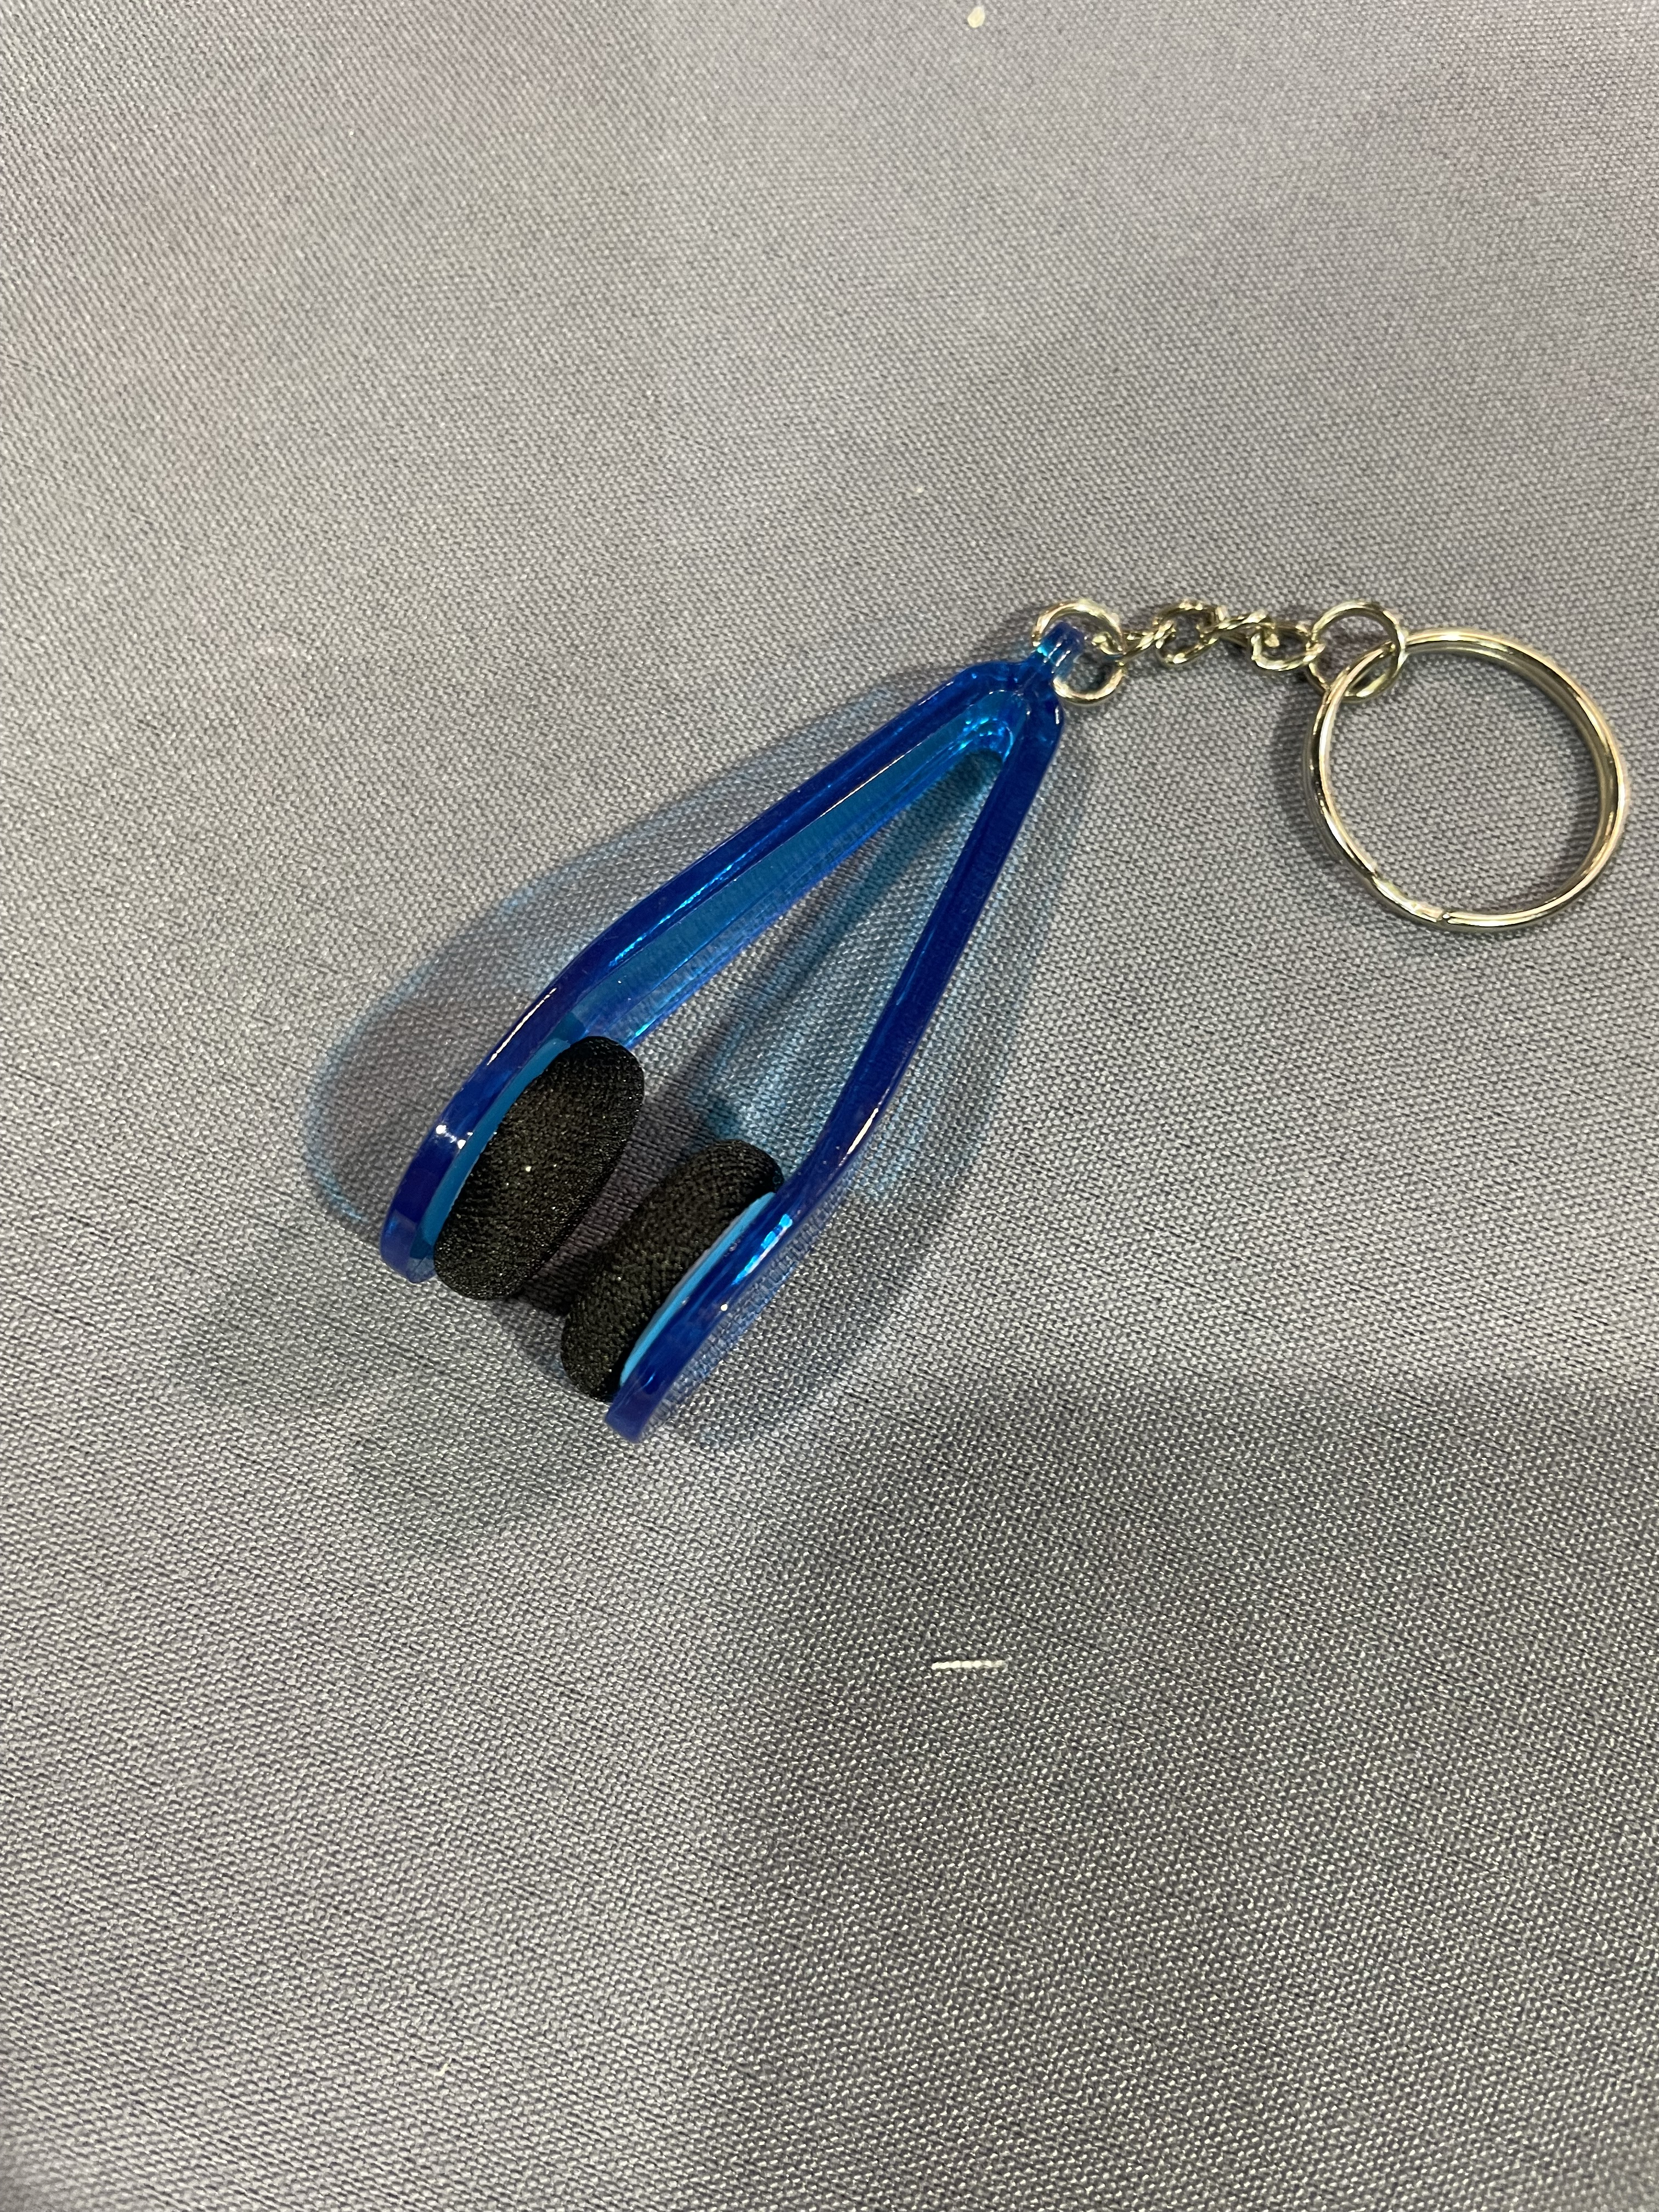
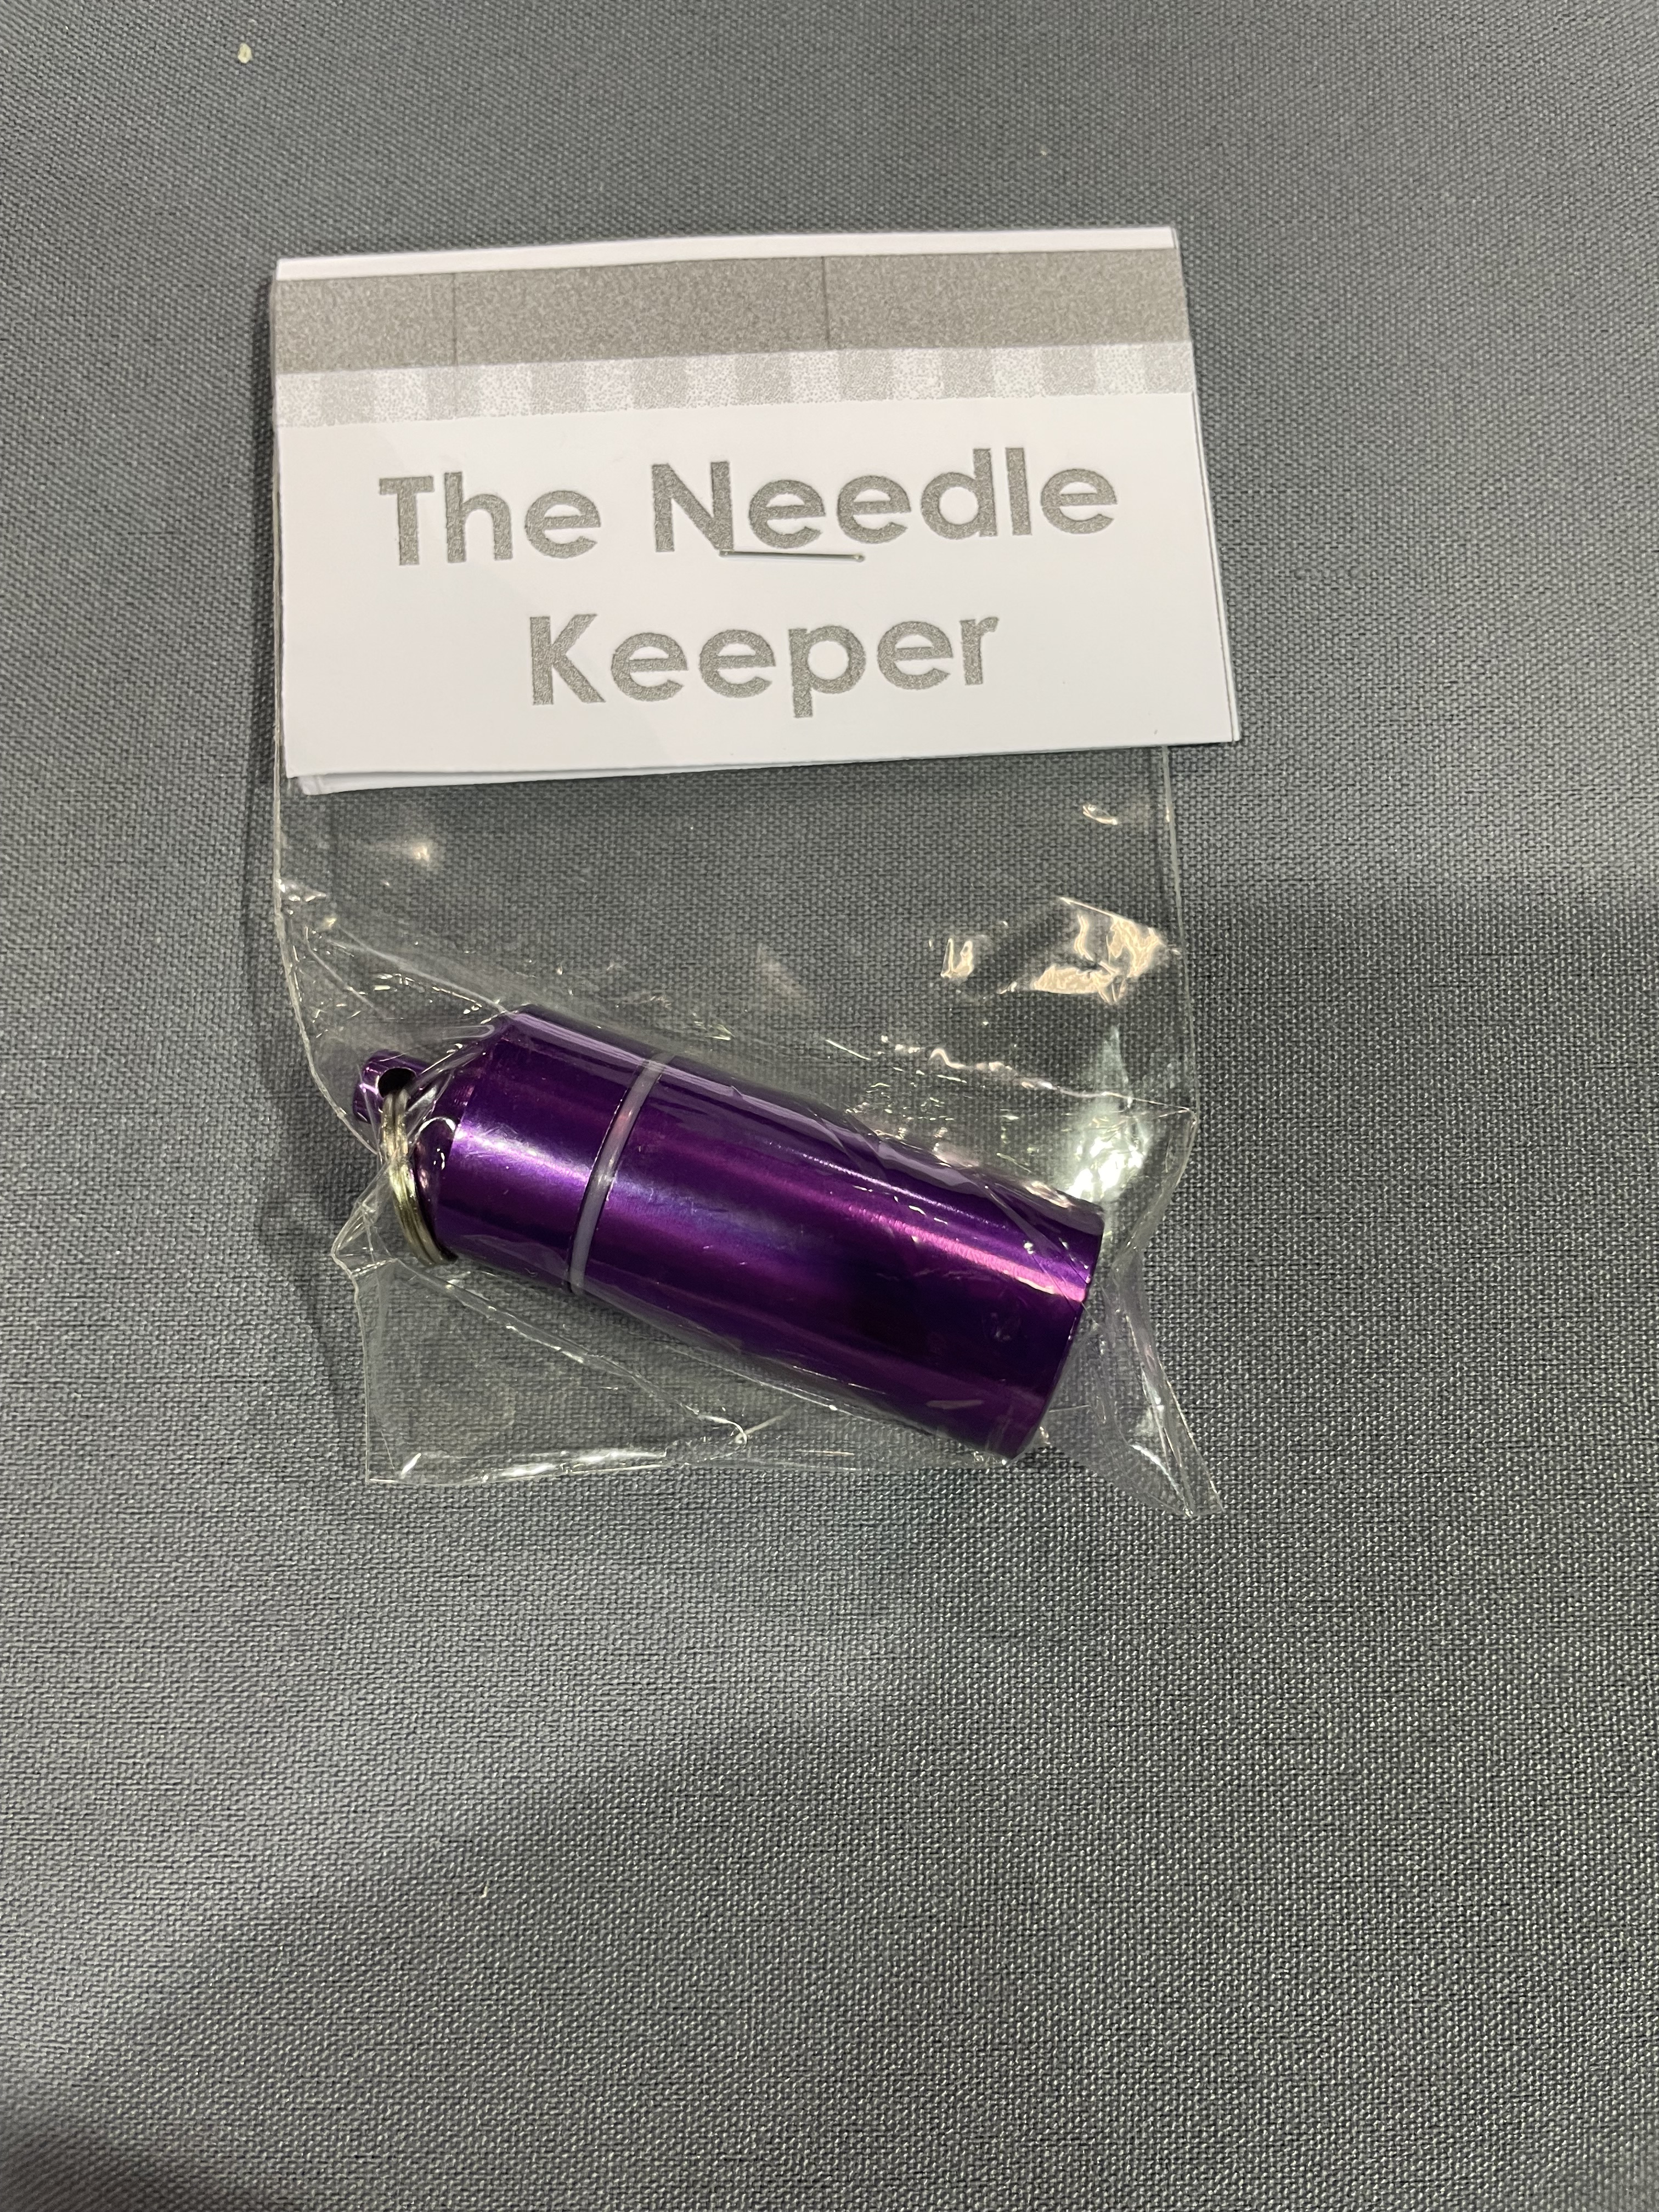
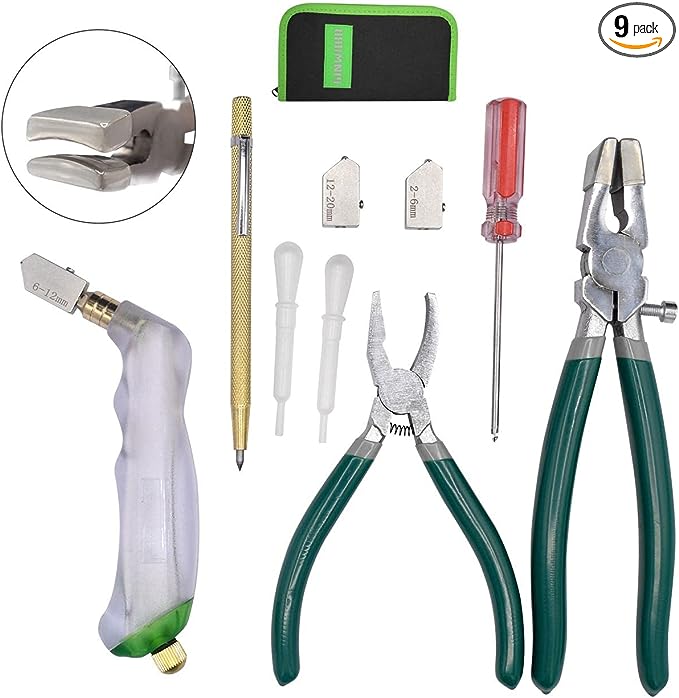
Graphic impressions toted themselves as a Candy store and they were not kidding. I did not get a chance to speak to the owner because she was, very rightfully, quite busy but I did get a chance to speak to her husband for a few minutes. I was permitted to purchase a wide variety of their small tools so that I can test them out and play with them. If I am being very frank, I was not expecting these to be of the quality that they are. If you would like me to go in depth on each one, please let me know and I can do that in the future.
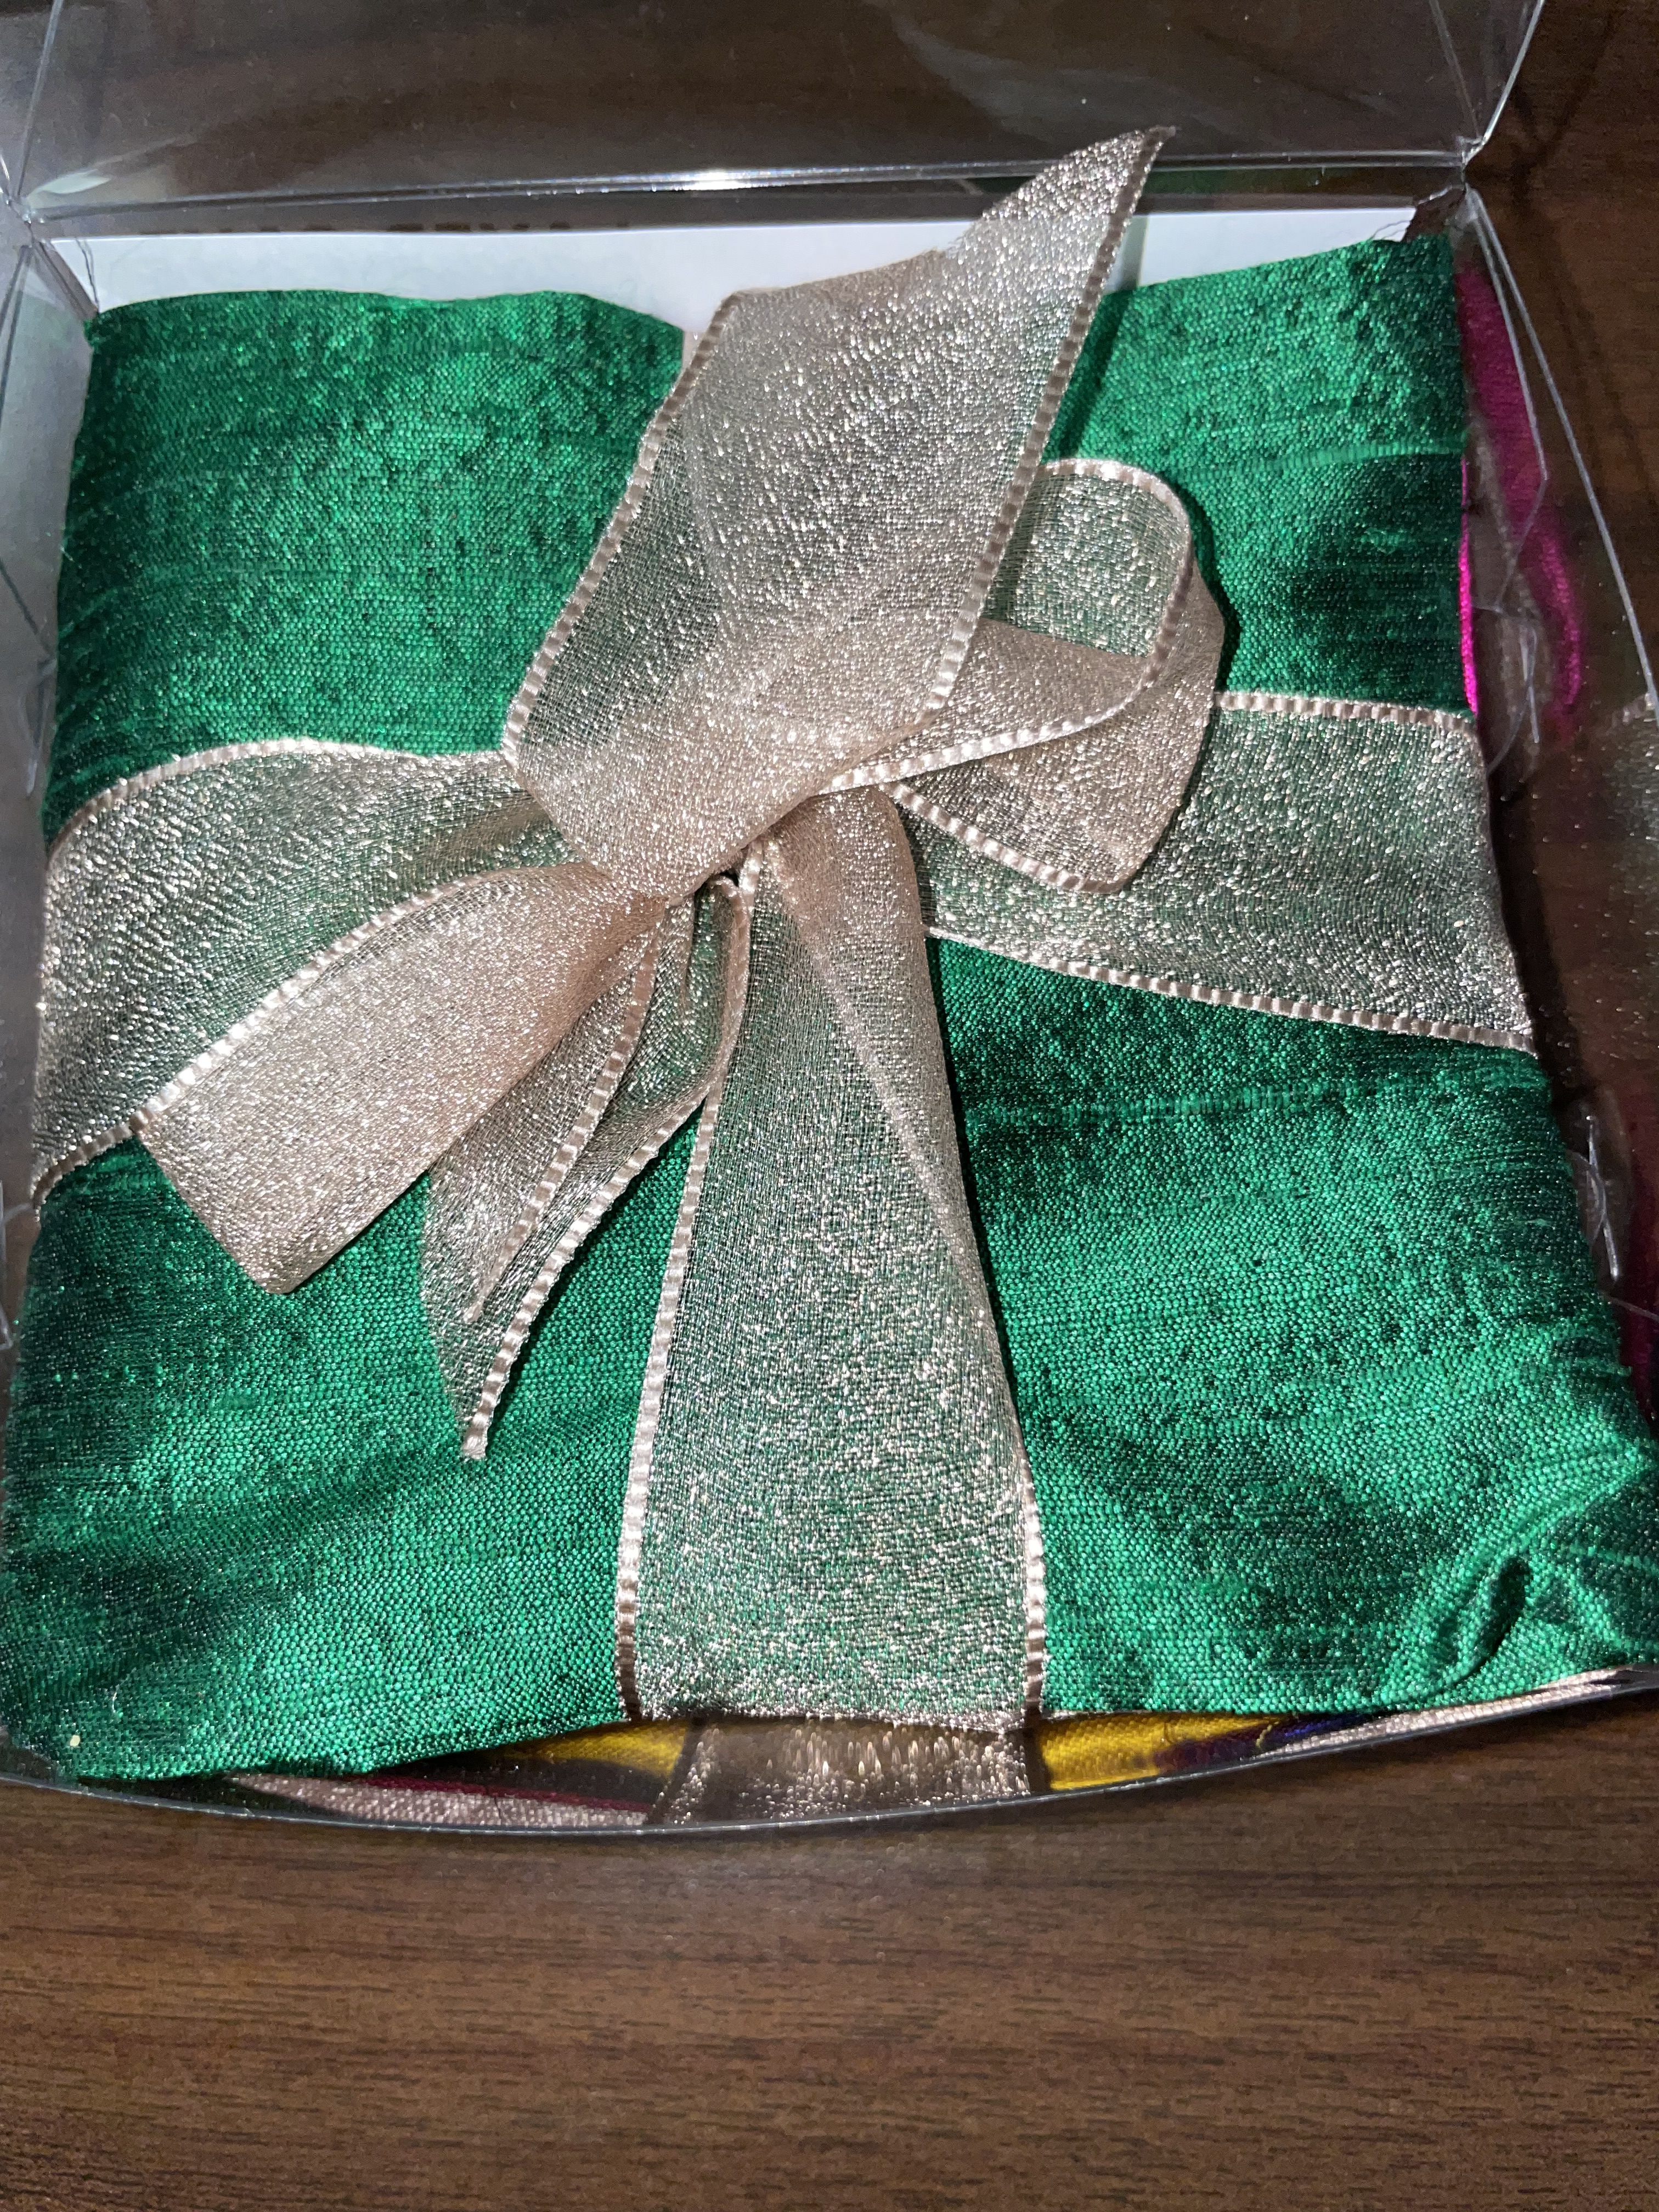
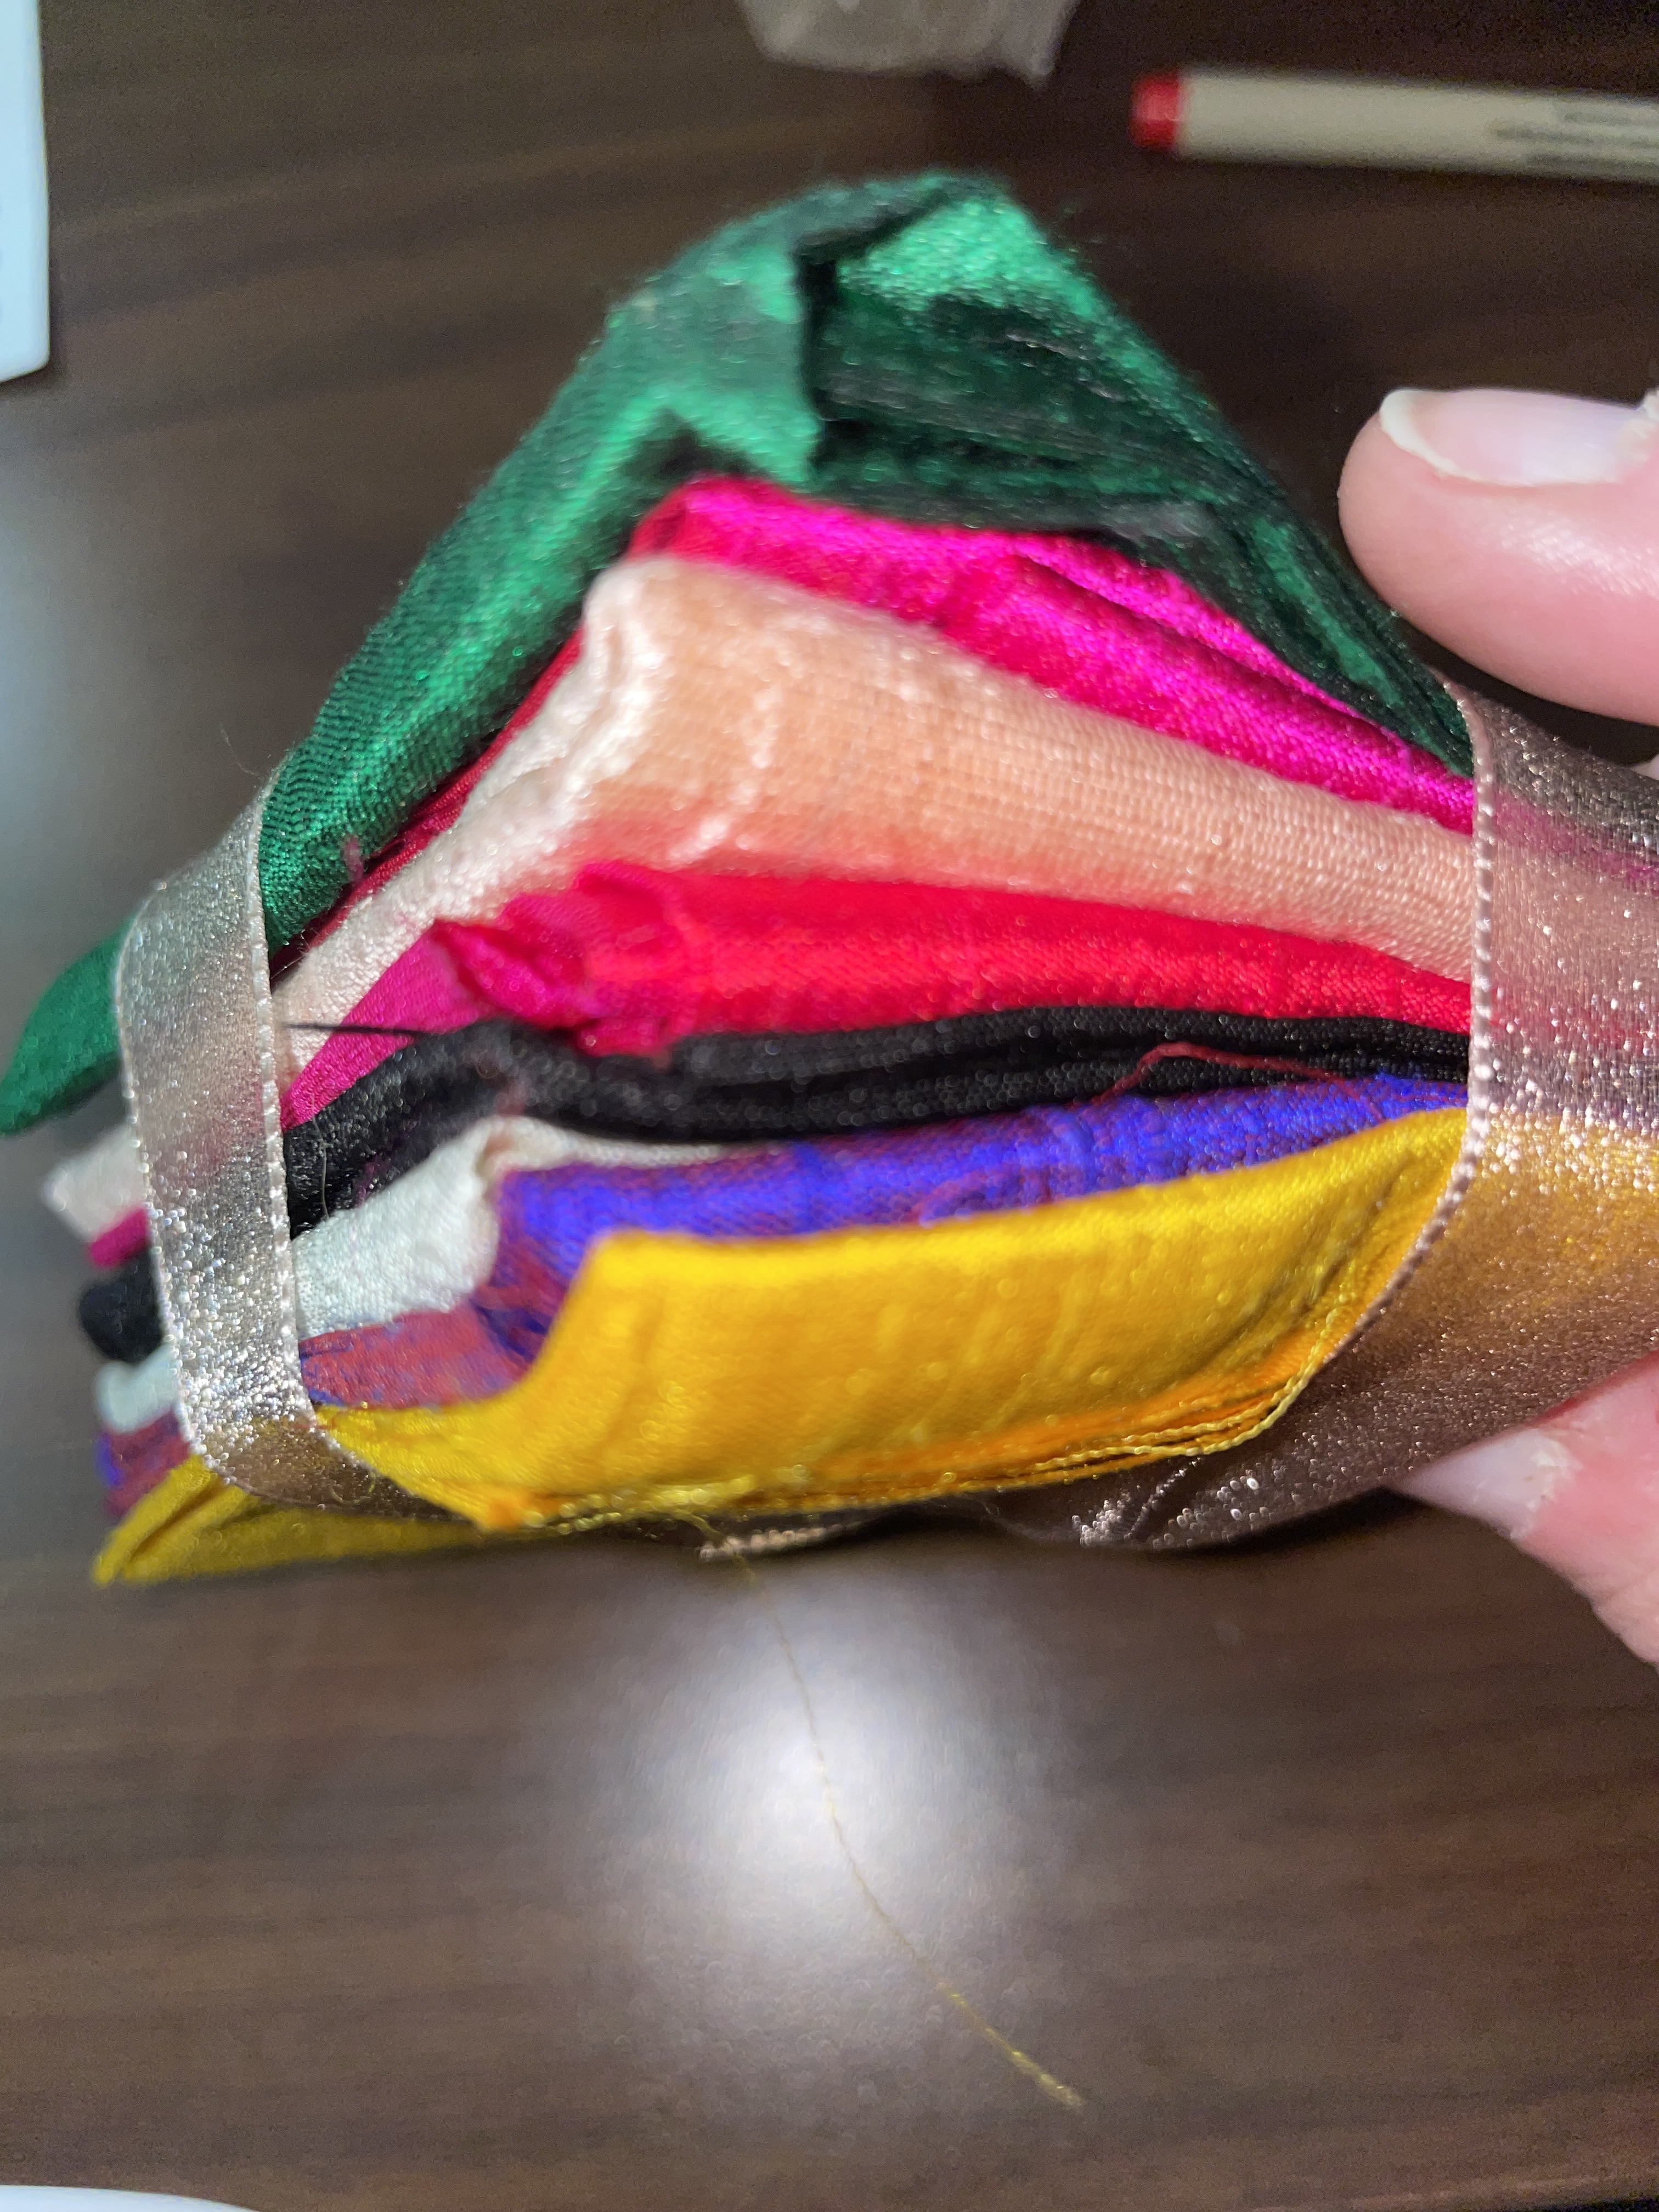
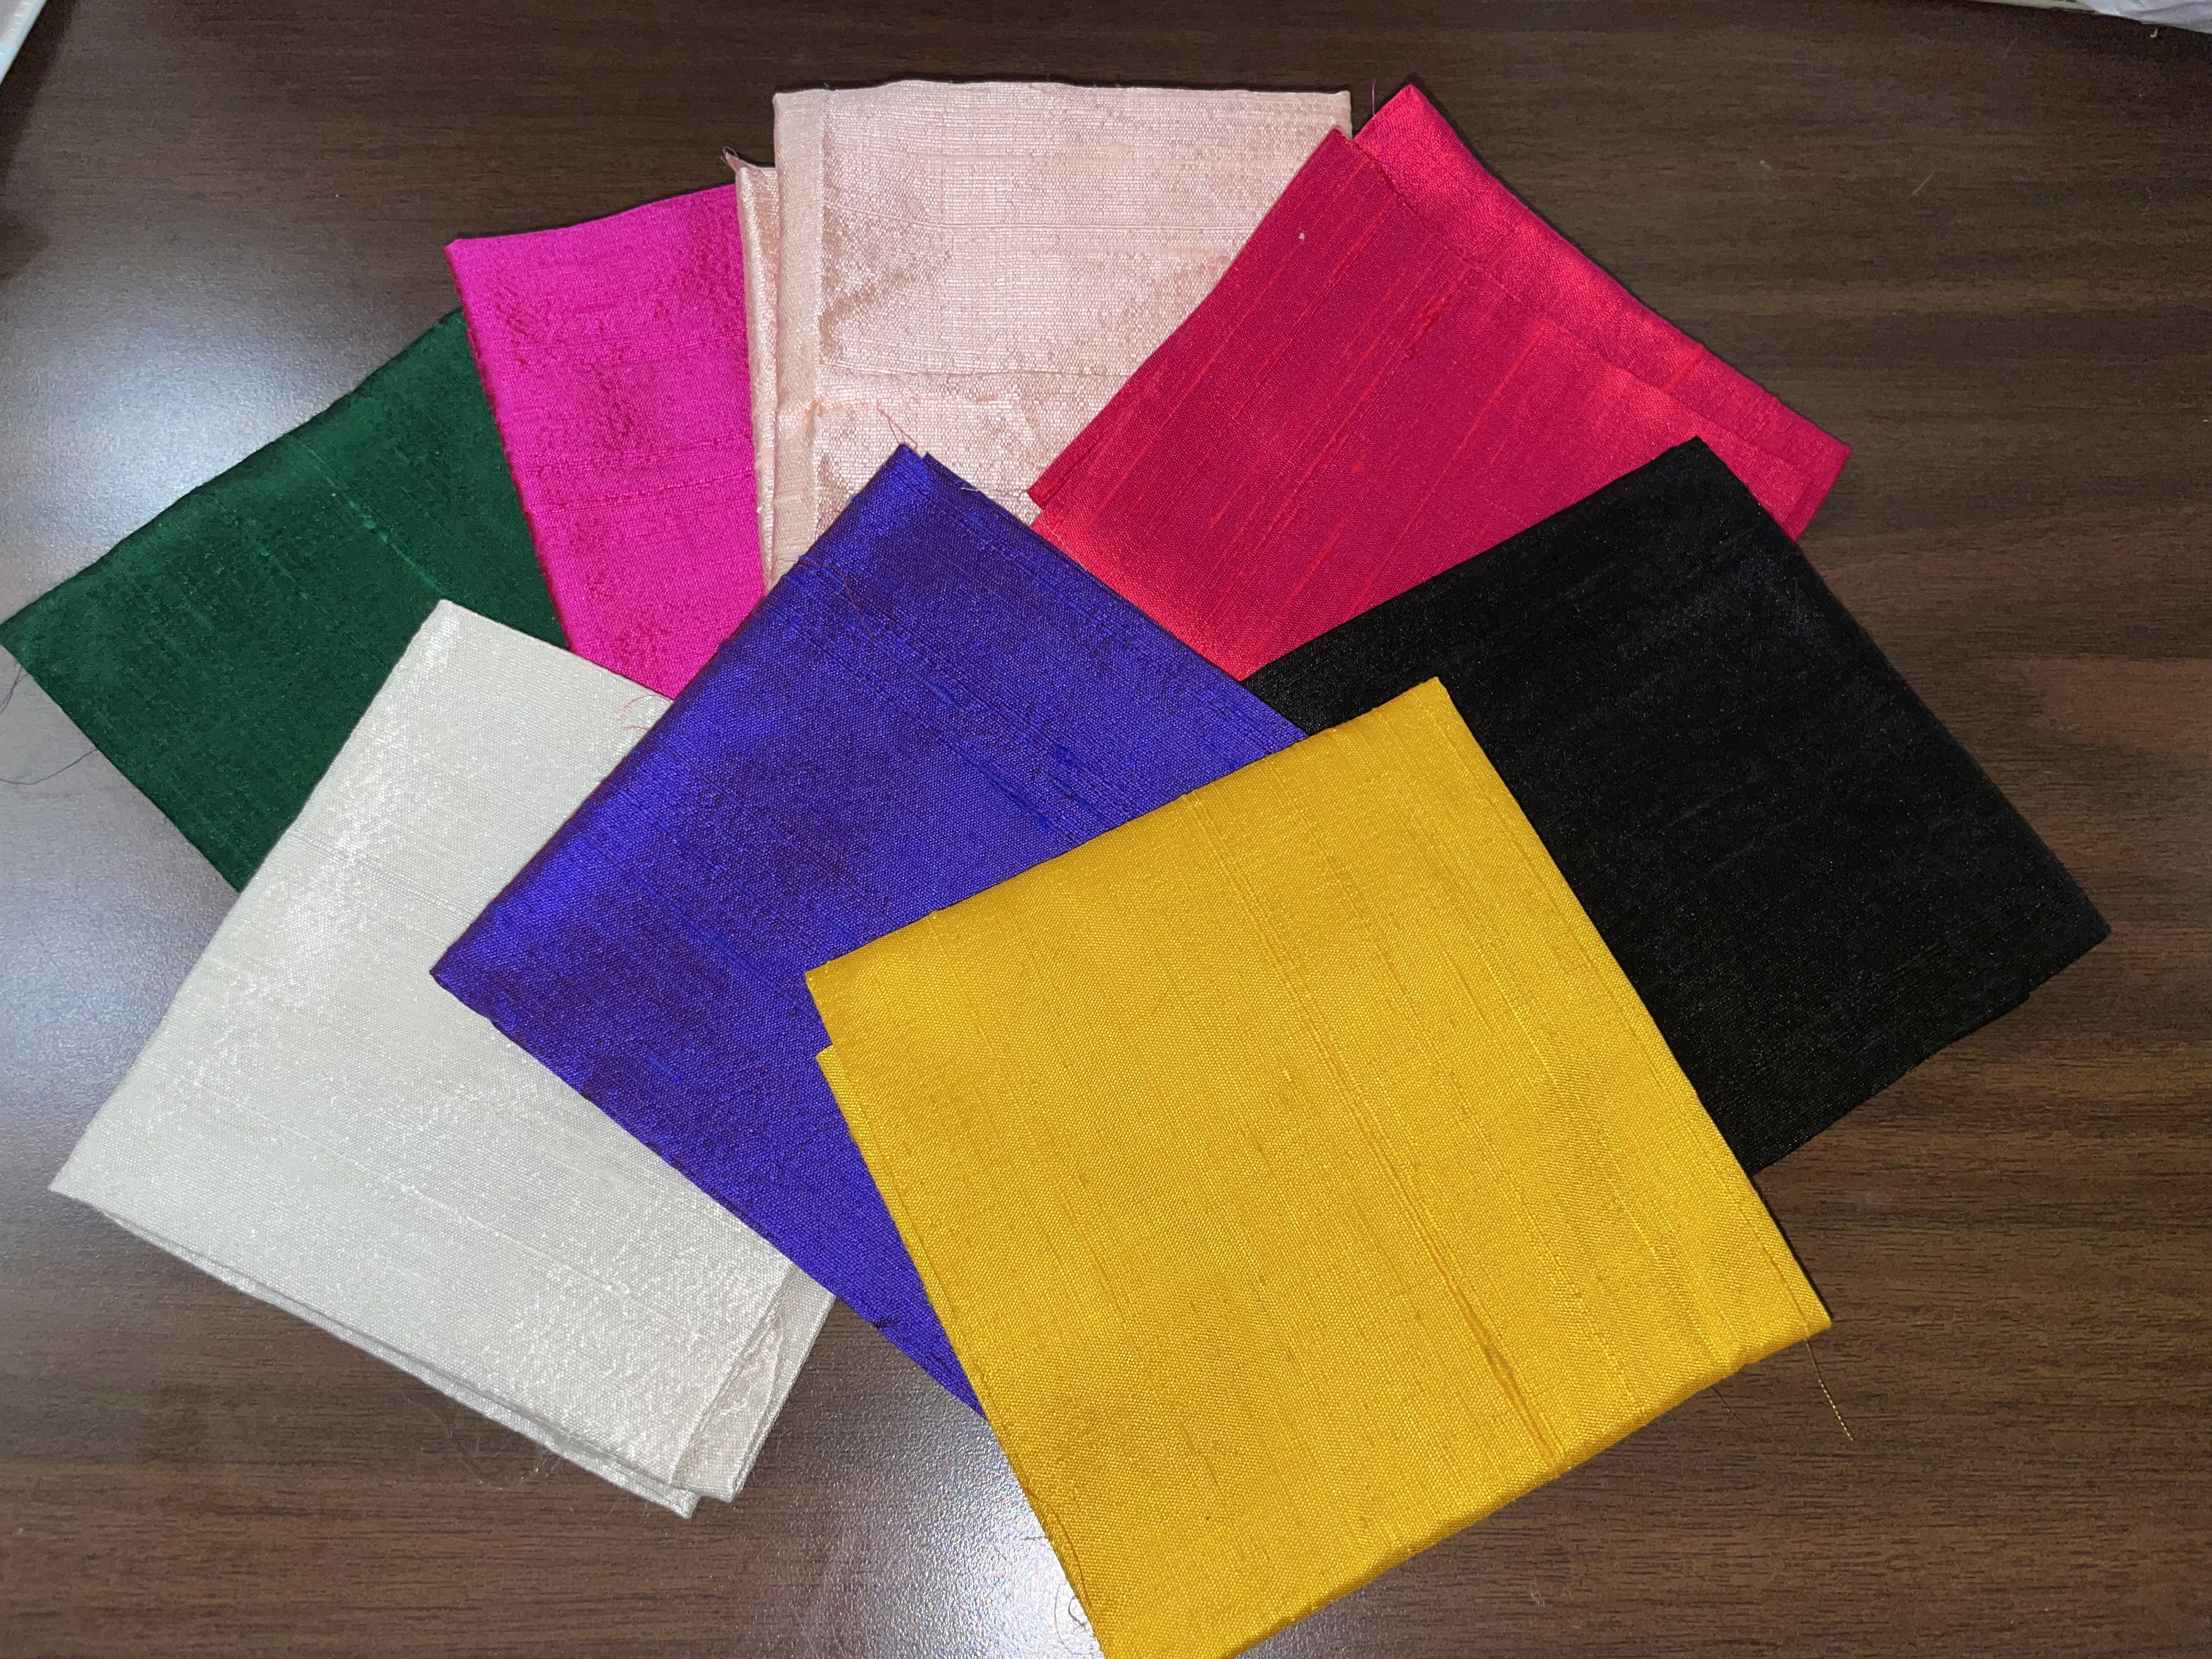

There were several vendors selling silk in various forms. This vendor was selling their silk fabric and it is absolutely gorgeous. They were also very encouraging of my art quilt idea and helped me find a packet that contained a black piece so I can try the fabric out. She also mentioned going to her website to watch a video on how to use and care for this particular fabric.
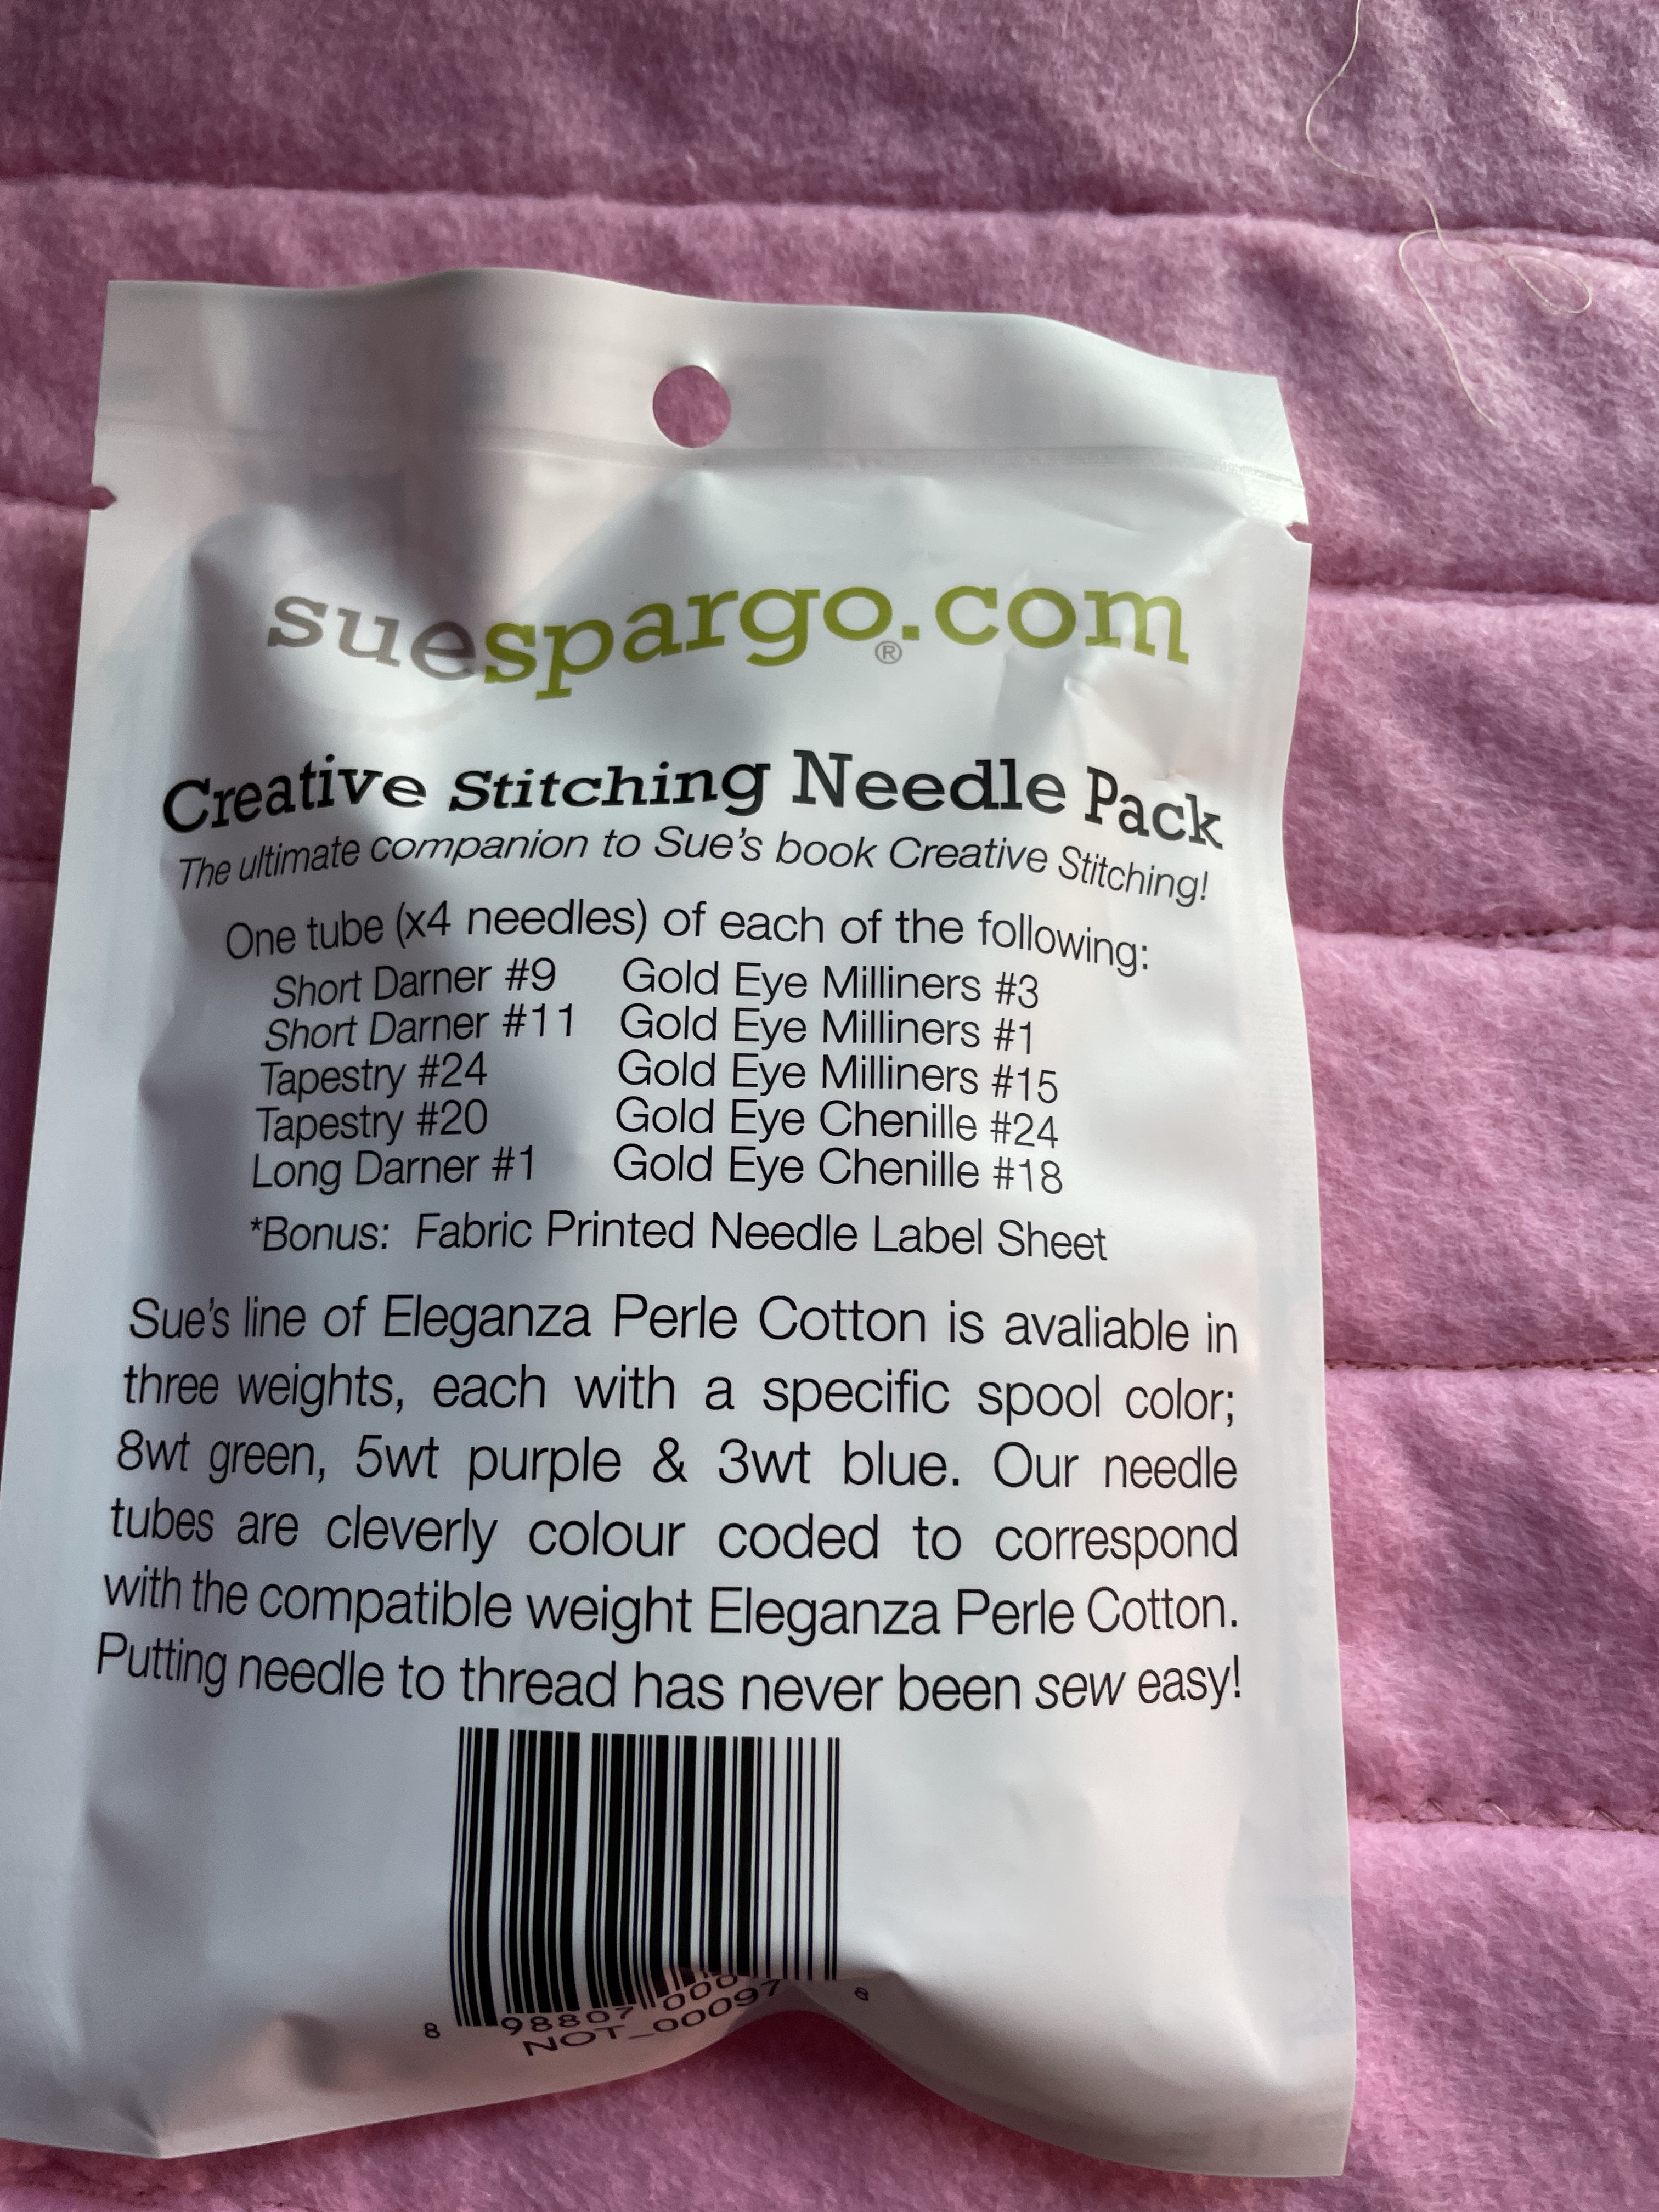
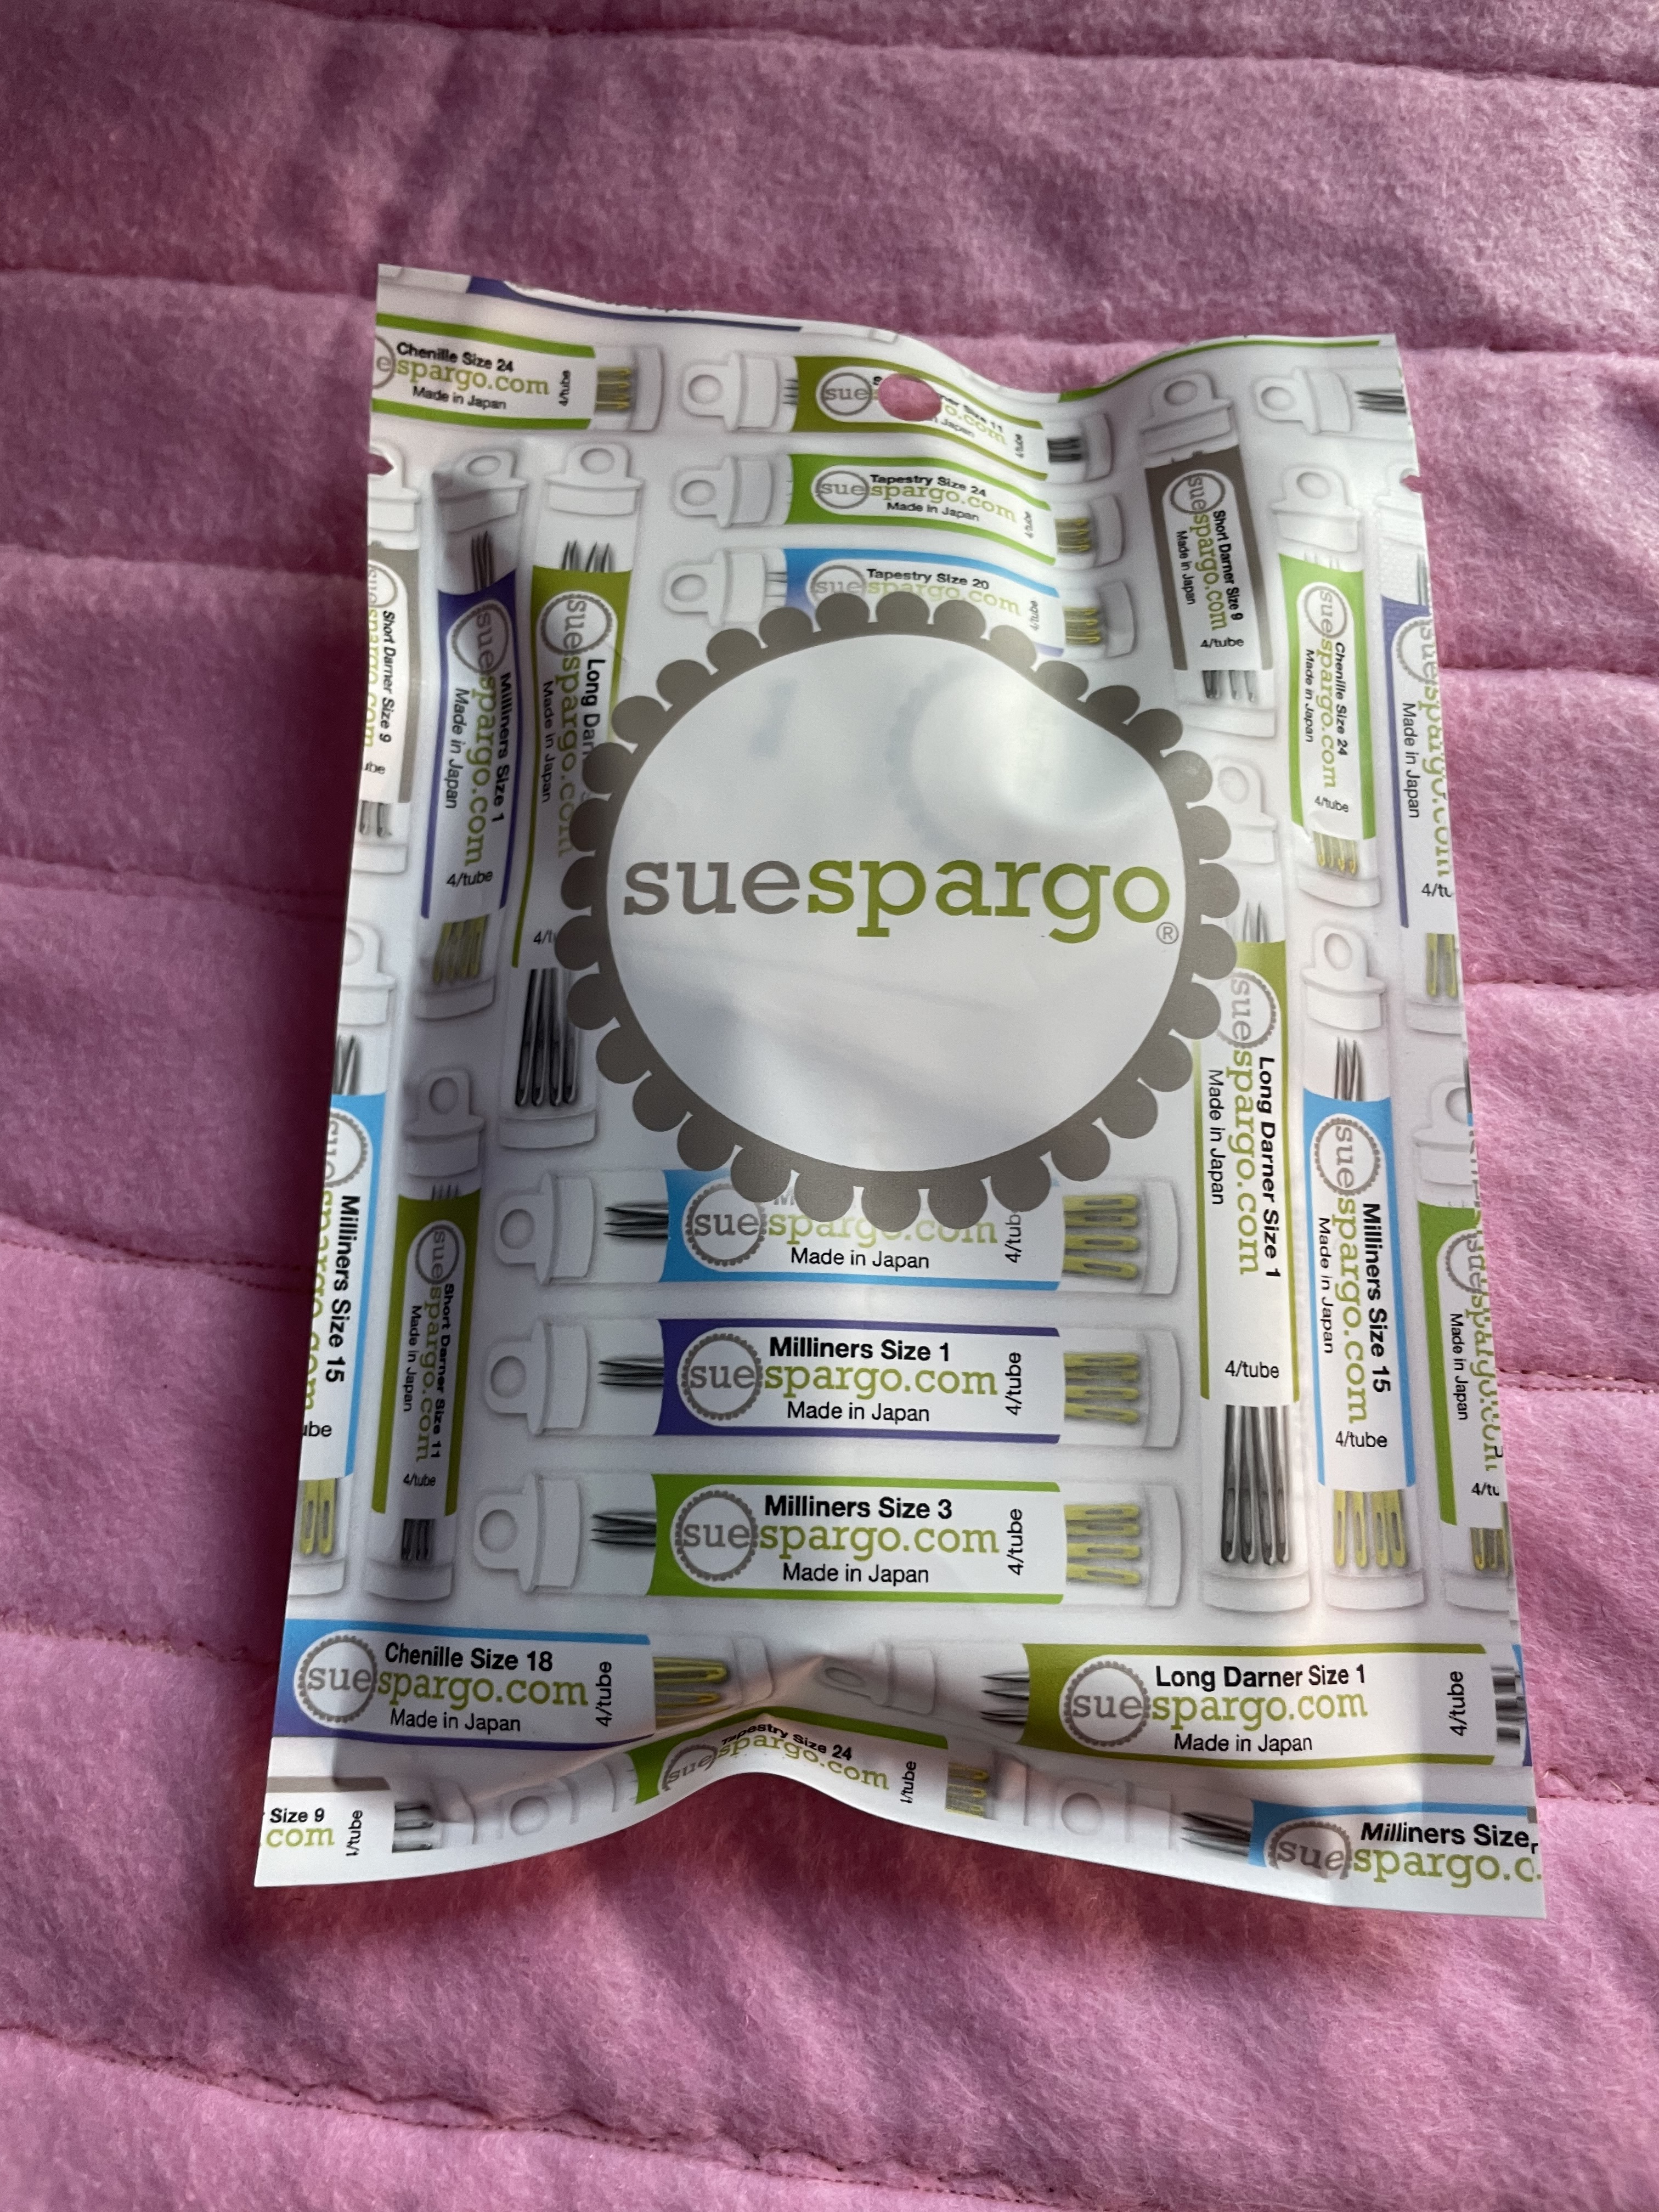

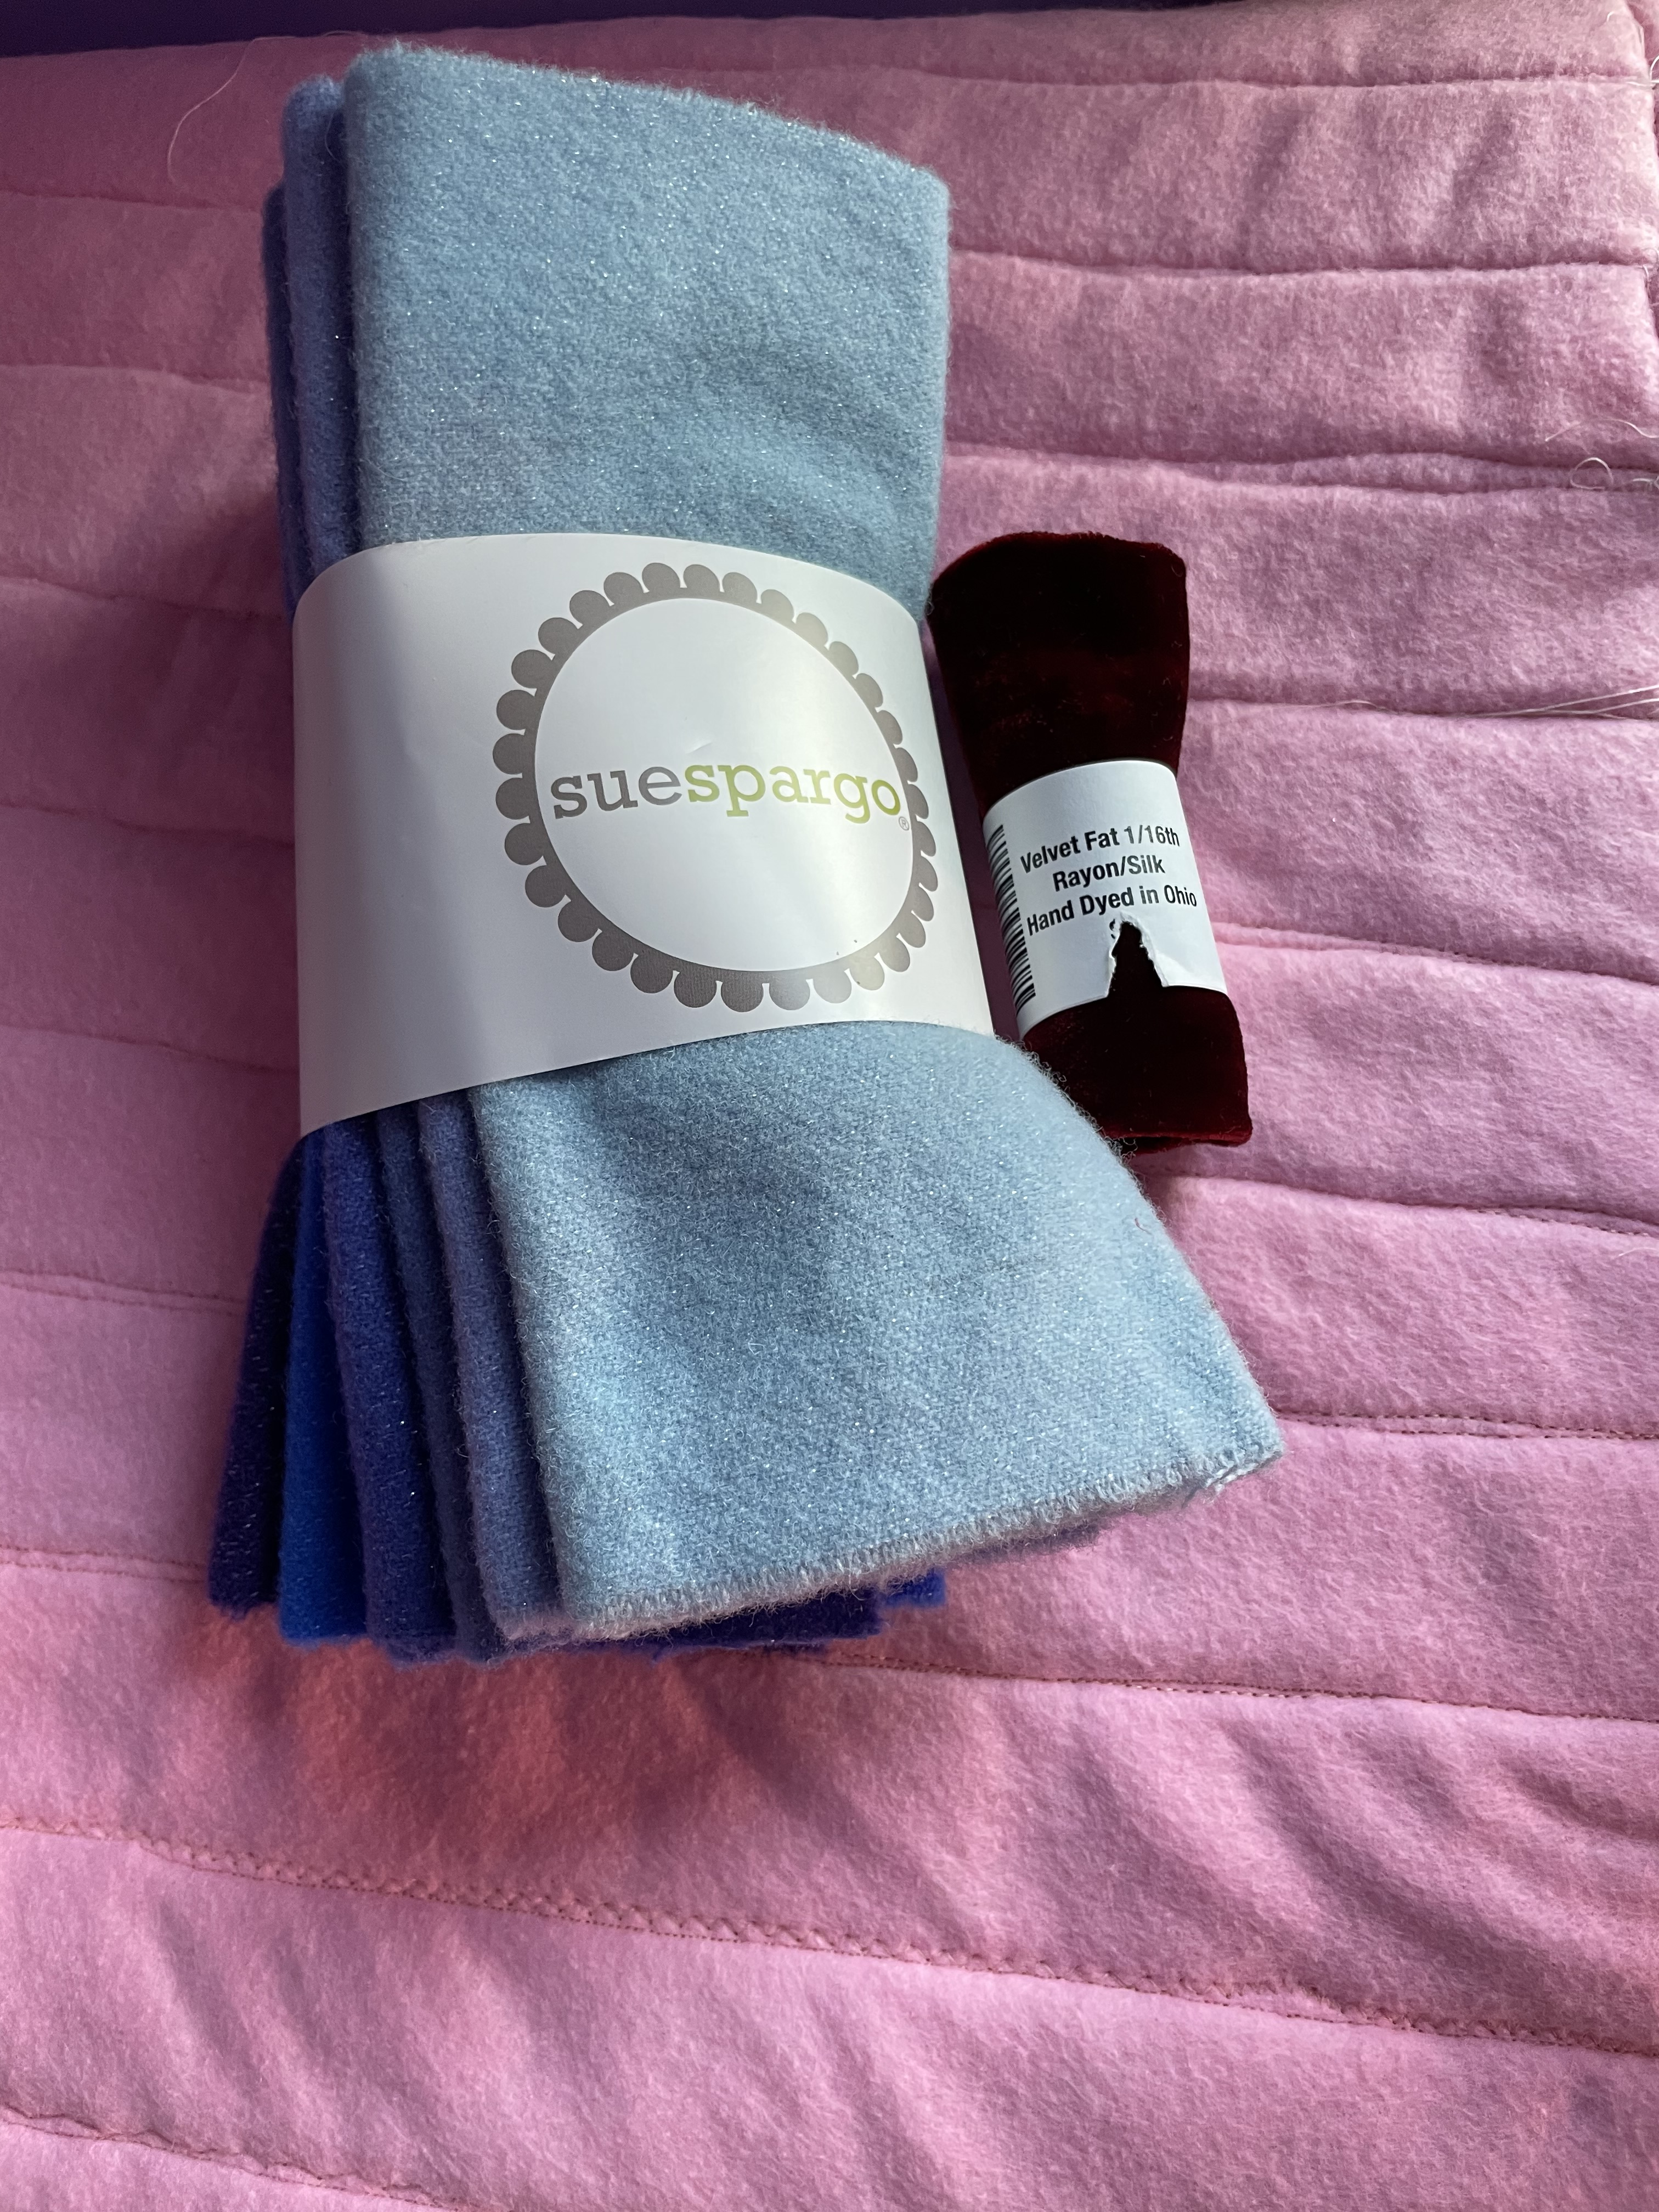
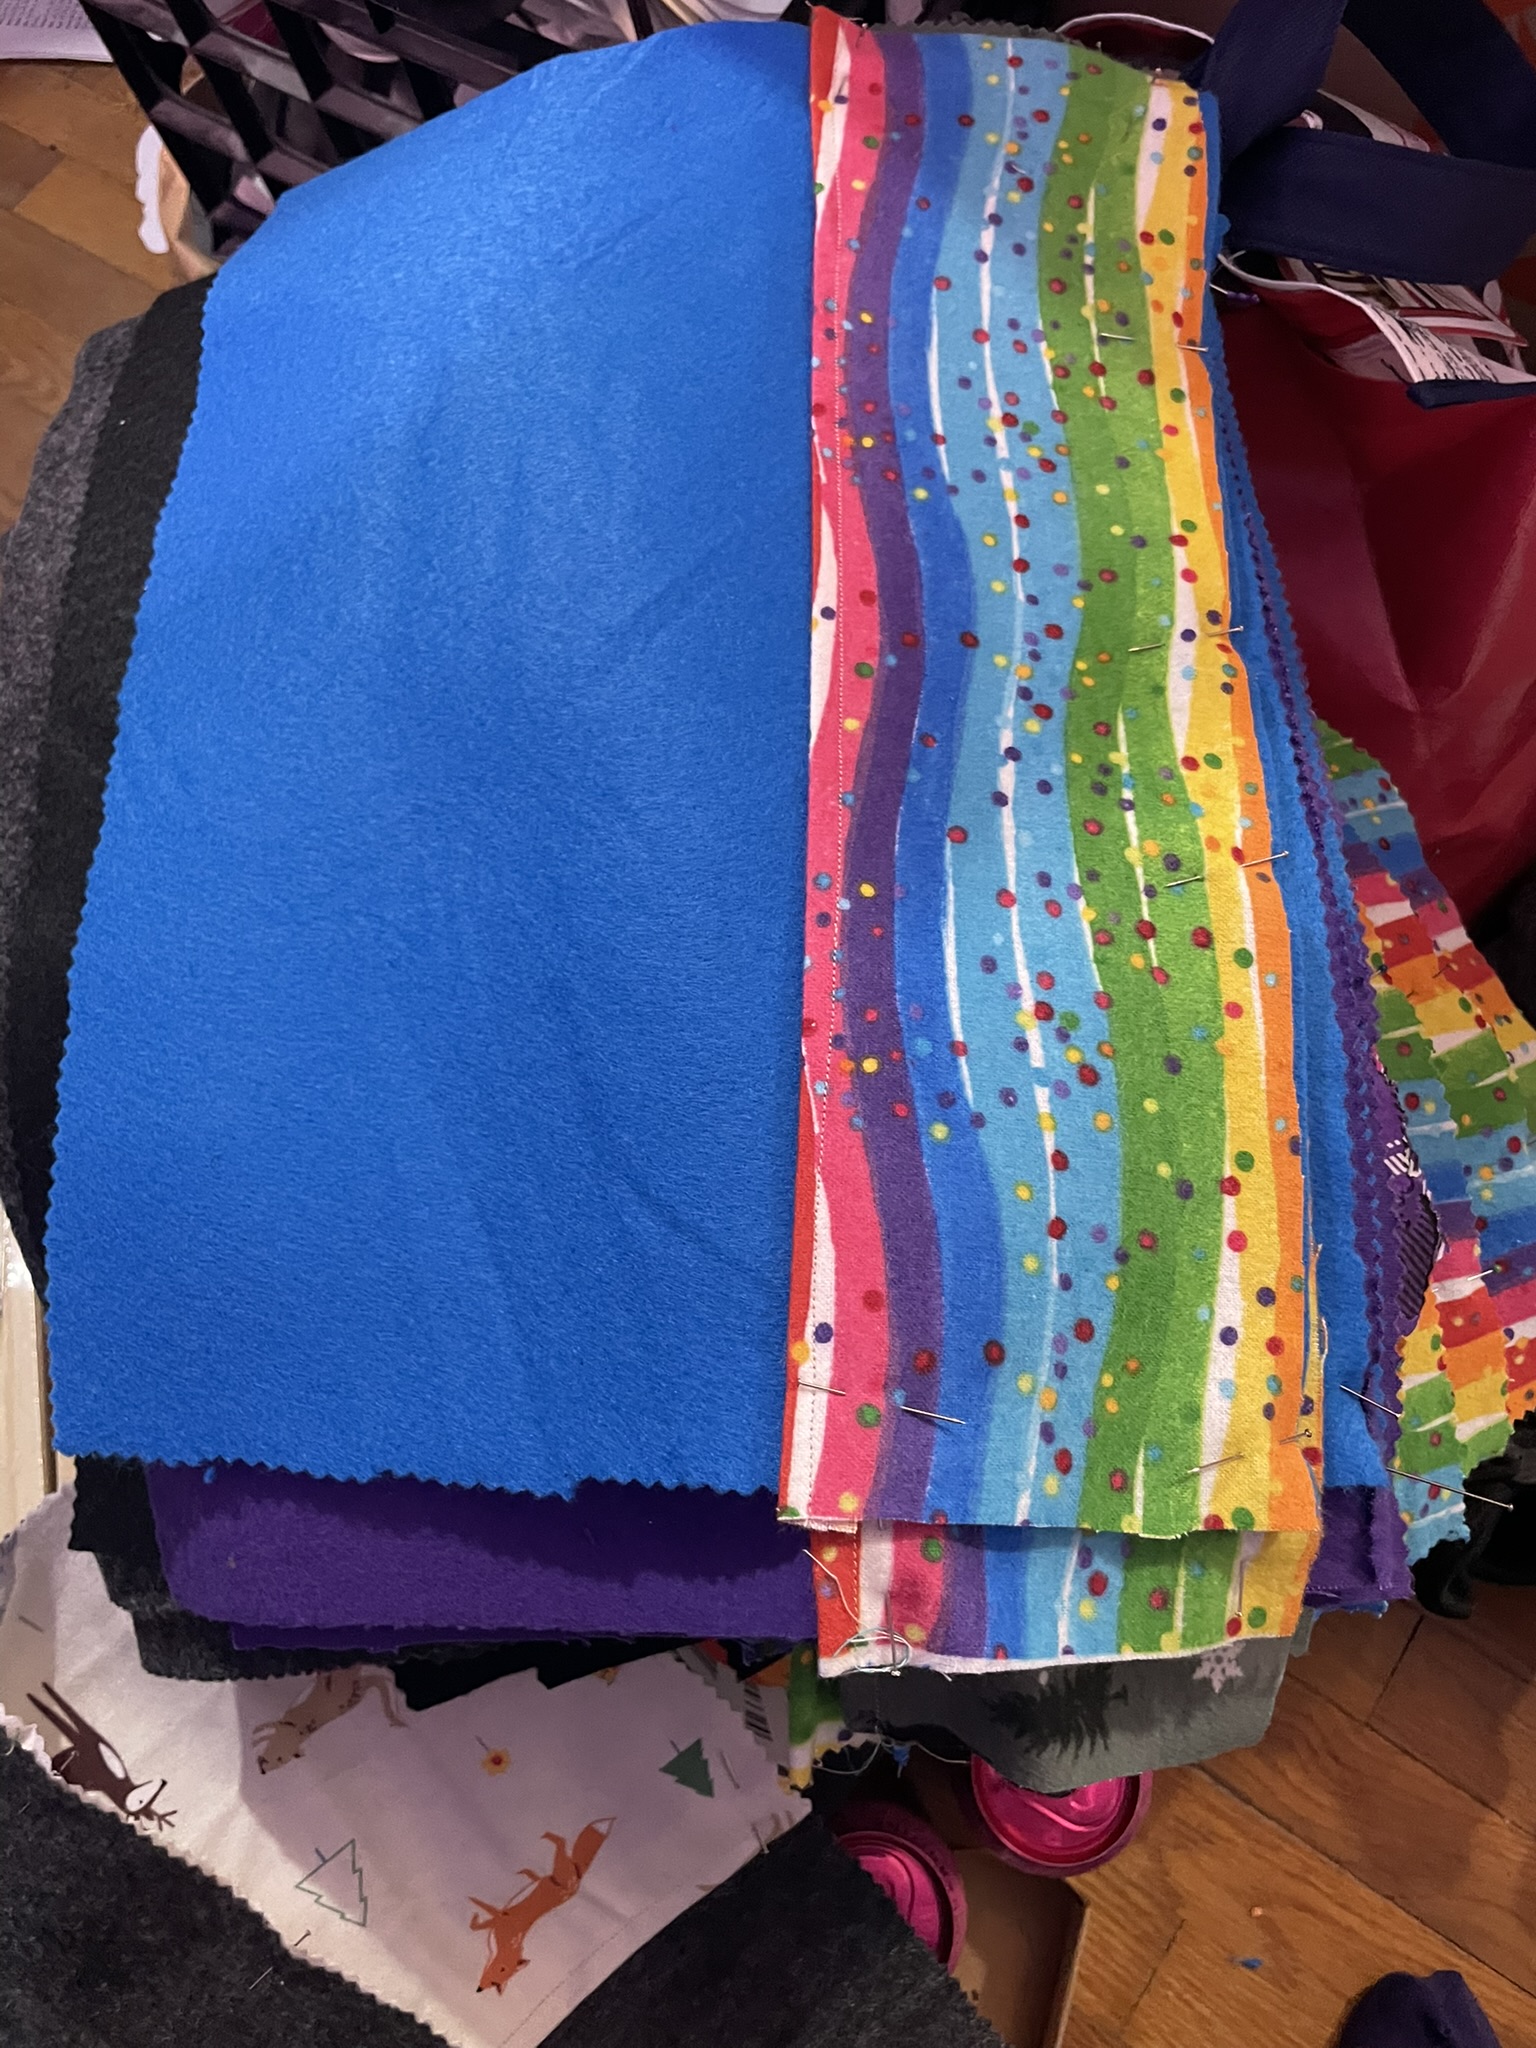
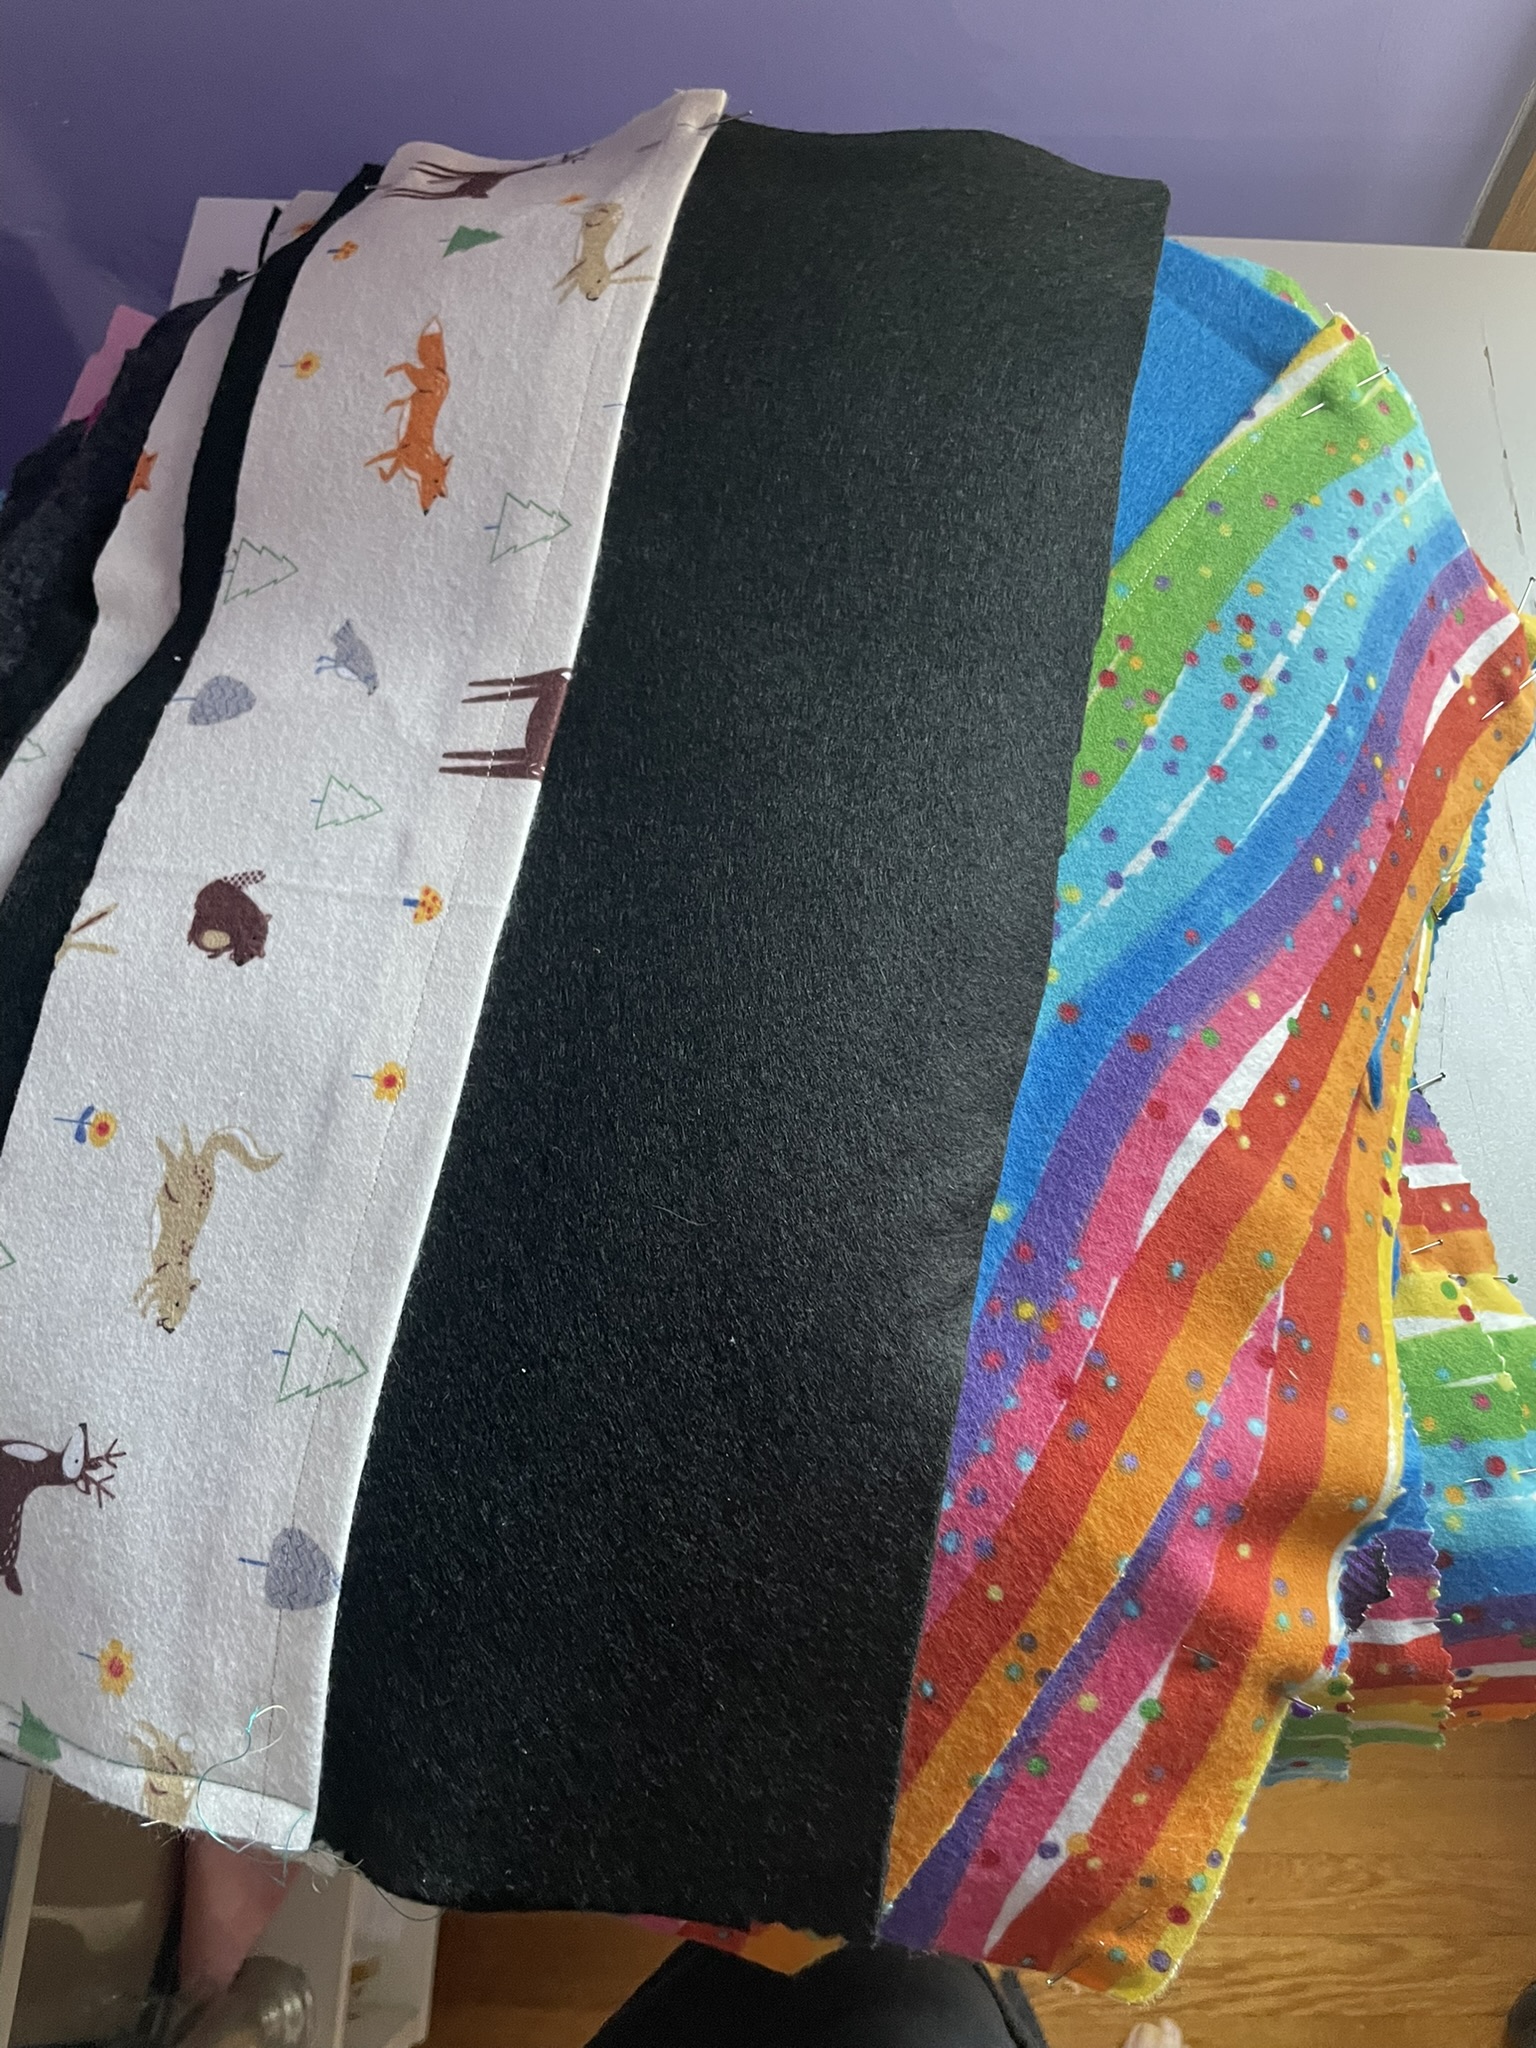
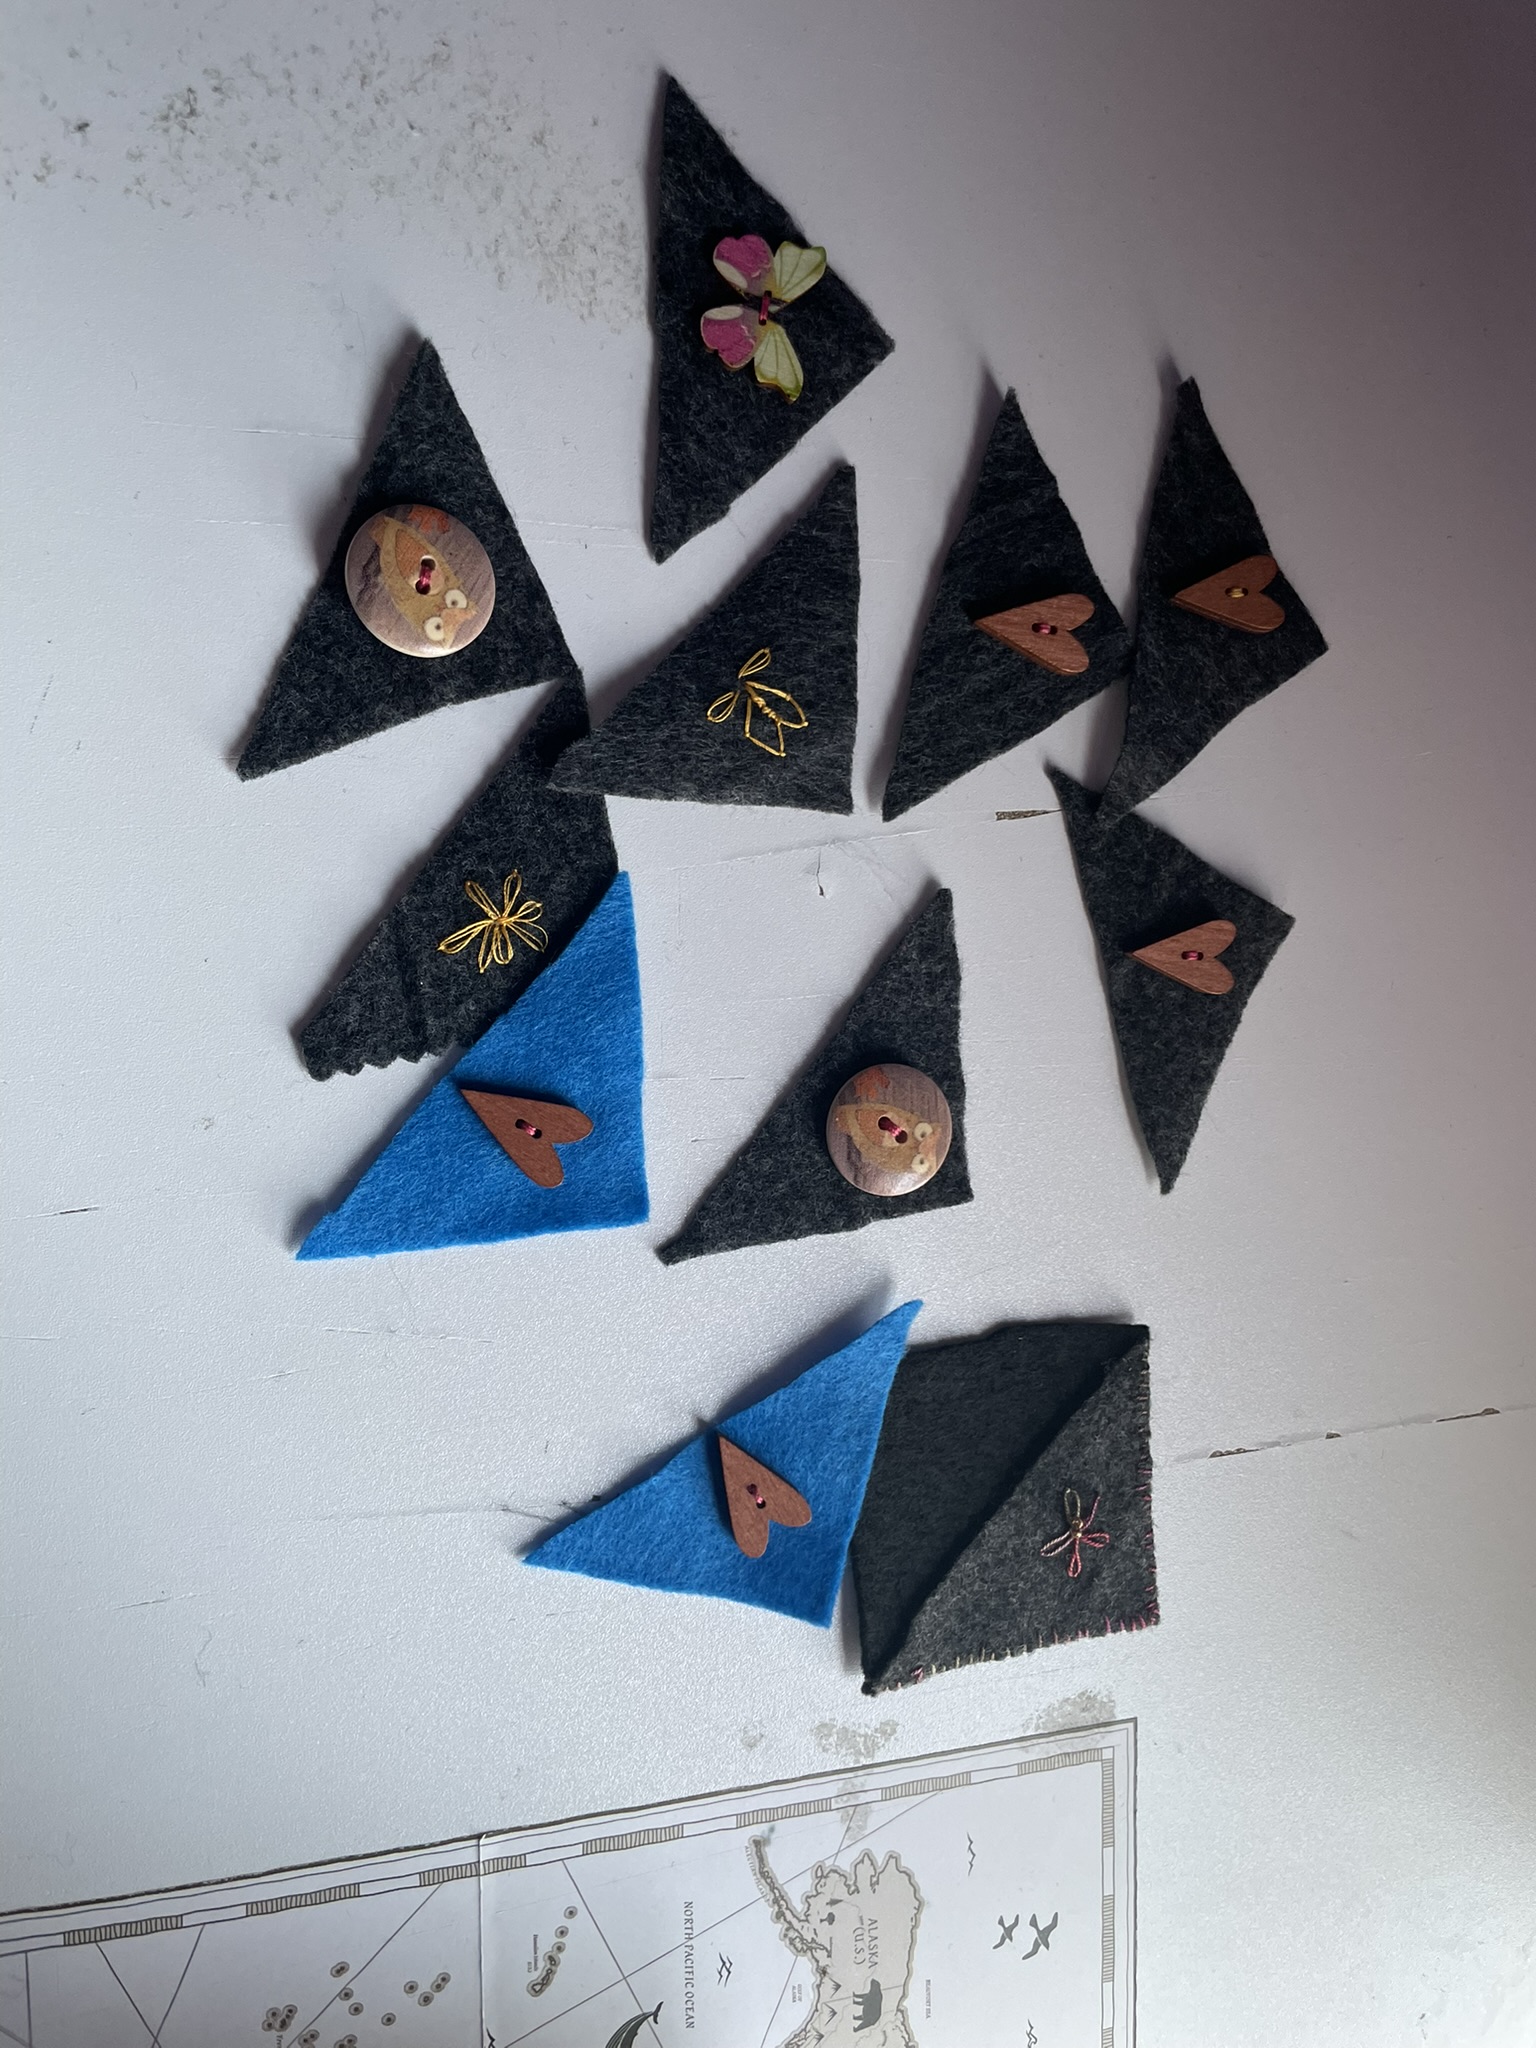
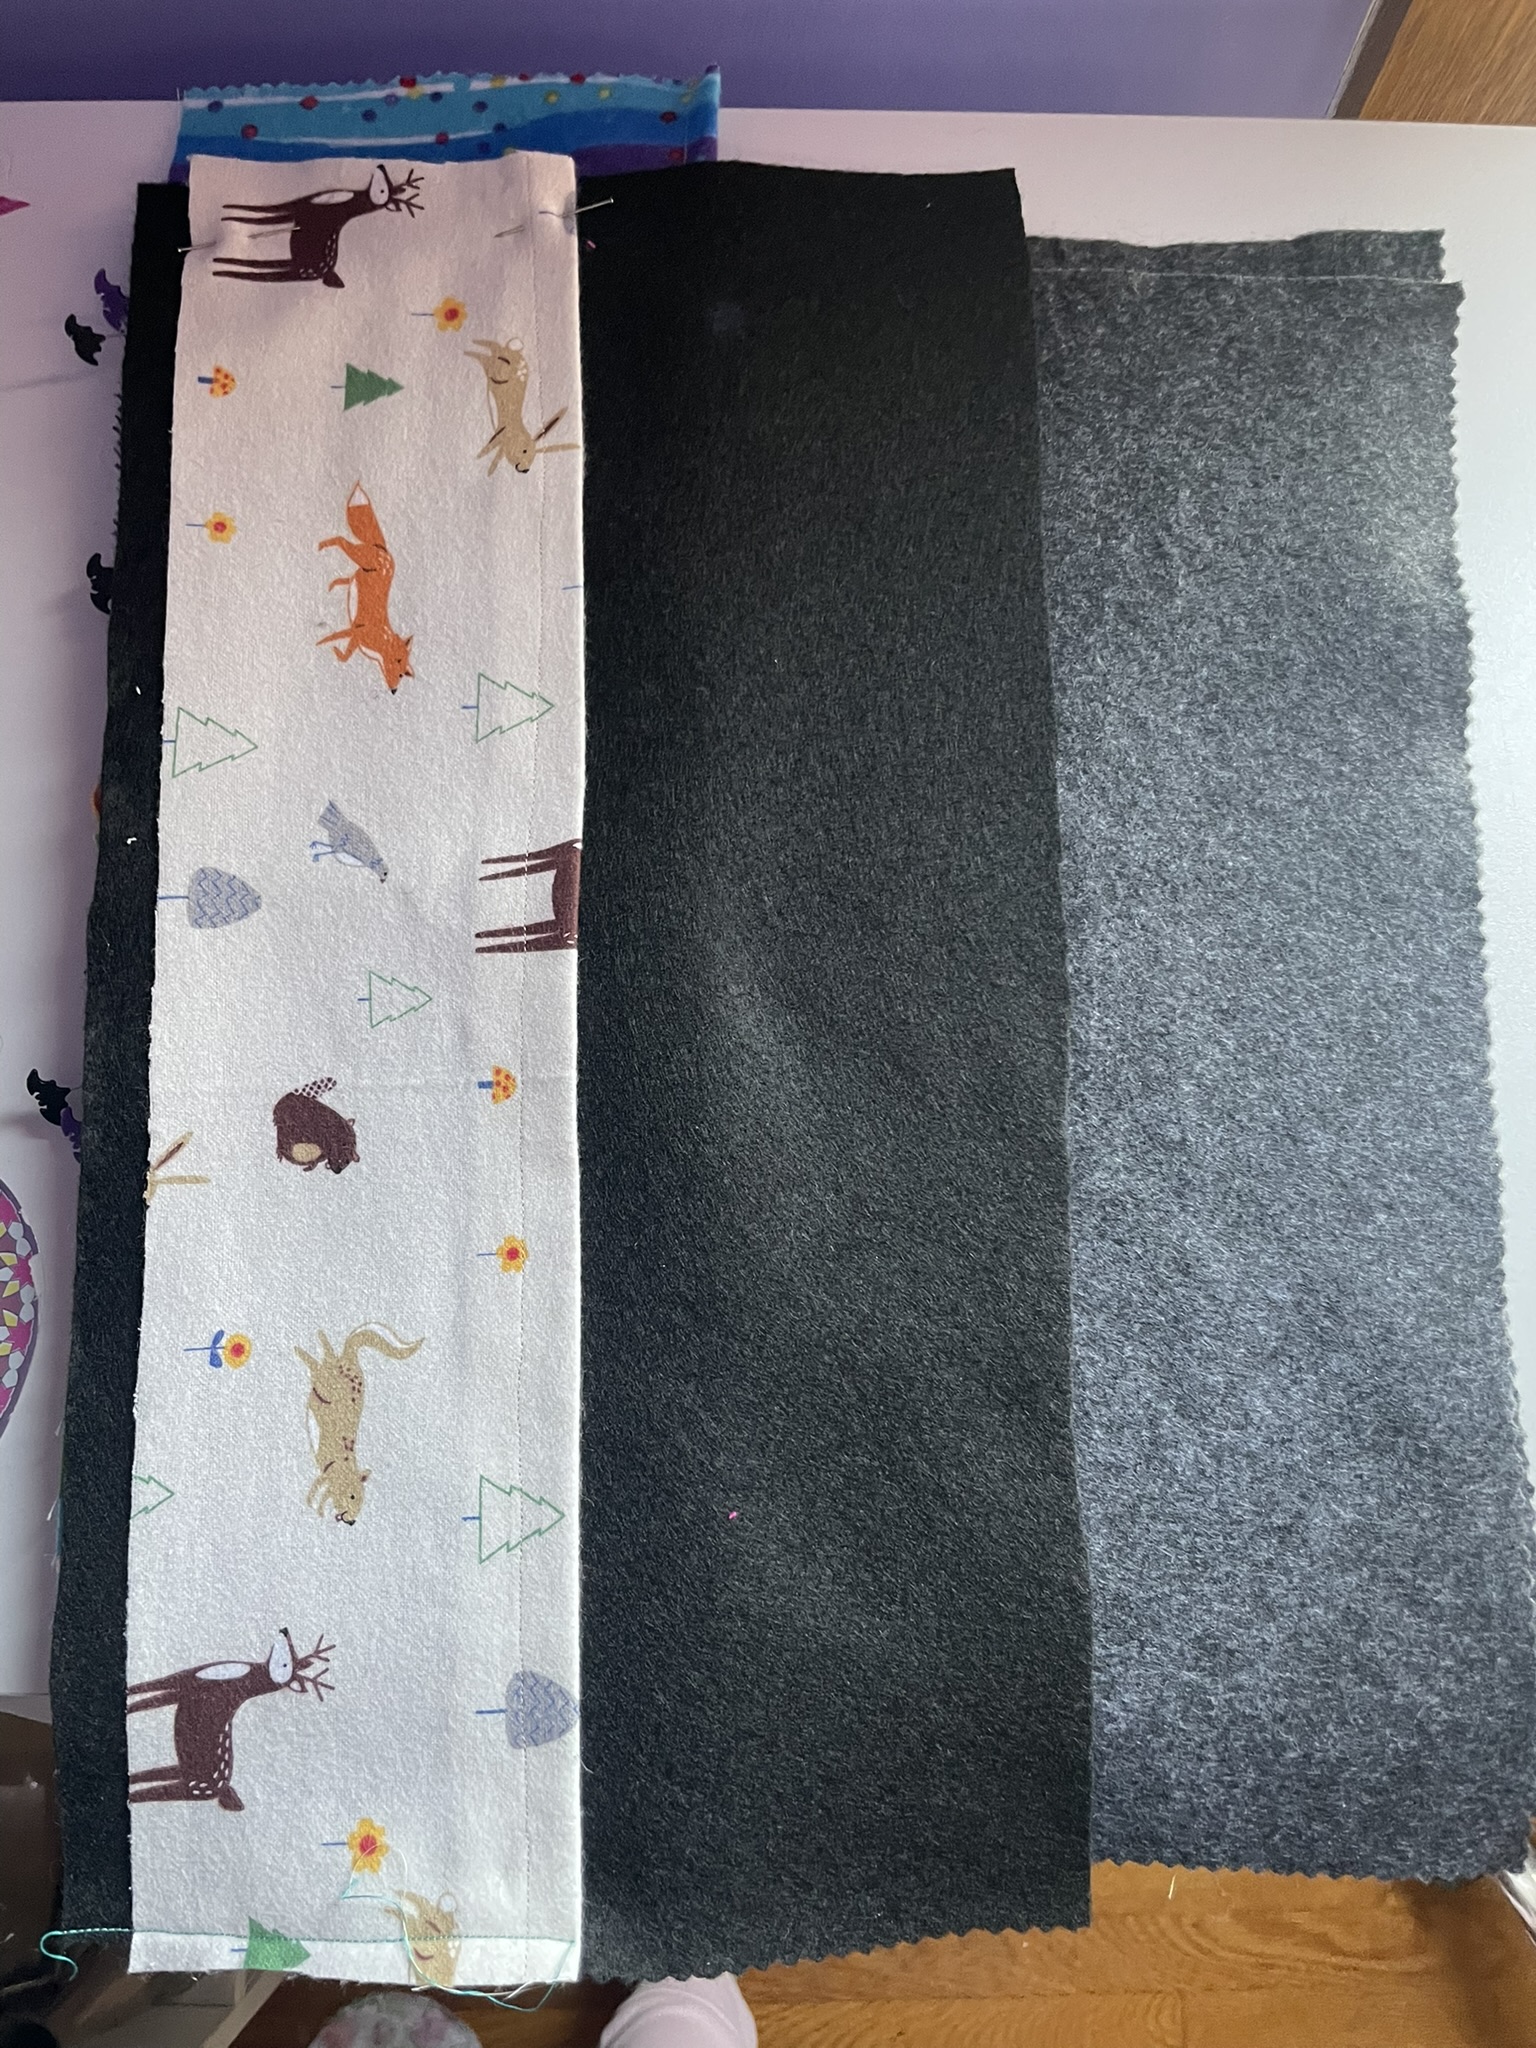
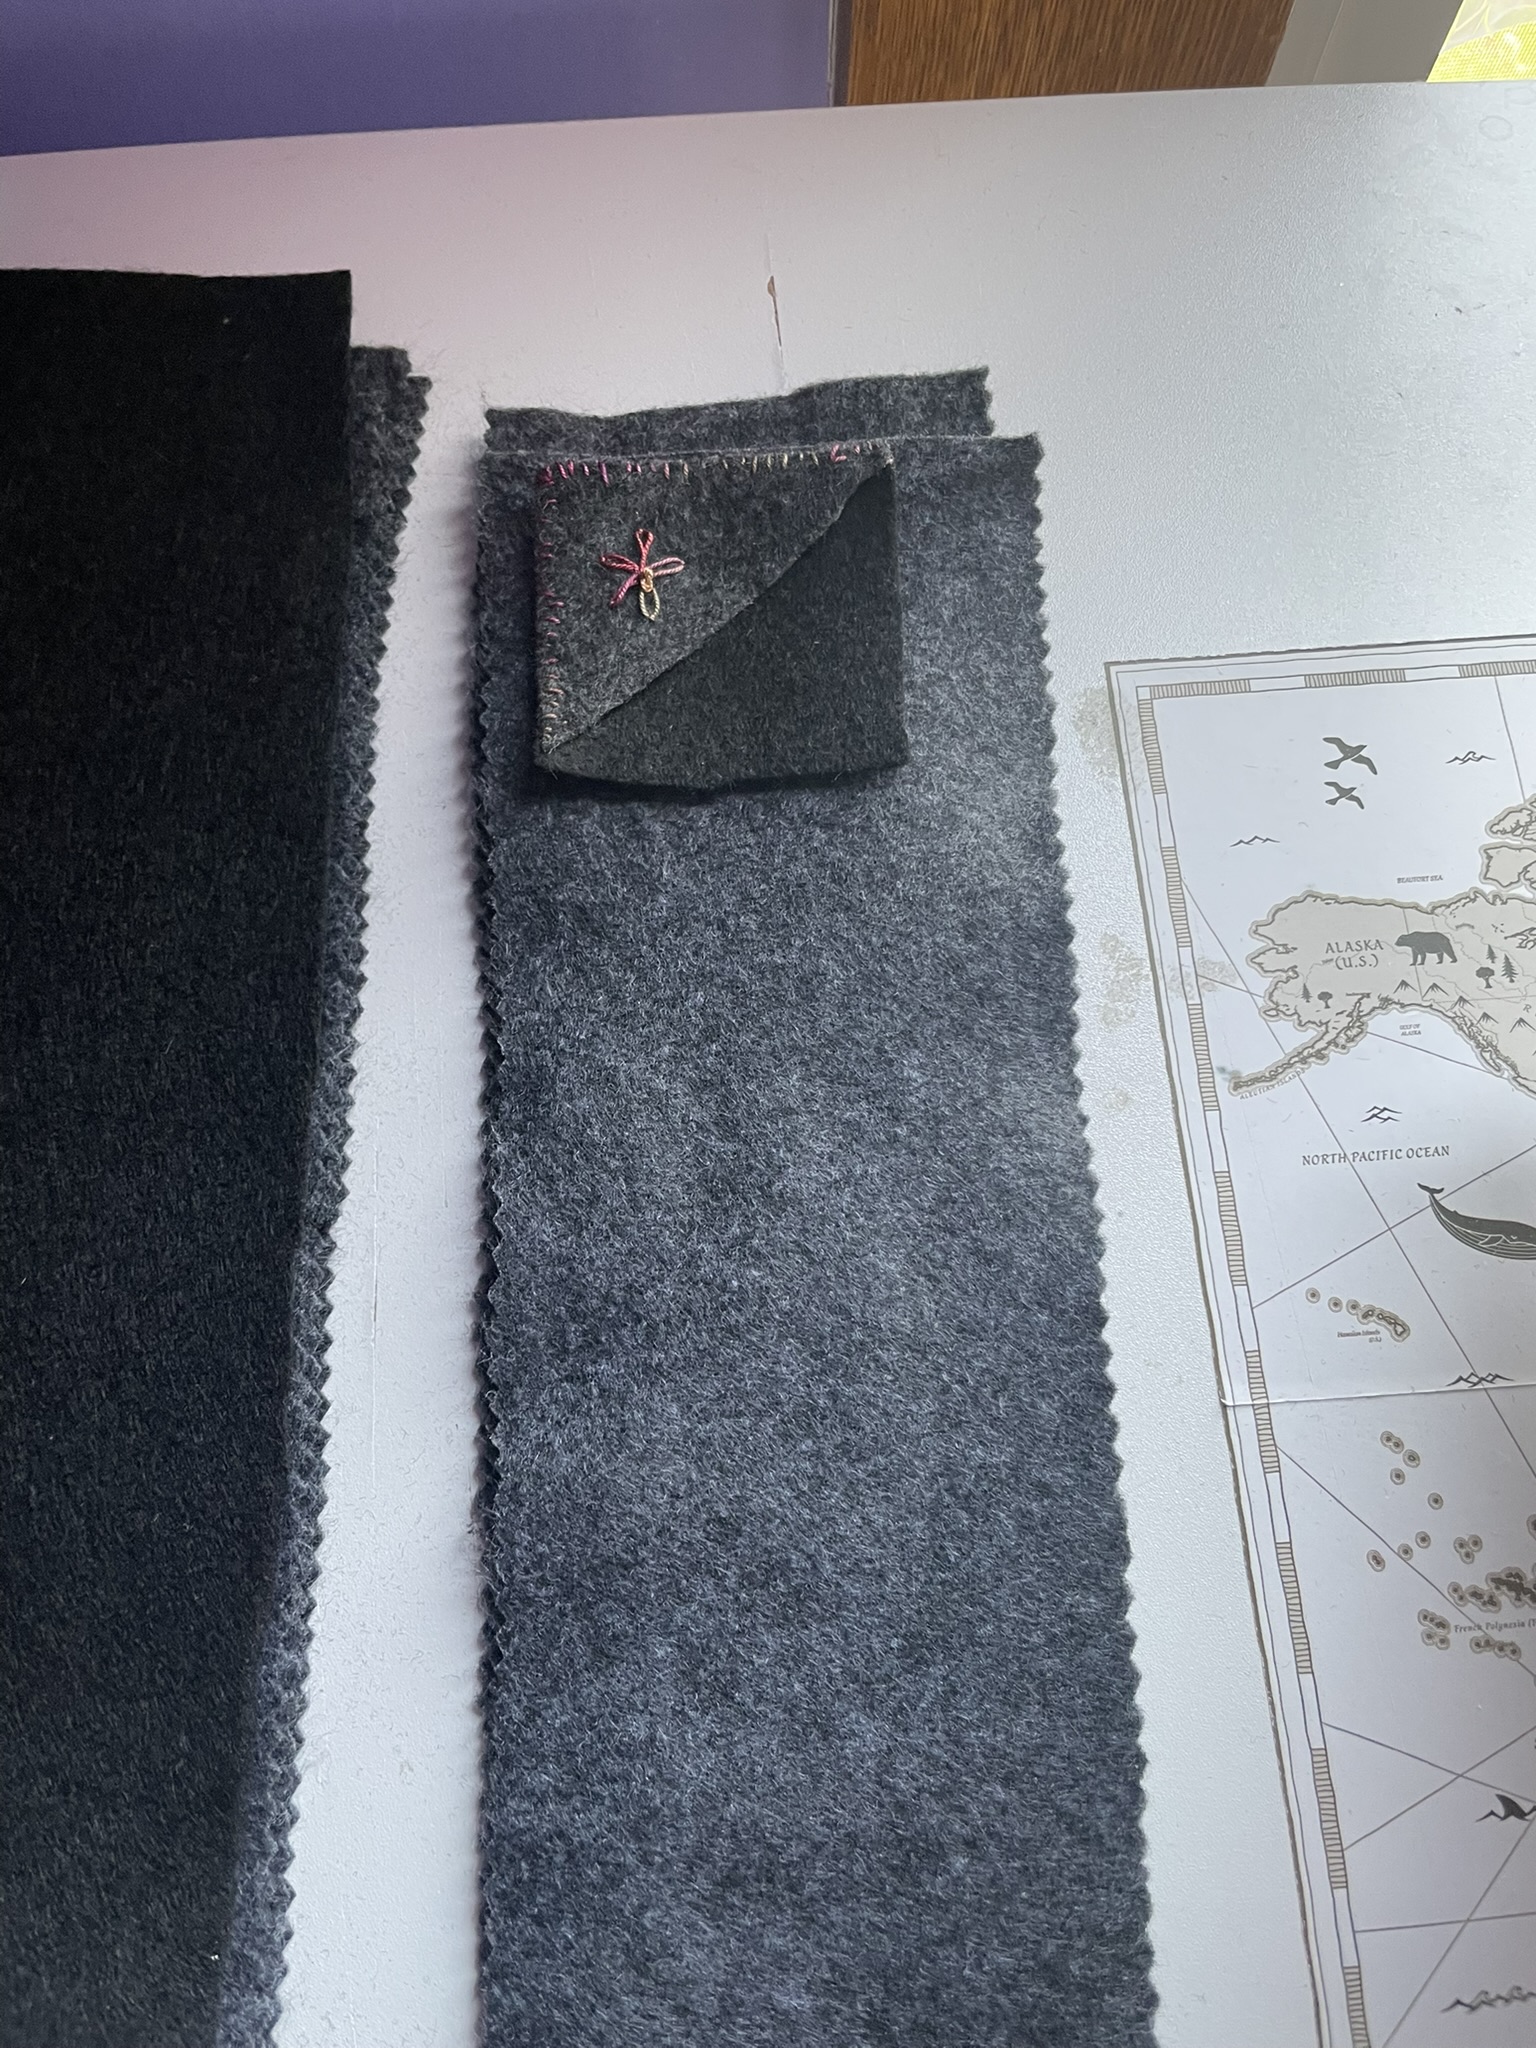
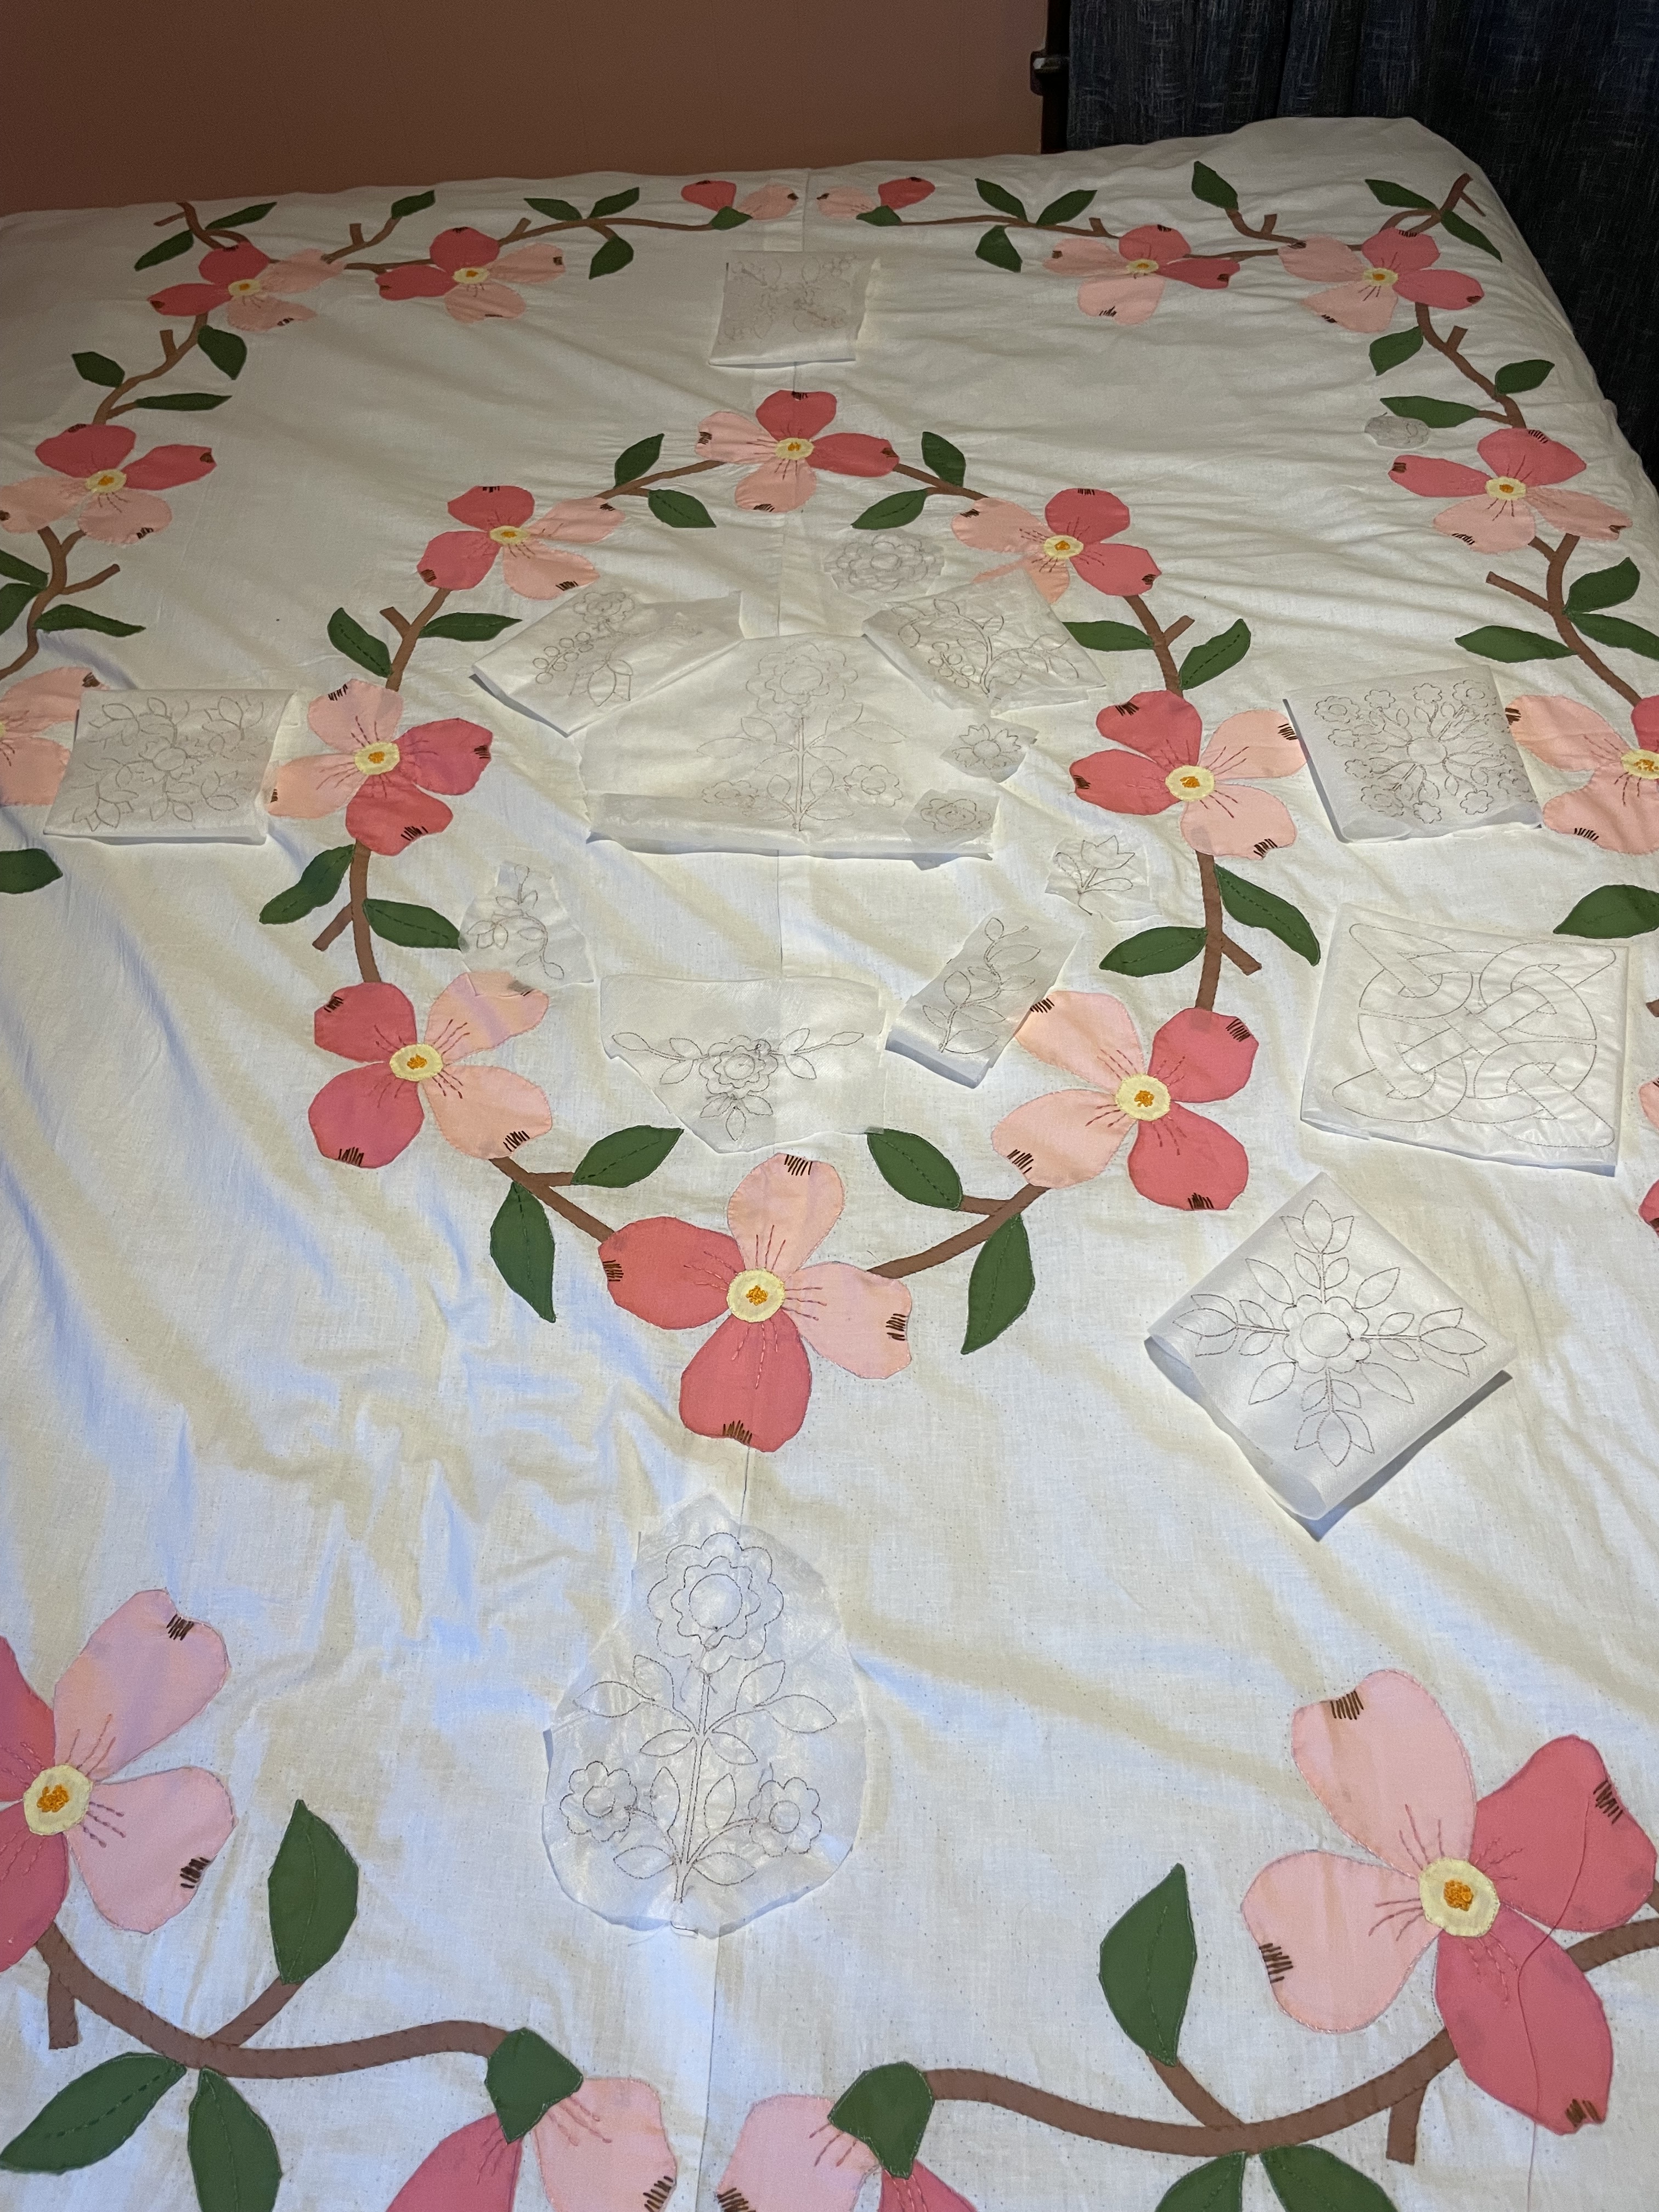
There was wool felt fabric, tell me you didn’t know that I was gonna buy some. There was also an absolutely gorgeous burgundy velvet, and I look forward to experimenting with both of these. The Sue Spargo booth also had a wide variety of needle types, and one of the vendors there showed me where a lovely sampler pack was and so I picked that up as well. In the next post, I will show a picture of one of the quilts that I have been looking at online, but when I saw it in person, I found out that the depth of fabric and color and texture is so much more than can be captured in a two dimensional photo. When I came home I was also lucky enough to remember that I had purchased one of the books that Sue Spargo wrote about various stitches, so I plan on exploring that more in the future.
There was also a variety of products that absolutely blew my mind, but I did not purchase at the show for various reasons. Some of which are financial, lol. I will freely confess I did make a couple of purchases when I came home that I absolutely do not regret and that I am very much looking forward to receiving. Although my crafting budget is certainly done for the year as soon as I get the credit card paid off, I will consider starting up again, or saving to attend this show again next year.
The next post is going to be absolutely chock full of inspiration and beautiful photographs so until next time Remember to Live Life a Little More Abstract!