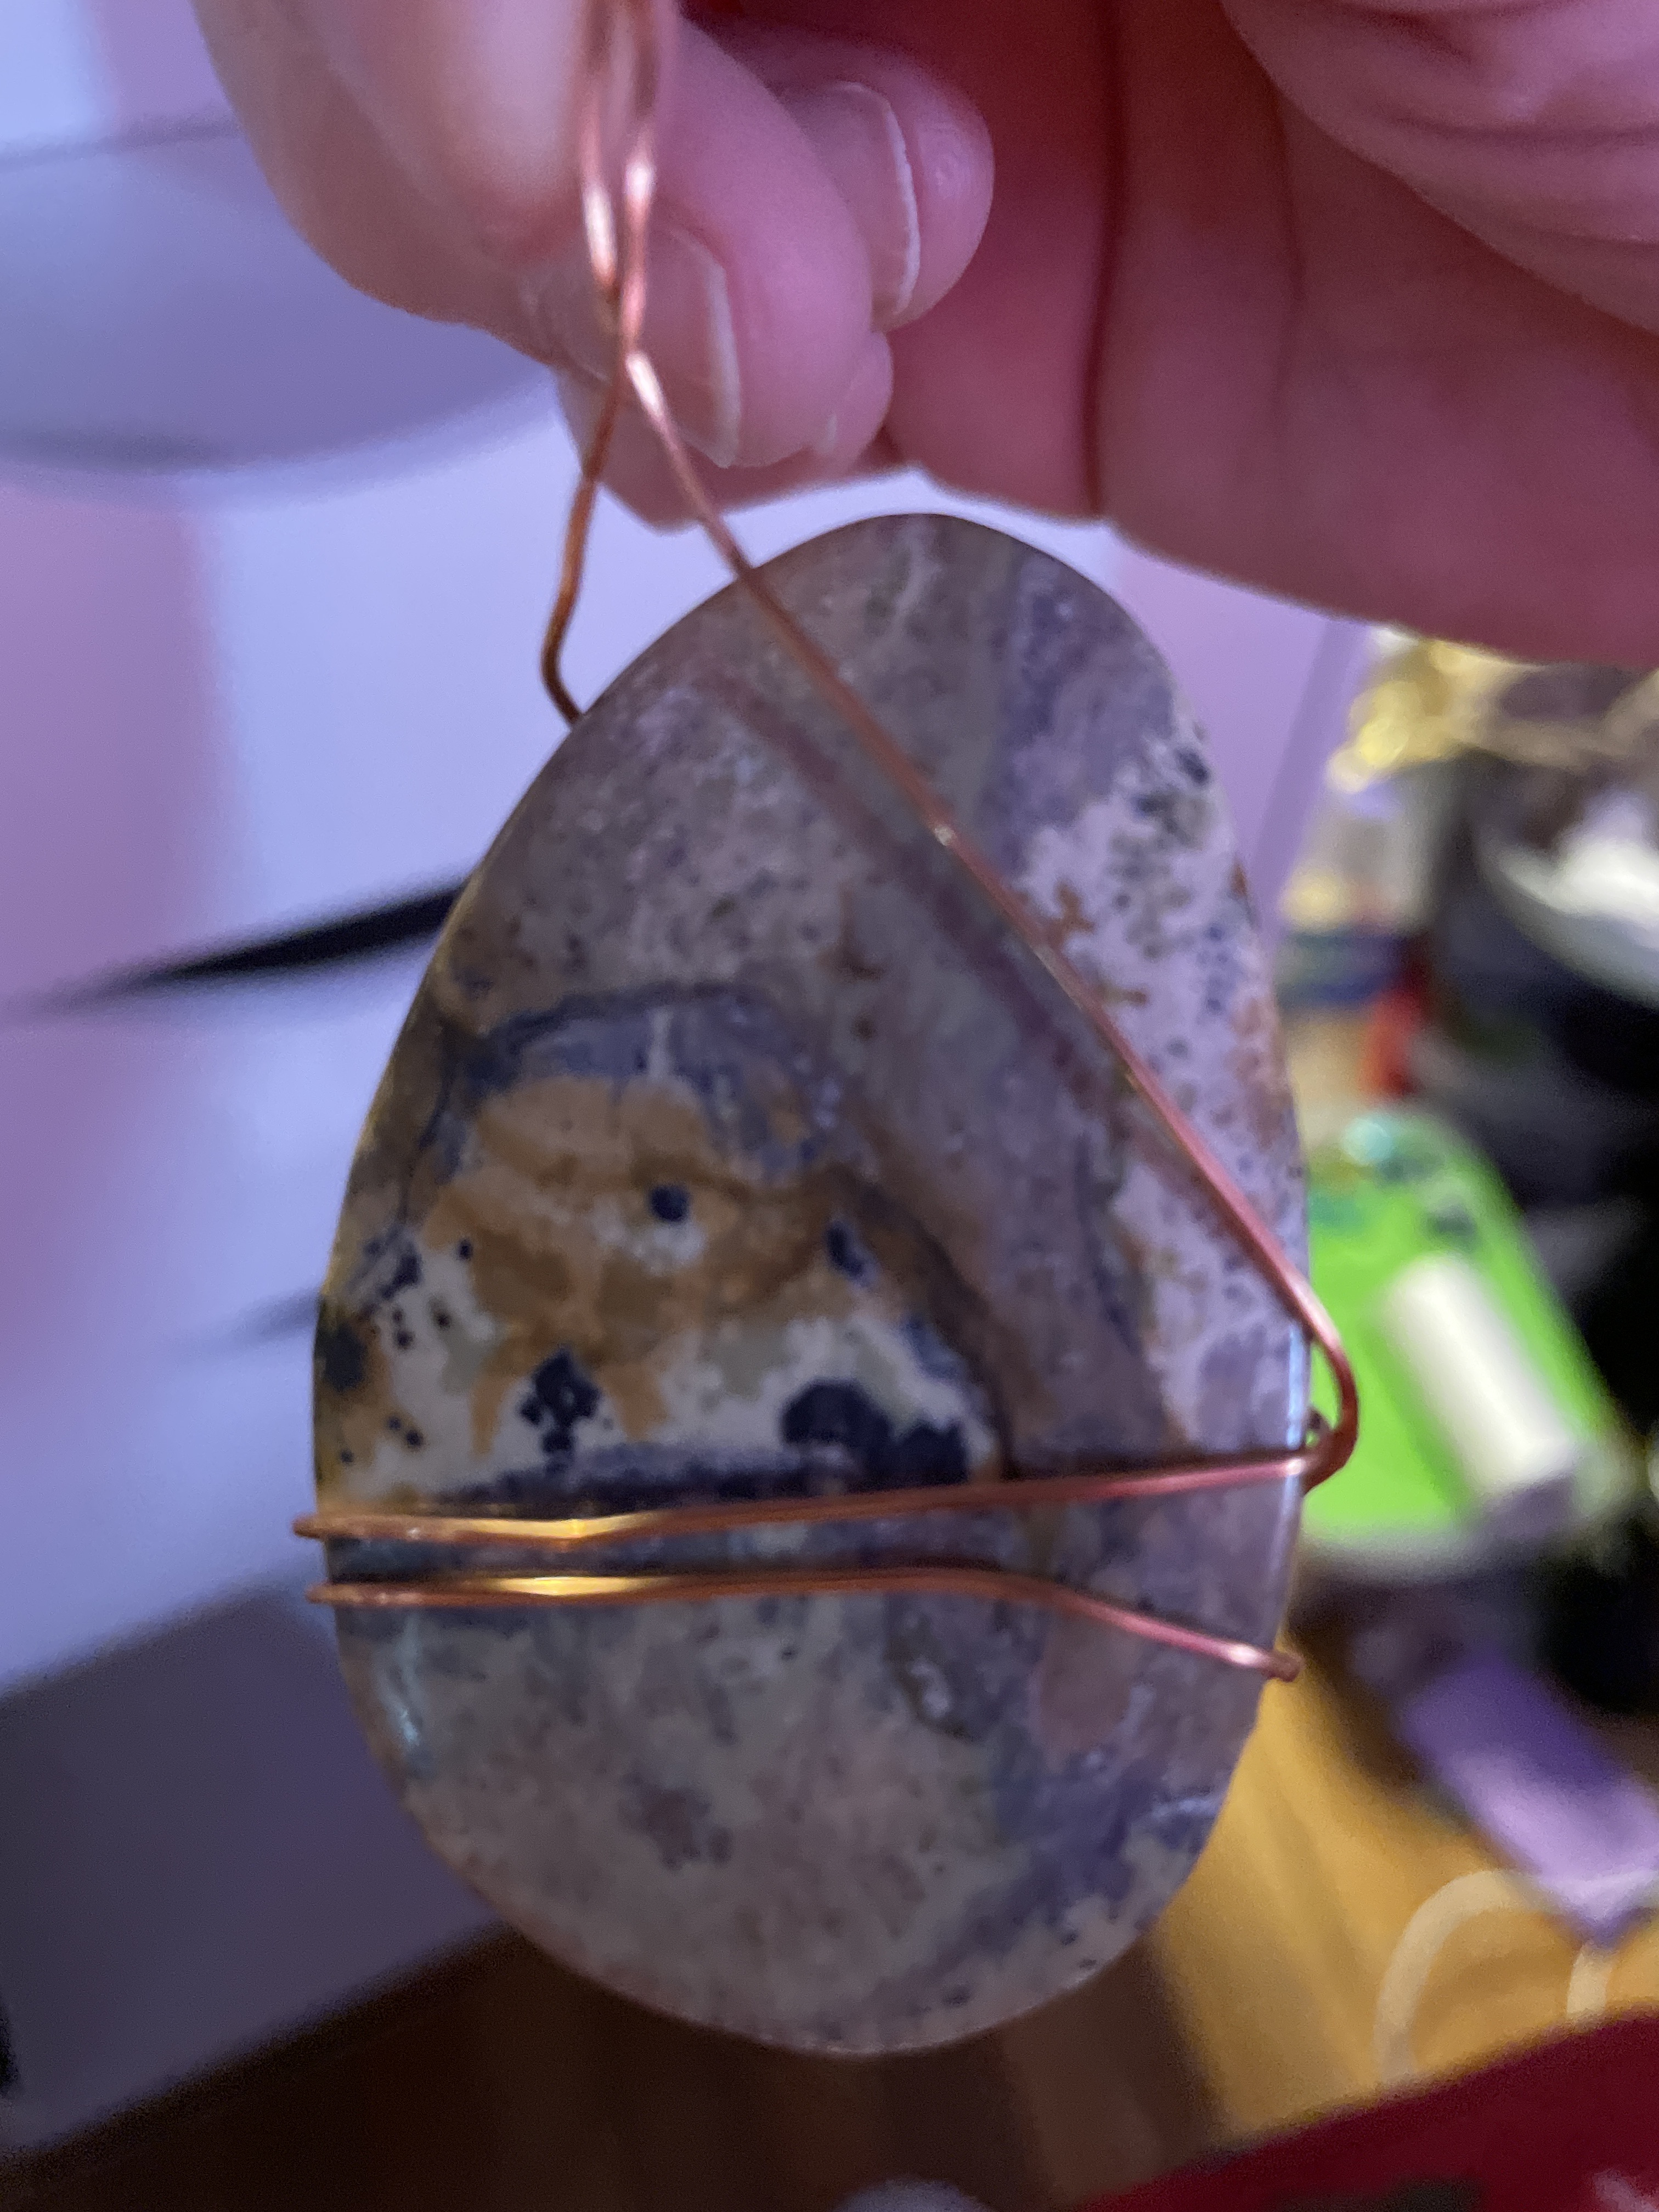
I am never satisfied with ‘good enough’ and I have decided to take on some new learning projects as well as a new big project. I’m going to start with learning, those are wire wrapping (which I mentioned in my last post) as well as Bobbin Lace. I have some already polished stones that I have purchased over the last few years, a few are shapes, and copper wire is relatively inexpensive. These factors combined with the desire to not mess up expensive Silver Wire, has me trying to wrap some smaller stones. This is proving to be a little more difficult than I anticipated, but I expected that since I’ve tried a little playing with wire in the past. Currently superglue is keeping the wire on this cabochon so I’m not really happy with myself, however it is a learning curve.
Bobbin lace is proving to be a lot of fun, I’m not sure it is going to be something that I can teach my library patrons but perhaps.
I was looking at buying a banner for my craft booth, and for a 2’x4′ it looks like about $40-$60 is what that would cost. Perhaps if I want it very simple I could get away with $35…but why not make my own banner? Admittedly, it is not going to be waterproof since it is going to be a Machine Embroidered Quilt…but on the other hand, it’s going to be an embroidered quilt banner…I’m so happy about this idea!
Okay, so this was a short update, but I hope you found it as inspirational as I did! Live Life a Little More Abstract!
I was lucky enough this past week to have encountered a rare productivity burst. Throughout this burst I was able to get one of my rooms organized, start several projects, and make progress on other projects.
Not all of my projects turned out great, but most of them did what I wanted. The first paragraph is going to be about outside projects I was able to complete during a warm day, and the rest is going to be about crafts I have started, some are a little more artistic than crafty, but everything I do comes back around to crafts eventually. Even my garden, which is what the next paragraph is going to be about, is going to have plants that are good natural dye producers. Speaking of, onto the outdoor projects.
During a windstorm my downspout decided to blow off of my house. This seemed like a sign to add a rain barrel to my gardening. I bought a rain barrel, and the device to connect it to my downspout. To see if I was able to get away with a cheap solution I purchased a connector that was a little too big, sealant, and some screws intended for a downpipes, under $10, and decided to try to connect it from the ground… It didn’t work, but I really didn’t think it would I was just really hopeful.
This means that I am going to have to wait a little longer since I will need to purchase a 7′ ladder, new downspout, and probably an elbow for the top. I also noticed that there is no downspout on the gutter that surrounds my porch so I’m probably going to add one on just to be sure. The downspout was not my only outside project, I also managed to put up my mini pop-up greenhouse. It is weighed down with some stones from my front yard and it currently houses my mower, clippers, and a few other gardening things. This prompted me to finally put together my two workbench sawhorses, one of which is currently in the greenhouse. I’m hoping to start some plants in March or April. Okay, let’s get into crafts now!
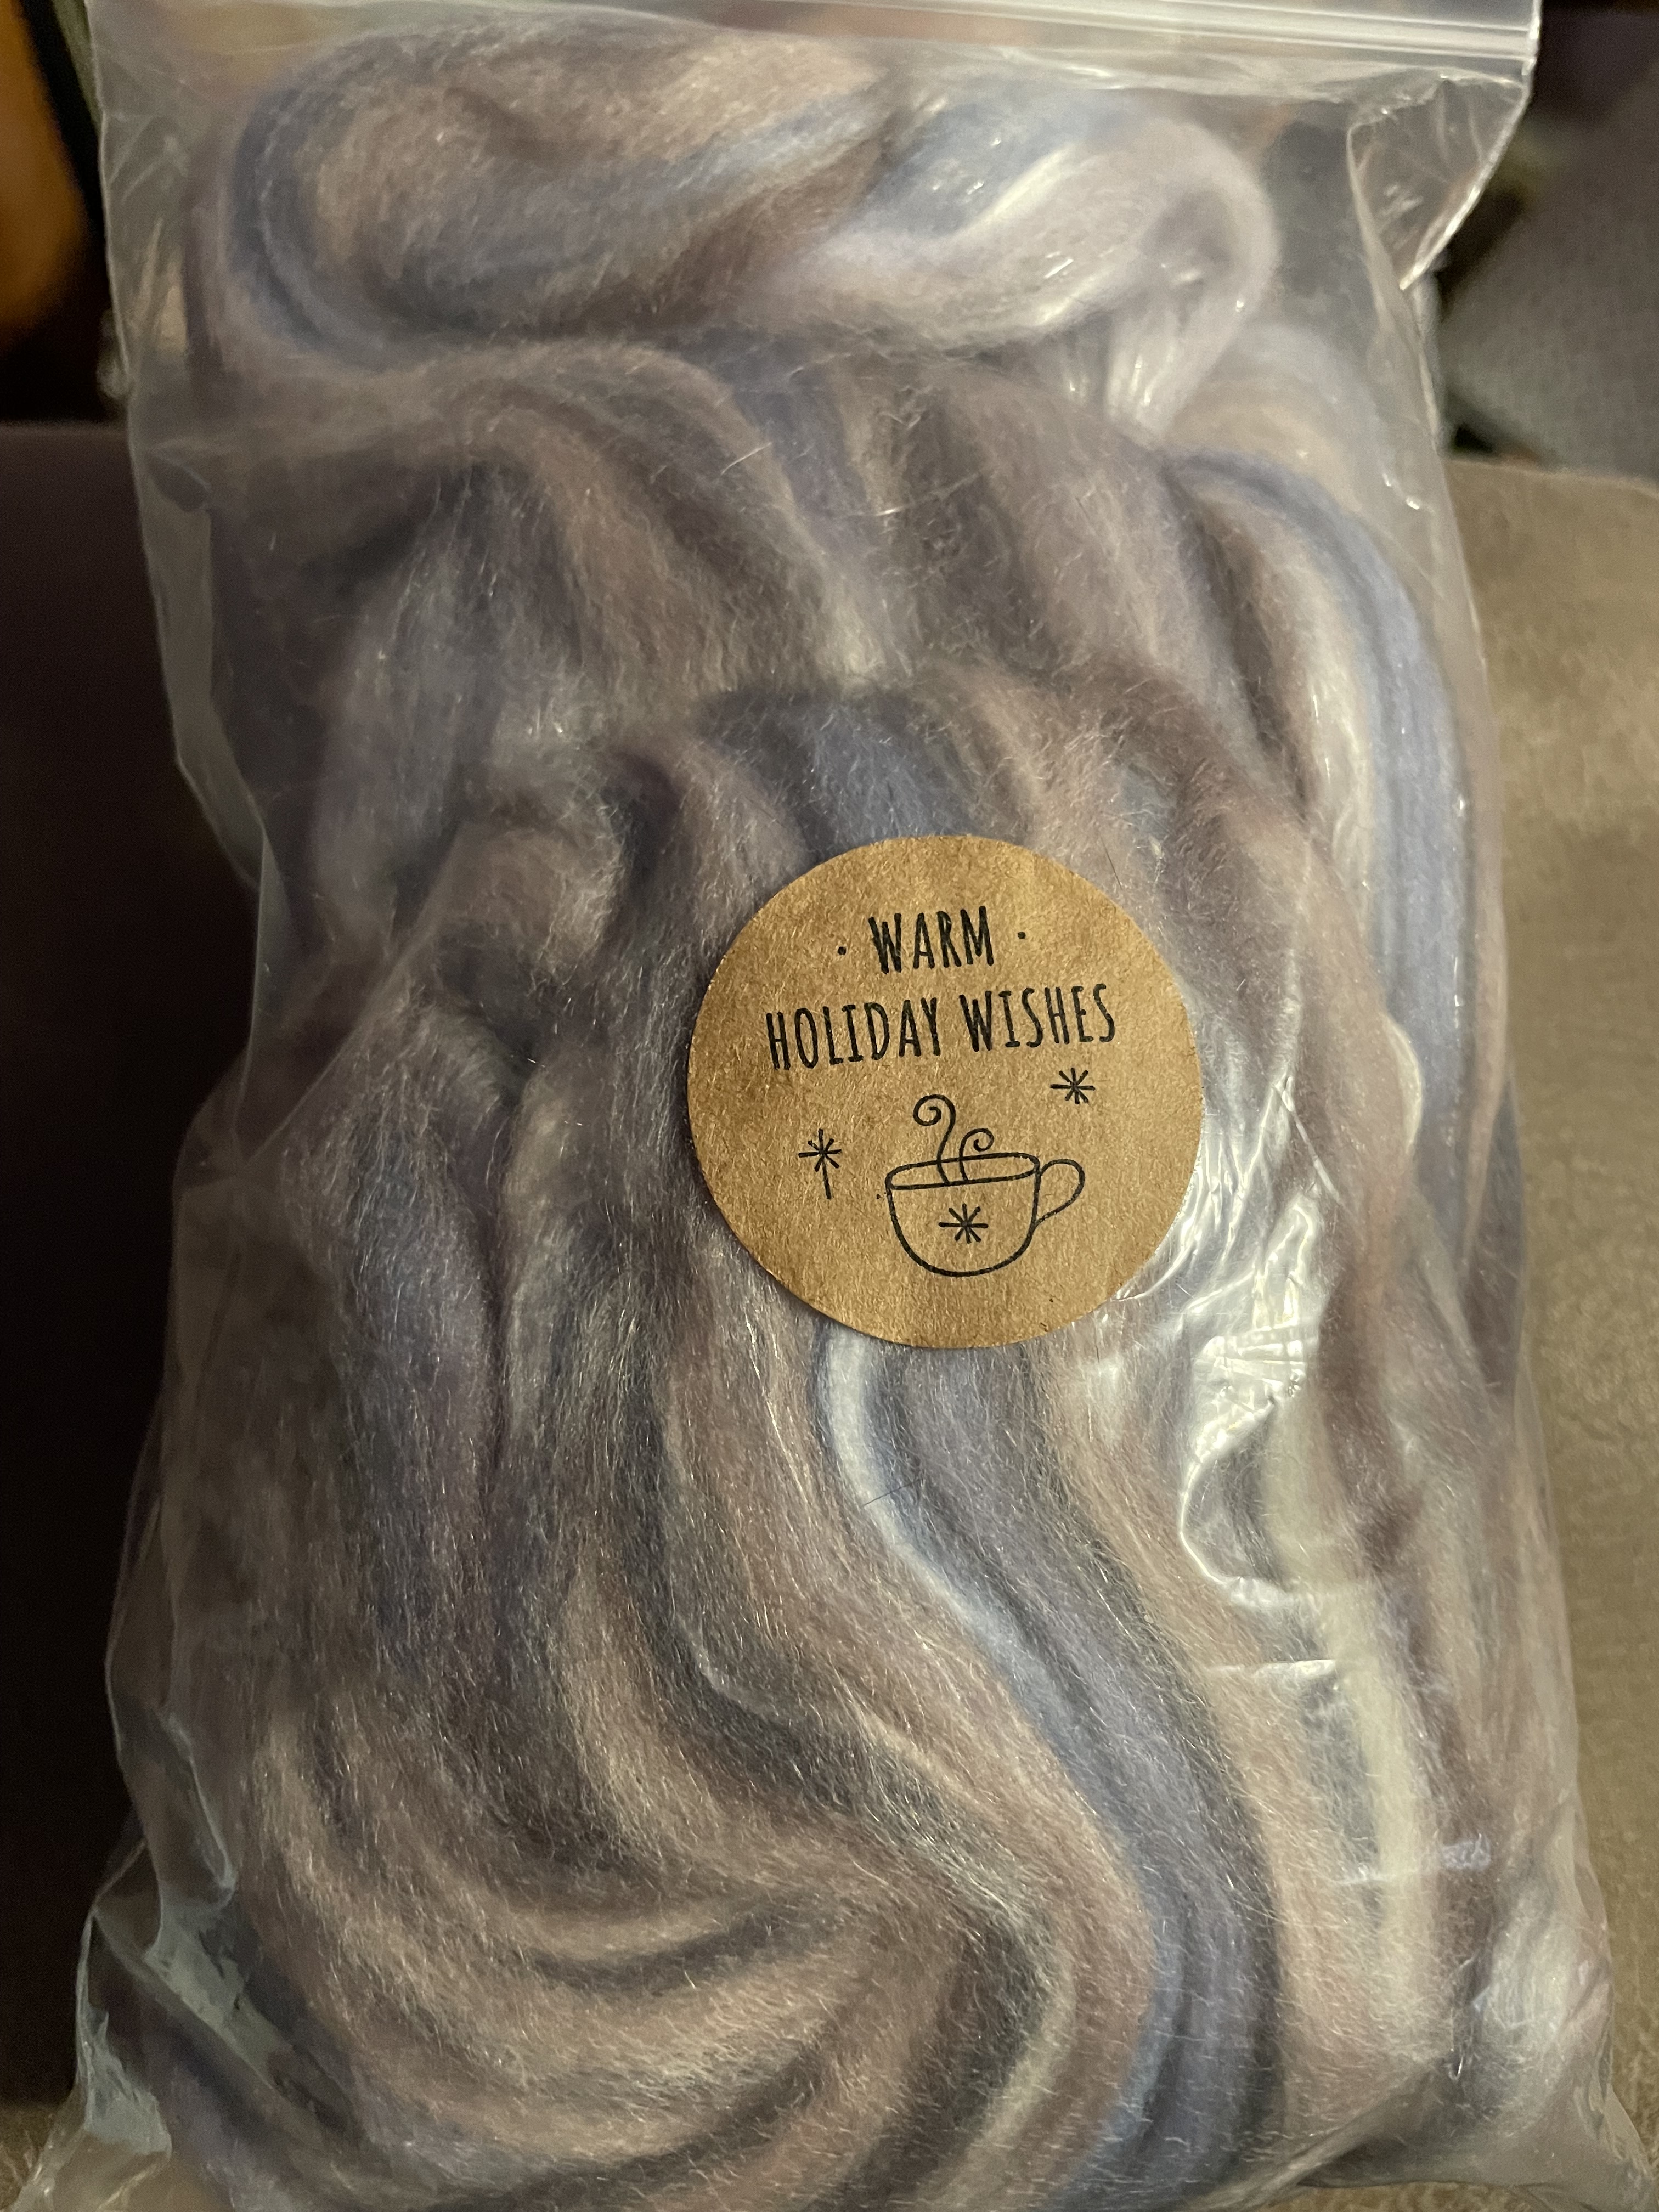
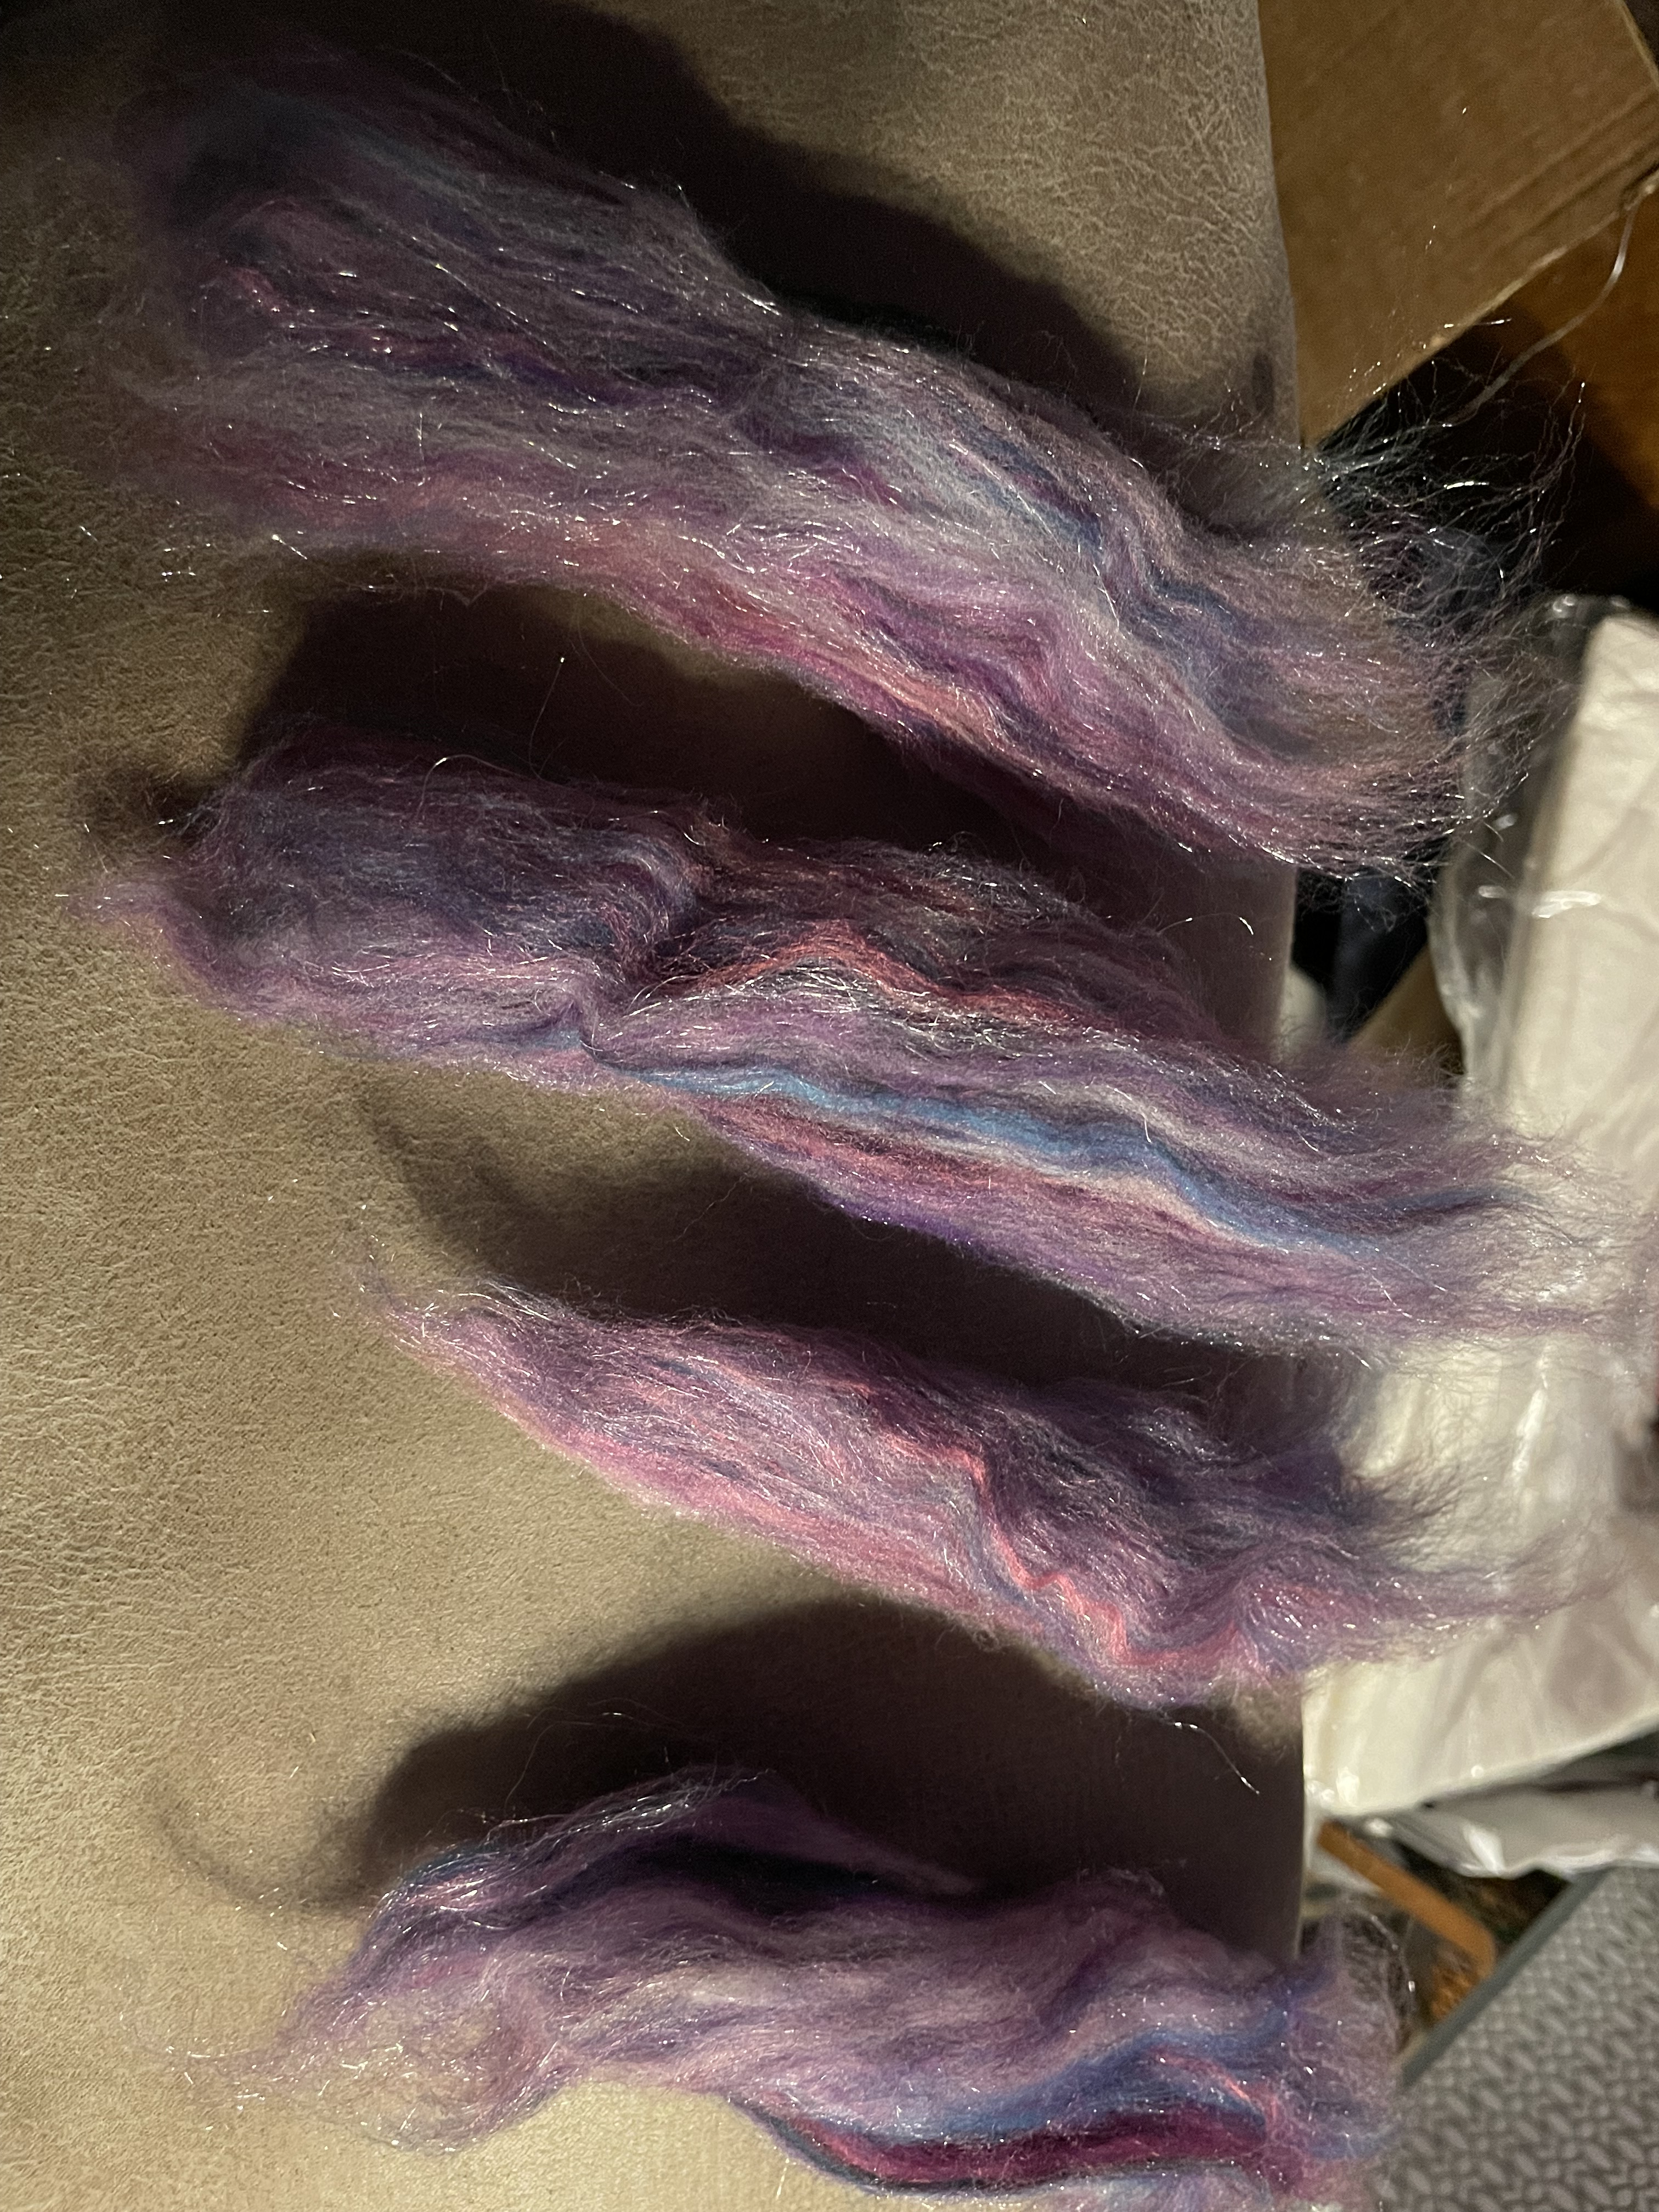
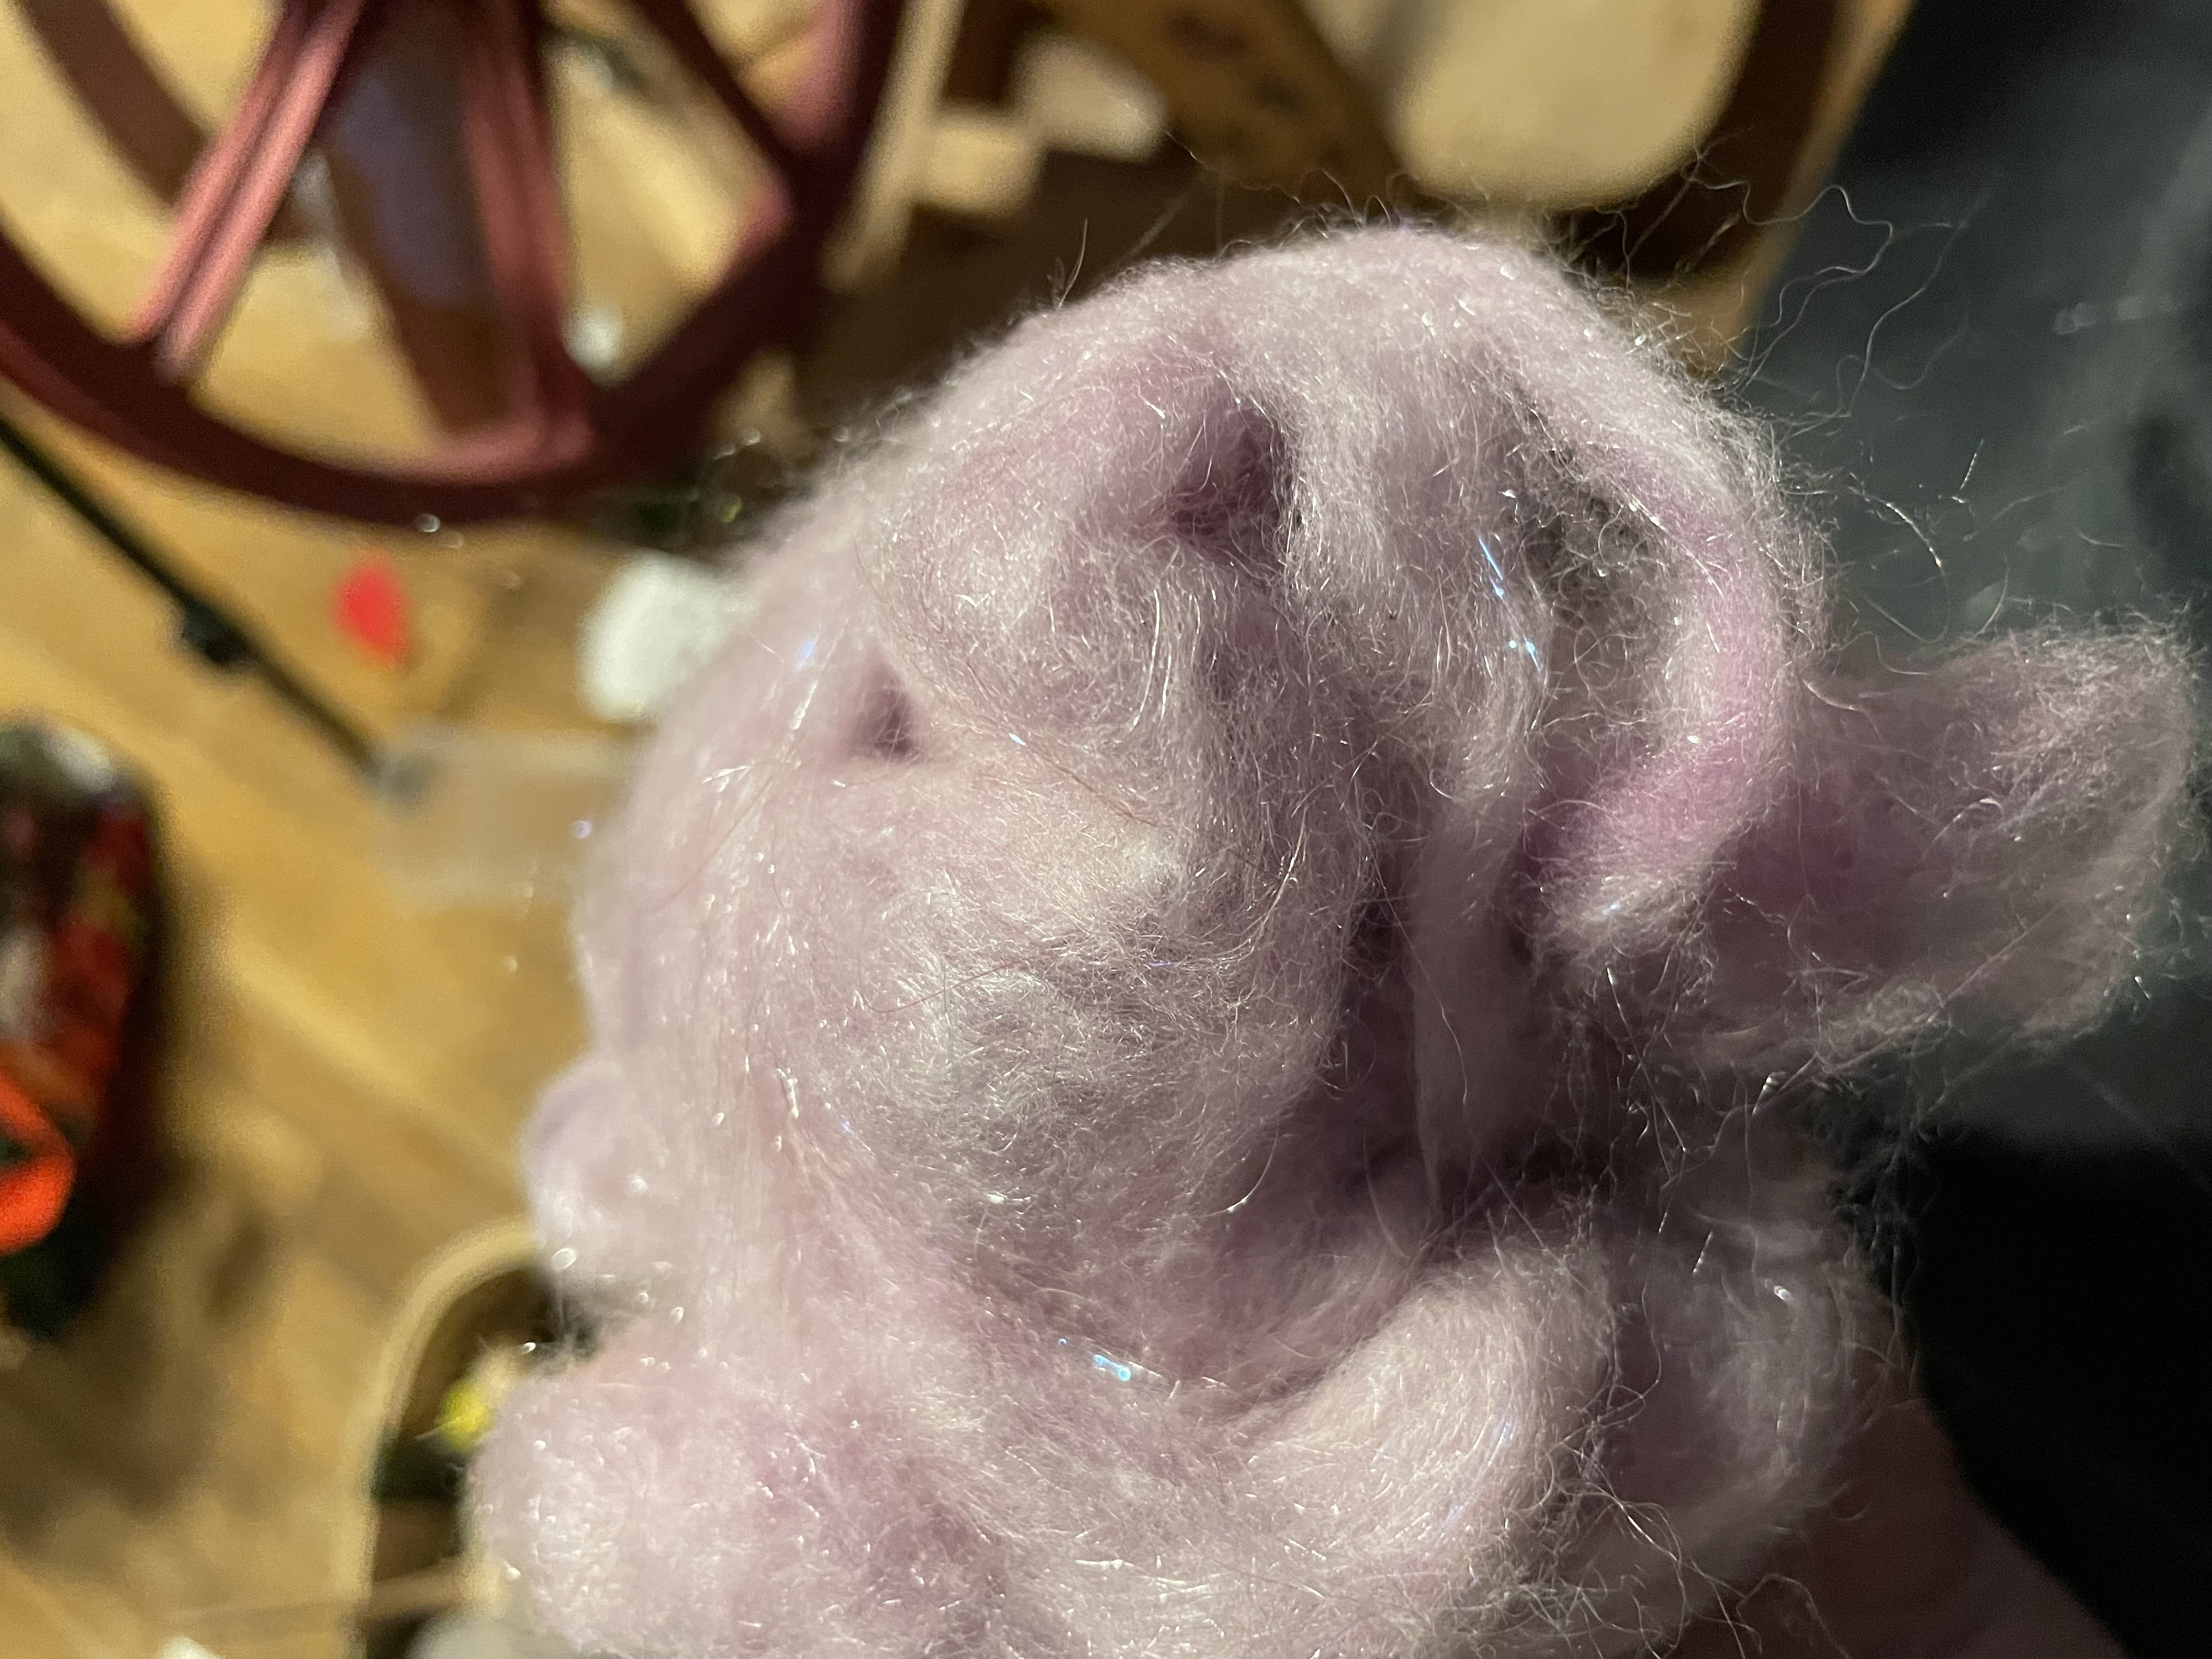
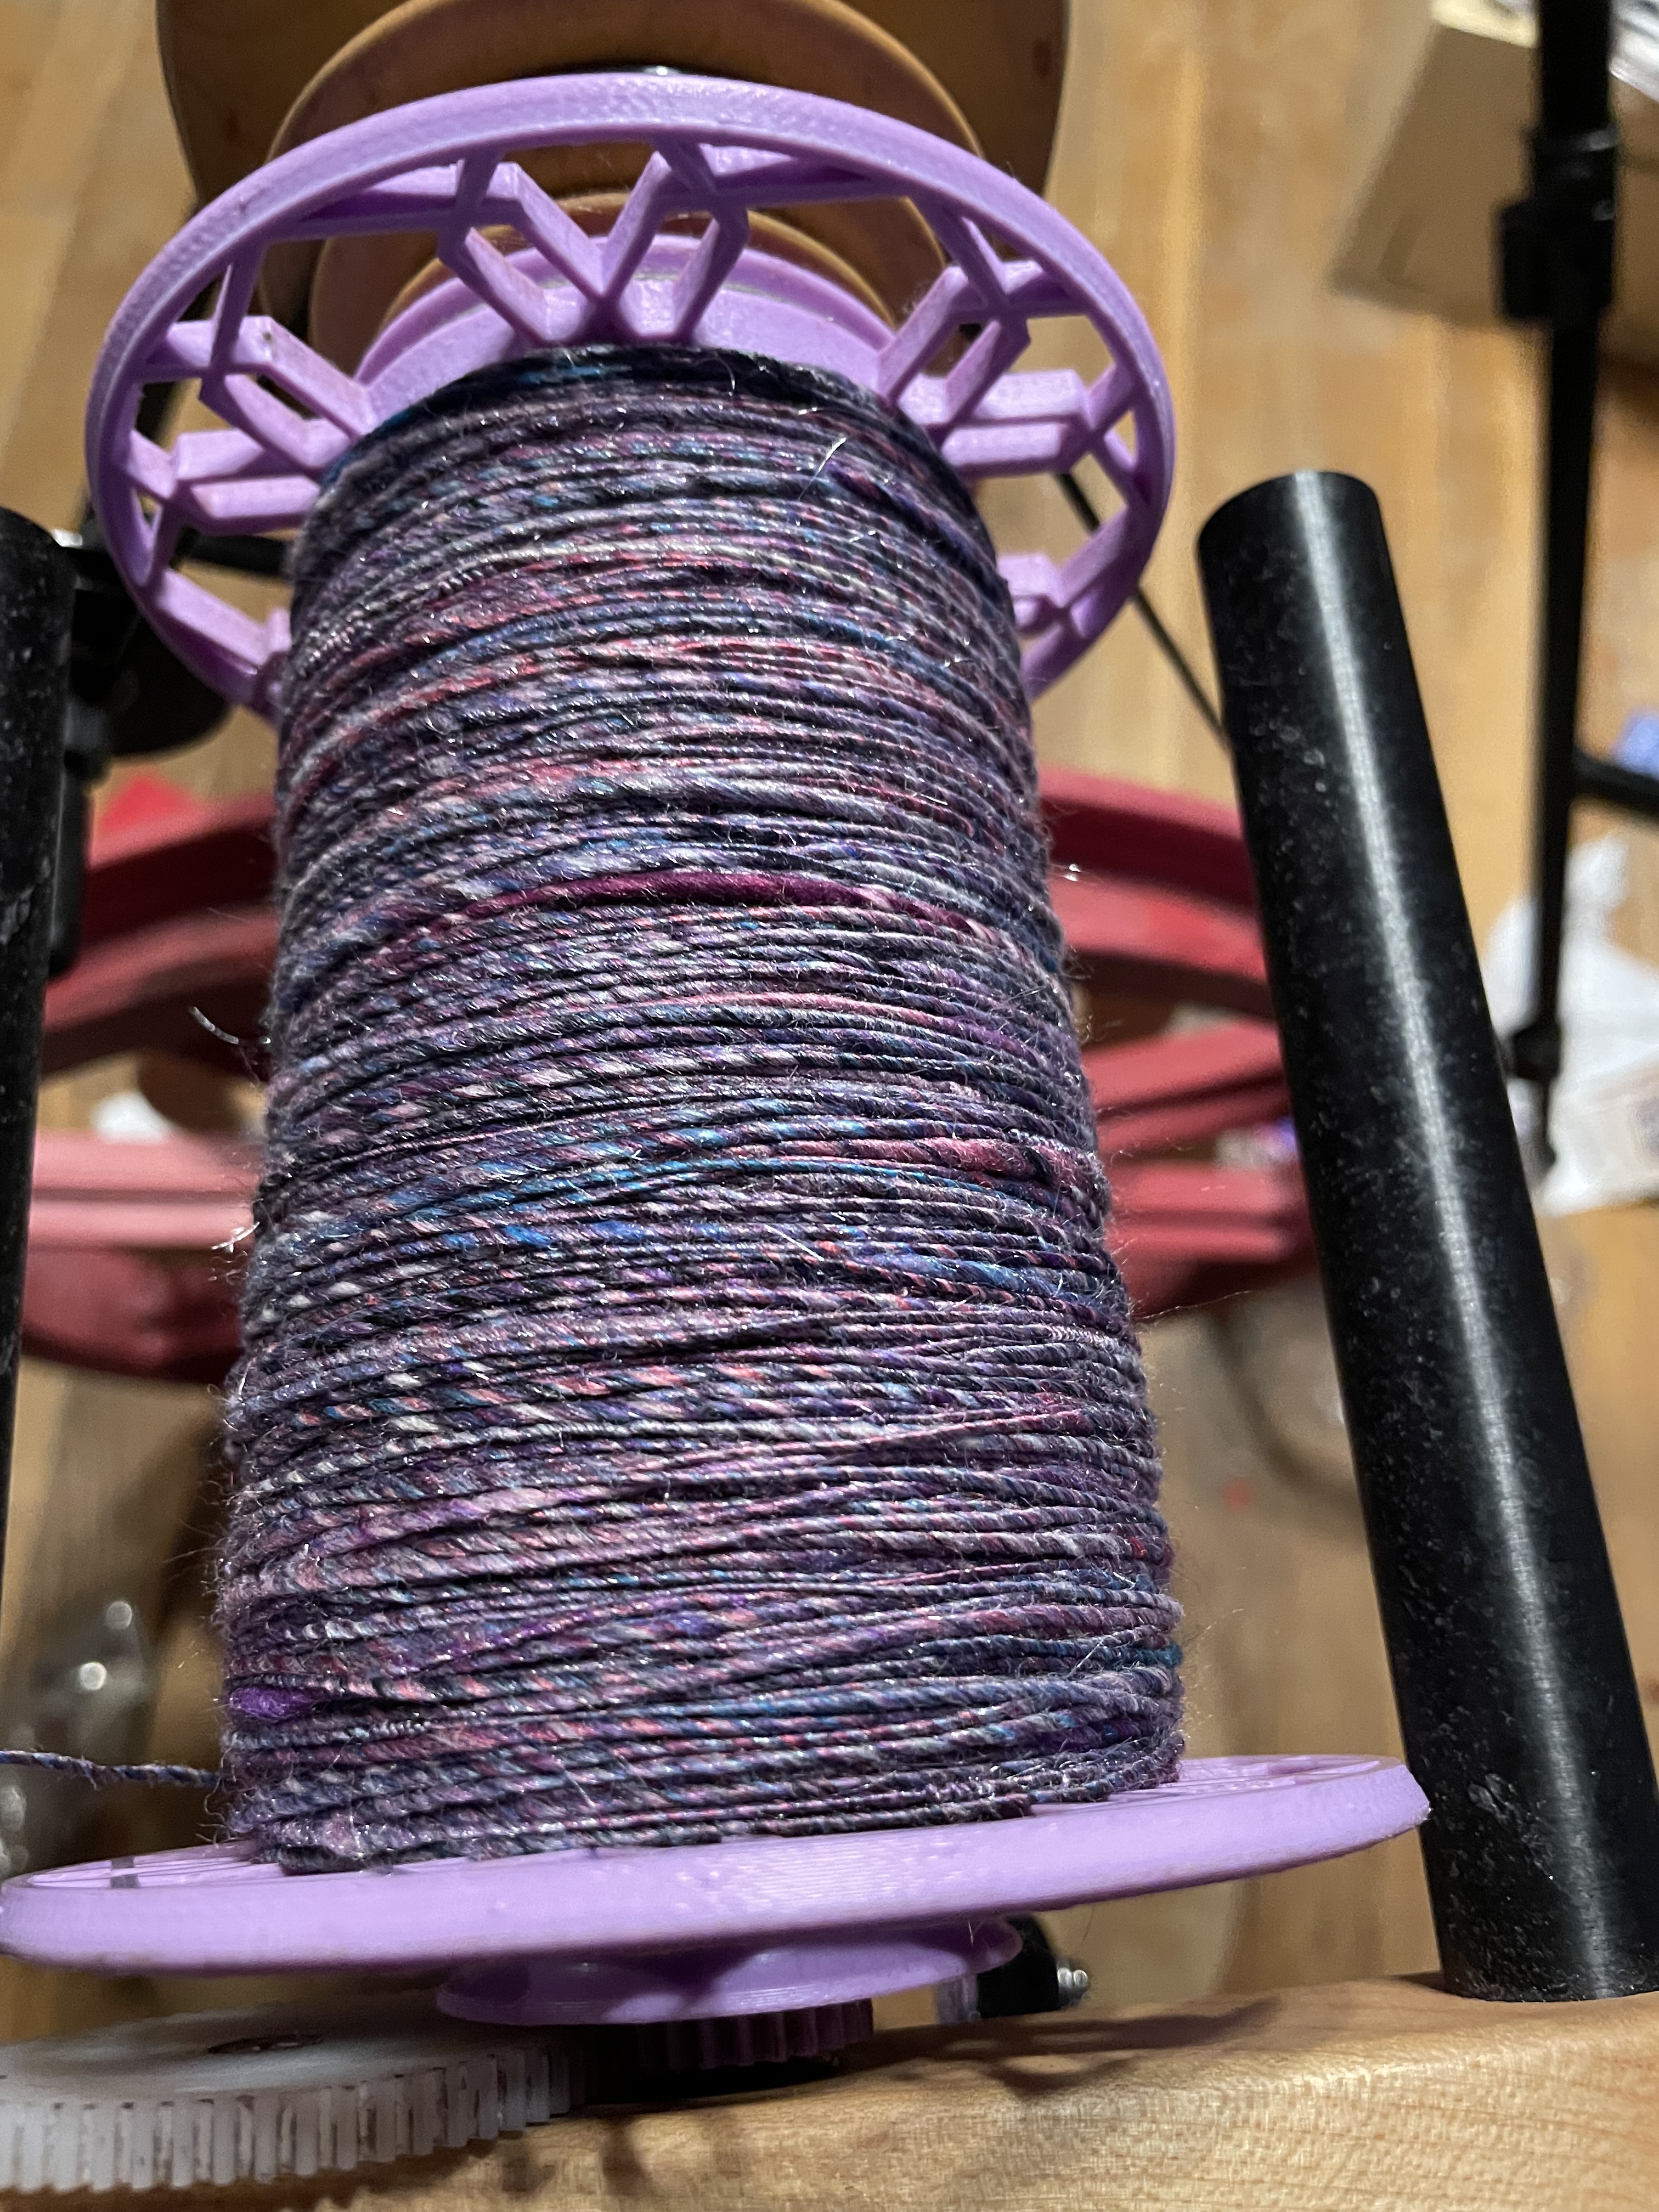
In getting my home back in order I have discovered several projects that I have been meaning to work on for quite some time. One of which is my Unicorn in the Library fiber from Hipstrings. I finally managed to finish spinning it up, I did split the last puff into 4 pieces so that I could spin some other fibers in between that I will use as ply experiments. I also rediscovered my love for spinning silk, this caused me to spin up some lengths that I will allow my library craft patrons to use in their slow stitching project. That reminds me I need to make up a sample for that sometime this week.
I have been exploring some crochet techniques, mosaic crochet was not as much of a success as I would like, I found a Tunisian Crochet pattern video that I am working through and transcribing into a written pattern, and I will be seeking out resources for two sided mosaic crochet to eliminate the weird stair-stepping I am getting on the inside of my mosaic crochet.
Now we are getting to the part where I can never be content, I have to try everything. I don’t know if I mentioned that I bought a Rock Tumbler? If not, well yes, I bought a rock tumbler, some sample rocks, ceramic media, and enough grit to last me a while. I have been watching YouTube Videos by Michigan Rocks for some time, and my Aunt mentioned not getting around to using her rock tumbler, plus a way to force myself to go outside to find rocks all combined to have me starting this new hobby. I have had a ton of fun so far, I have owned it for a month, and I managed to get my ceramic media tumbled through the first 3 stages ( I didn’t bother to polish it), as well as some of the bag of tiny chips that I only half regret purchasing. They aren’t going to turn into anything great, but I’ll run them through the cleaning and two polishing stages to see if I can get them to have a shine. I did put about three pounds of the bigger rocks into each of my two tumblers to get them started on the stage 1, I’ll pull them off on Saturday to see what they look like. I’ll put out a post of how to get started Rock Tumbling, as well as linking to some great resources later.
Of course I cannot start just one hobby at a time, you think I have any self control? I haven’t started this one but it is going to go hand-in-hand with the rock tumbling, I plan on wrapping the rocks in wire when they are tumbled. To be able to sell these for something like a decent price I plan on purchasing some Sterling Silver wire. I’m not selling necklaces, just the wrapped stones for now. This brings me to my last two projects that I’m working on, skipping over the fishing poles I purchased today because I found out that there are ‘no license fishing days’ in New York State. I will need to find pictures of the types of fish it is legal for me to keep, and I have to remember to invite my friend out since I bought her a (cheap like mine) fishing pole.
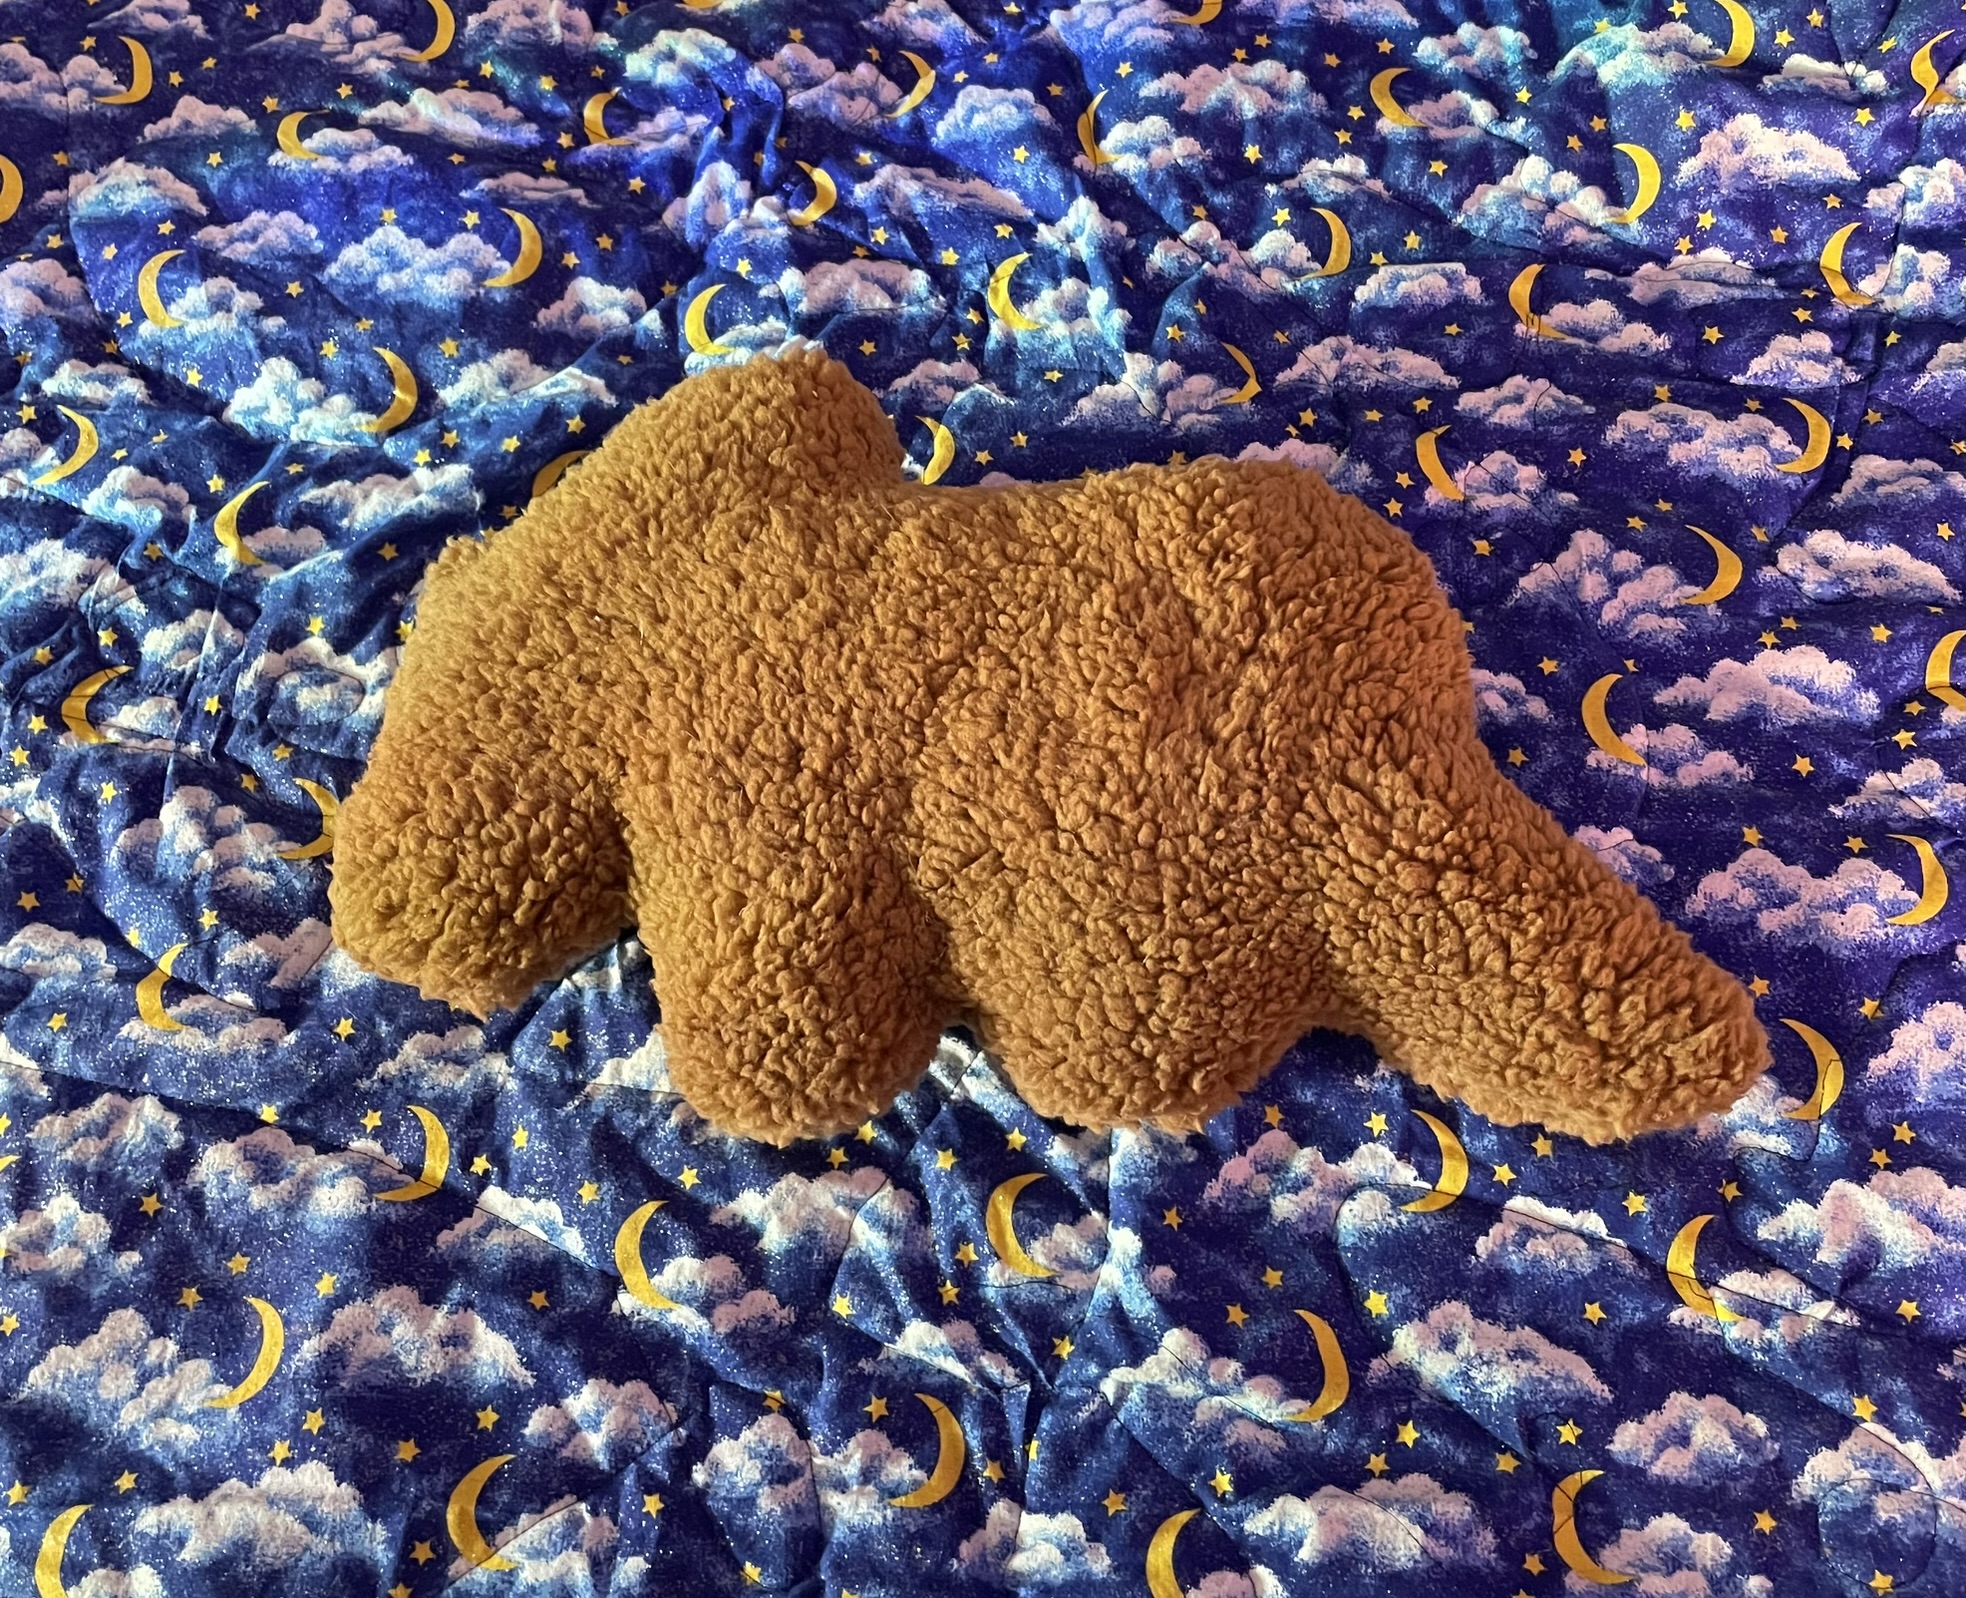
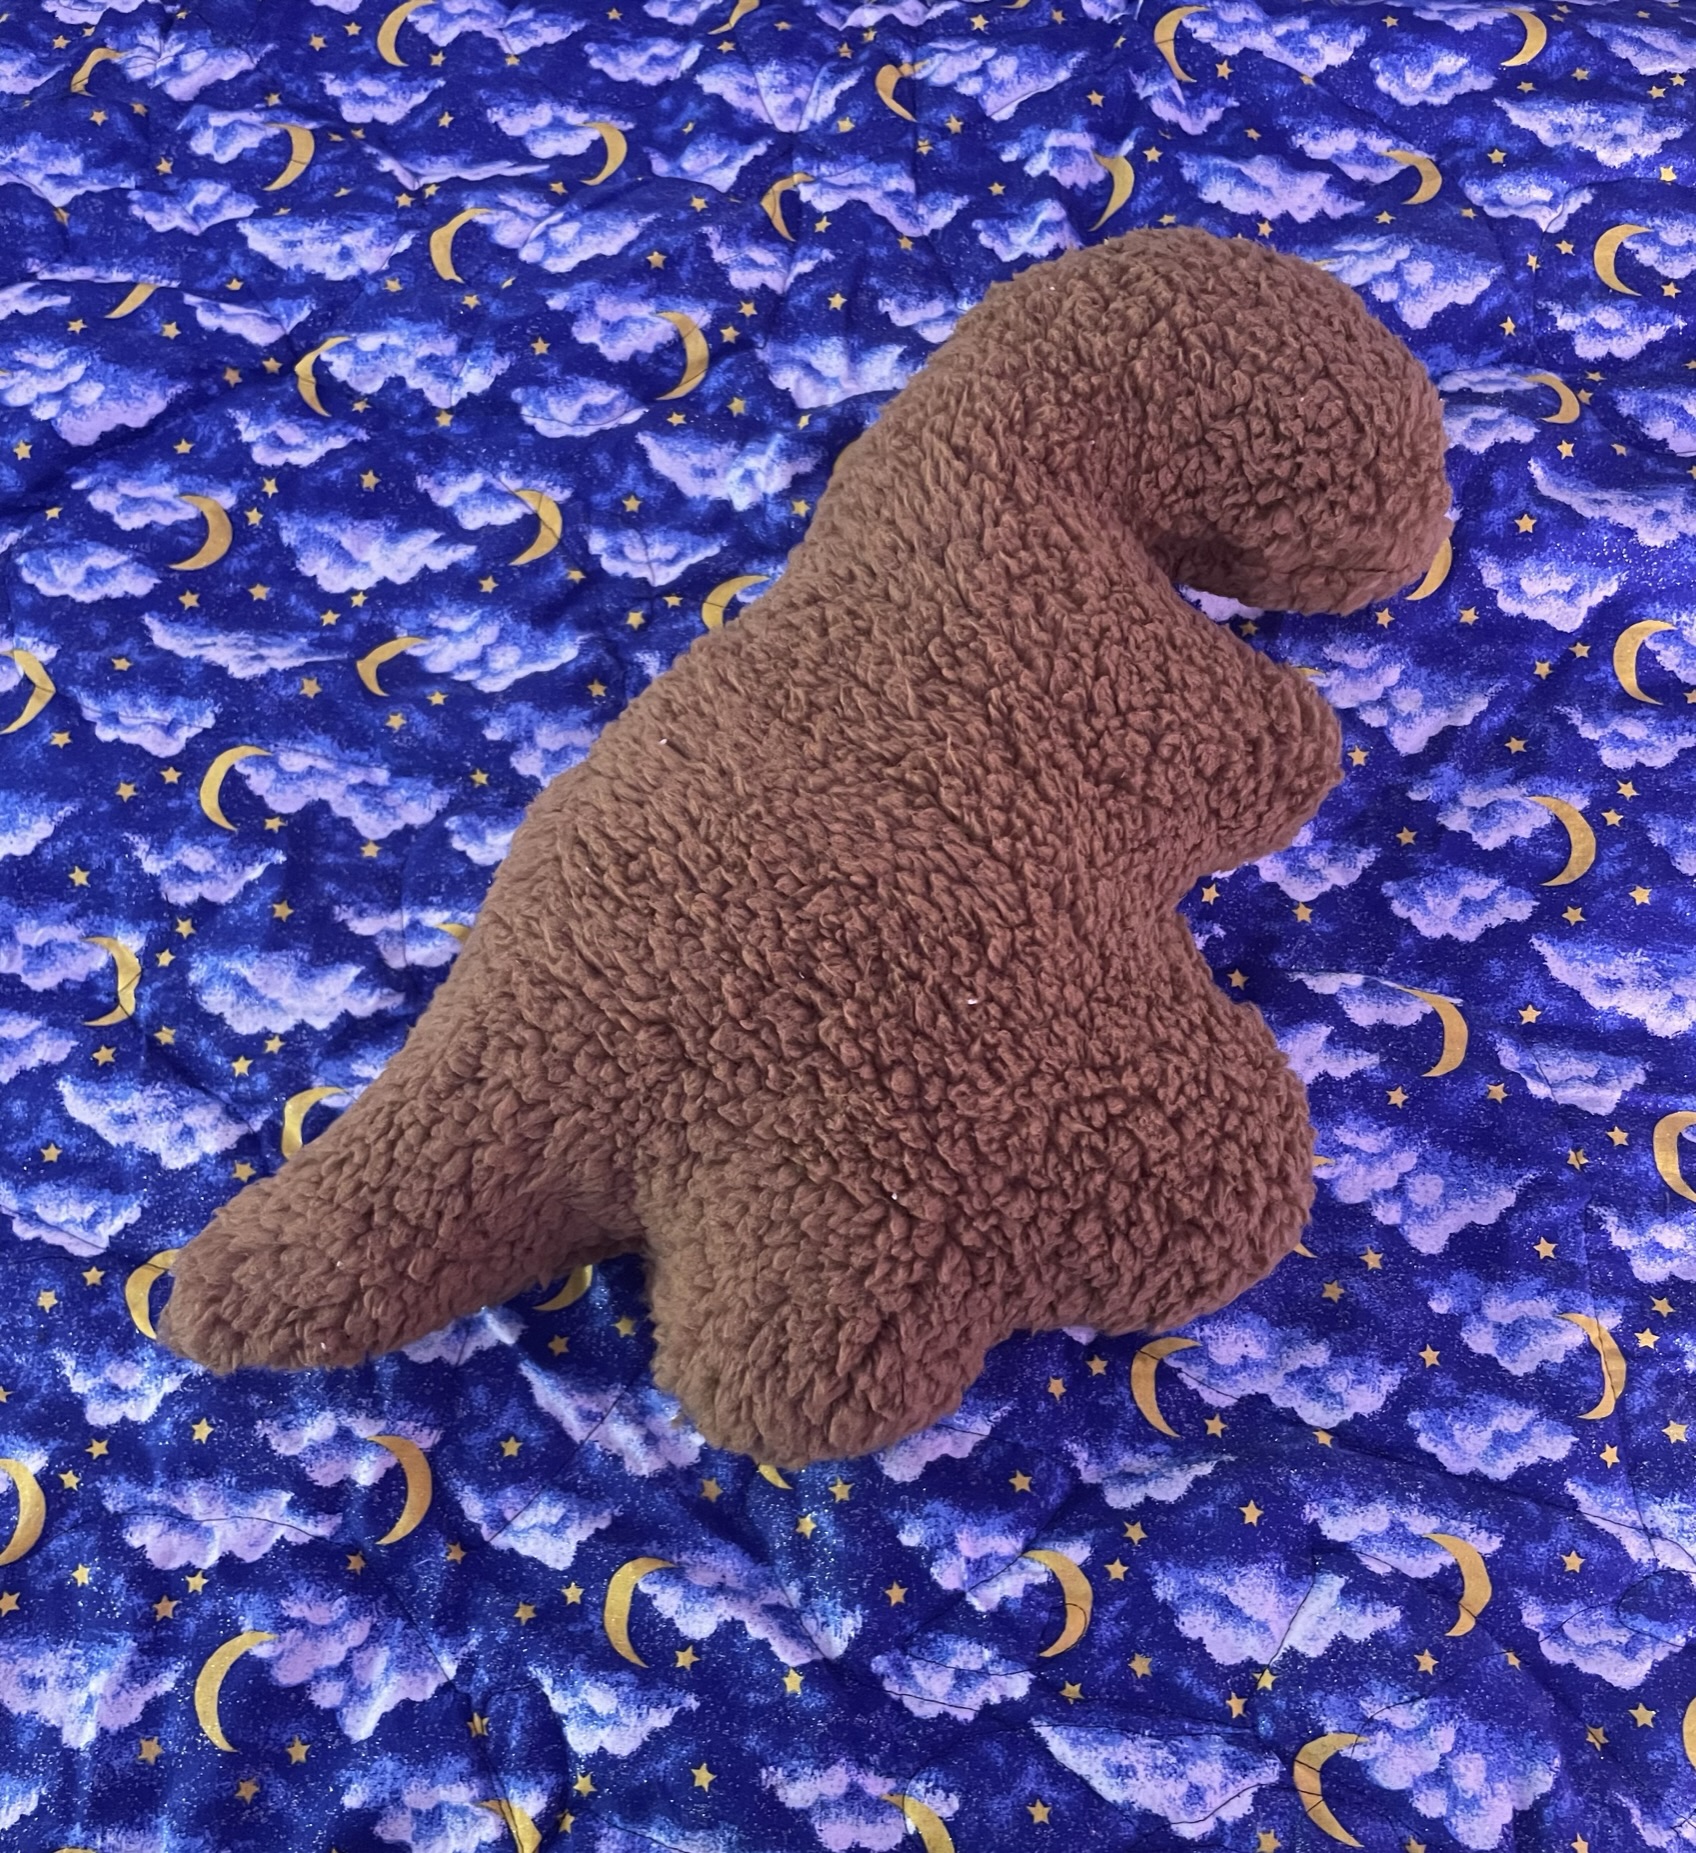
Okay, so I did manage to have a sale on my Etsy site (thank you to whomever bought the Dino Plushie) and that caused me to realize that I hate having to pay Etsy out of what I had calculated as earnings. I know that people look for inexpensive items, deals, and sales. This means that I’m going to be paying about .20 per item, every quarter (I think that is how often), create listings, and pay for shipping, to make very little if any money. I do plan on creating some spreadsheet and other printable items to put up on Etsy once I have them perfected, to create something like a passive income stream. I have some great ideas I just need to slow down and find enough time to start working on them, I think I might start staying a couple extra hours on the days I’m supposed to leave early, or go to Panera Bread for a couple of hours before I’m supposed to be at work to get these things done.
Due to the slow nature of my Etsy Sales I have decided instead of dripping my products onto Etsy as I get them done, and sort of rushing to get them done, I will take a little more time and sign up for a couple of craft shows this Fall. There is one in September and another in October I would like to sign up for. There are registration fees, I’ll need another table, and I need to take photos of my setup, but all of that should be doable by September. I’m really sort of excited about this, though I am not sure what type of craft I should bring. There is an apple festival that mentions having old-fashioned crafts, so I’m thinking about seeing if spinning and weaving would work for them.
I think that this is long enough of a rambling post to be getting on with for now. Until next time remember to Live Life A Little More Abstract!
Okay, so as a follow up I still haven’t gotten much done over the past two weeks. My stomach flu came back with a vengeance that Tuesday so I had to call off of work Wednesday. Then the following week my allergies stuffed up my head to the point that I was very dizzy. I took the medication, however, when I reclined to take a nap until the effects kicked in, I became nauseous and did when you do when you’re dizzy and nauseous for about 2 hours.
Needless to say I called in sick to work again. Now I have switched my allergy medications, which should last 24 hours, to the night before and I am looking into getting an air purifier to help with these problems.
All of this being said, I have not gotten nearly as much done as I would have liked. Just this morning, the last nice day for quite a while, I managed to get my rain barrel put together and outside, though I am still working on getting my downspout reattached. I have some crafting plans as soon as I get my house in some form of order, so hopefully I can get the organization done this weekend and get started on crafting again!
Life is full of ups and downs, sometimes the ride makes you nauseous, sometimes euphoric, but you have to stay in the cart and keep riding along. Live Life a Little More Abstract!
I have been trying to get my house in order as I mentioned in the last post. Over the past week I have managed to get three small dressers put together and I started putting together the wider set of drawers. Then I had to get ready for work, after my shower I noticed a really bad smell coming up the stairs…my sewer had backed up. I scheduled a RotoRooter visit to be the most convenient around my work schedule, and then I decided to give myself a treat and order KFC while inviting a friend over for dinner. That was Friday, I quickly remembered why I don’t order KFC, it upsets my stomach. I had signed up for a class on Saturday Afternoon, so I did not eat much for breakfast since I wasn’t hungry, went to the class, and ordered something quick and cheap for lunch/dinner….
I wanted to finish putting the set of drawers together and hauling some things upstairs for storage. Yeah. Instead either KFC hit me really hard or I had a 24 hour Stomach Flu. I’ll spare you the details, but I didn’t get anything done Saturday other than finding out that Door Dash will send you a 7-11 order that arrives at 1:14am (clear soda and saltines). I then spent all of Sunday sleeping and occasionally getting up and trying to drink clear soda and eat a few saltines.
Needless to say I am here, at work on my lunch break, feeling dehydrated and frustrated that I accomplished very little this past weekend.
I’m hoping that the week shapes up to be better, and that I can down enough liquids over the day to combat some of this dehydration. I hope that your week goes well and that you remember to Live Life A Little More Abstract!
Okay, so I have not gotten any real crafting done even though it is over half-way through January. I went to visit family, I was supposed to stay for 4-5 days, then they planned a reunion type event so the stay was extended to 10 days…then two flights were cancelled and I wound up staying closer to 13 days. Fortunately with the holiday I wound up missing only a single day of work and I discovered that I can easily make the drive by myself, since I had to rent a car to get back to my car at the airport.
I had a ton of fun visiting with my Aunts, Uncles, cousins, and cousin’s children while I was there. For a long time I was working 3-4 jobs and taking care of mom so I was unable to go to any family events, plus mom didn’t really want to, so I have a huge gap of time where I lost touch. It is great that I am able to get to know my relatives as adults.
All of that being said, I did not get much crafting done. I brought and completed a small portion of my Tula Nova EPP, however I do not have a photo of it. What I did gain however is a better understanding of what kind of organization might work well for me. One of my cousins has 2 very busy children, however they manage to keep their items in, relative, check with the use of storage furniture. Not just bookcases but storage with drawers that can be labelled. I know, this is not revolutionary information, however I’ve been trying to get away with the cheapest form of storage possible and it just isn’t working. The bookcases always look sloppy and the plastic drawers can rarely hold anything well. I tried ordering Ikea furniture however there were some shipping problems so instead I have some dressers arriving from Home Depot.
Hopefully these can help me to get my materials under control and my home looking like a home instead of a wreck….which honestly right now it looks like a wreck.
Since I am going to focus on getting things in check, then using the supplies I own before purchasing more, my shop is going to take a brief hiatus. I am thinking about switching to a quarterly model where I plan on having a new set of items available every 3 months or so.
I think this is probably enough of an update for now. I’ll hopefully have some crafting content next time, however it might also be some organizing content.
Until next time remember to Live Life a Little More Abstract!
Life is so very funny some days, weeks, and months. **I’m going to be frank about some medication complications of antibiotics, if you want to skip the medical stuff, well I was planning to talk about crafts but the rest of the post devolved into strategies for my store and a little bit of whining. I’m hoping to have some great photos of the crafts I’ve been making in the next post Mid-January.
I was on a Stay-Cation earlier this month, I had Wednesday through Sunday off to enjoy myself and get things done around my house. I was extremely productive, I managed to get quite a few things cut out and sewn to go up on my Etsy Shop. I also had my first sale at my Etsy shop, which allowed me to realize I priced that type of item much too low considering boxing, postage, and the cut Etsy took out. All of that was lovely, I had tickets to the Livestream of Sorted Food to watch over Saturday and Sunday, I find them so funny. I ate a little too much on Saturday so when I woke up extremely dizzy on Sunday I thought it was likely my blood sugar, I took Motion sickness medication and went back to sleep for a few hours. I spend Sunday and Monday getting my blood sugars down so that I could ensure it was not Acetone Acidosis, which put me in the ICU for a week when I was first diagnosed. On Tuesday I called into my regular doctors office to see if they could see me, I had realized that as I rolled onto my left side I got dizzy. They were able to make an appointment for my day off, Wednesday. I went in, it was an Inner ear infection, so I was put onto an anti-biotic that I am able to tolerate. I didn’t think anything of it but to make sure I had medicine if I had gastrointestinal side effects. I was very surprised when I woke up at 3 am Friday to find out that I had a different kind of side effect. It turns out that Antibiotics can kill off beneficial bacteria, such as the kind that keep yeast at bay. So I suffered until the pharmacy opened at 7am, whimpered at the person opening the doors that told me they were not allowed to open the doors until a pharmacist arrived and theirs was running late, bought the medication that works in 1 day, and went home to see if I felt better in an hour so I could go to work. After oversleeping my alarm, I found out I did not feel well enough to go to work, and had to call off. I’m not sure what it is about vacations but I always seem to get sick at the tail end of them, oh well.
All of that being said, I did have a good vacation overall. I managed to cut and sew quite a few bags in a style similar to the Japanese Knot Bags you can find on YouTube and other places. The bags are reversible and will be available in my store early 2024. It occurred to me while I was cutting out and sewing different bag patterns that my store seems to be going in a Textile direction, I had originally thought I would be a mostly Resin shop. Since Textiles have different federal regulations I am going to put my store on Vacation until about Mid-January when my tags should be in and I should have a decent stock to put up and start advertising. One of the things that I have to keep in mind for my store is that I created A Little More Abstract as a way to sell the items that I create to help support my creative exploration, if I am not careful I will be creating only to sell not for creative exploration. Thanks to Elizabeth Goddard’s Christmas Party I now have access to a lot of different courses for free that should help me build my business.
Right now it is my plan to take part in at least one of the courses each weekend I am physically and emotionally able to. While it is a little early to be focusing on New Year’s resolutions I am planning on focusing on making sure that I am eating protein and vegetables before I worry about the bills. This does not mean that I will stop paying my bills, or that I will be dining on Filet Mignon, it just means that my focus will be on making sure that I have healthy foods in the house and then cover the bills, if I have to pay a slight late fee next month on something then I might have to do that. Hopefully my store will allow me to skip that step and I will have at least a slight income to keep the wolves at bay. I could talk about how if I had a second income in the form of a spouse, how I have a full-time job, make just a tiny bit too much for assistance, or so many other circumstances, but all of that will sound like whining.
I am very lucky to be where I am. I own my home, in conjunction with the bank, I own my car, in conjunction with the car loan company, and I can pay my bills, if I forgo meat and vegetables most of the time. Many people are in the same boat as I am, however I already have several plans for how to get out of the rut I am in. As I stated in my last post, I’m a Dandelion. If I get sick, fall behind, or run into trouble, I will bounce back up again….often with a vengeance. That obstacle will be hammered down.
Okay, that is enough philosophy and whining for this post. I hope that everyone has Happy Holiday’s whatever you celebrate and a Happy New Year!
Remember to Live Life a Little More Abstract and Be Like a Dandelion, don’t let them get you down or they win!
So at my most recent therapy appointment my therapist told me I’m like crabgrass, I changed that to a dandelion, but the sentiment is the same. Nothing can keep me down for very long, giving up (suicide or self harm) have never occurred to me. I still have major ups and downs, things still stress me out to the point that I am on anti-anxiety (anti-depressant) medication. I shared in my last post that the reminders of how much time has passed since losing Mom and Dad really got to me. Due to these circumstances I decided to give myself a break from people for Thanksgiving Day. I planned on doing some major cleaning, instead I wound up doing some Major Crafting. Patterns for Pirates has an amazing amount of free patterns and they are giving more away during this Holiday Season. Their patterns can be found here:
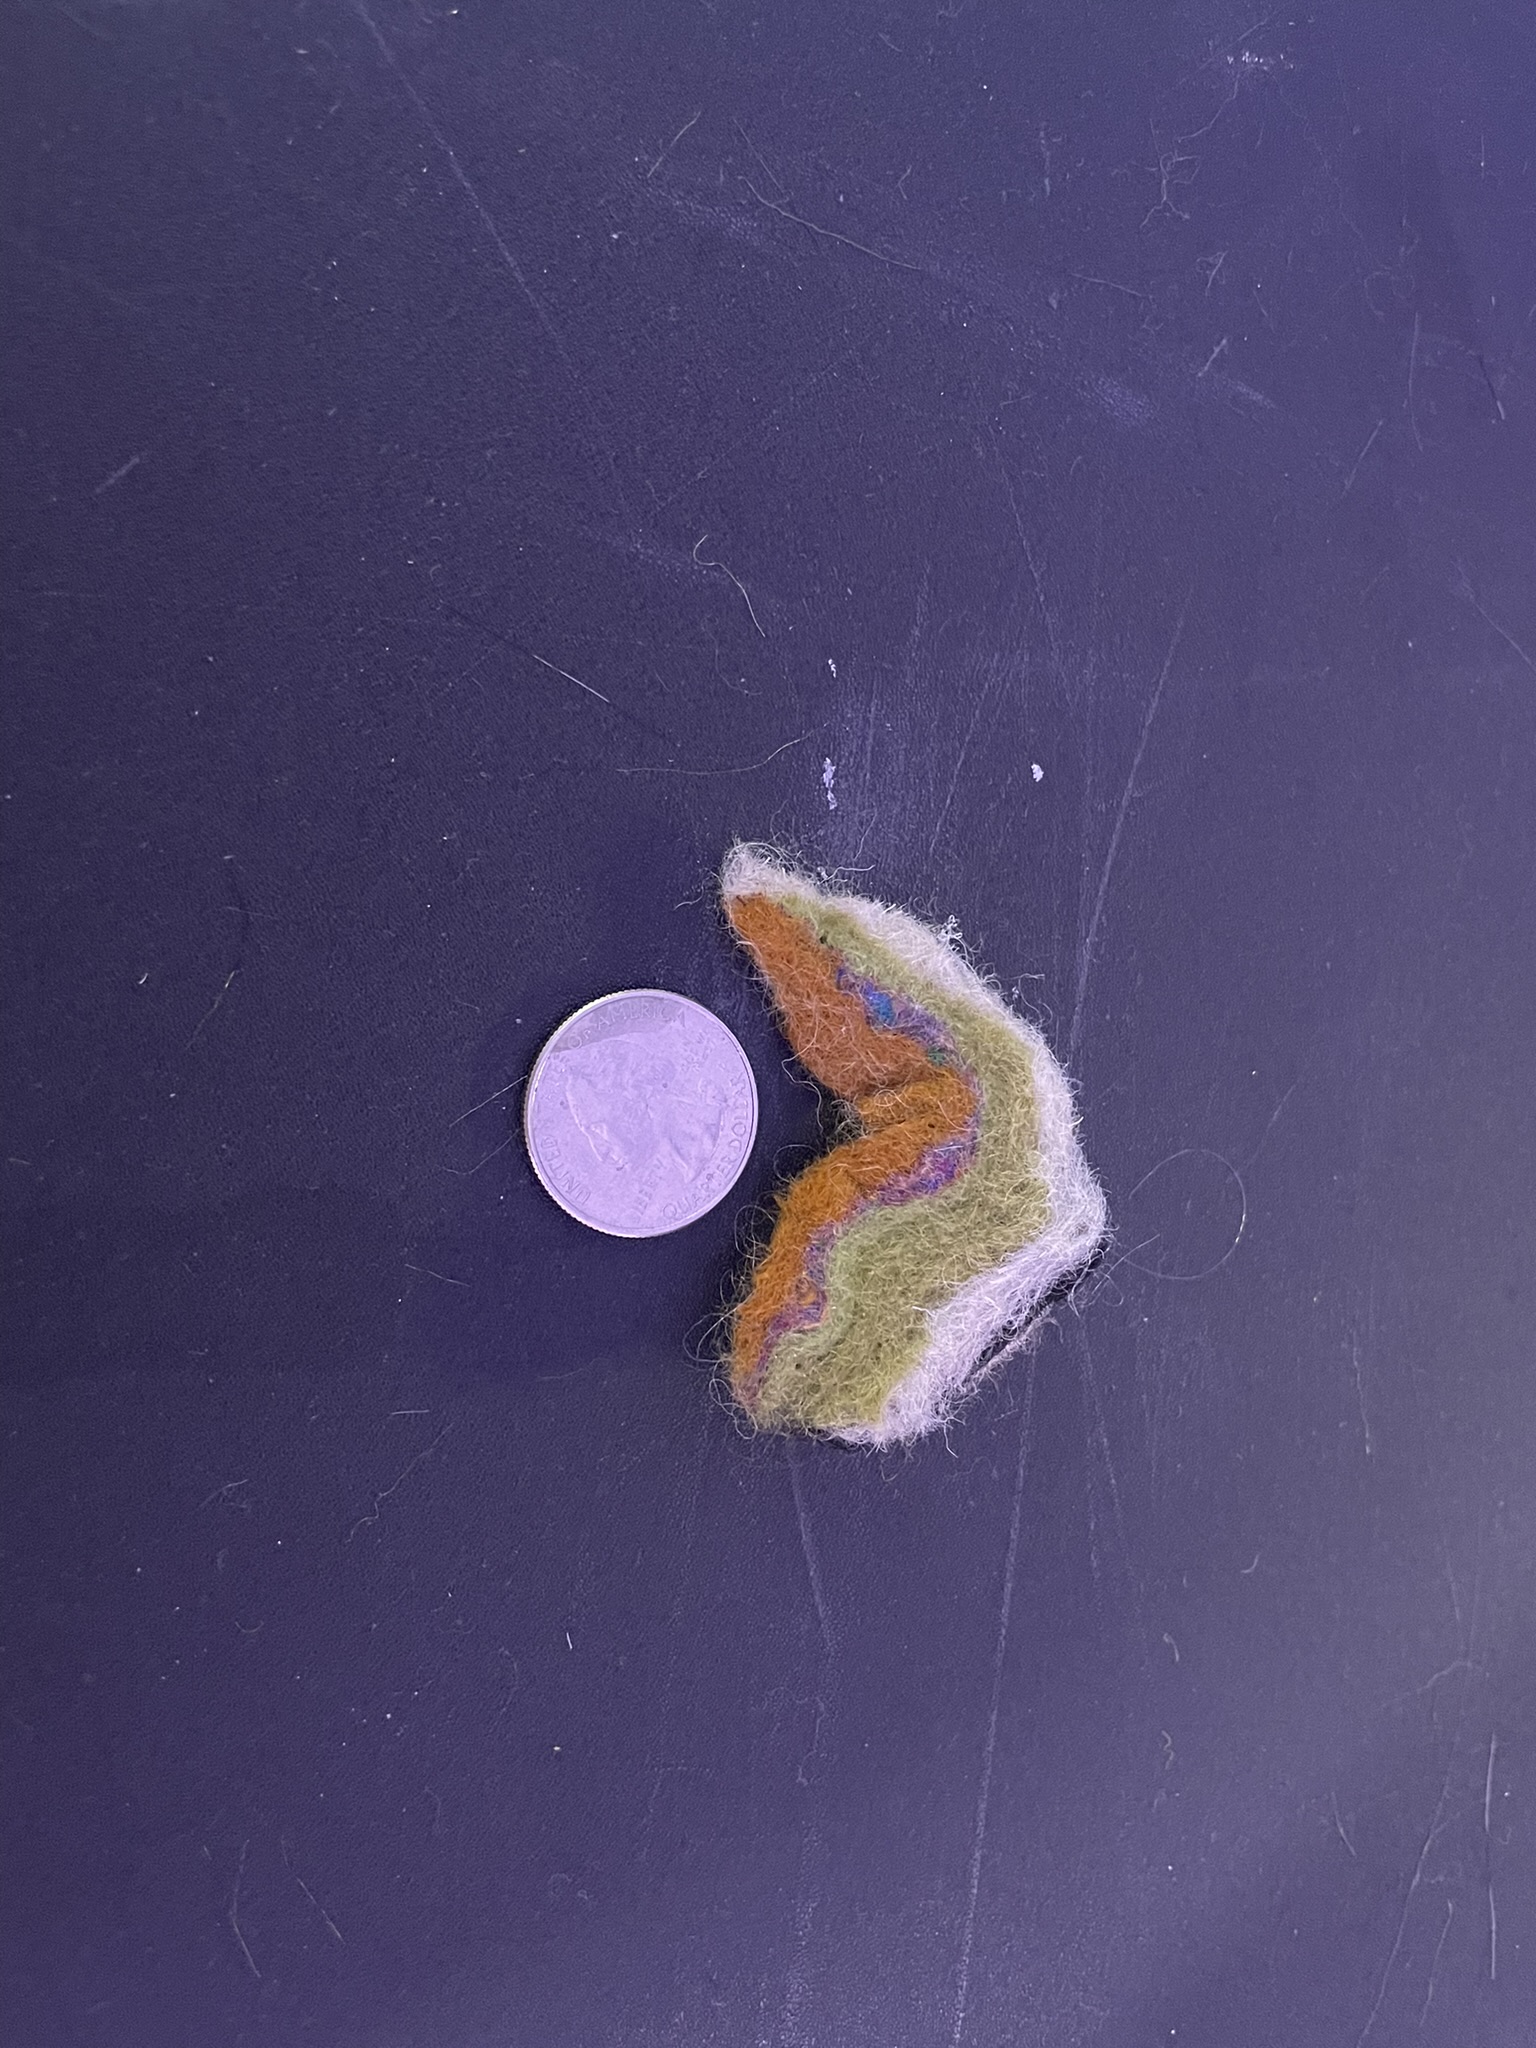
I am hoping to sell them, partially to purchase more material, partially to say that I’ve made a sale in the first year of my etsy shop being open, and partially to help pay my bills. Oh well, weather I do or do not I had fun making them, and I know that the pattern is easy enough for us to make at Teen Crafting in 2024 as well as Adult Crafting. The plushies are not all that I made, I had a ton of fun experimenting with my Finishing Sander and wet felting.
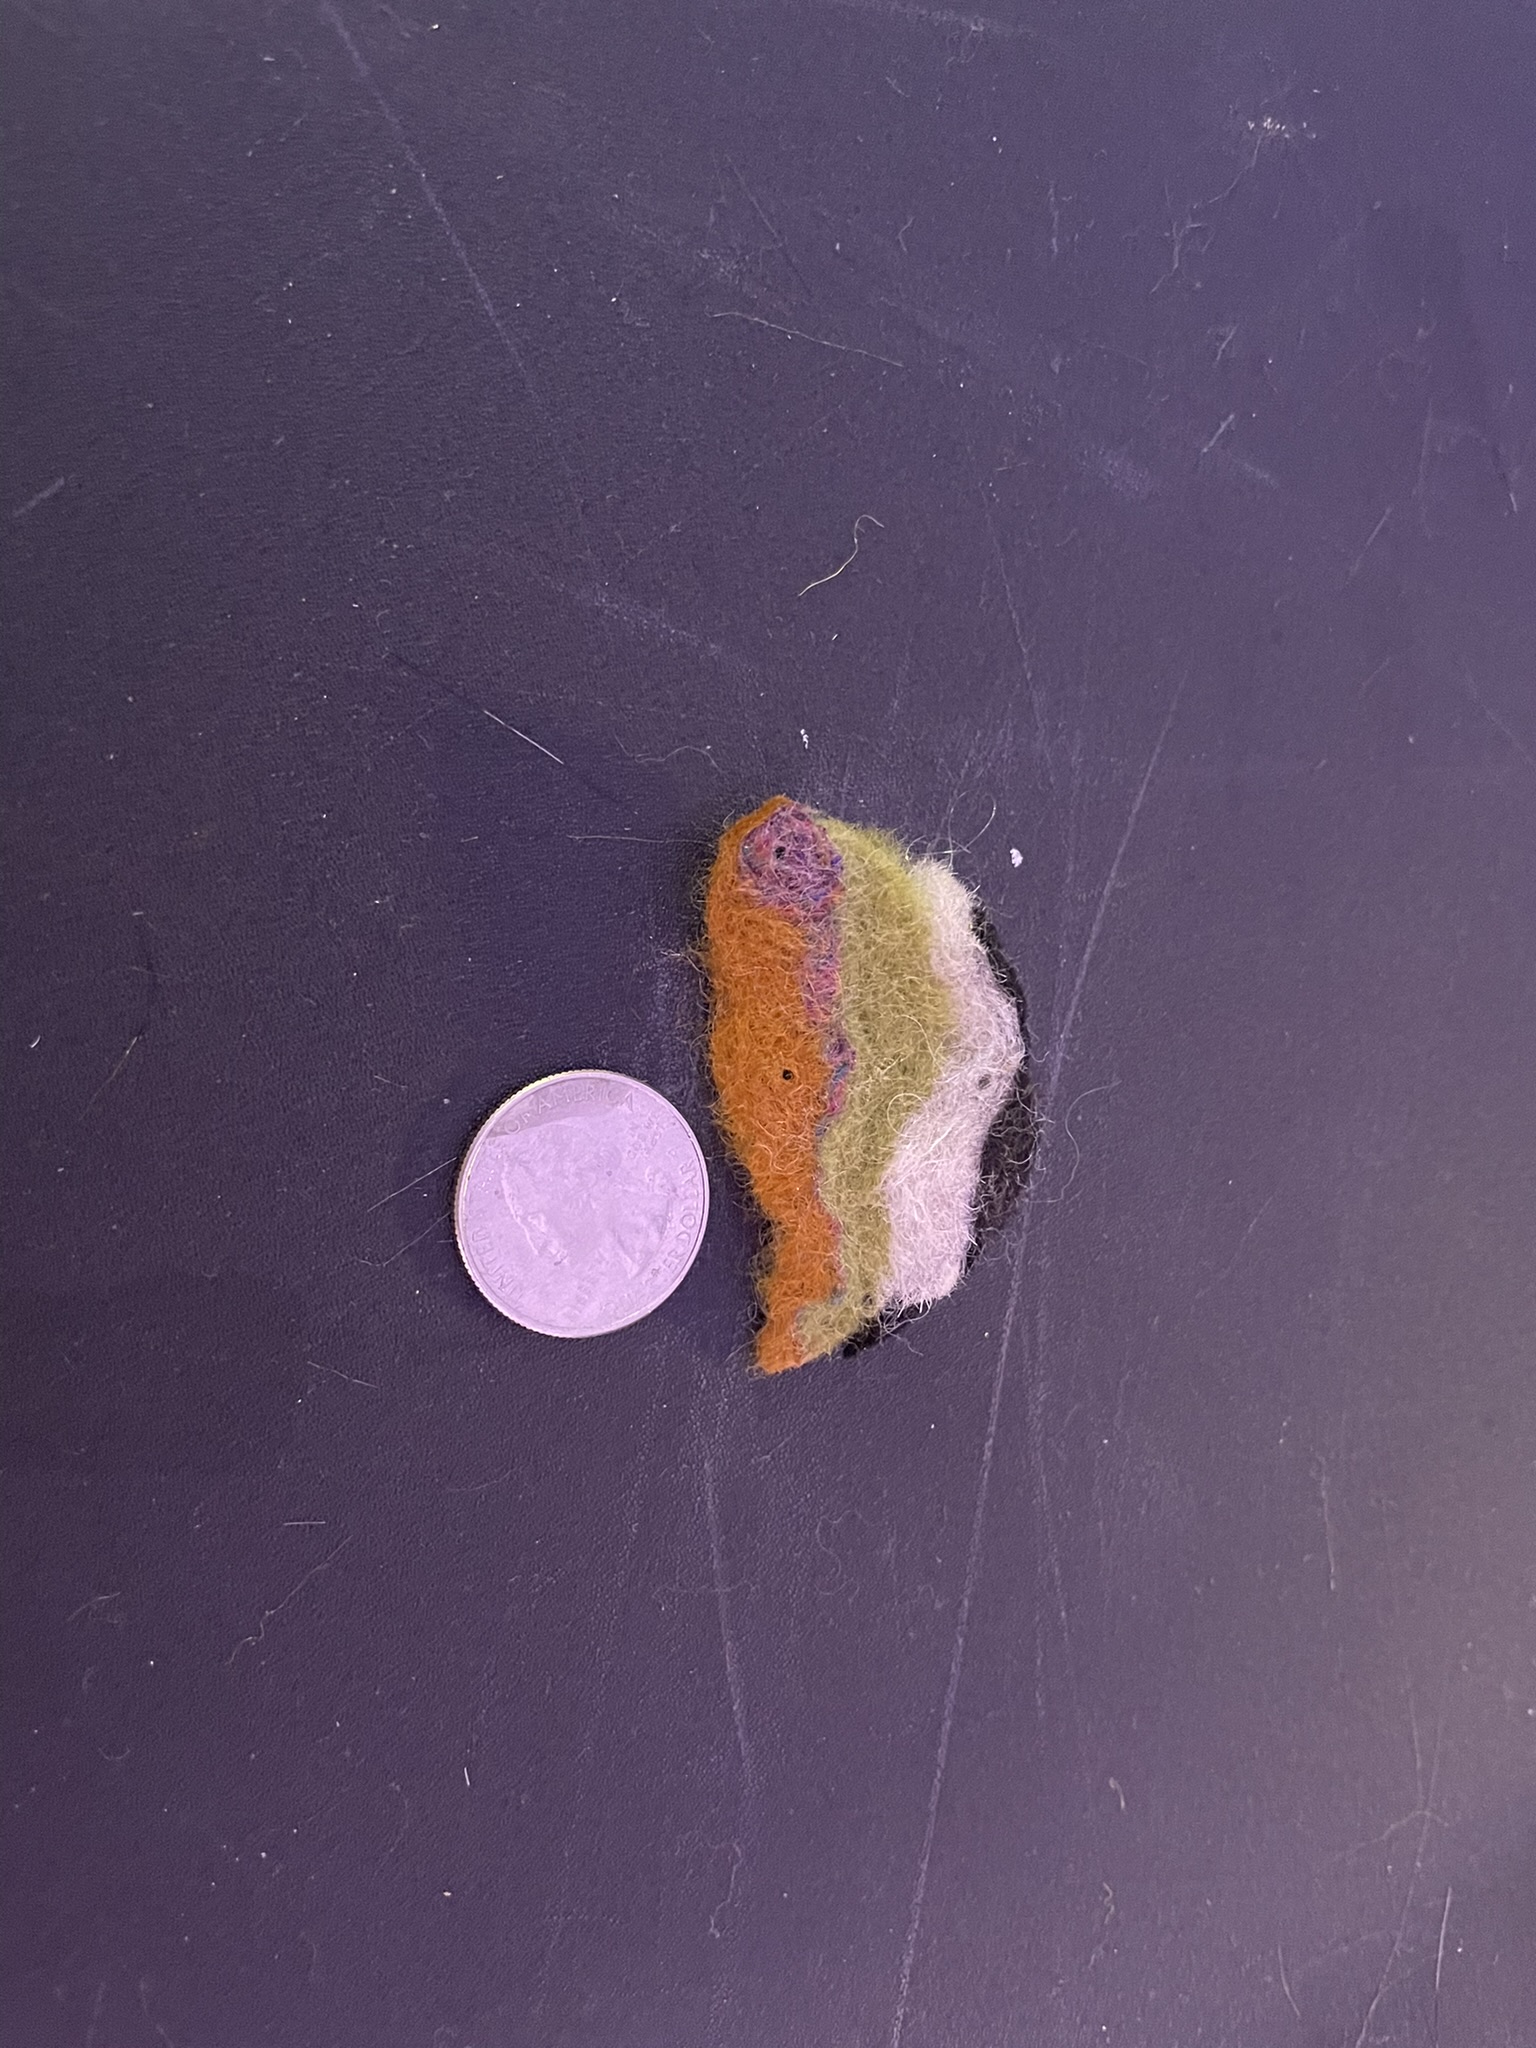
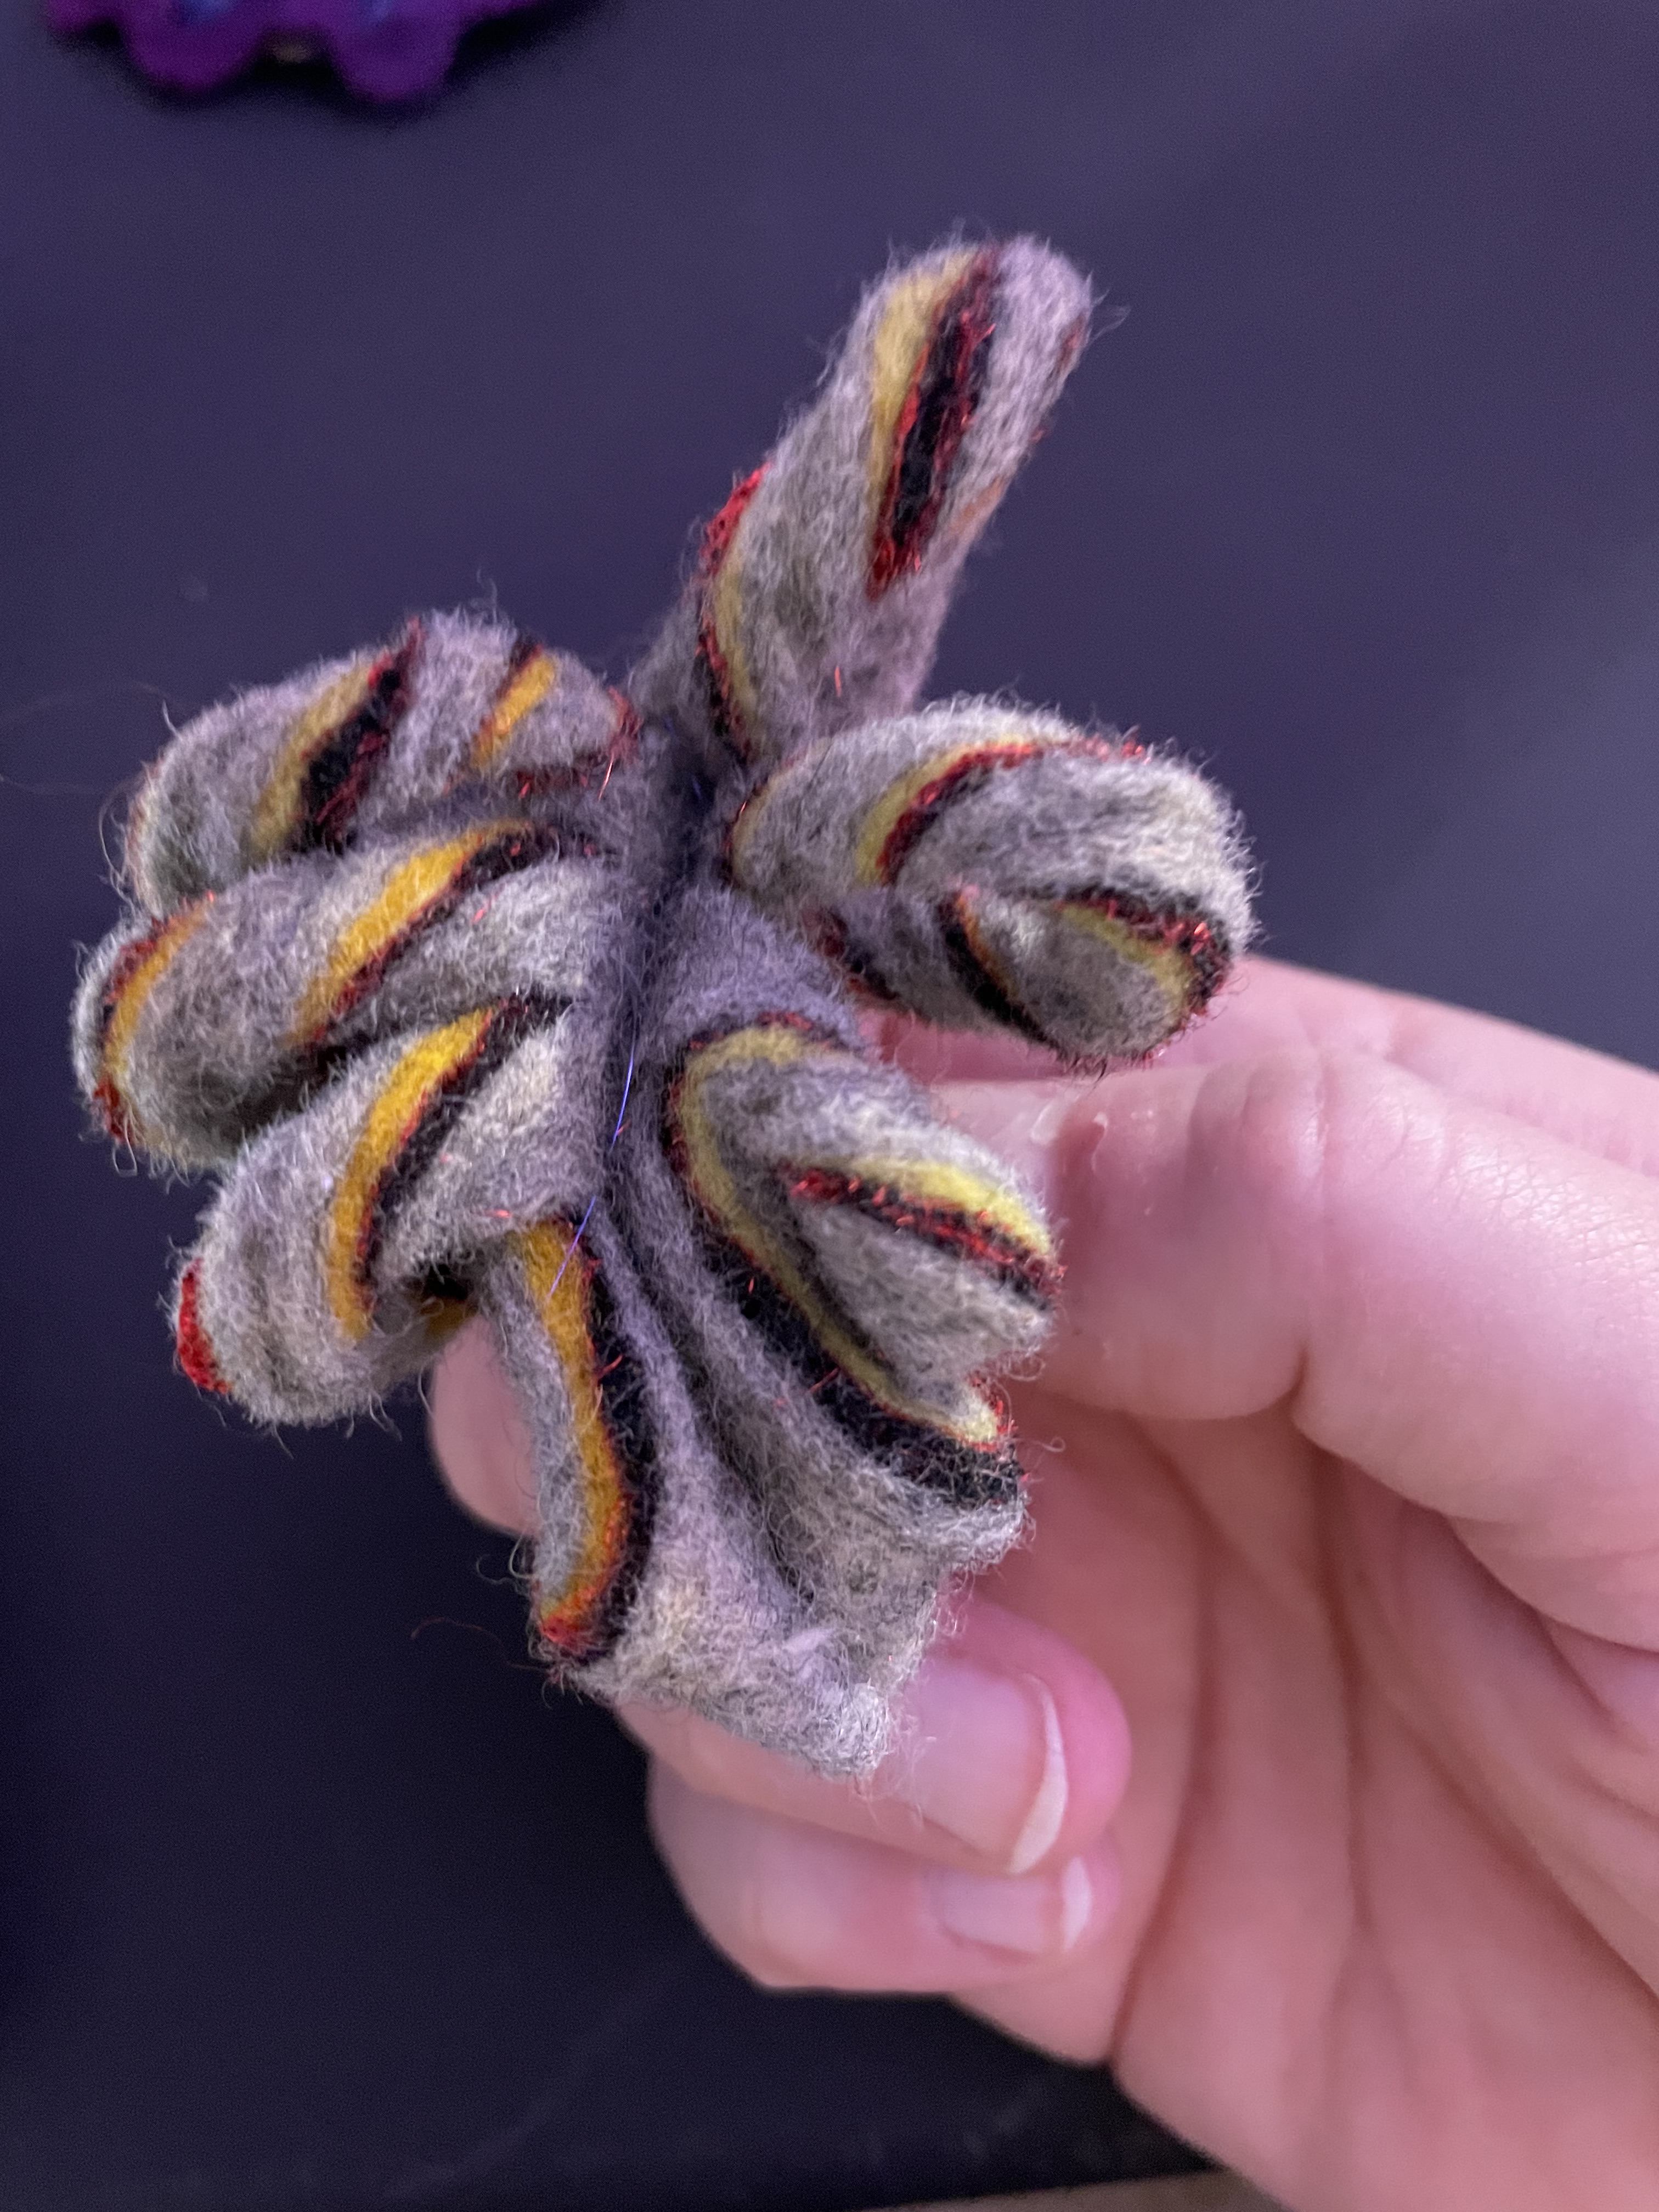
I love how the felt turned out, I am presently trying to figure out the best way to turn the resulting felt into cup-cozies. While experimenting one of my multi layered pieces turned into fantastic geode slices as well as a beautiful feather. I used Gorilla Glue Hot Glue to put pin backs on the felt after everything dried, they will not detach easily! I love how they turned out and hope that some one can give them a good home!
Of course they are also in my Etsy Store.
I have about three baby blankets that I need to add binding onto as well as one very textured baby blanket I’m trying to use a quilt as you go method for creation. Soon there will be cup cozies, baby blankets, and burp cloths in my Etsy store.
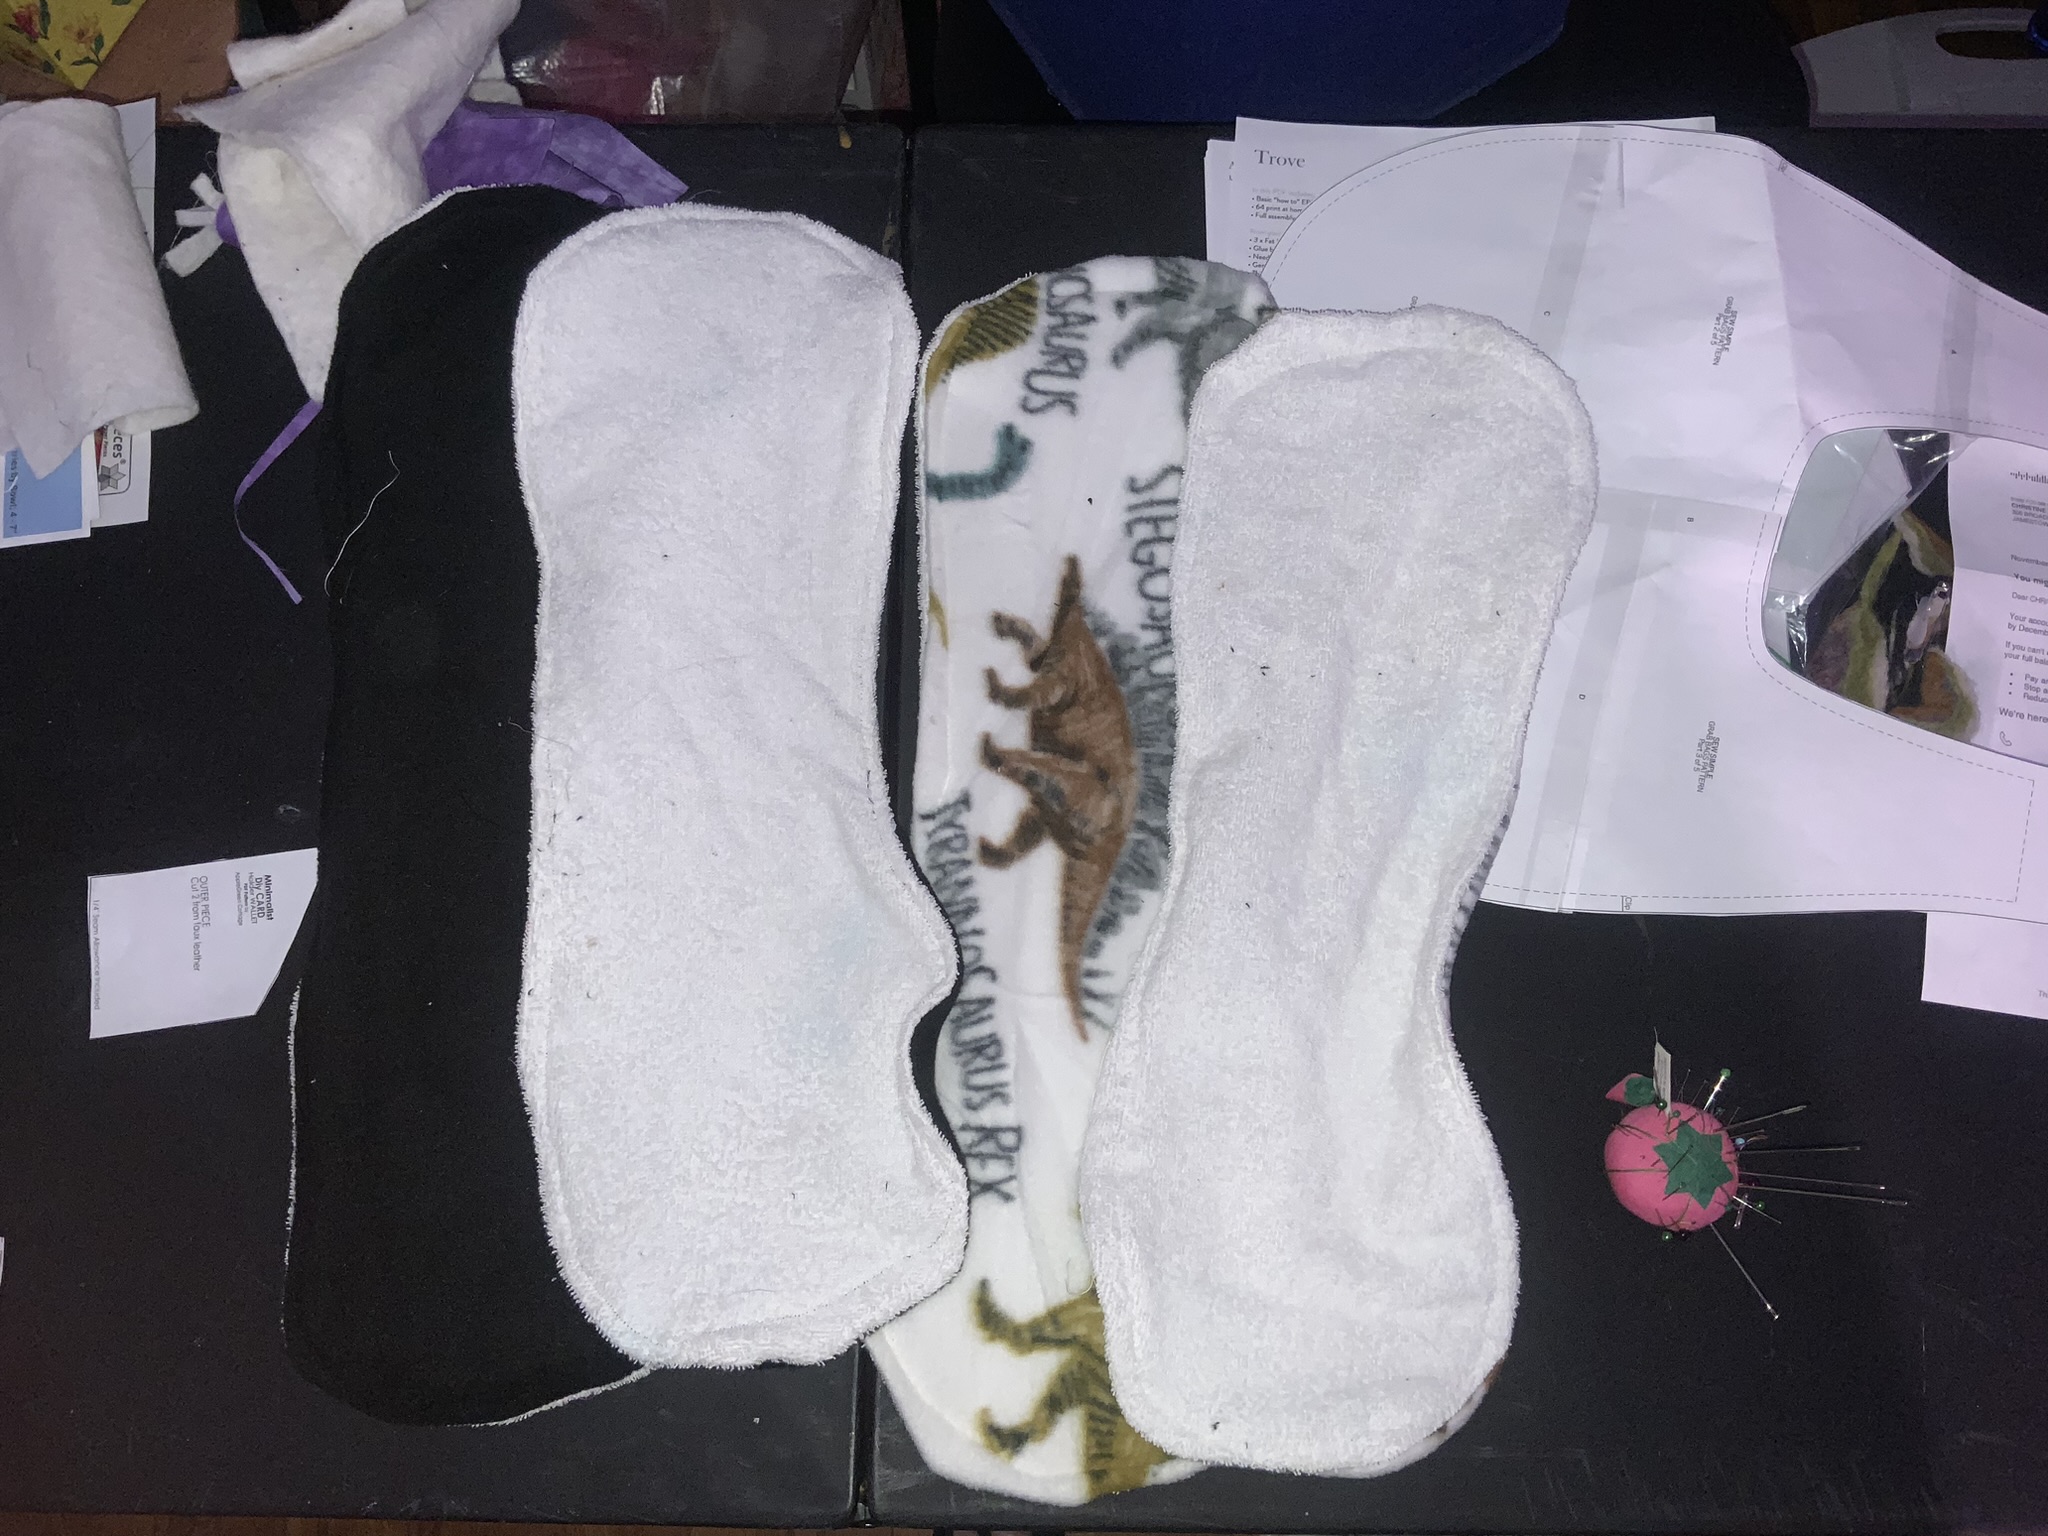
The burp cloths are made with terrycloth on one side and fleece on the other. I finished the top stitching before work this morning. I still need to bury the threads, and run them through a wash cycle using Dreft. Once I have that finished these will be up in my shop. I’m thinking about selling them as a package; one dinosaur back, one black back for $5. It will be 2/$5, the only reason I can do that is because I managed to get the fabric as remnants so they were very inexpensive.
One of the things that I need to consciously stop doing is trying to undercut the other sellers on Etsy. Some individuals have items, like the dino nuggets, for less than $10 each. I do not know how they even purchase the supplies for that let alone sew and stuff them. They are not a huge time commitment but the Sherpa fabric I used to get a lovely look costs $16/yard, then I had to purchase stuffing. I will try to price my goods according to what supplies cost me and how much time they took me to make. That means that my quilts will not have really fancy quilting unless they cost a bit more, I don’t have a long arm and the absolute least expensive method for me to turn my machine into something like a long arm is $500 (my car payment, or the price of my fancy quilt on my Etsy Store that I made using a Tula Pink Pattern). Sending things out to be long armed looks inexpensive until you see that a small quilt will probably cost $50-$100 to long arm (there goes any profit/hope of selling it).
That is the progress that I have made so far, I hope to finish the baby blankets and mug cozies so that I have plenty of items in my store. There are some plans for me to go to a few Craft Shows in 2024 to see if that is a better market for my wares.
Until next time I hop that you Live Life A Little More Abstract!
I know that it has been a while since I have posted. This is mostly because I have not made much significant progress on any of my crafting endeavors for various reasons. If you’re just here for the crafting content, then just skip this post and I’ll try to get back to crafting in the near future.
In October I had the 5 year anniversary of my Mom’s death. I hate that young people, well anyone but the young people get to me the most, smoke. My mom smoked from the time she was about 18 until I went off to college, so over 30 years. She never got lung cancer, instead what she got was COPD. She had to be on oxygen, eventually she caught pneumonia. She had bouts of pneumonia for a year, getting antibiotics and other treatments all the while. In October of 2018 she was, again, hospitalized and they said that she just was not going to get better. They took her off of oxygen and while I was on the phone with the Hospice worker trying to figure out how to transport her home and set up a bed in the living room for her, the nurses came rushing in to get me. I held her hand while mom gasped her last, then I literally howled with grief when I realized she was gone. By nature I am not an introspective person, I try to acknowledge that things have happened and move on, but this hit me a little hard this year, especially since last week would have been Dad’s 75th birthday, this upcoming February it will be 15 years since he passed.
I miss my parents, sometimes I have lucid dreams where I think that they are still alive and we are doing things together. Waking up and realizing that they are gone can make the grief come back just as strong as it was at first. I haven’t had a dream like that in some time, but I have had a couple over the last month. All of this has made it difficult for me to craft and write about new and happy things, but talking with a friend this past weekend made me realize a few things.
I have a coping mechanism for the holidays, it isn’t the healthiest, that works for me. I have a standing invitation to visit my friend and spend the holiday with her family, instead what I’m going to to do is spend the day ‘sulking’ at my house and working on a major cleaning project. I started early by shredding all of the paper’s I’ve had around for 3 years and sorting the bills into a bill box in case I need them in the next five years. I plan on getting the rest of the first floor cleared up so I can work on the second floor and setting up crafting stations that work for me.
I’m not introspective. I don’t like reflecting on things because sometimes I don’t like what is staring back at me, both about myself and my family. I do have to look back sometimes and remind myself, I have a full-time job, my own home, and a reliable car. I have a friend that will be with me through thick and thin, as well as a loving supportive family from dad’s side. I want to spend my holidays alone because I can manipulate my restless energy into getting plenty of work done around the house. I have the opportunity to actually attend the family holiday gathering this year since it will be held in early January, so I am looking forward to that as well as trying to get my crafting mojo going to make some sort of presents for everyone.
I miss my parents. They would have hated the Pandemic. They are looking down and keeping watch over my entire family. I have so many blessings to count. I am far luckier than most.
I’m going to take the next couple of weeks to remind myself I’m lucky and things could be so much worse. I know my reactions and how to keep them from getting too far out of control. I’m thinking seriously about making holiday cookies even though I haven’t since Mom Died. My best friend is getting married in June and I will be standing up with her.
Take care of yourselves throughout this holiday season. I hope to have crafting content for you before the end of the year, if nothing else I’m hoping to have my crafting supplies better organized so I can let you know something about that.
I do not have any photos to add to this post, though I have been working hard on several projects.
These past two weeks have been a lesson on understanding how much work you are putting into something before you make an estimate. For one of my commissions I based the estimate on how much is usually charged for machine binding a quilt. What I am actually doing is hand cutting around individual flowers from a quilt then hand turning and binding each flower. Instead of the 20 minutes the machine binding would take this is taking about 3 hours per flower. Over 14-19 different flowers this is going to take quite a bit of time. I’m enjoying the work, especially knowing that I am helping to preserve an antique quilt in a way that it can be shared among family members. The age and delicacy of the fabric is why I cannot, well why I am very reluctant, to machine stitch these pieces. I have five flowers done and one more pinned and ready to stitch. At present I am trying to pin two at a time then stitch them up, this kind of batching allows me to feel like I am getting them done faster, though I know that I am not. The only thing that I regret is no matter how carefully I pin the petals of the flowers I cannot completely eliminate tiny folds or puckers from appearing.
Work has been very interesting as we work on finishing up the ordering for the year while preparing for a Haunted Library fundraiser. Thanks to my federal tax refund I am not panicked about my upcoming work trip and I have also been able to order a quiet, I hope, sander for my wet felting. I am still going to take a hiatus from my guilds while I decide if they are serving me at this time in my life. I know that it probably sounds silly but I often feel that the two weekends a month I go to guild meetings means that I do not have enough time to do other things during the week. I’m going to see if I am more productive when not going to meetings or if I just get lonely.
There is a lot more going on, I’m trying to work on my Dream Book planner to figure out what I want my goals to be next year, plan for crafts for 2024 at work, and so much more. No matter what I will always count my blessings that I am able to Mostly care for myself and that I have a loving family with amazing friends. I was able to visit my sister in Pittsburgh last week, the day before the 5 year anniversary of mom’s passing. It was a great visit and I was finally able to meet my sisters friends.
The world is a bright and beautiful place, though the heat seems to be off at work.
the past few weeks have been both weird and wonderful. I have received two different commission opportunities as well as an opportunity to attend a conference for mostly free.
I’m not going to go into the commissions too much but they have kept me busy and will continue to do so for a few more weeks.
I was able to attend EGLFC for just the price of supplies which my last speaker fee should have covered. Unfortunately I still have not received that fee so I’m going to have to back out of guild meetings for a while so I have what I need to attend a work conference in three weeks. I’ll be comped for the expenses but I need to cover the expenses first. Enough about money right now.
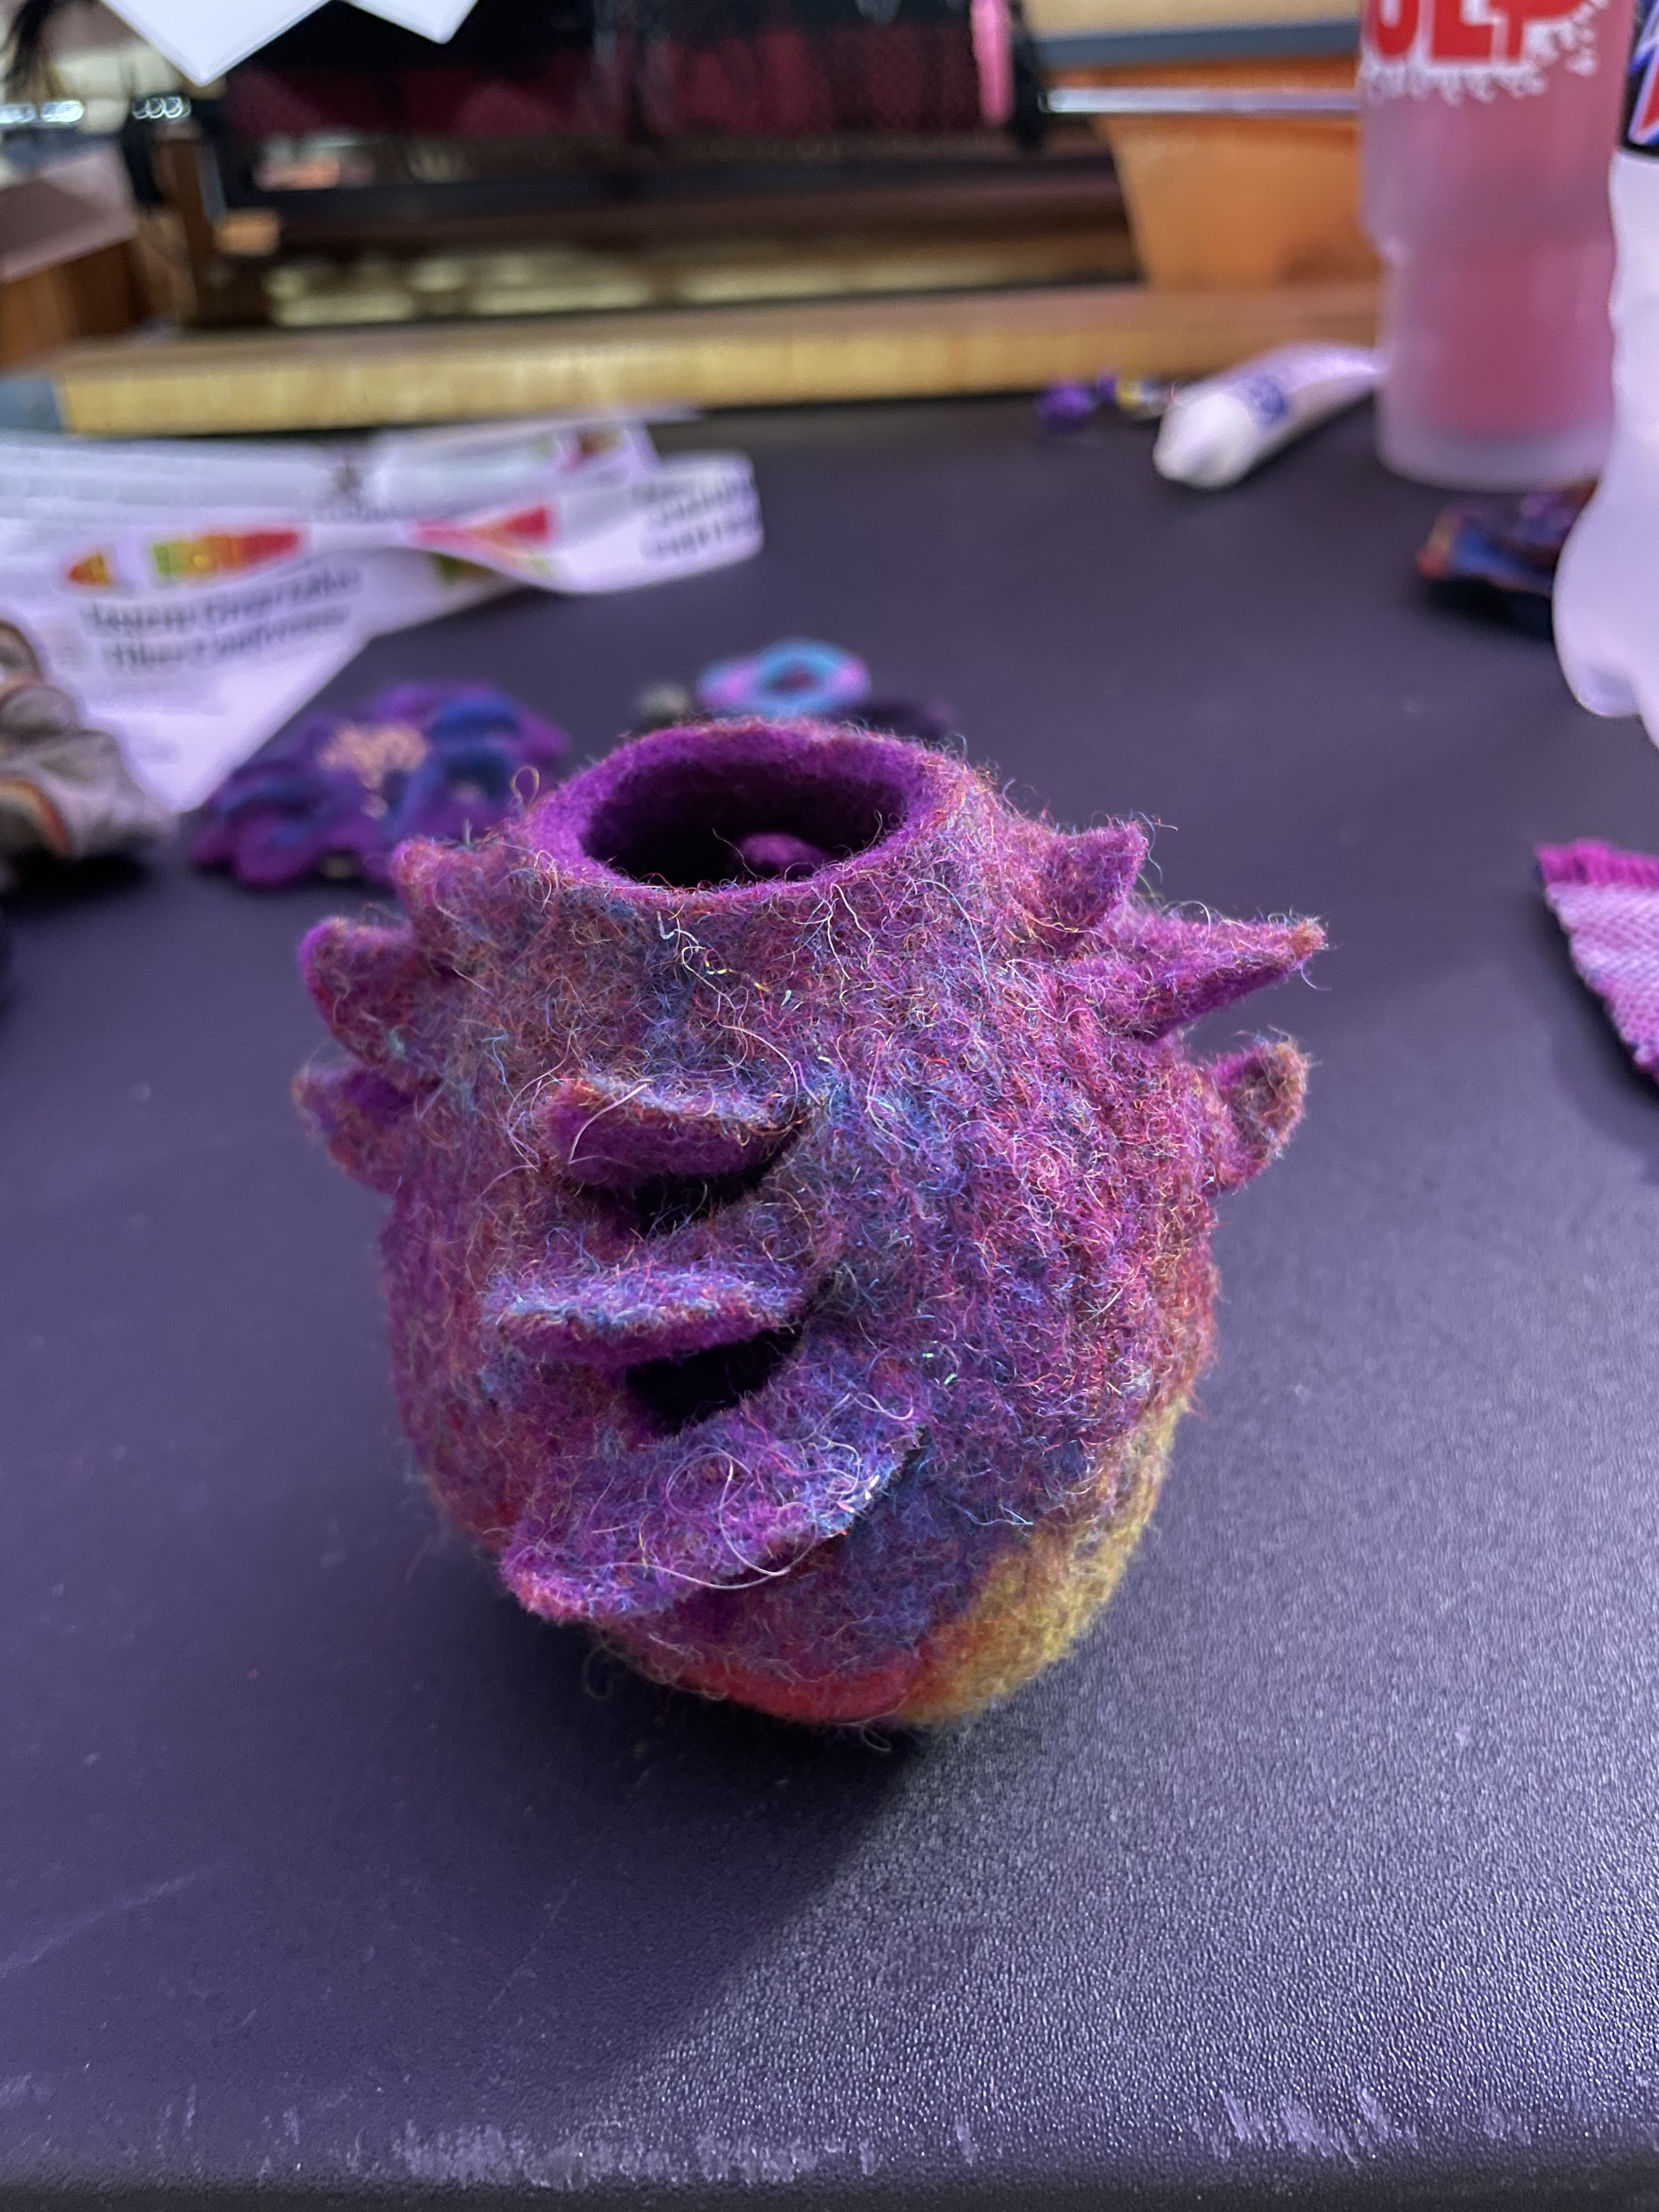
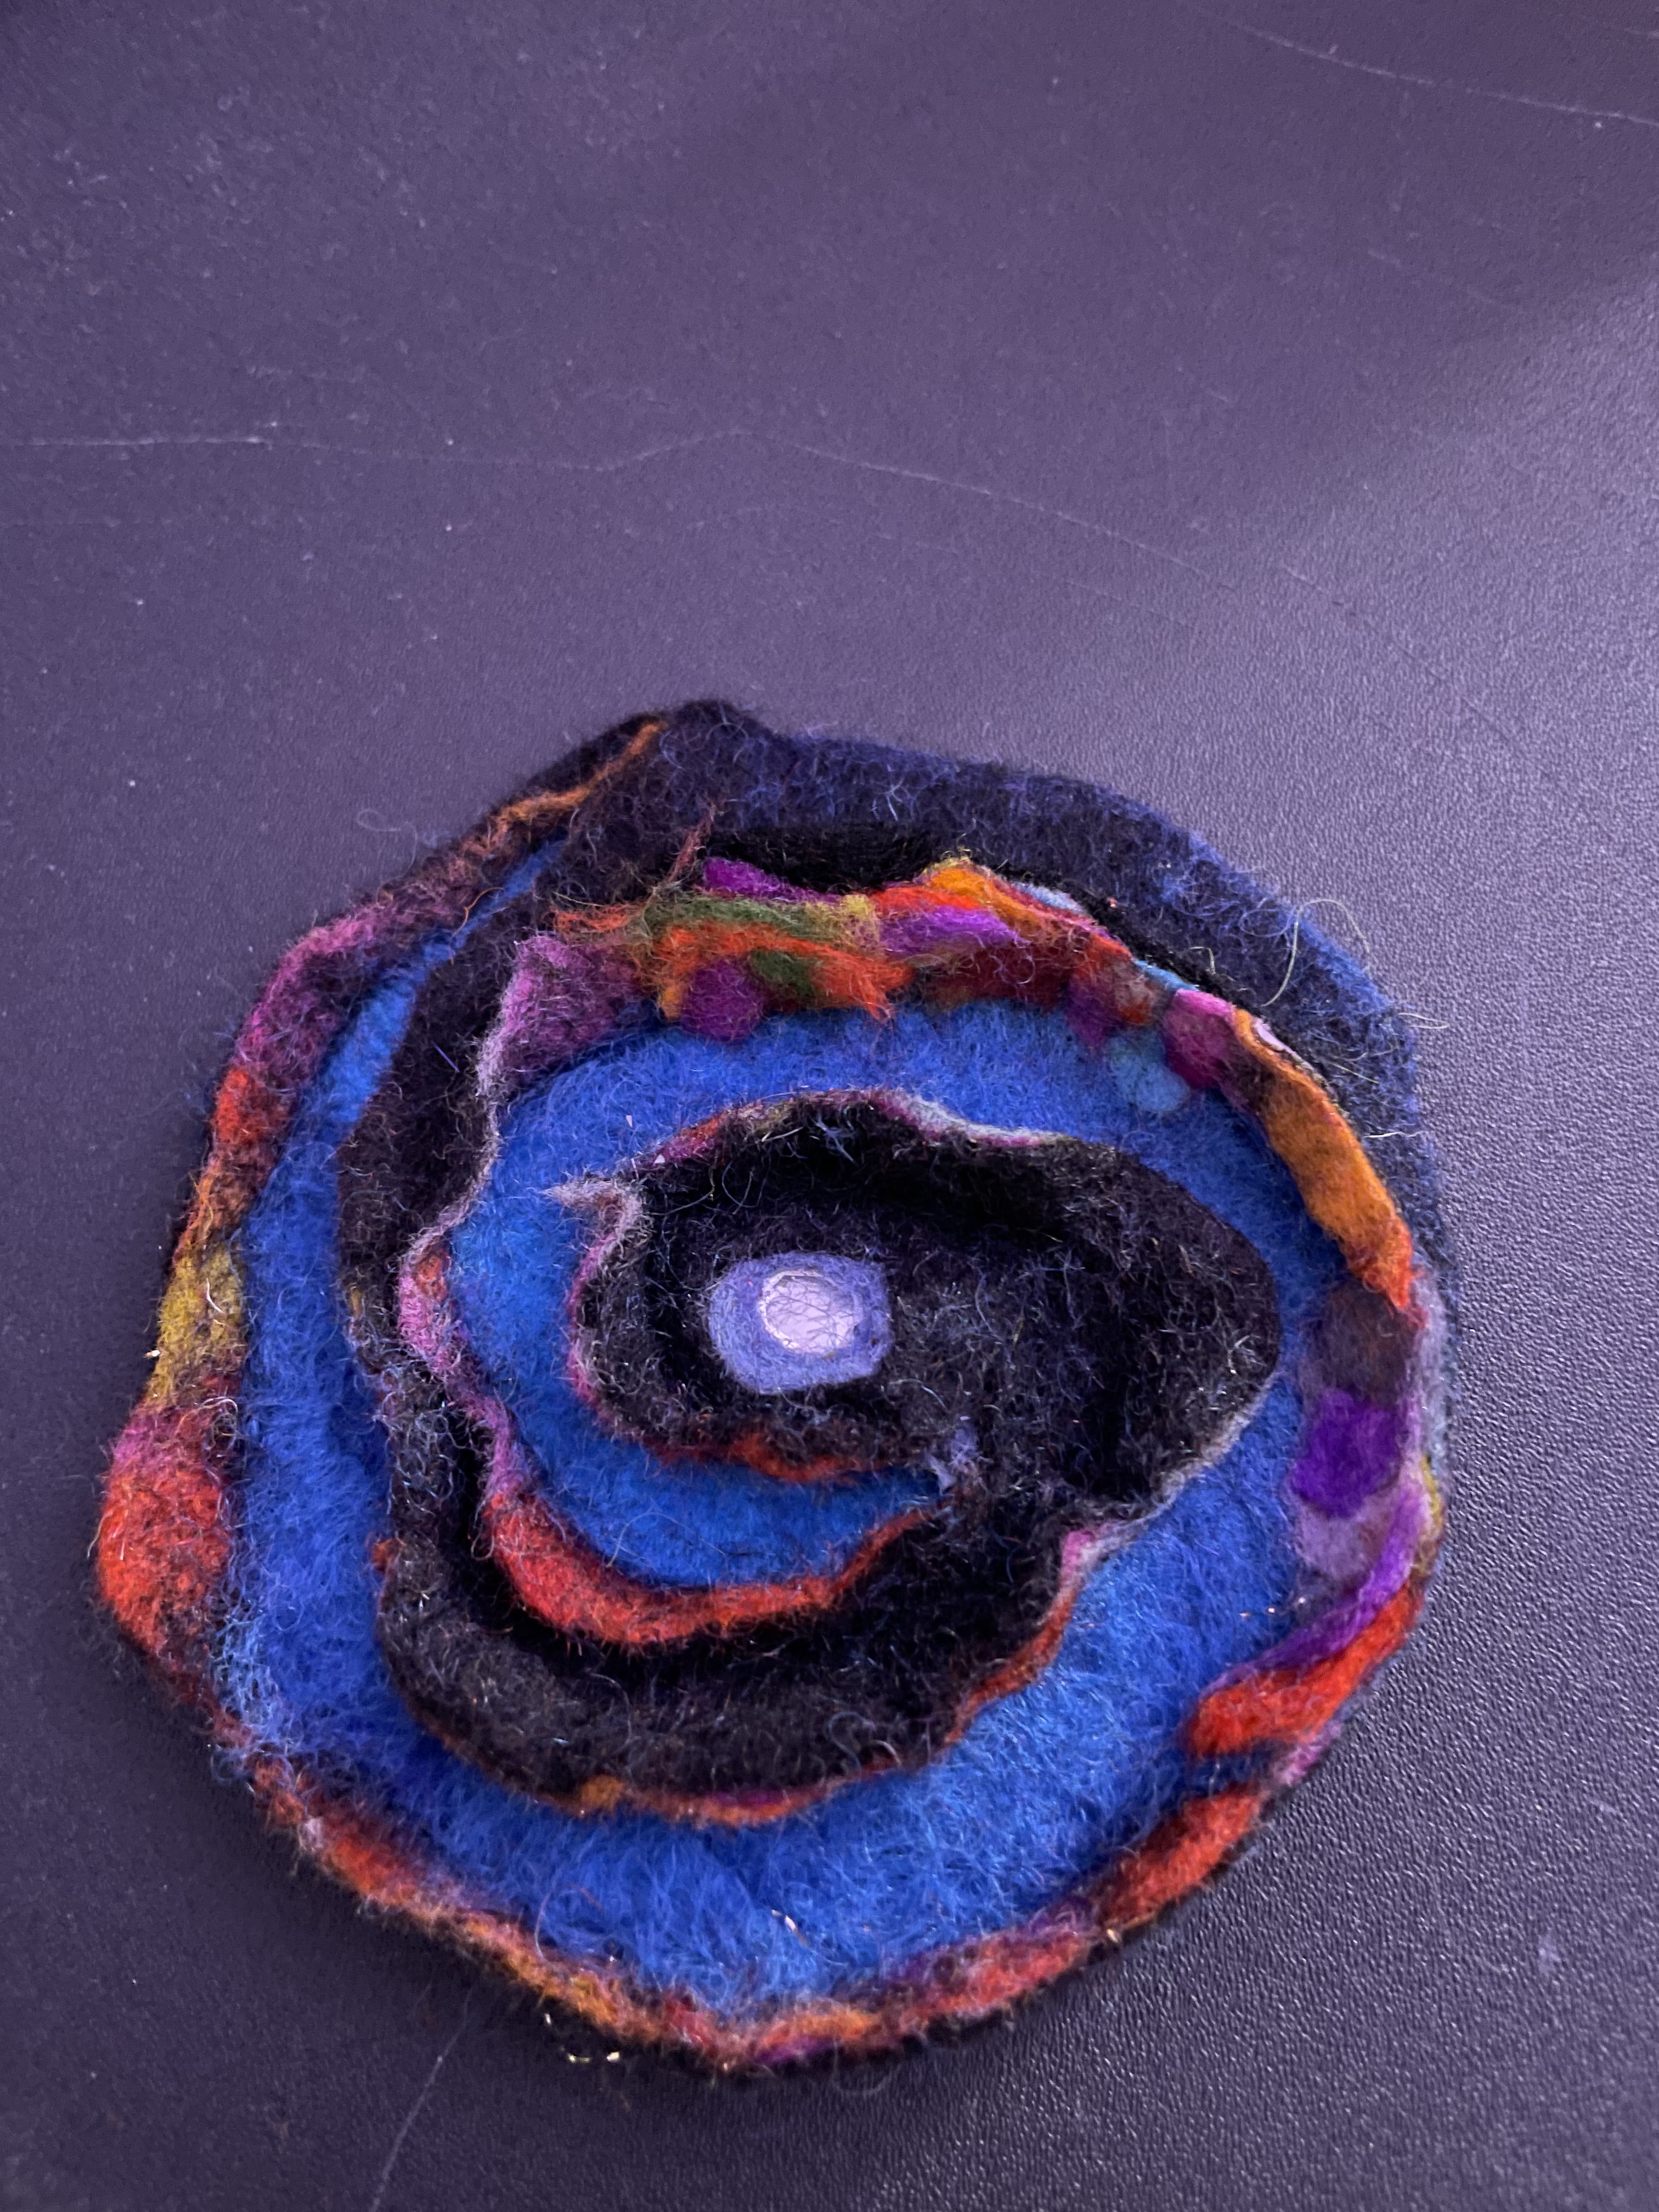
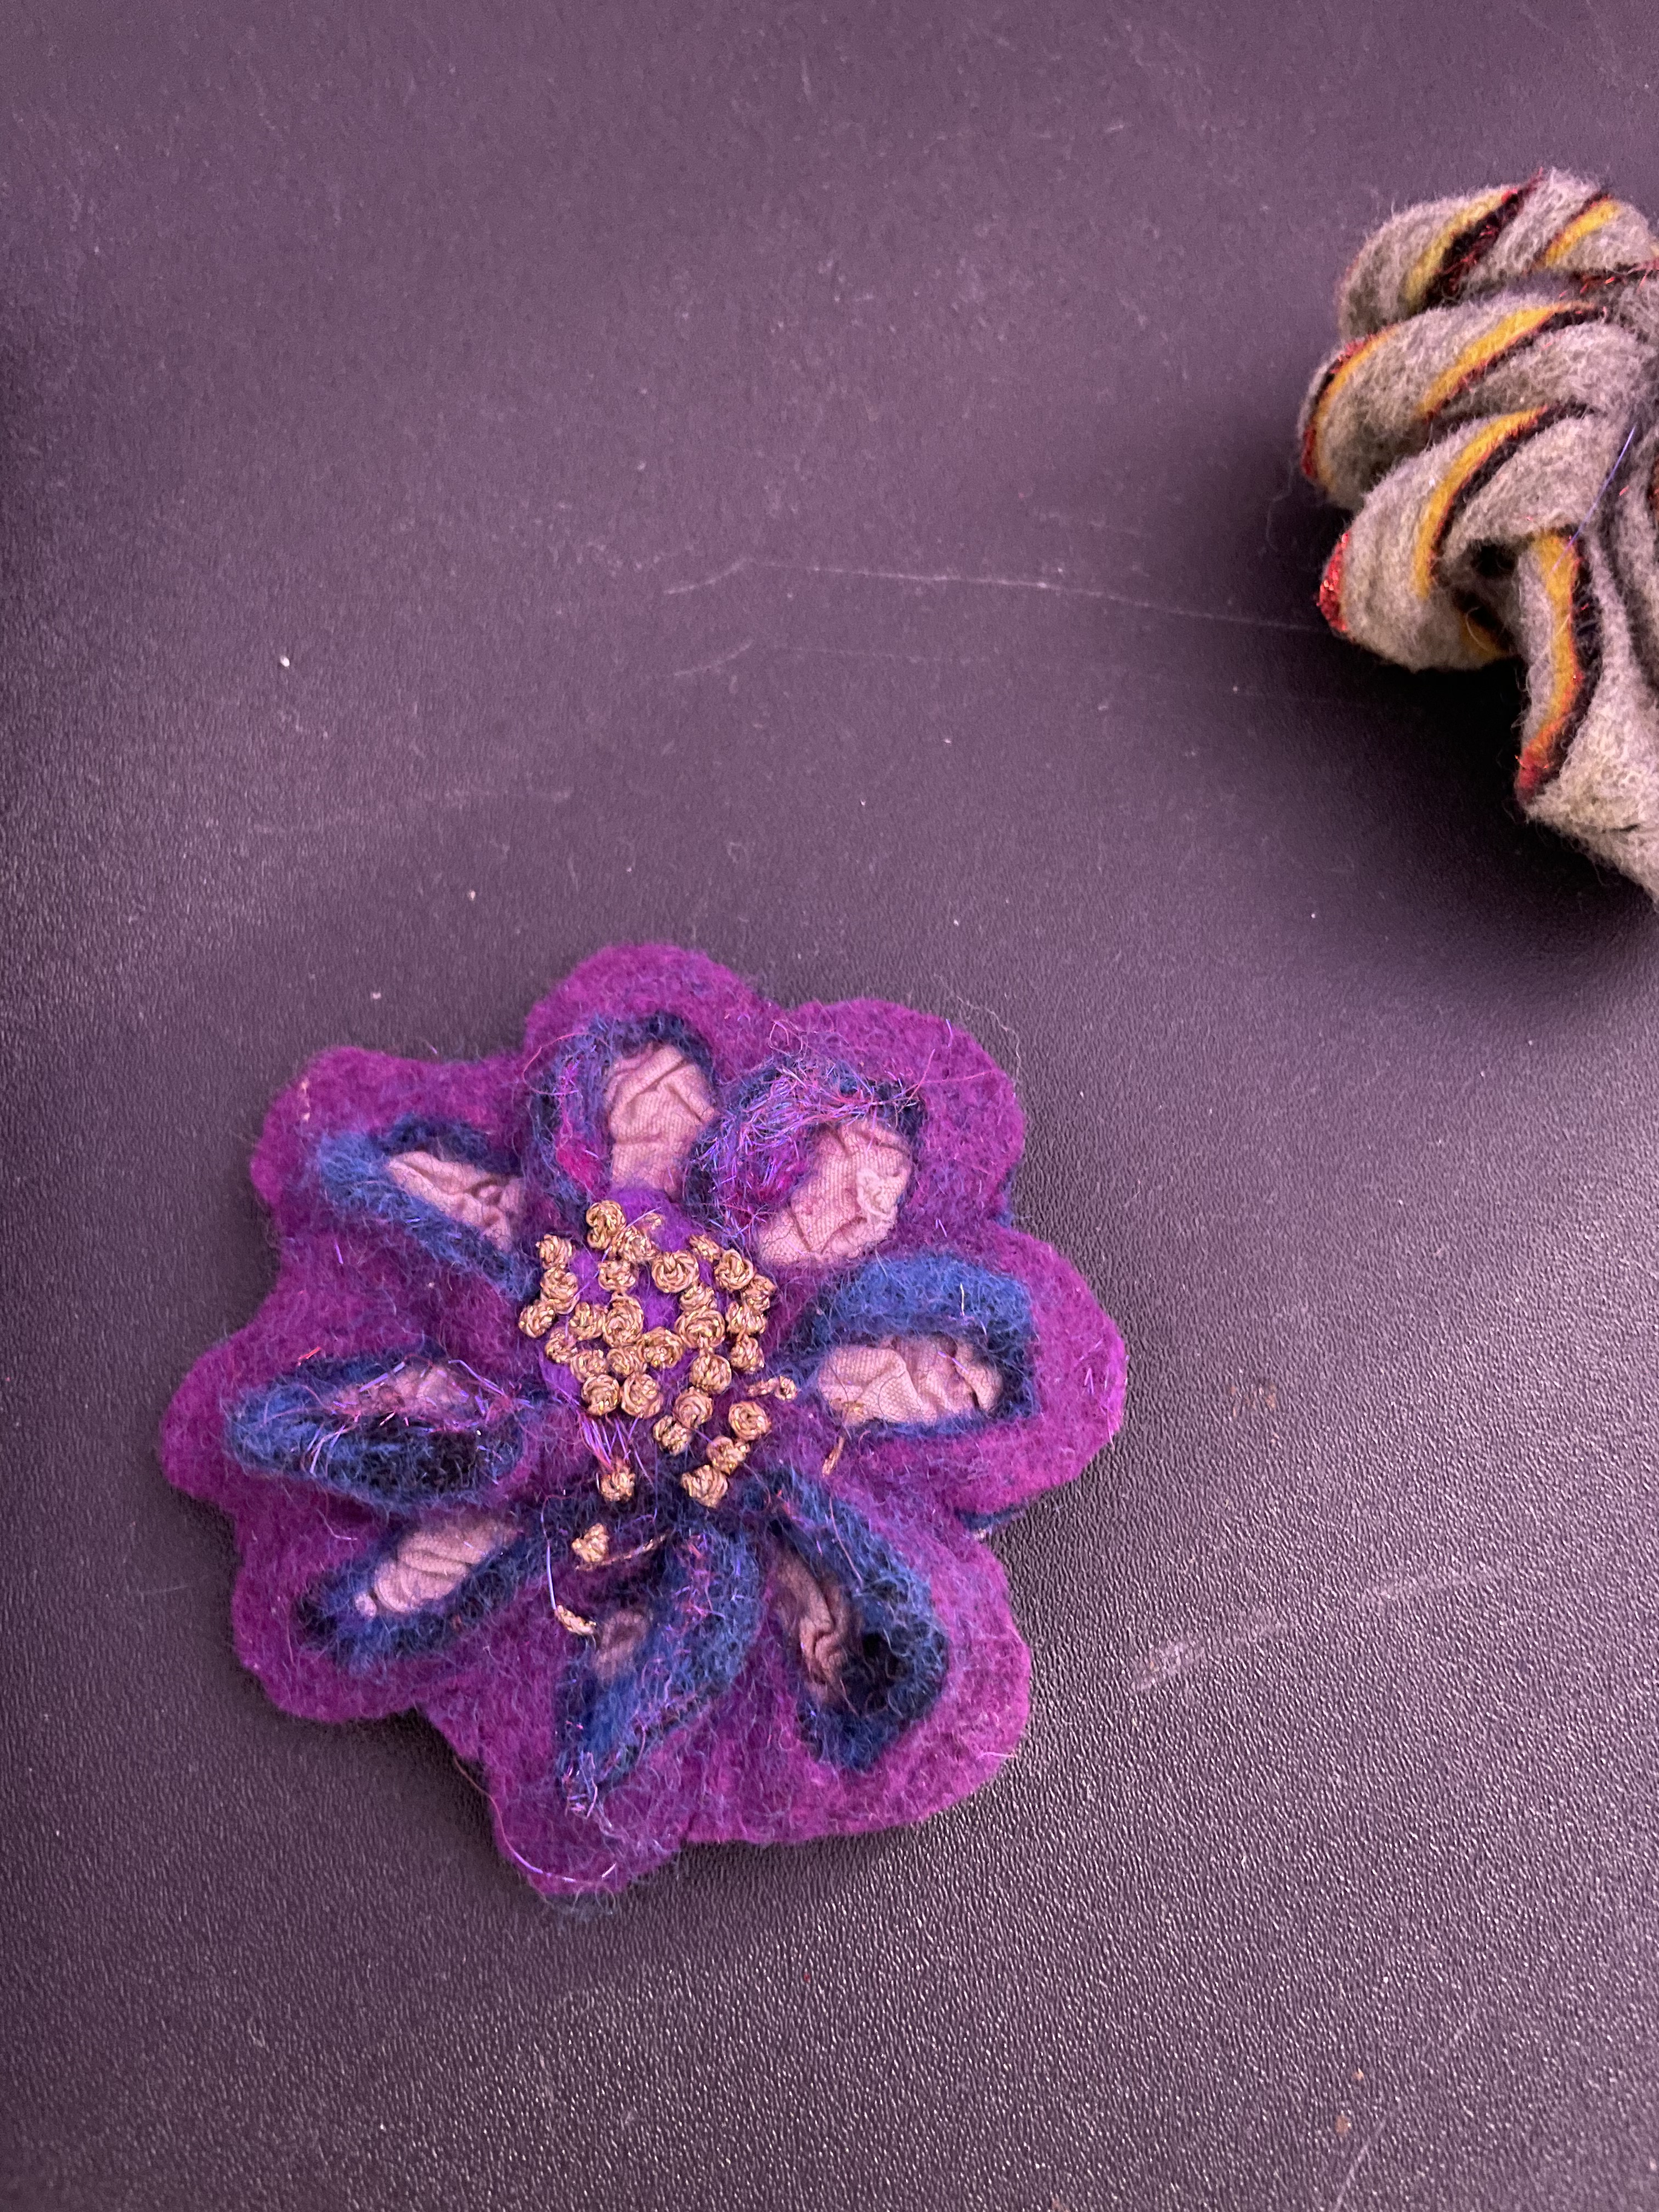
I had so much fun at EGLFC and I learned so much about wet felting and how a finishing sander can be used to make the process easier.
I was able to make two rings, three brooches, and a vessel out of felt. I really like how everything looks. I have a couple of amazing plans for wrist cuffs and a possible wall hanging, I’ll be exploring that a little further once I have made some progress on my savings goals. I believe I will put a couple of felted pieces on my Etsy site to see how they do. I do have a wall hanging that I need to finish before I put it online. I was inspired by my teacher comparing my piece to something that she would jury and giving me tips.
I am thinking about creating tutorial PowerPoint presentations to teach various techniques and putting that behind a paywall. If that is something you would be interested in, please let me know.