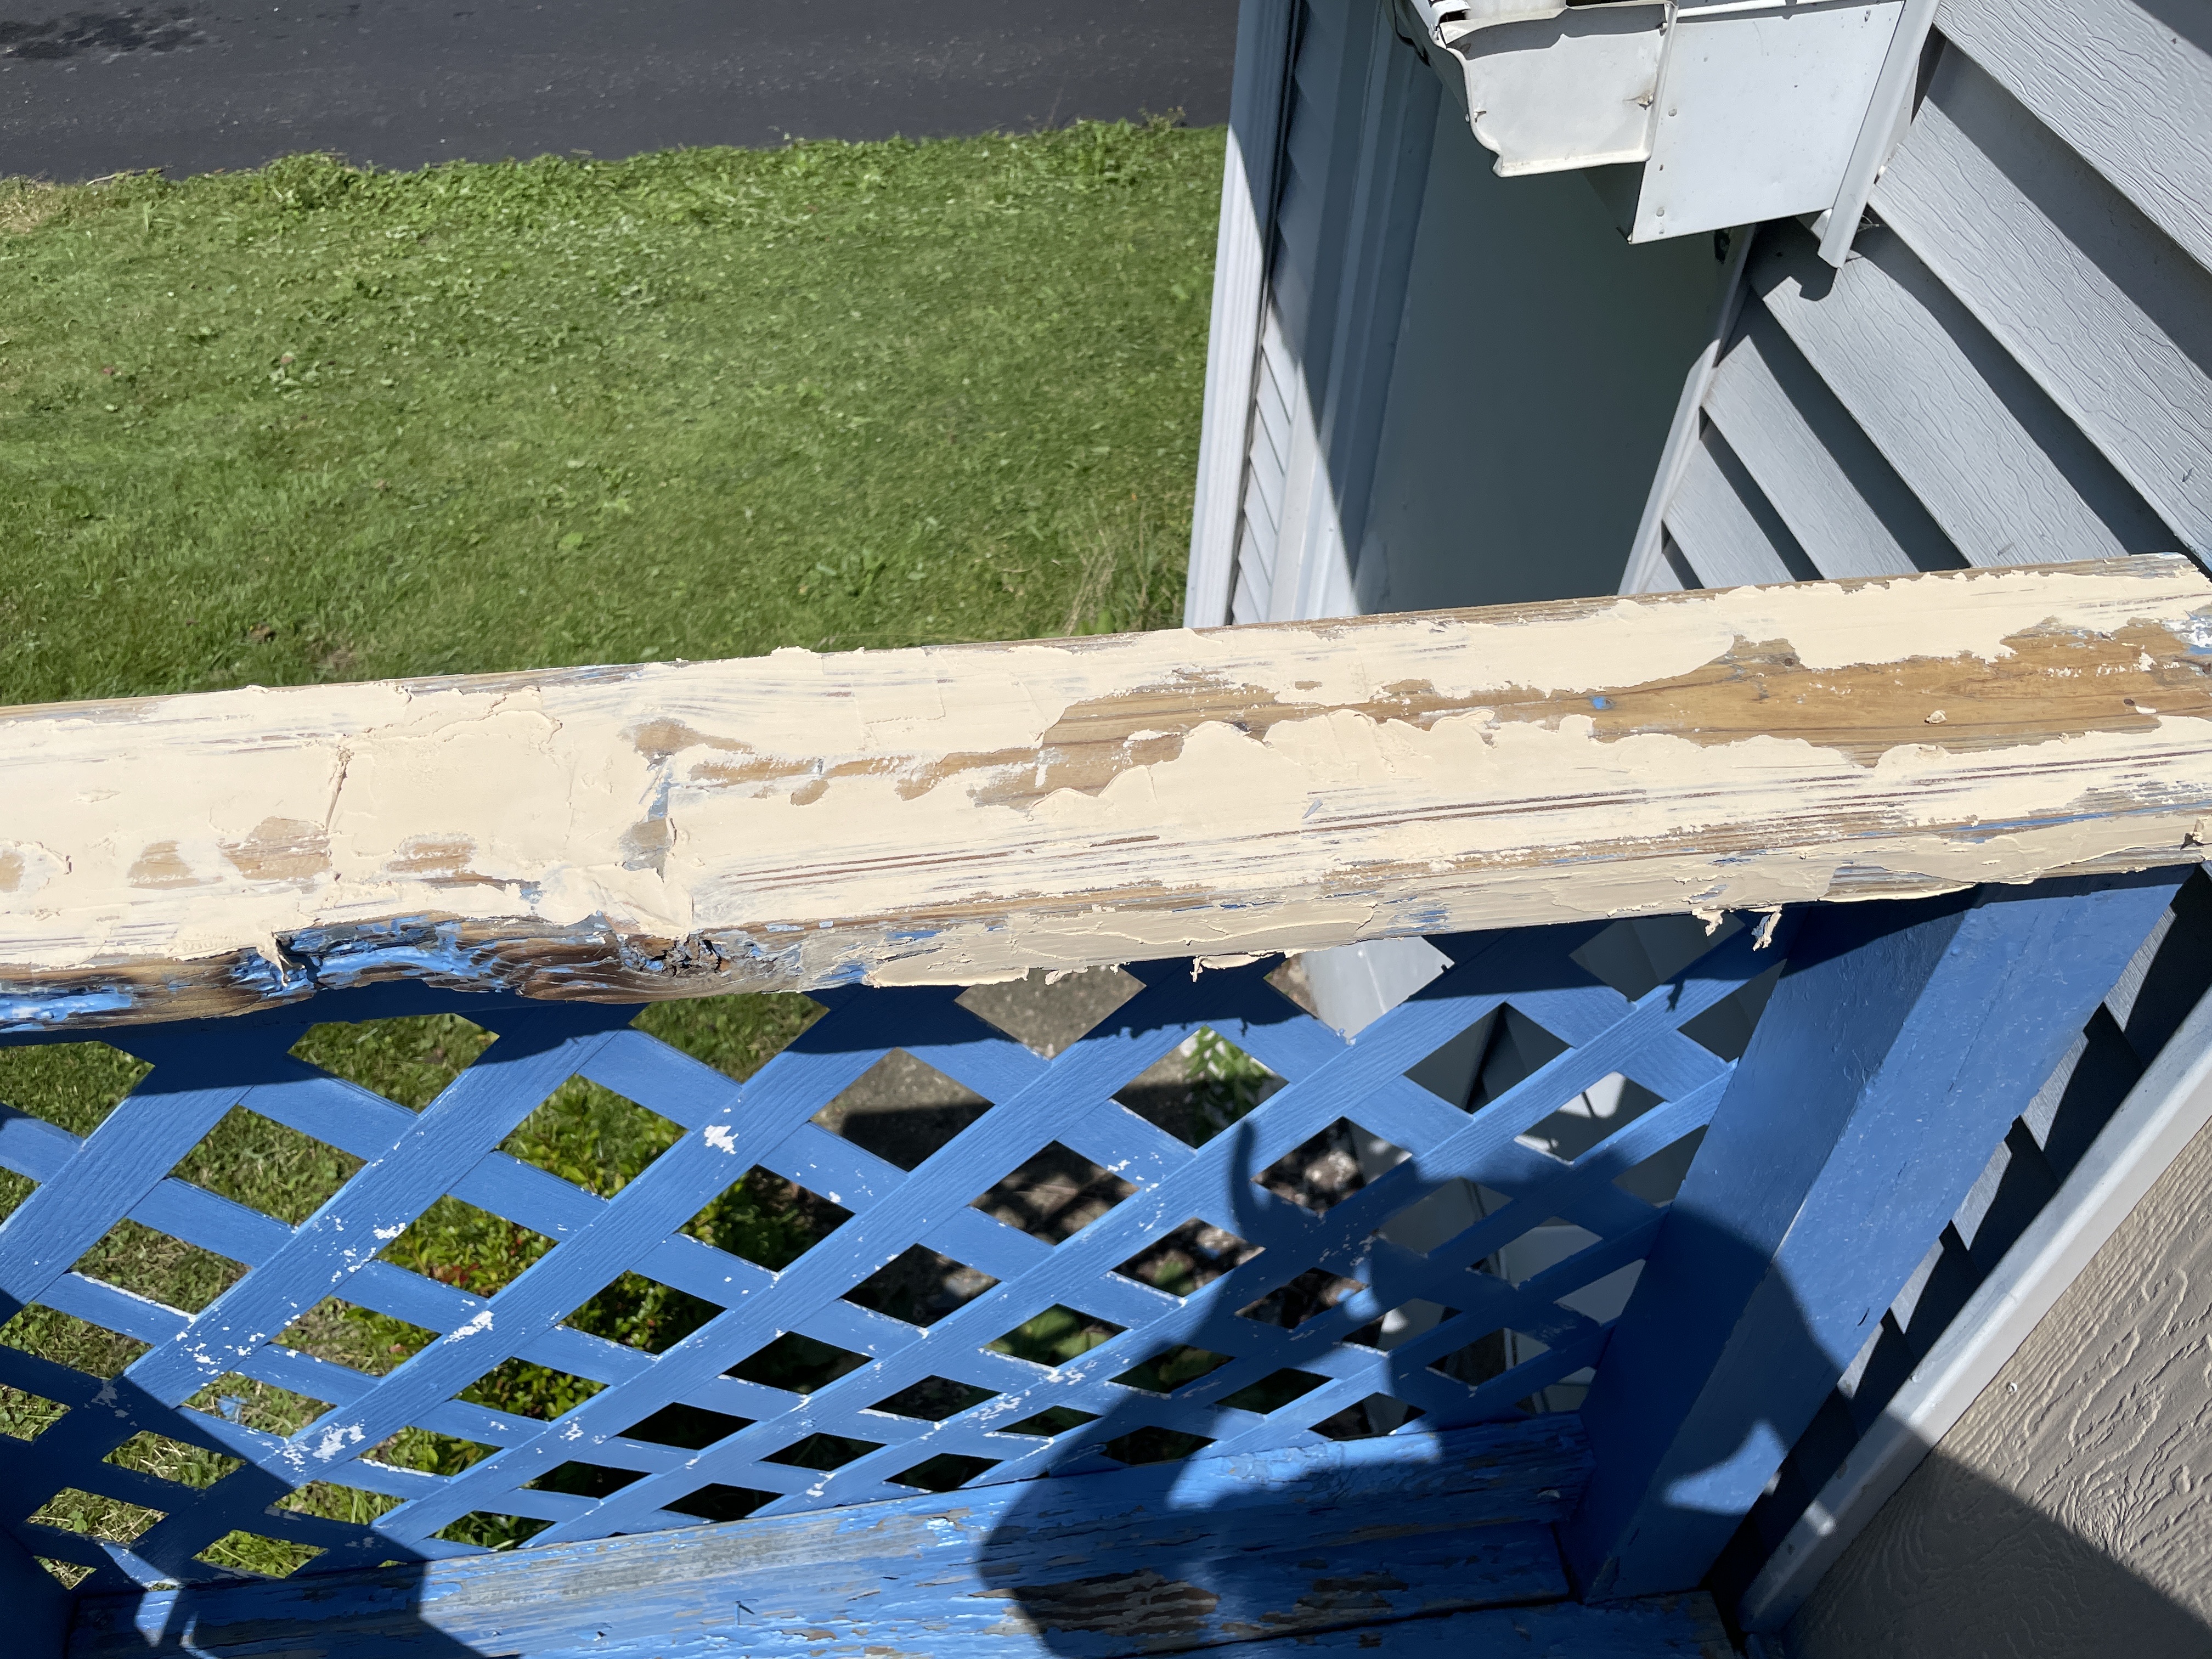
So, every now and again, about every 28 days or so, I get a huge urge to clean or be productive. The week before this urge hit I was staining my front deck and trying to get the paint off of my back deck. This past week I have been cleaning and reorganizing at home and at work, my work crafts have been shifted to a ‘craft closet’ which I am trying to organize in a way that will work for me. At home I have been trying to group crafts according to type, get my floors swept up, and generally get my house in a state where I can stand it again. Of course, this is not an urge that came from the ether, I had signed up for the annual Get Organized HQ summit online, though I did not purchase the annual pass this year I just watched what I could while it was available. If you are looking to get organized I highly recommend this resource, it is on sale right now for under $100 to get tons of resources and information on how to organize your home and even crafts this year. (I am not affiliated I just really like them).
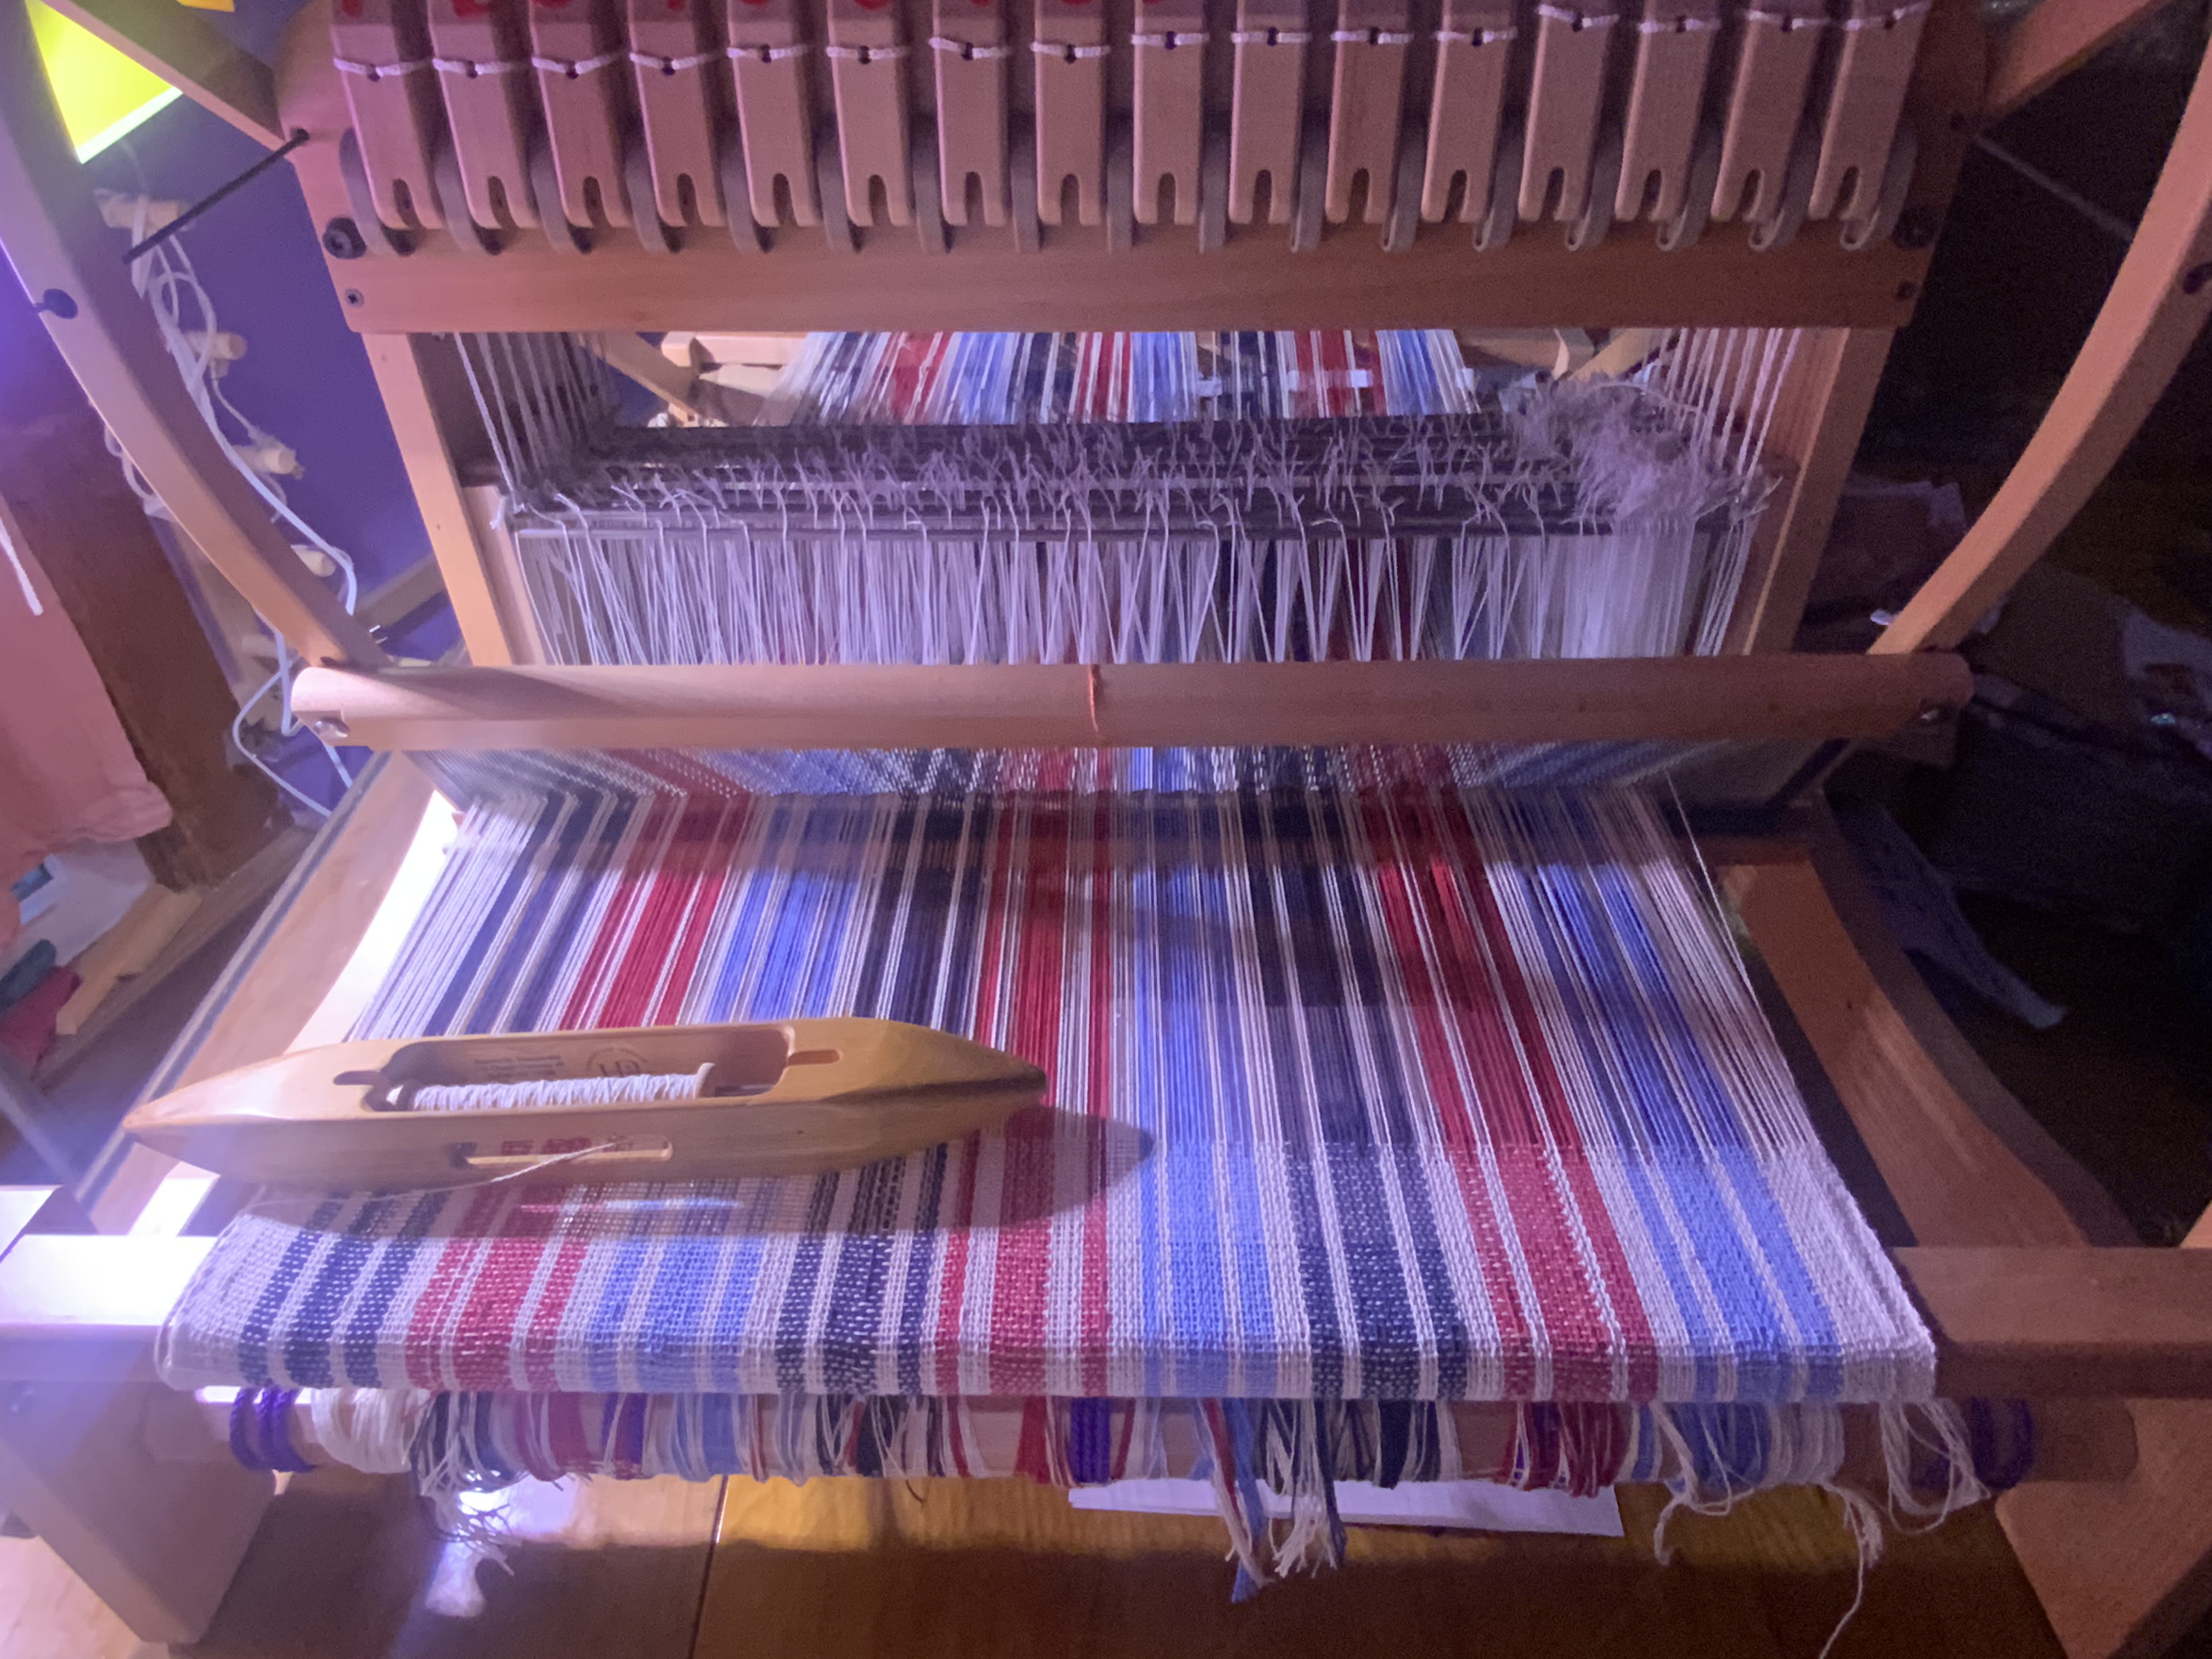
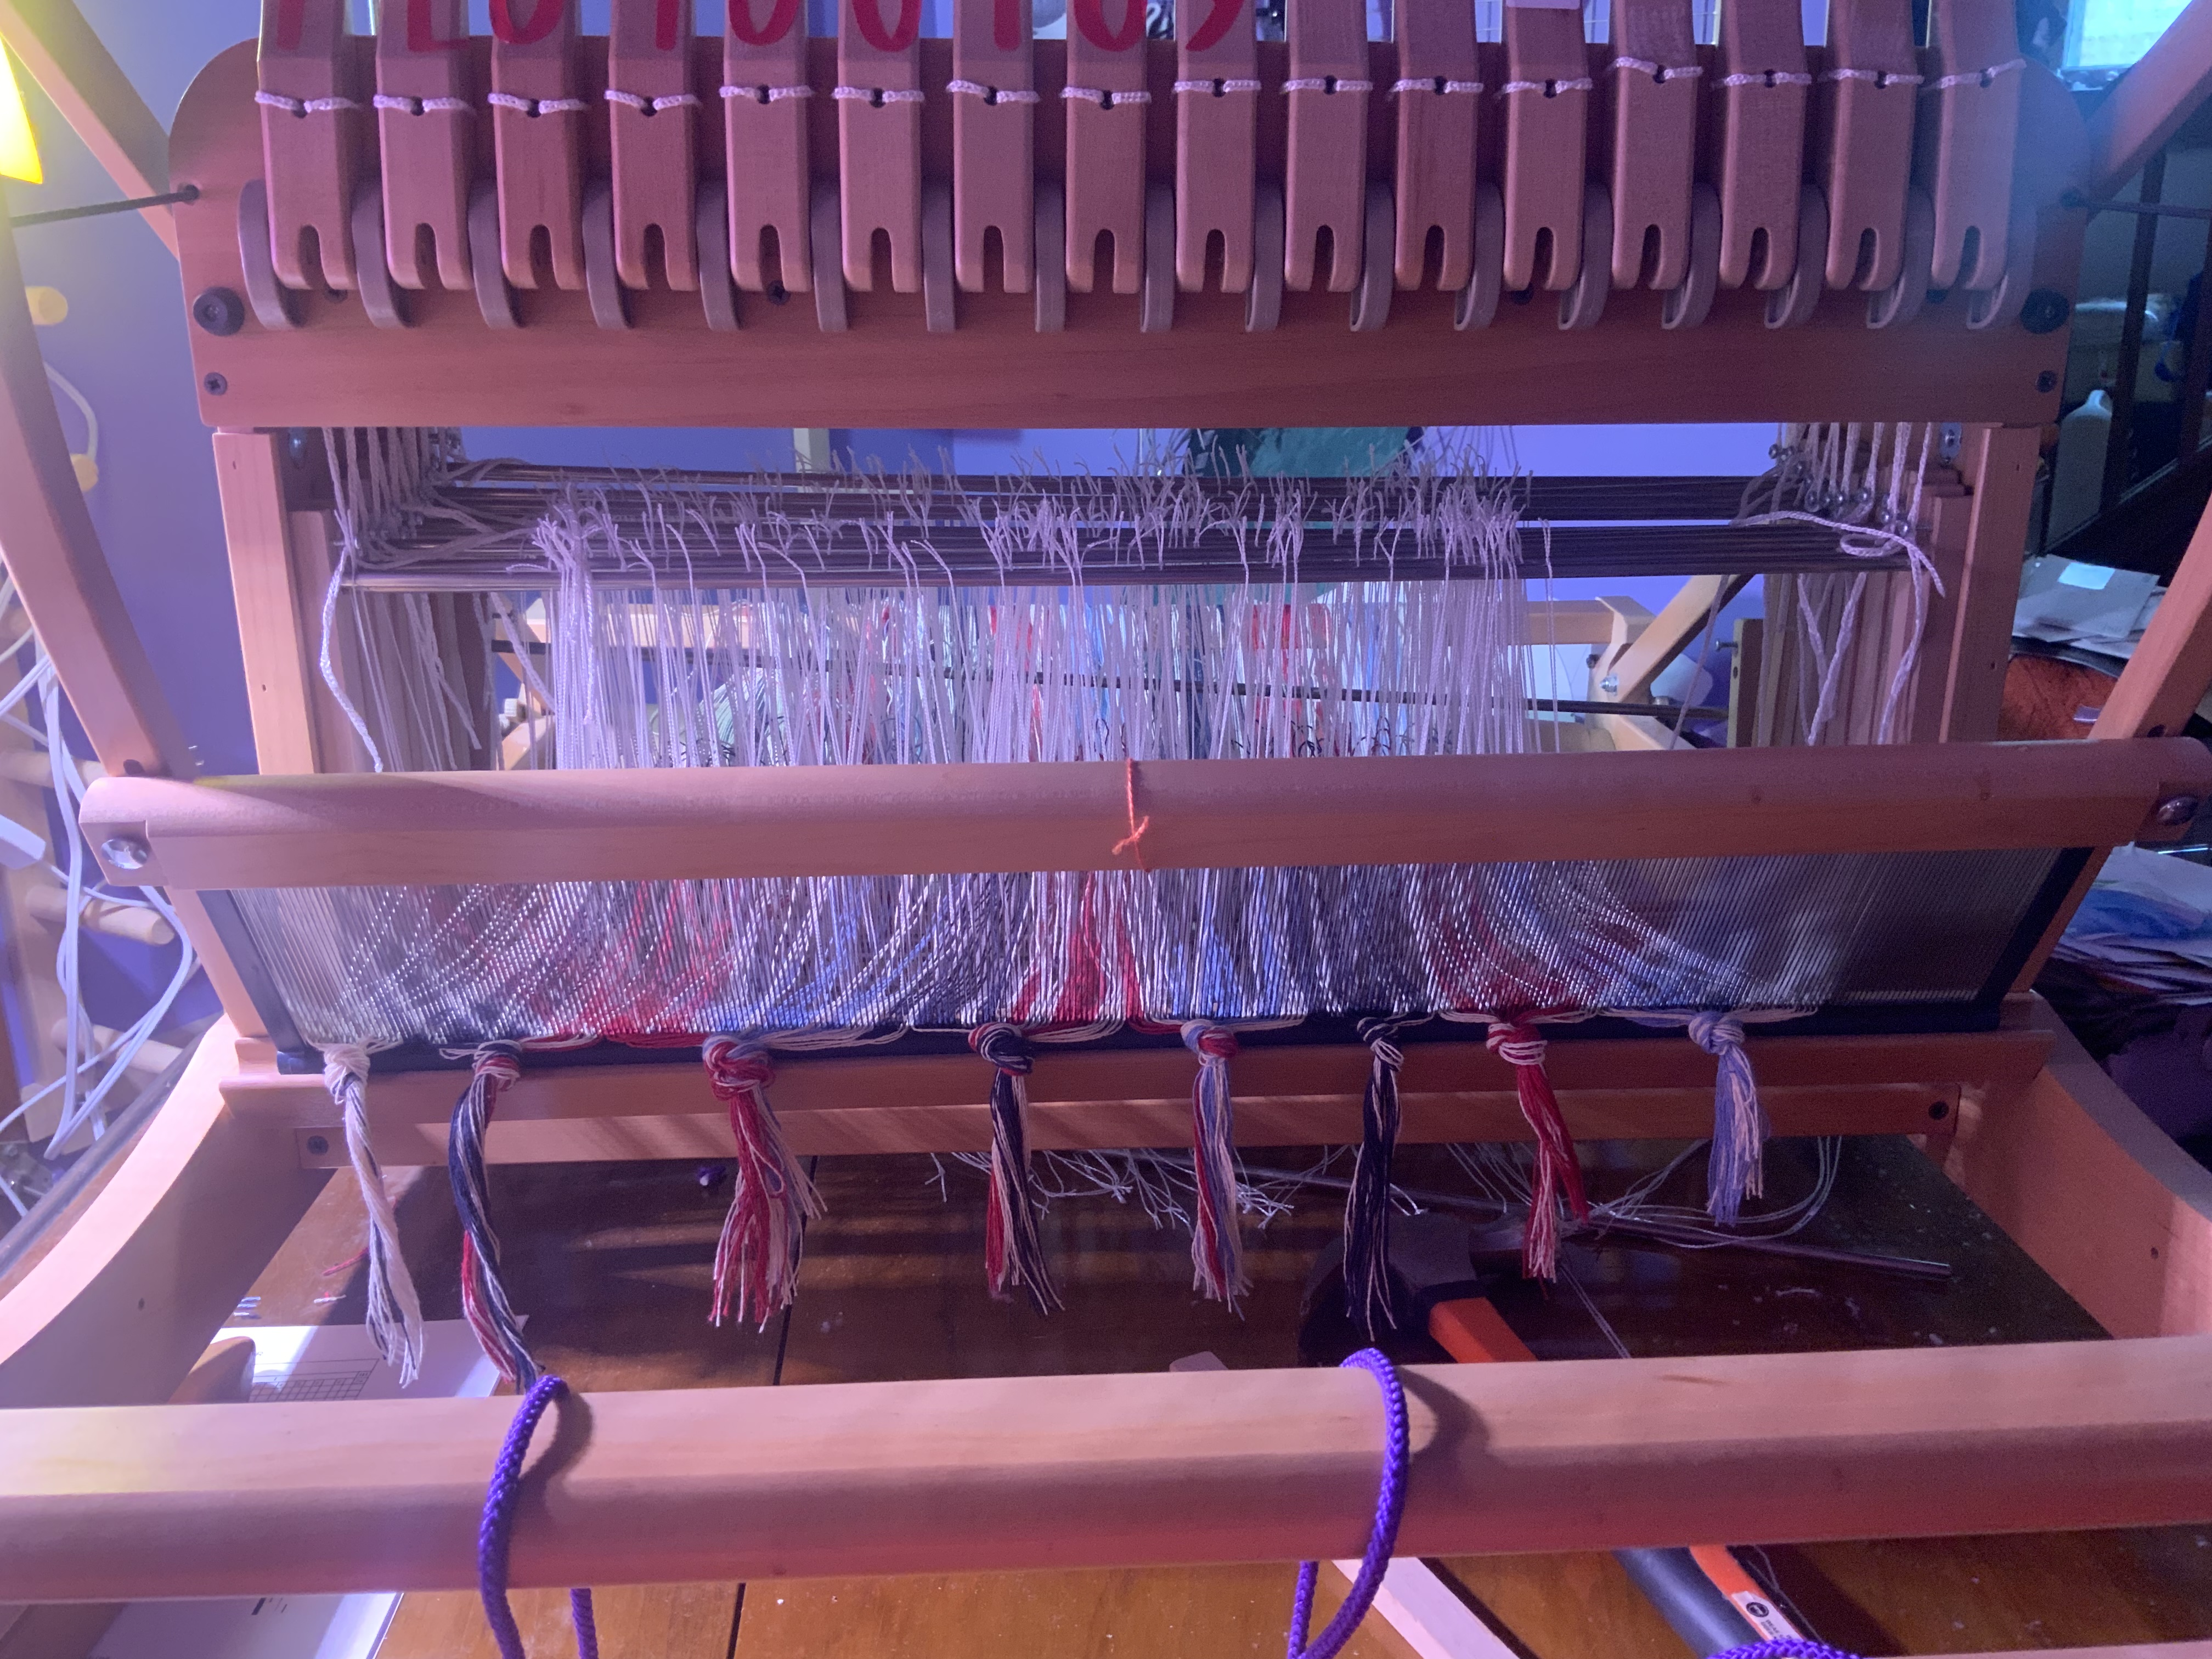
Because of this organizing I have uncovered a ton of UFOs (UnFinished Objects) as well as supplies I forgot I owned. This did not stop me from going to the Western New York Fiber Fest on Saturday with a friend that I do not see very often, but I am very proud of myself I just bought a couple of stickers, stitch markers, and very cool potholder weaving loom needles (as well as a possible contact for getting some more Schacht Bobbins made).
Due to this organizing and finding ‘lost’ projects I have decided to attempt to make the rest of this year and next into about 16 months of finishing. I might start small projects intended to use up scraps of fabrics and explore some new techniques but most of the rest of 2023 and all of 2024 are going to be focused on using up what I already have, finishing projects, working on my house, and figuring out what (if anything) will sell in my Etsy store. I also plan on looking into a few smaller craft fairs around me to see if my items will do better in person than they are online.
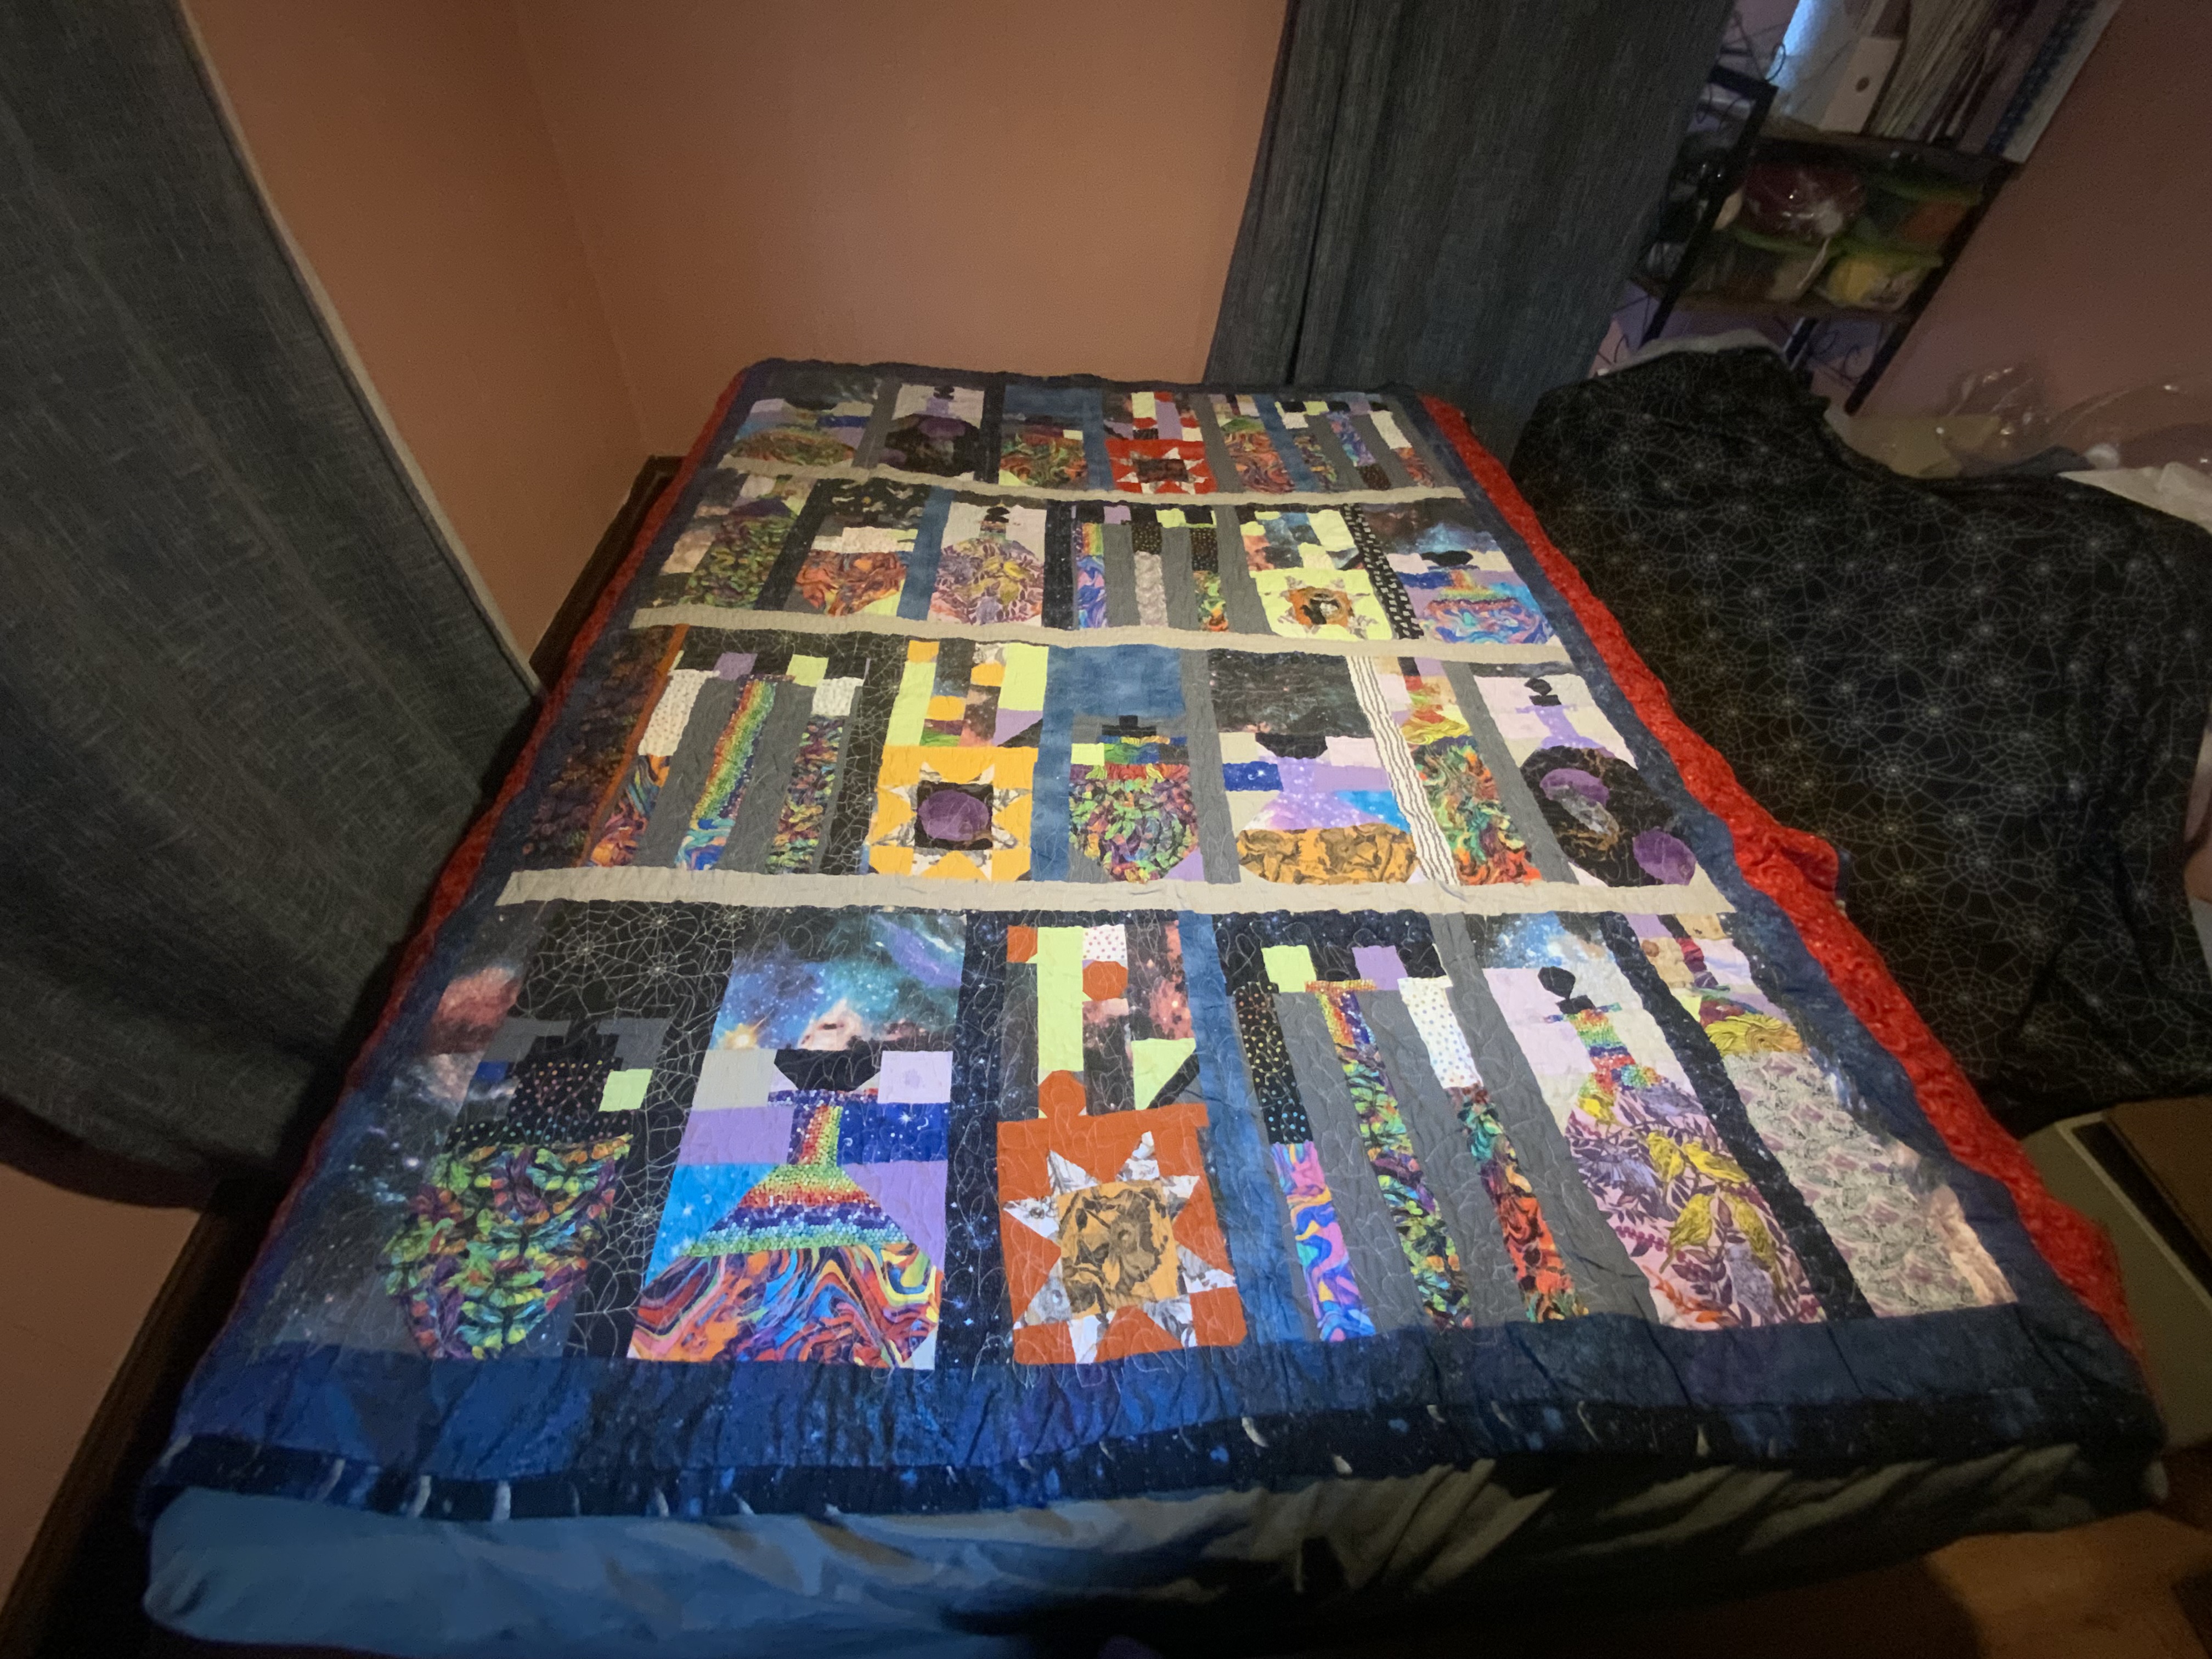
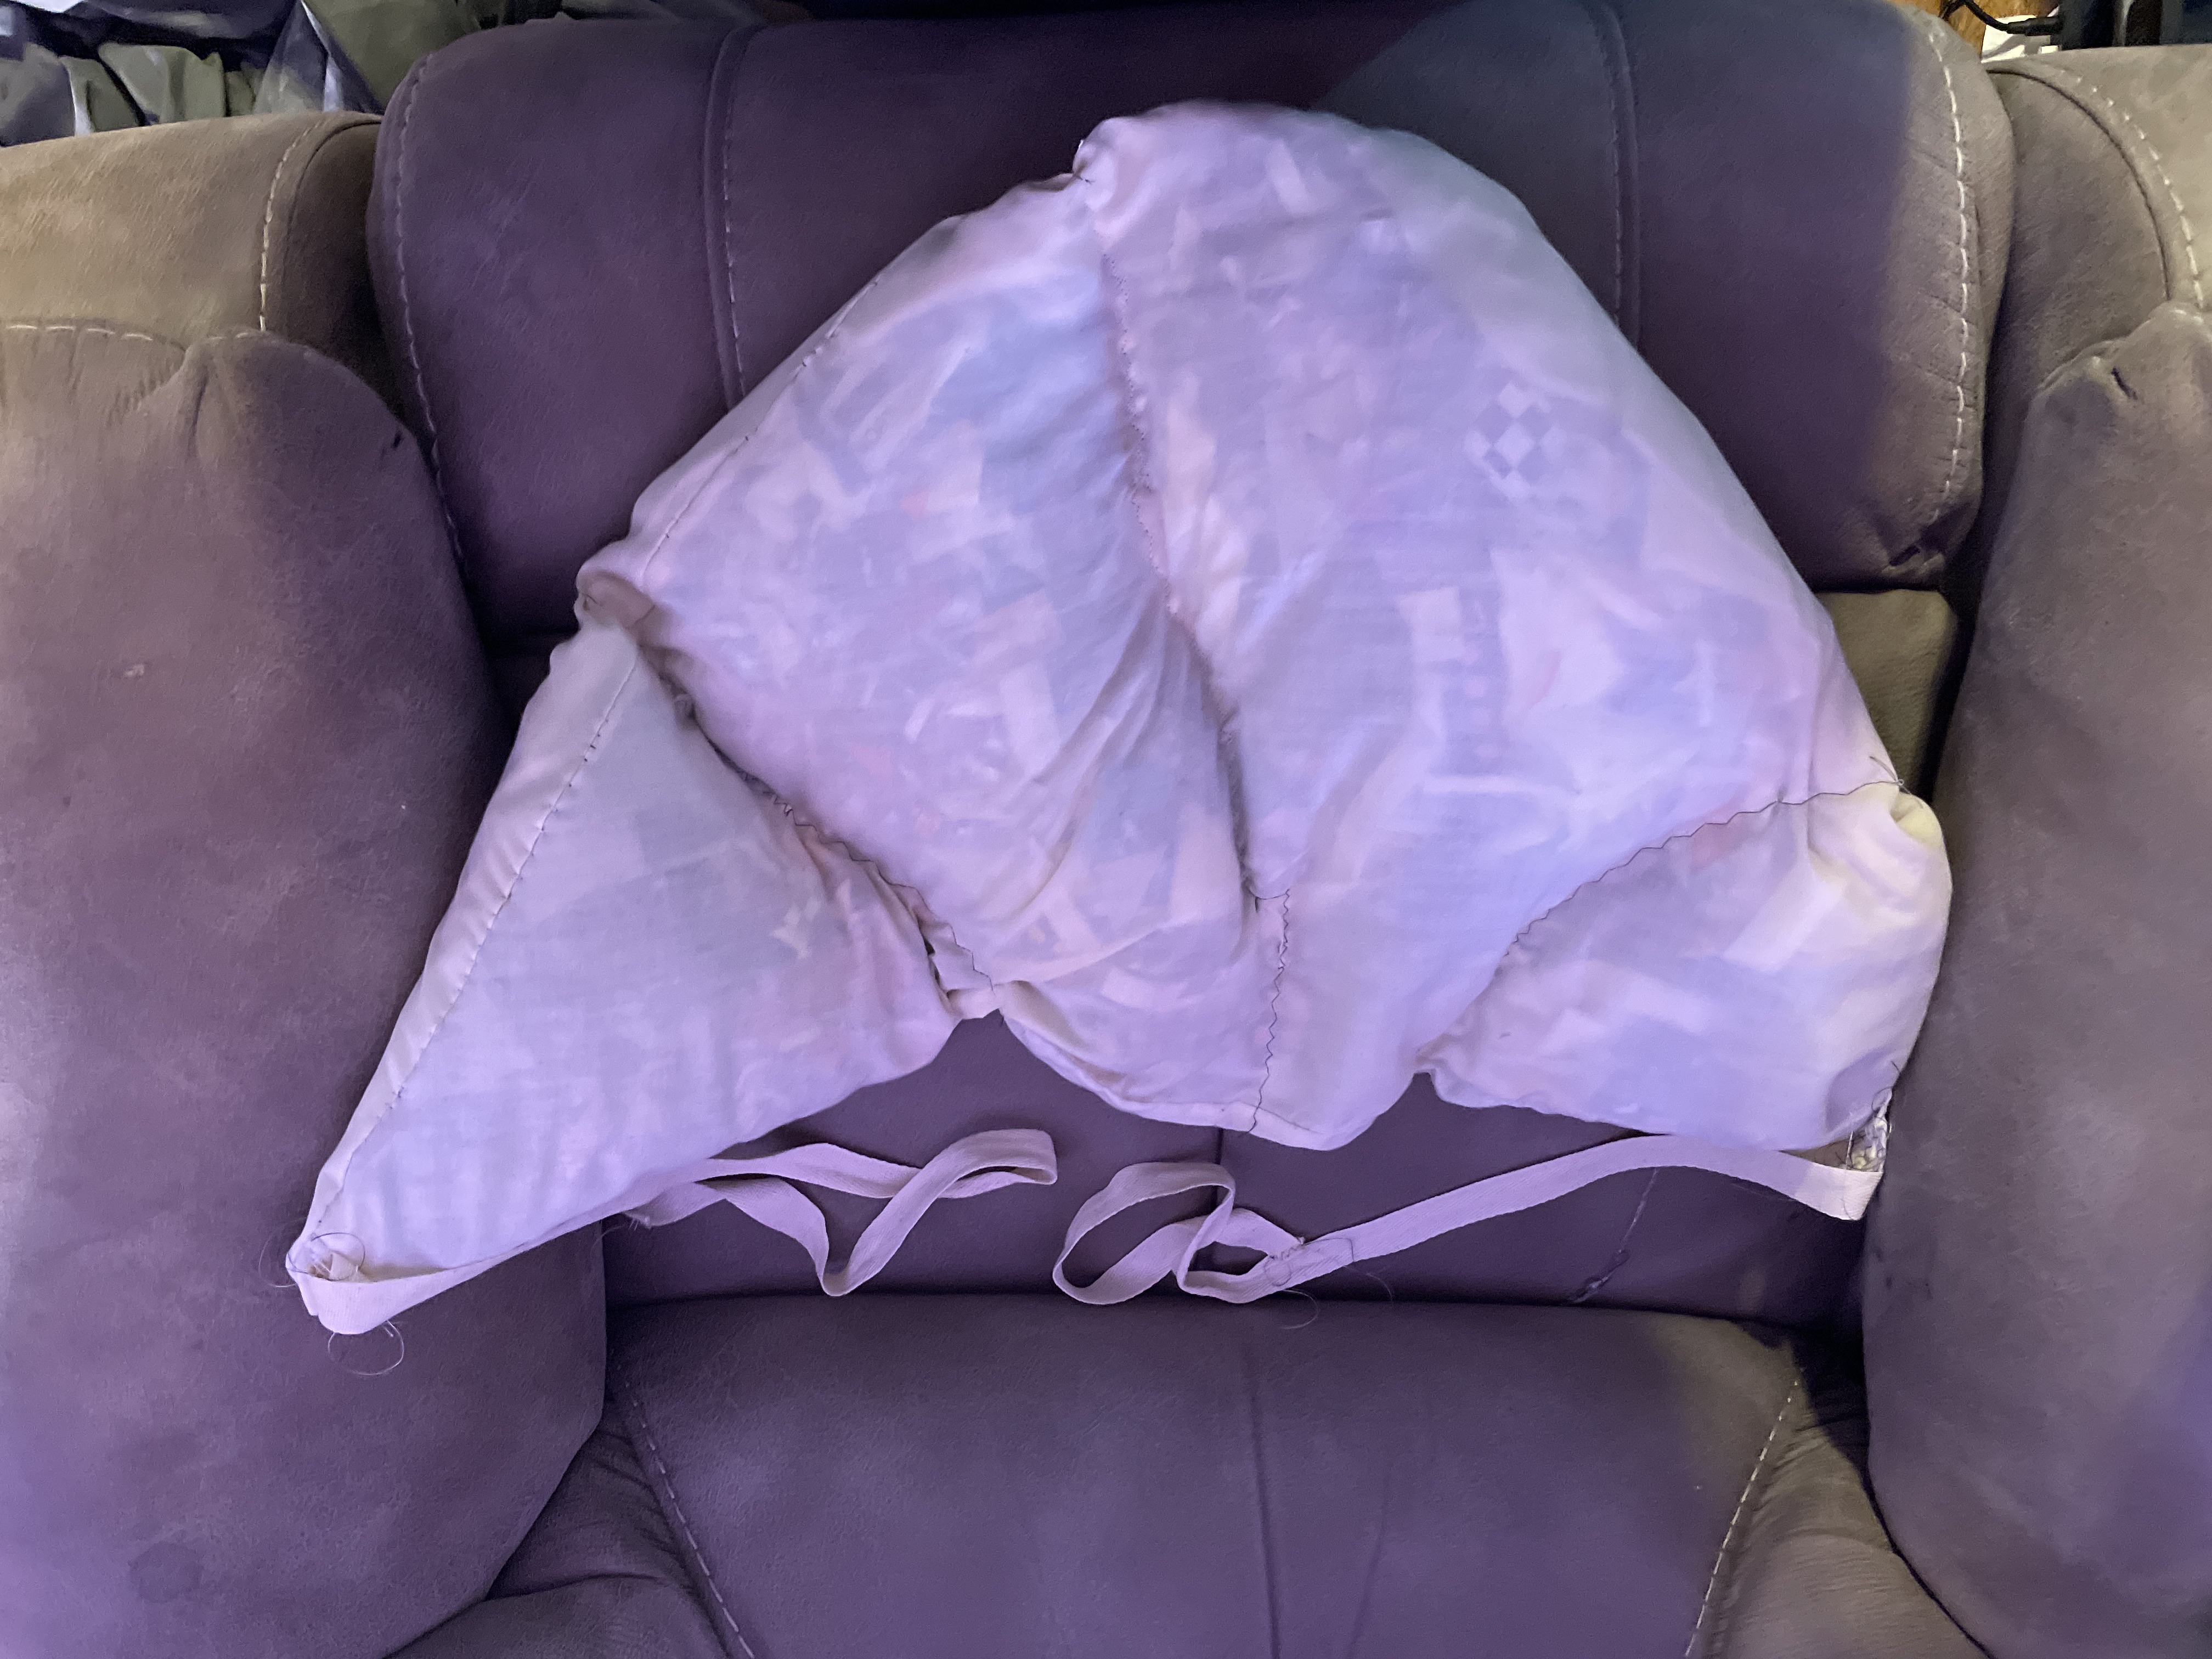
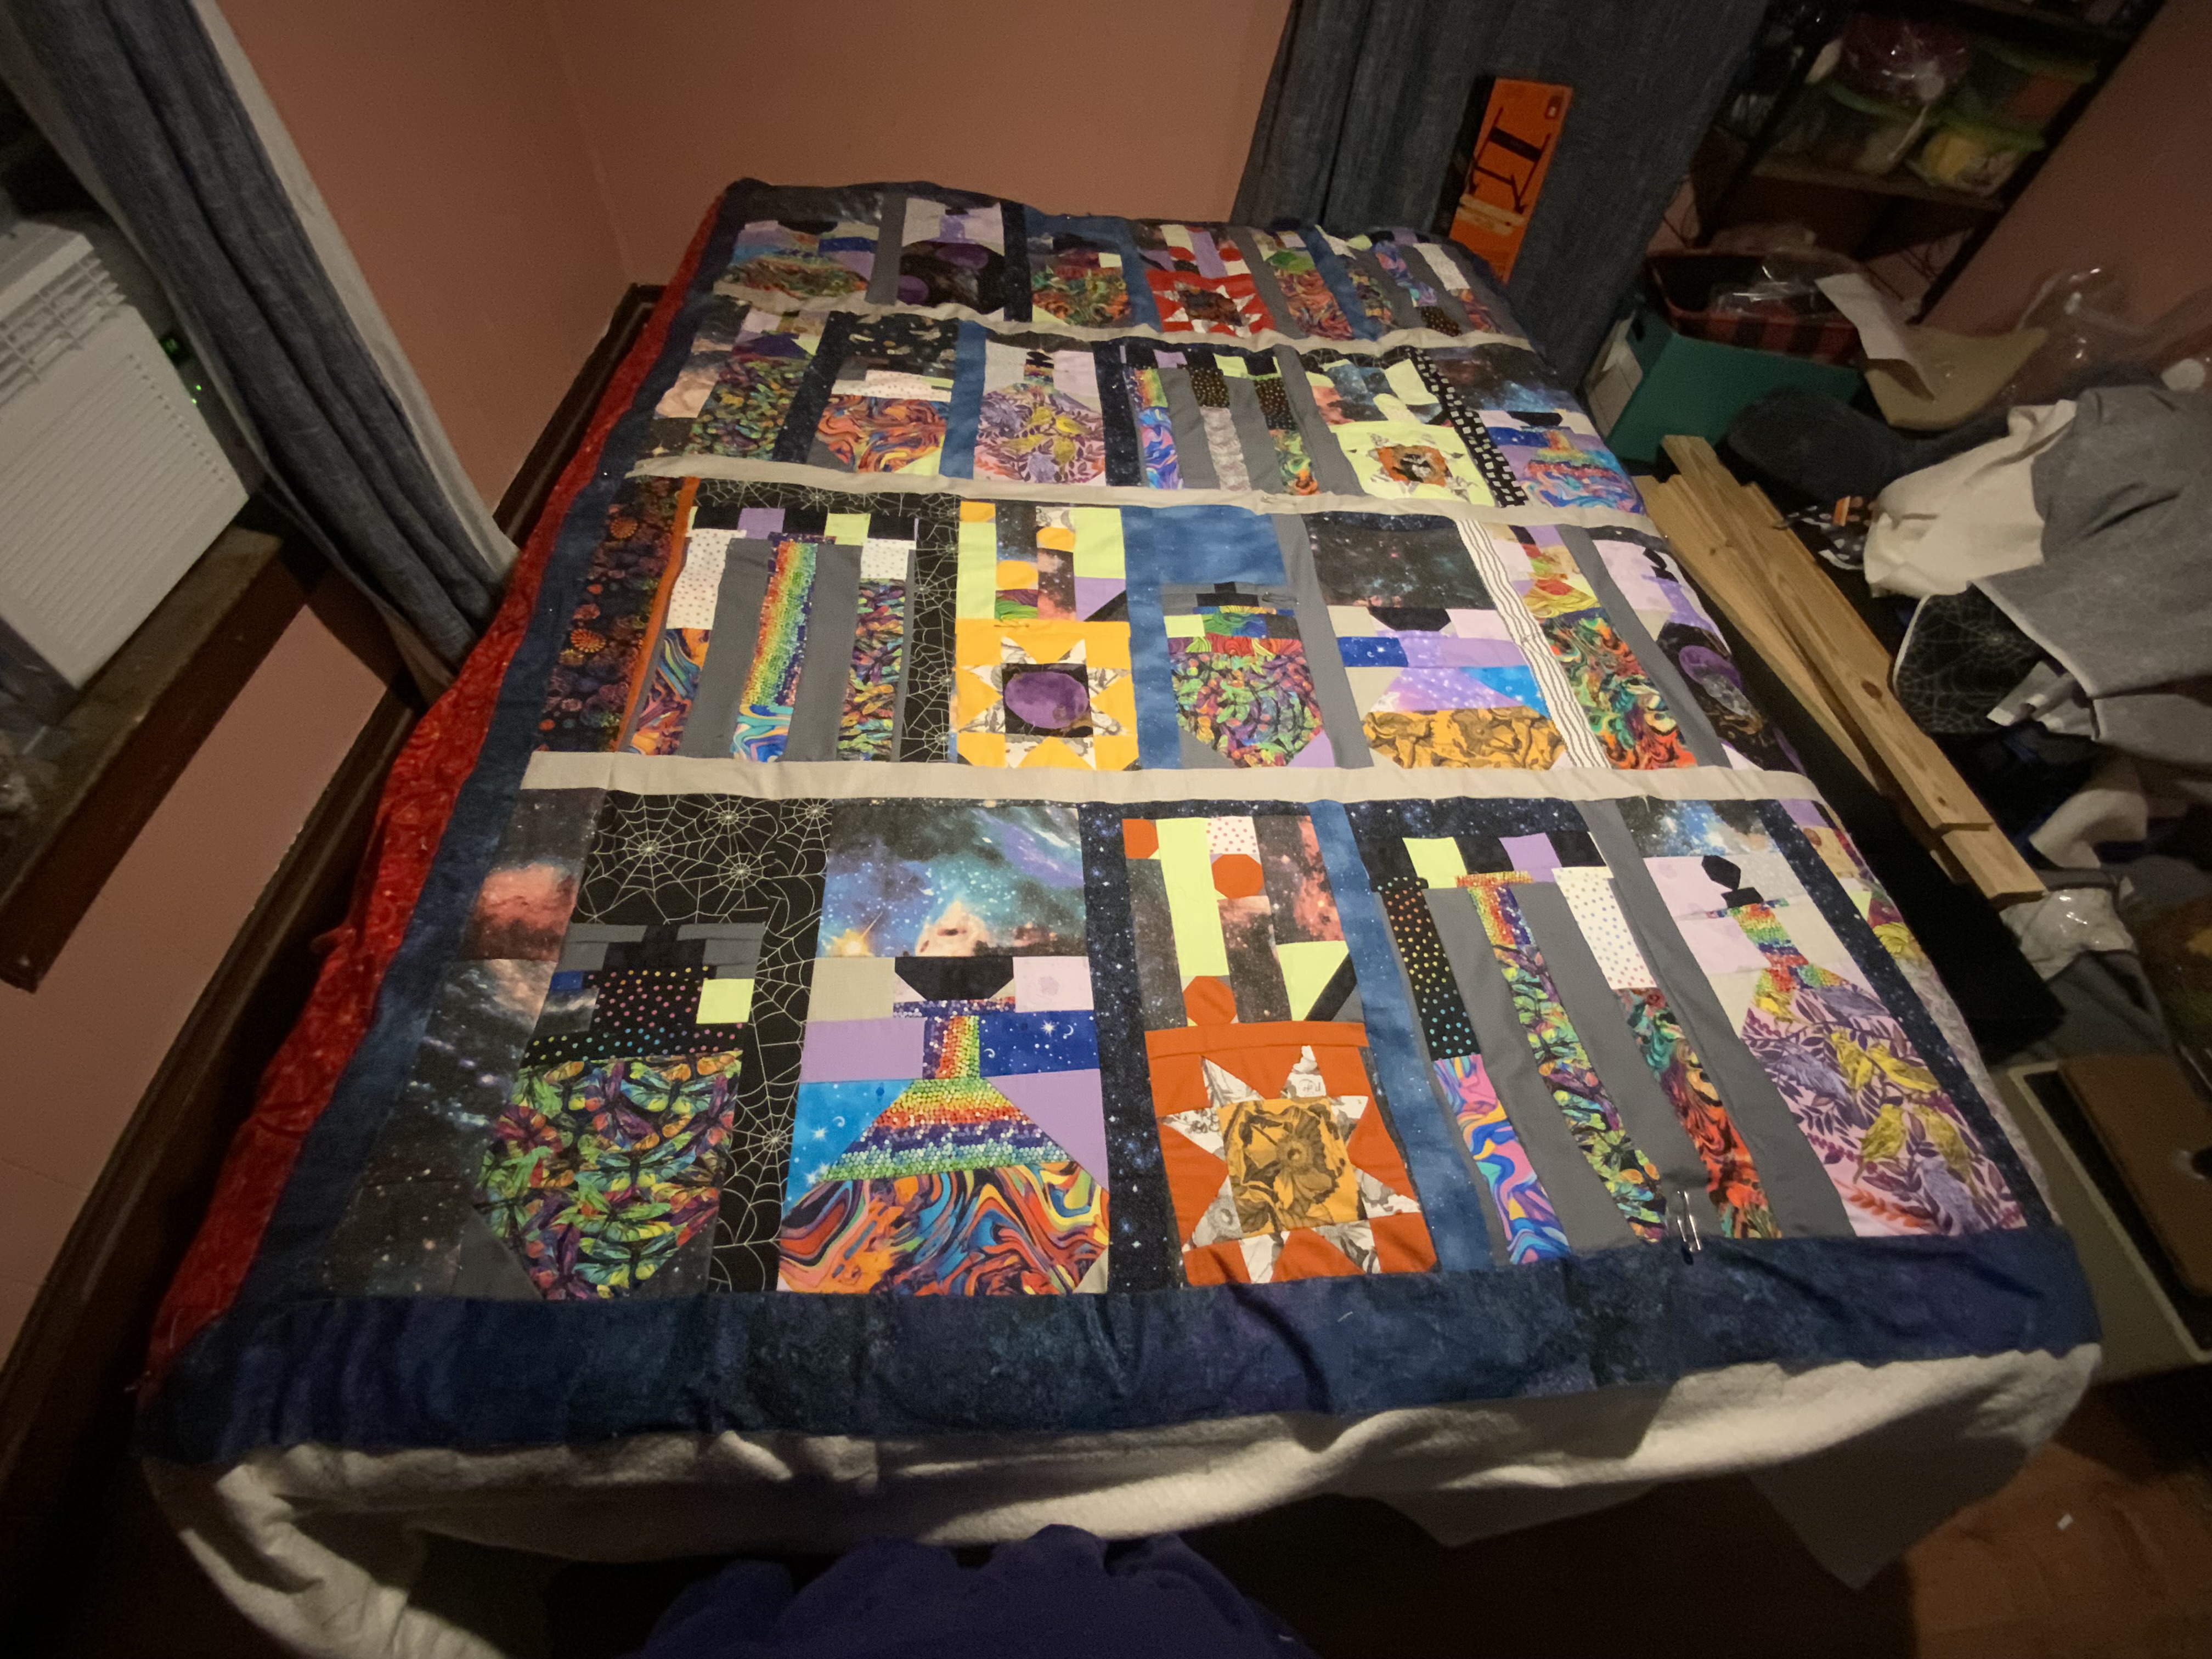
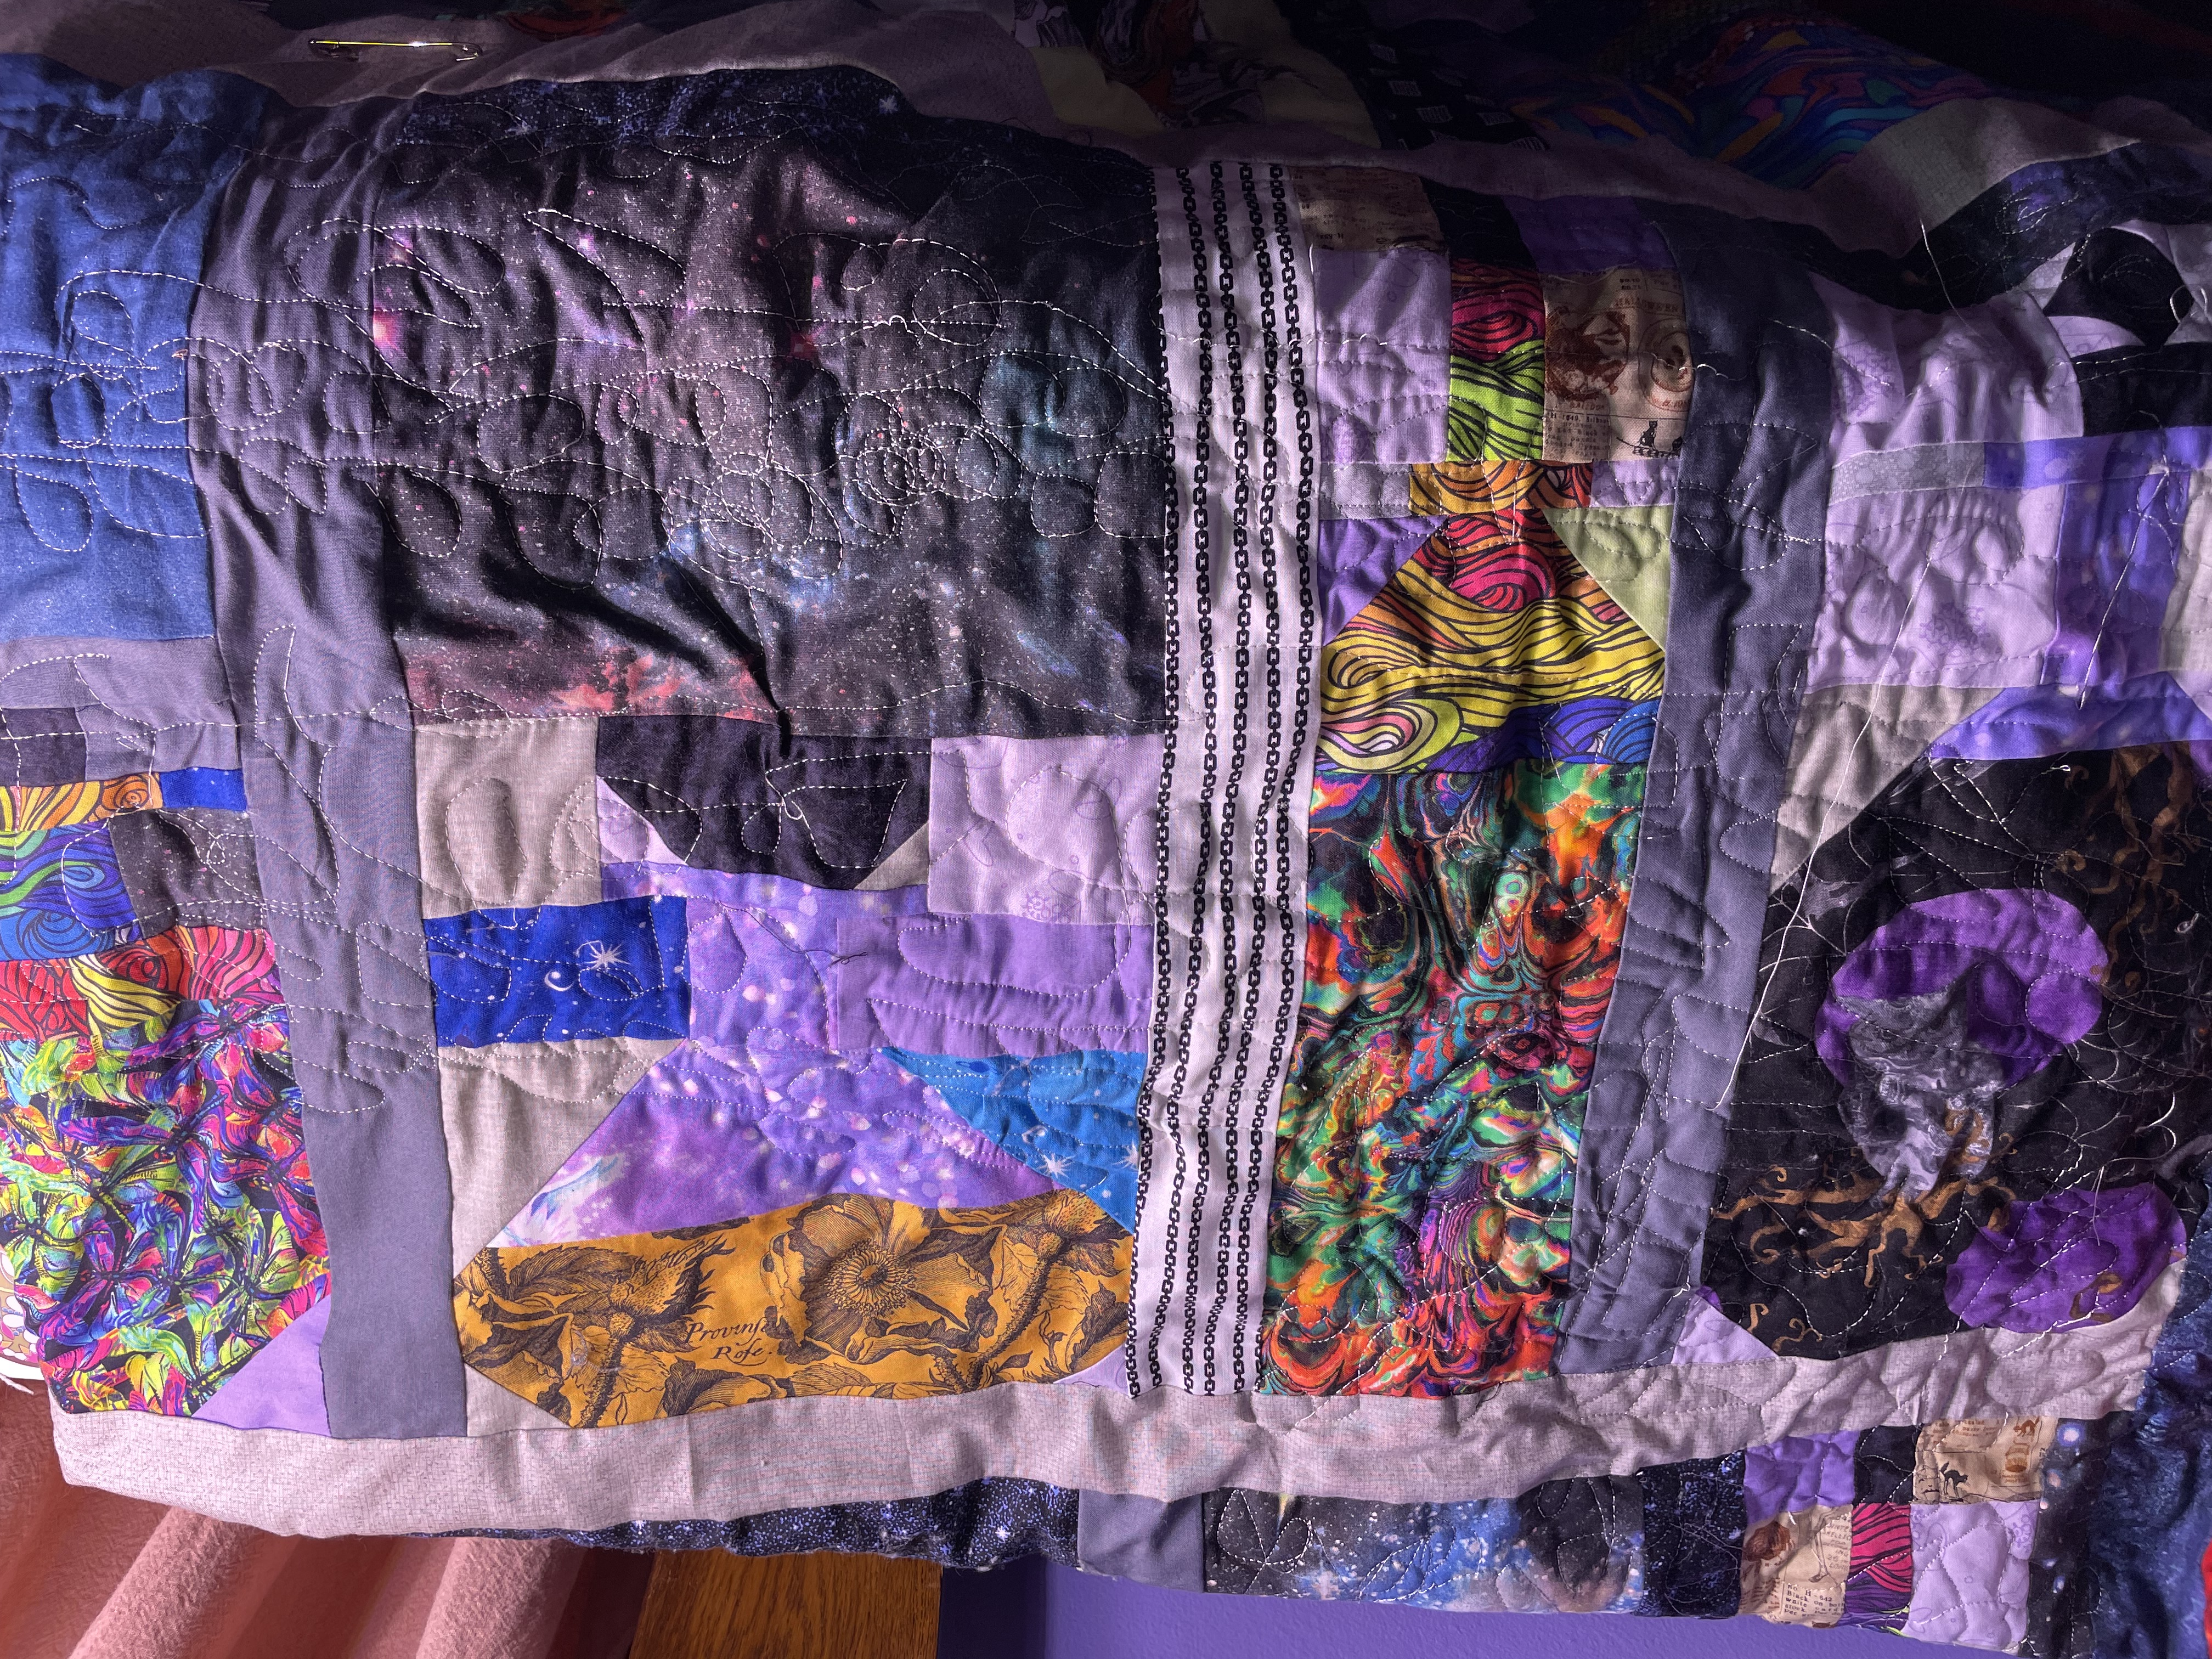
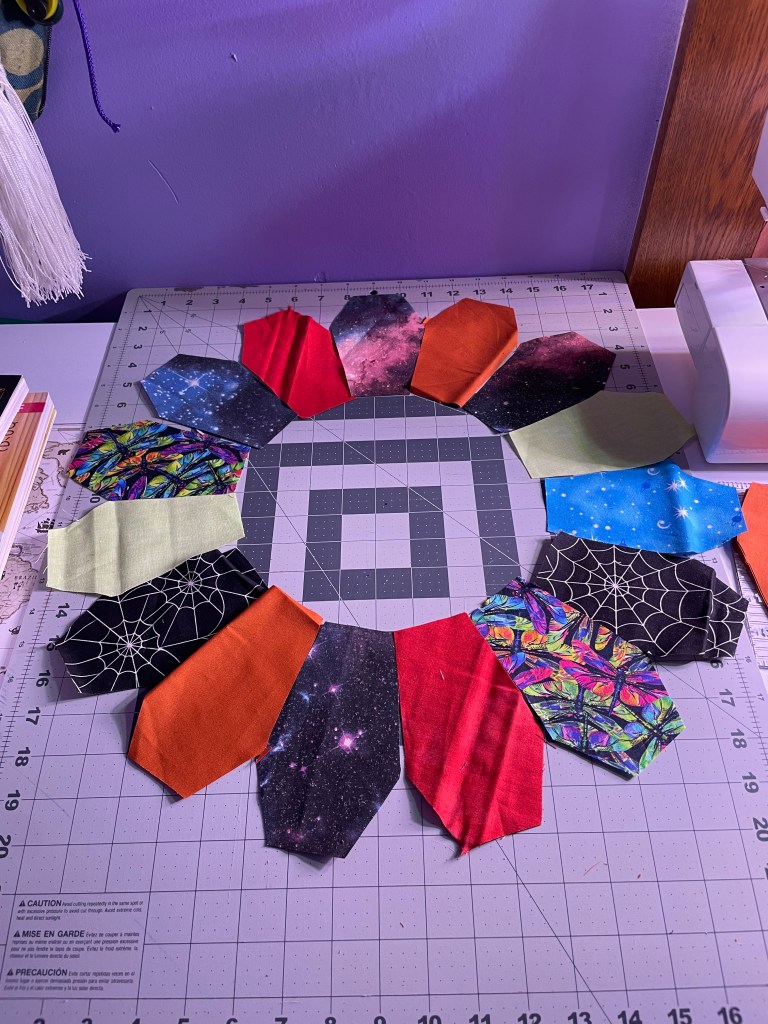
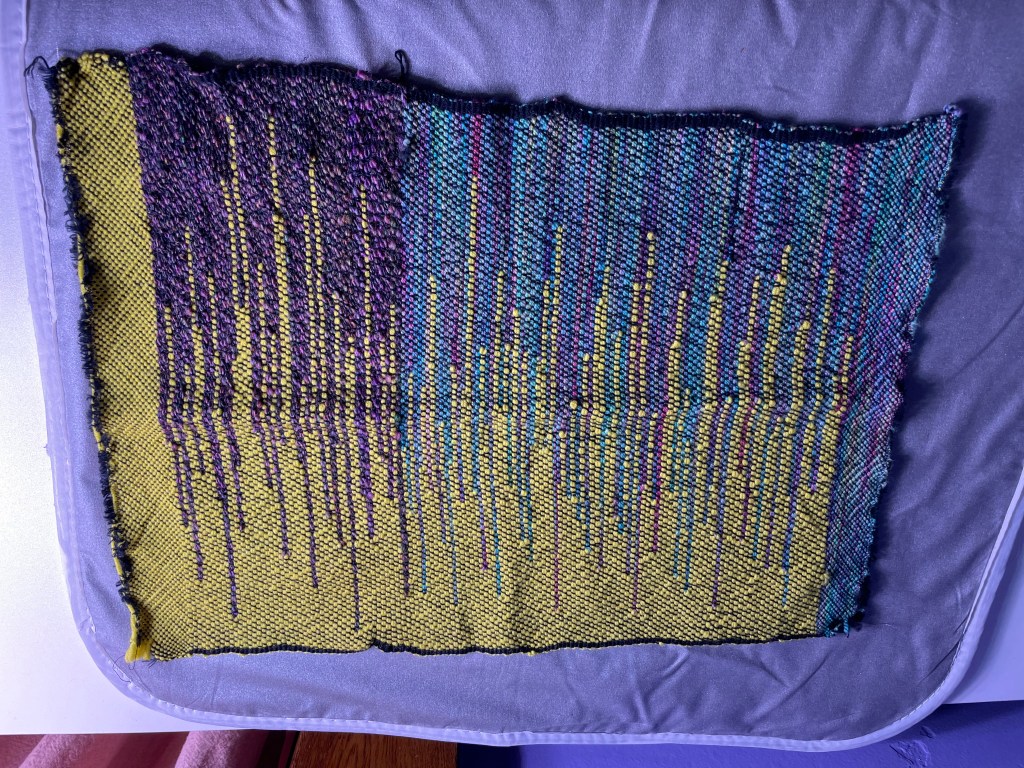
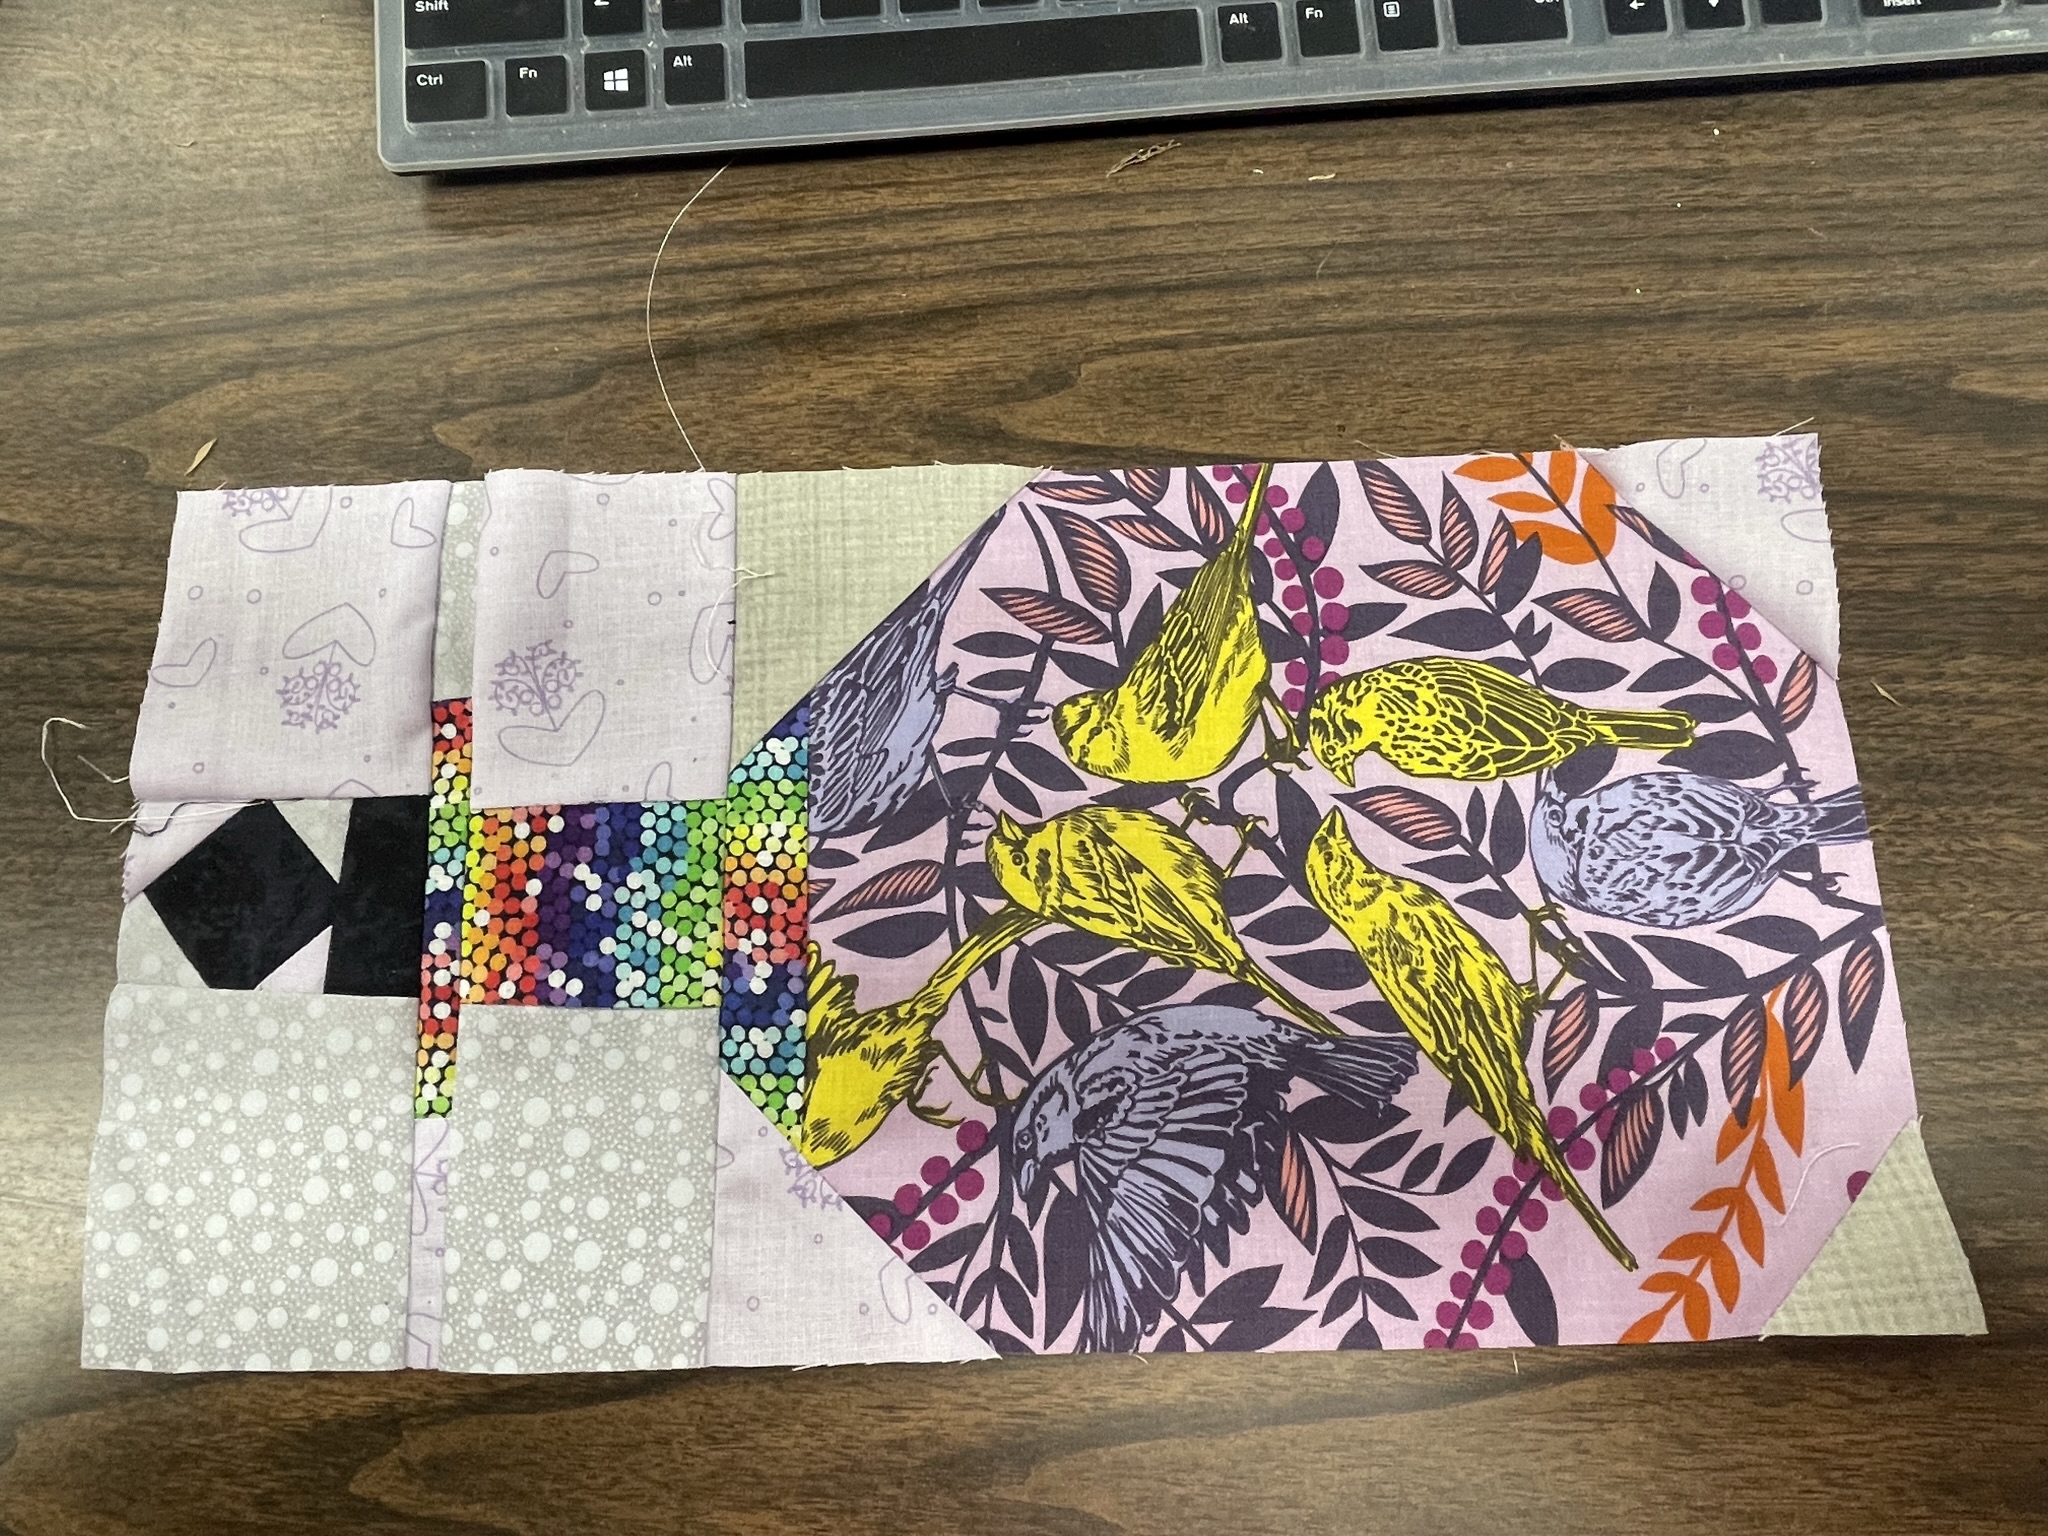
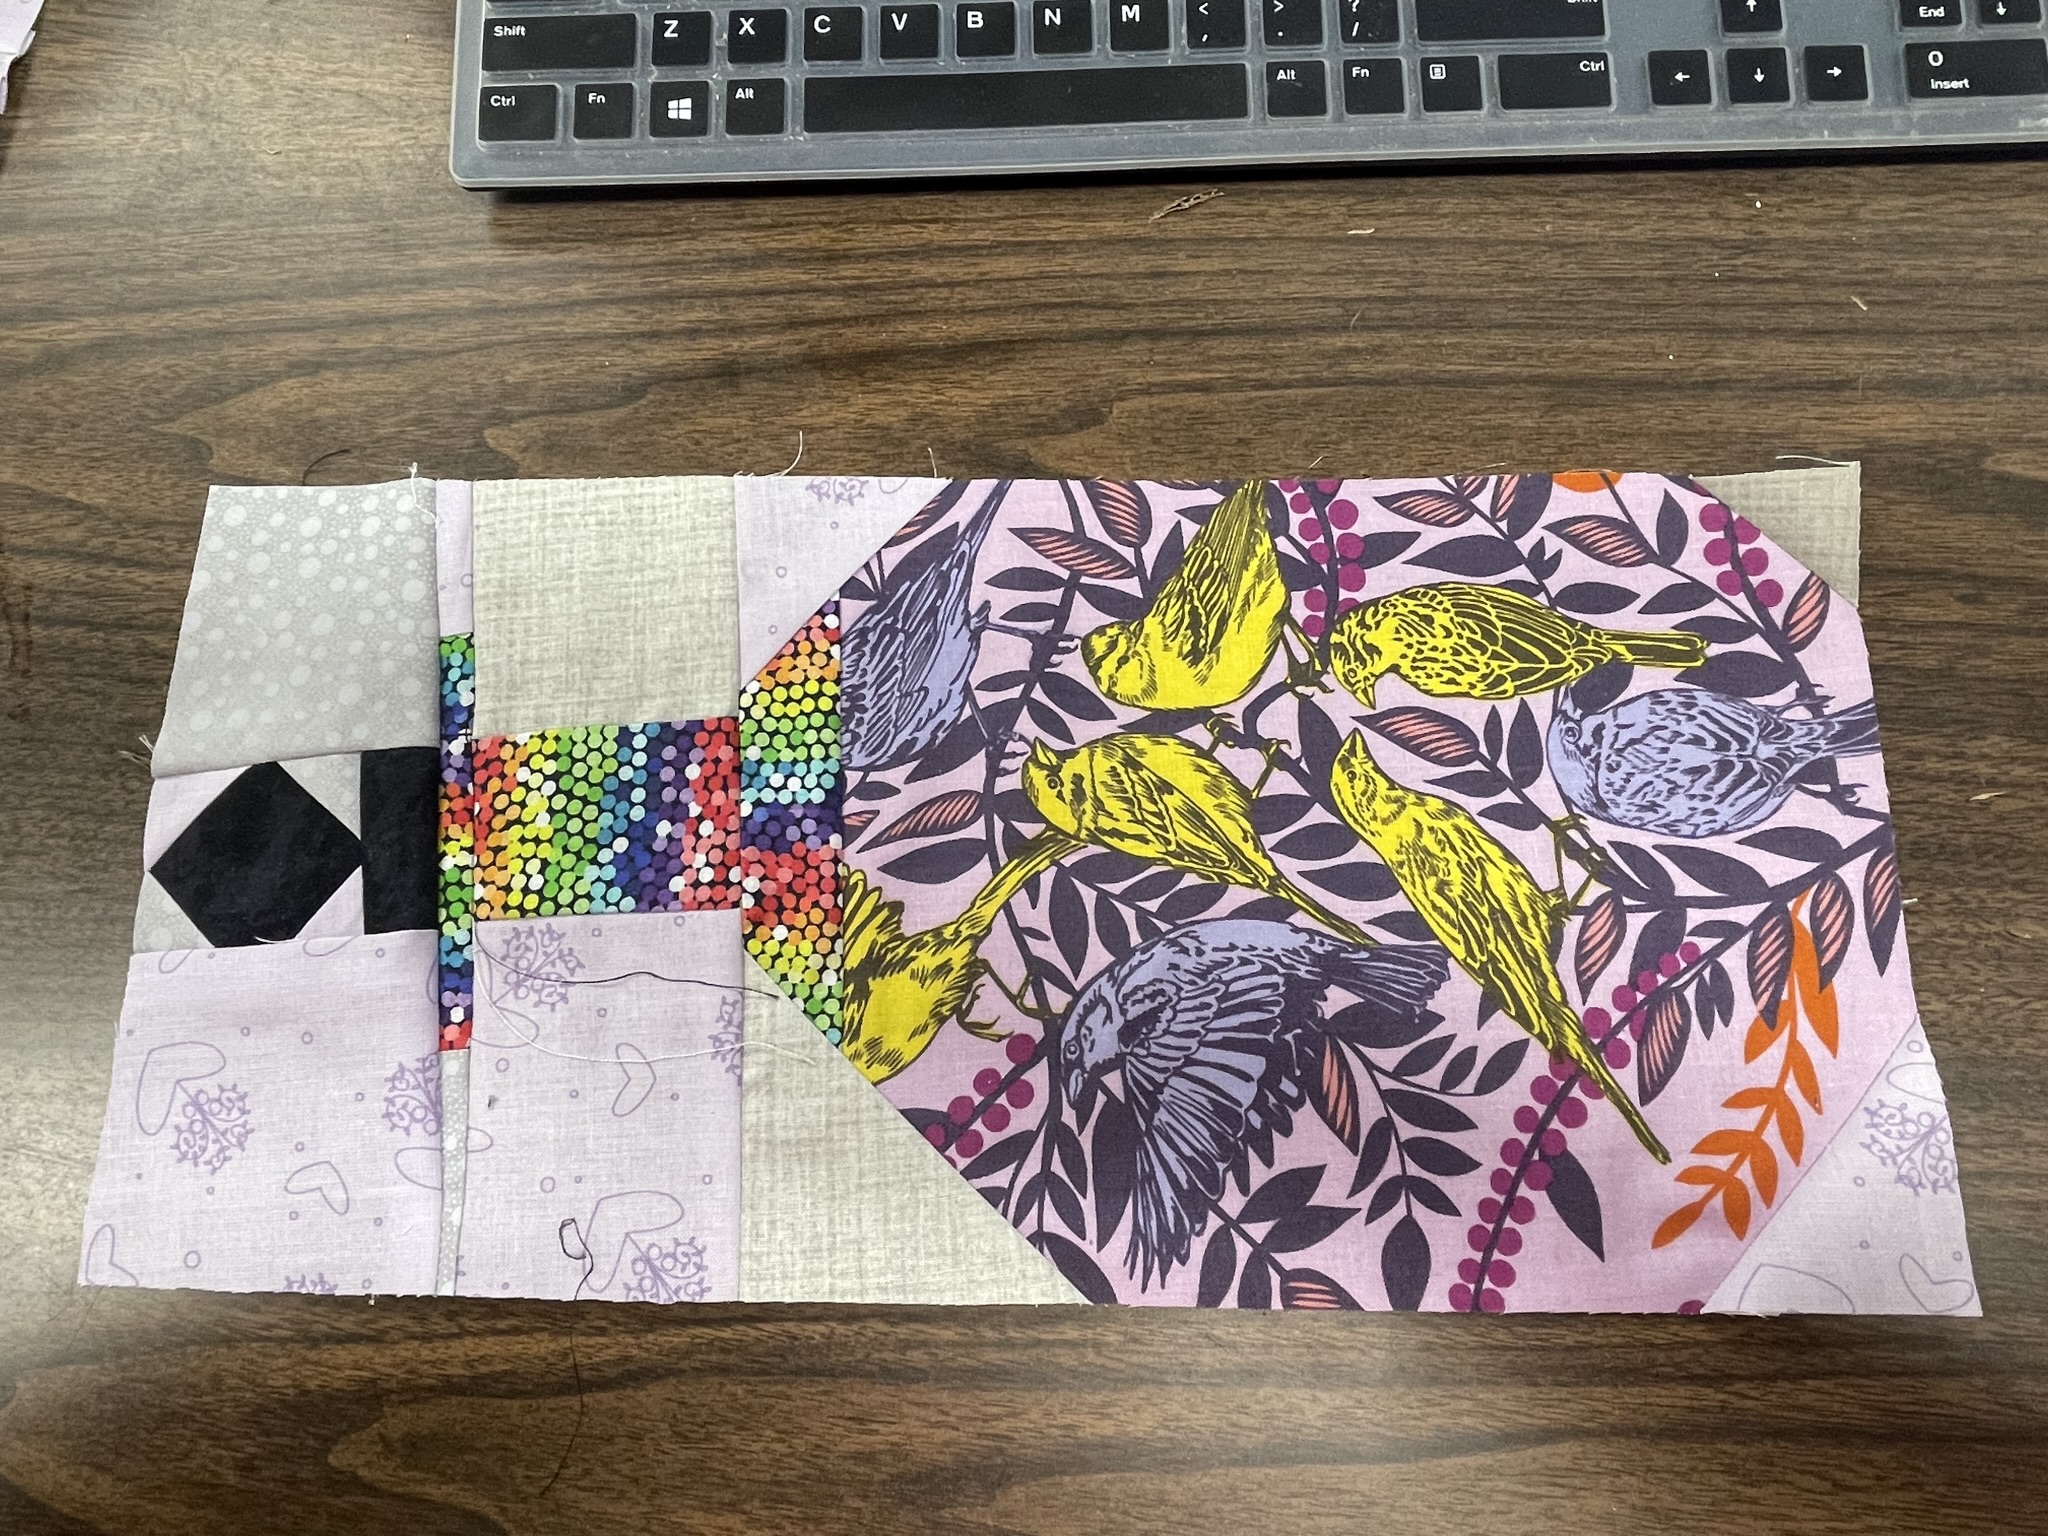
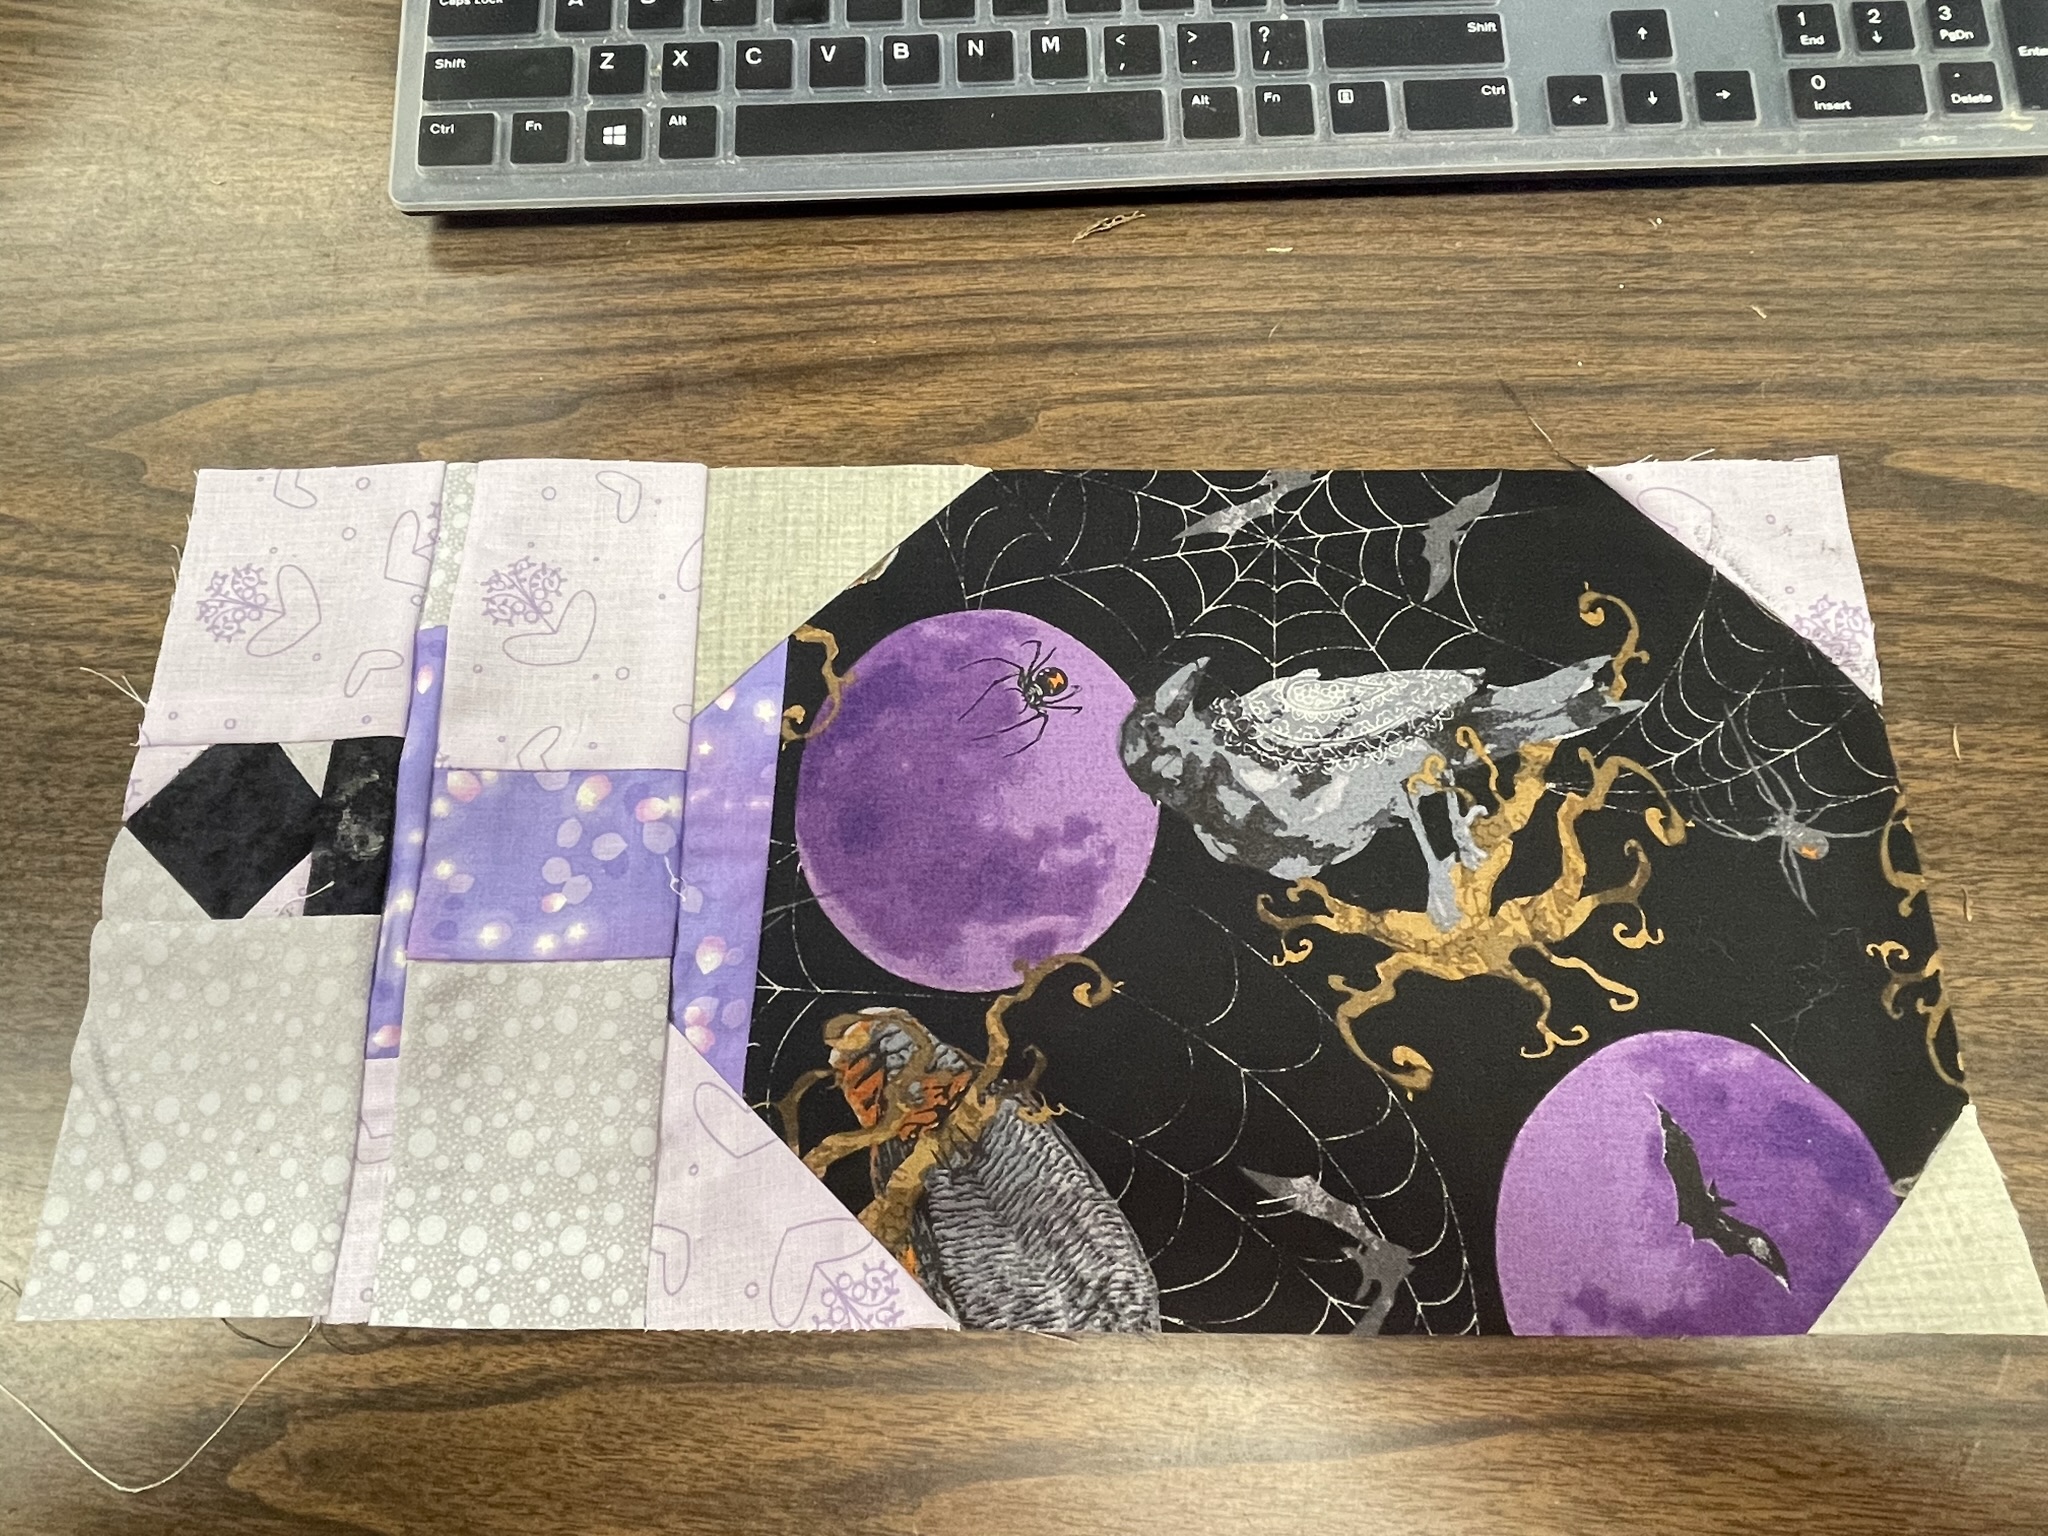
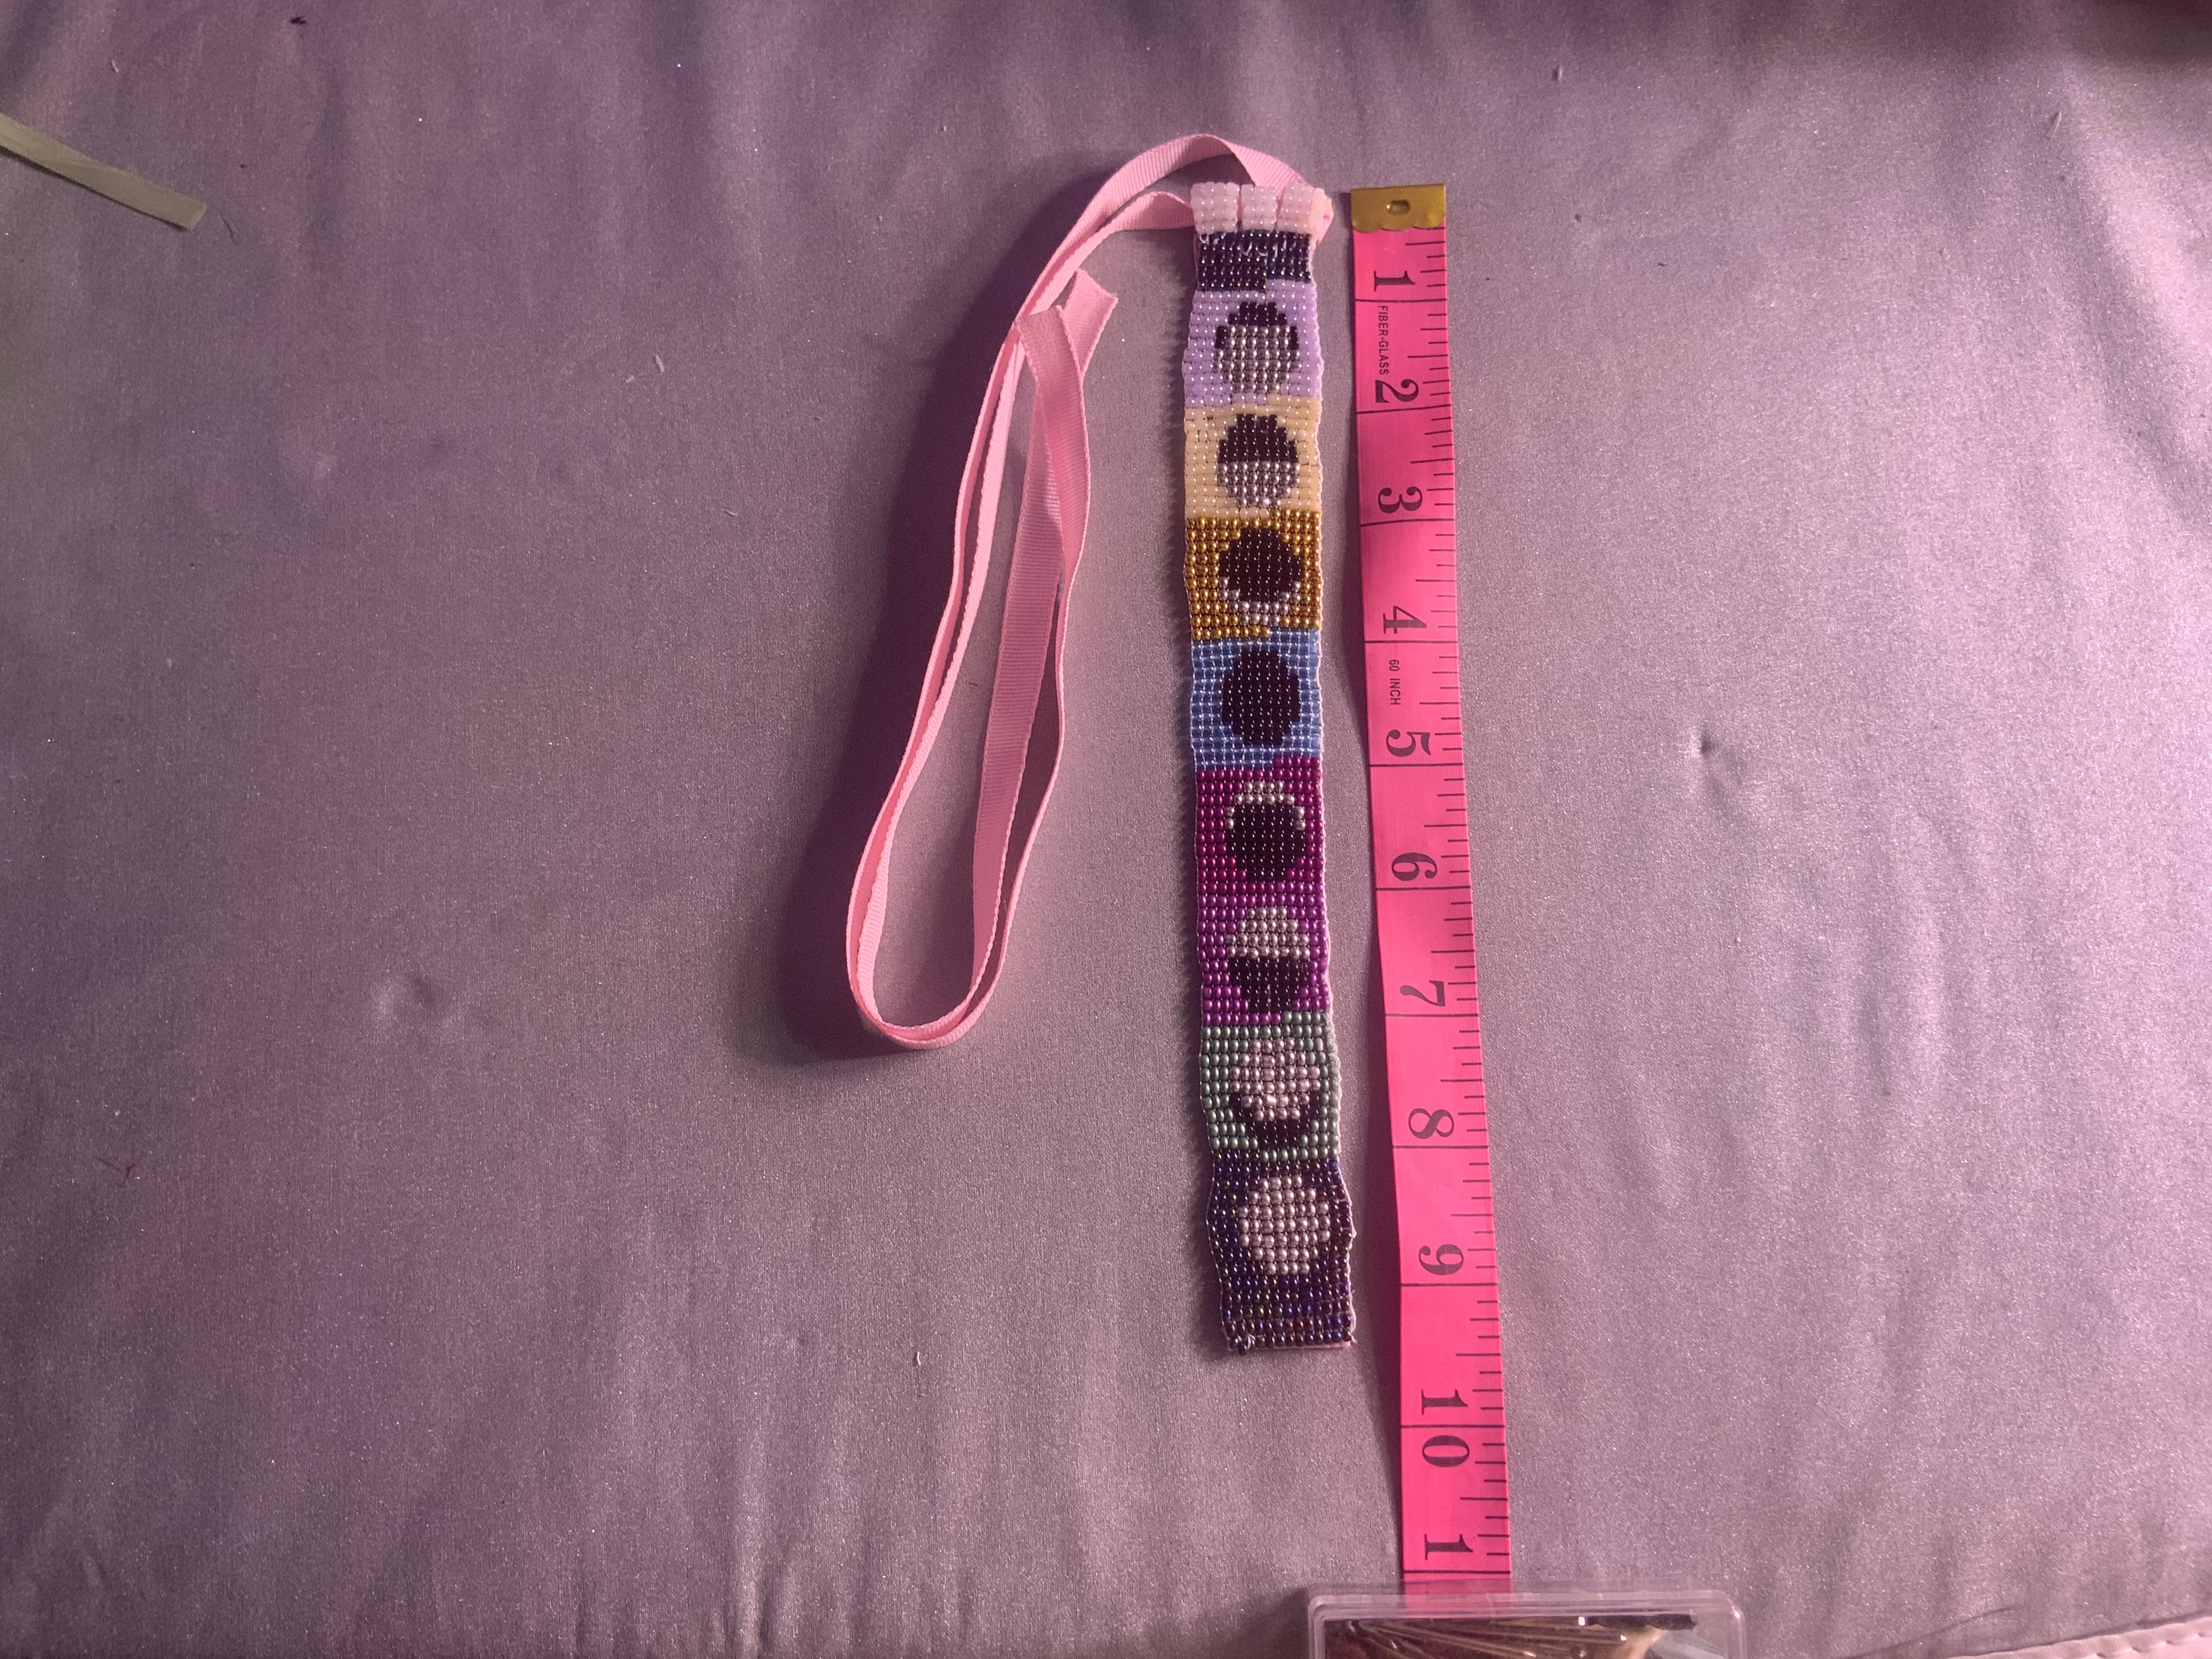
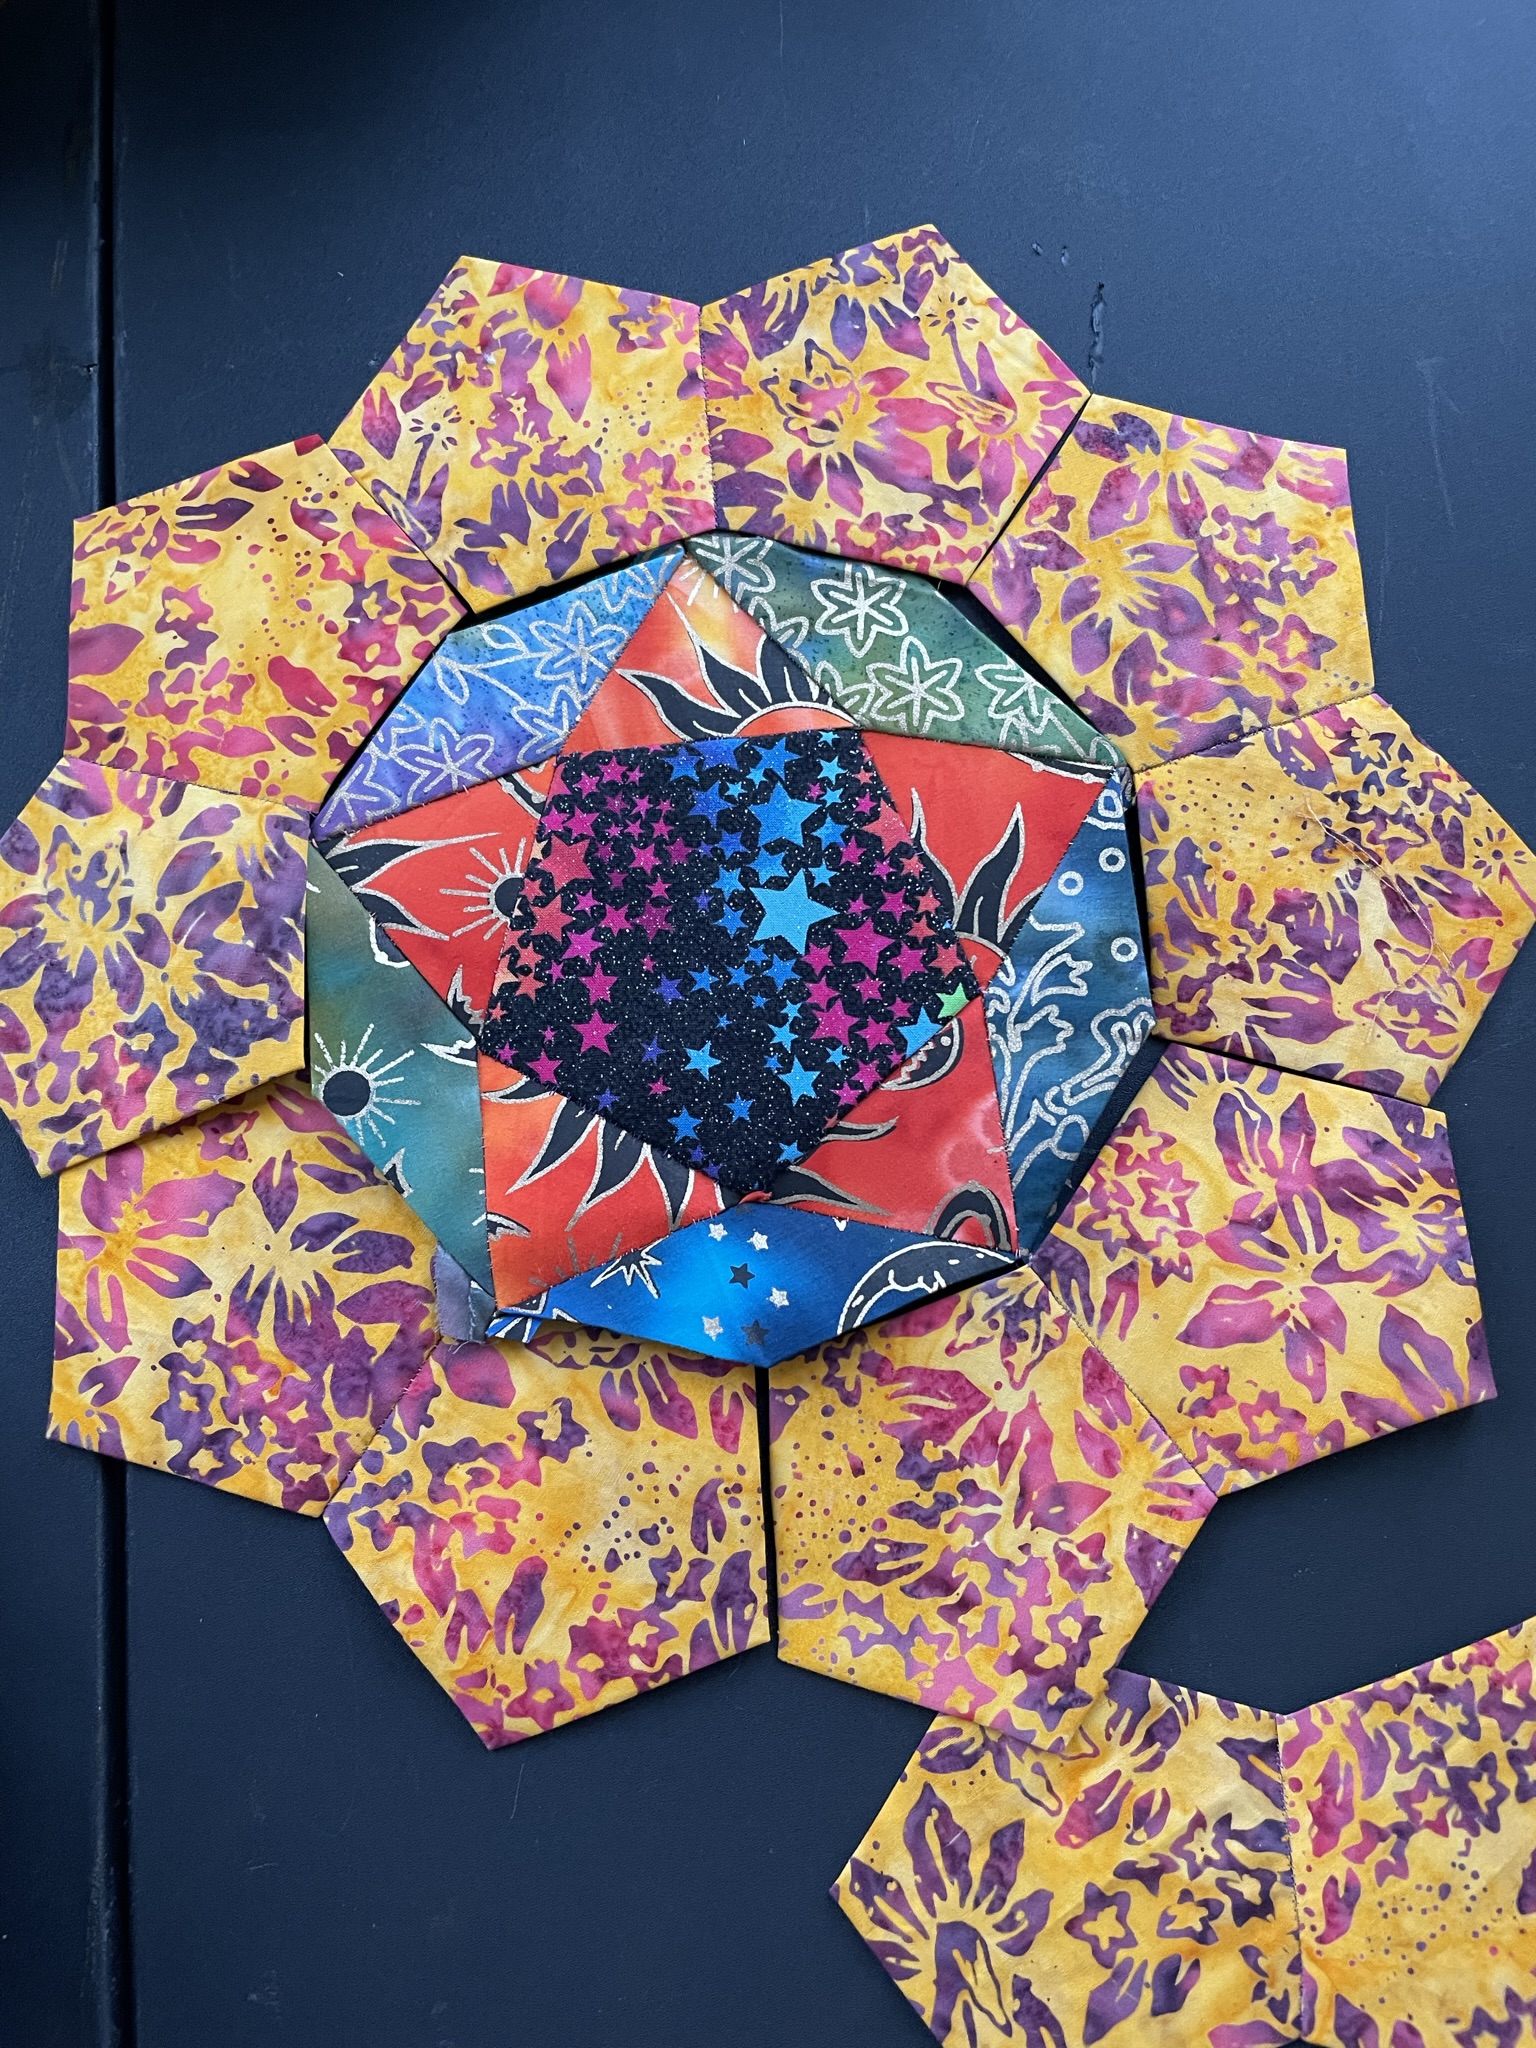
I will also confess that part of this ‘finding and finishing’ came about when I discovered that I had a couple of Tula Nova pieces already completed but I had put them in a box and forgotten that I put them in a box. I’m also planning on starting from the center out, because when I looked at the next couple of steps in the pattern I realized that the pieces I have been spending all of my time on are in the very last part of the pattern. This is a copyrighted pattern that I purchased so I will ask that you not use this photo to ‘make’ your own pattern from.
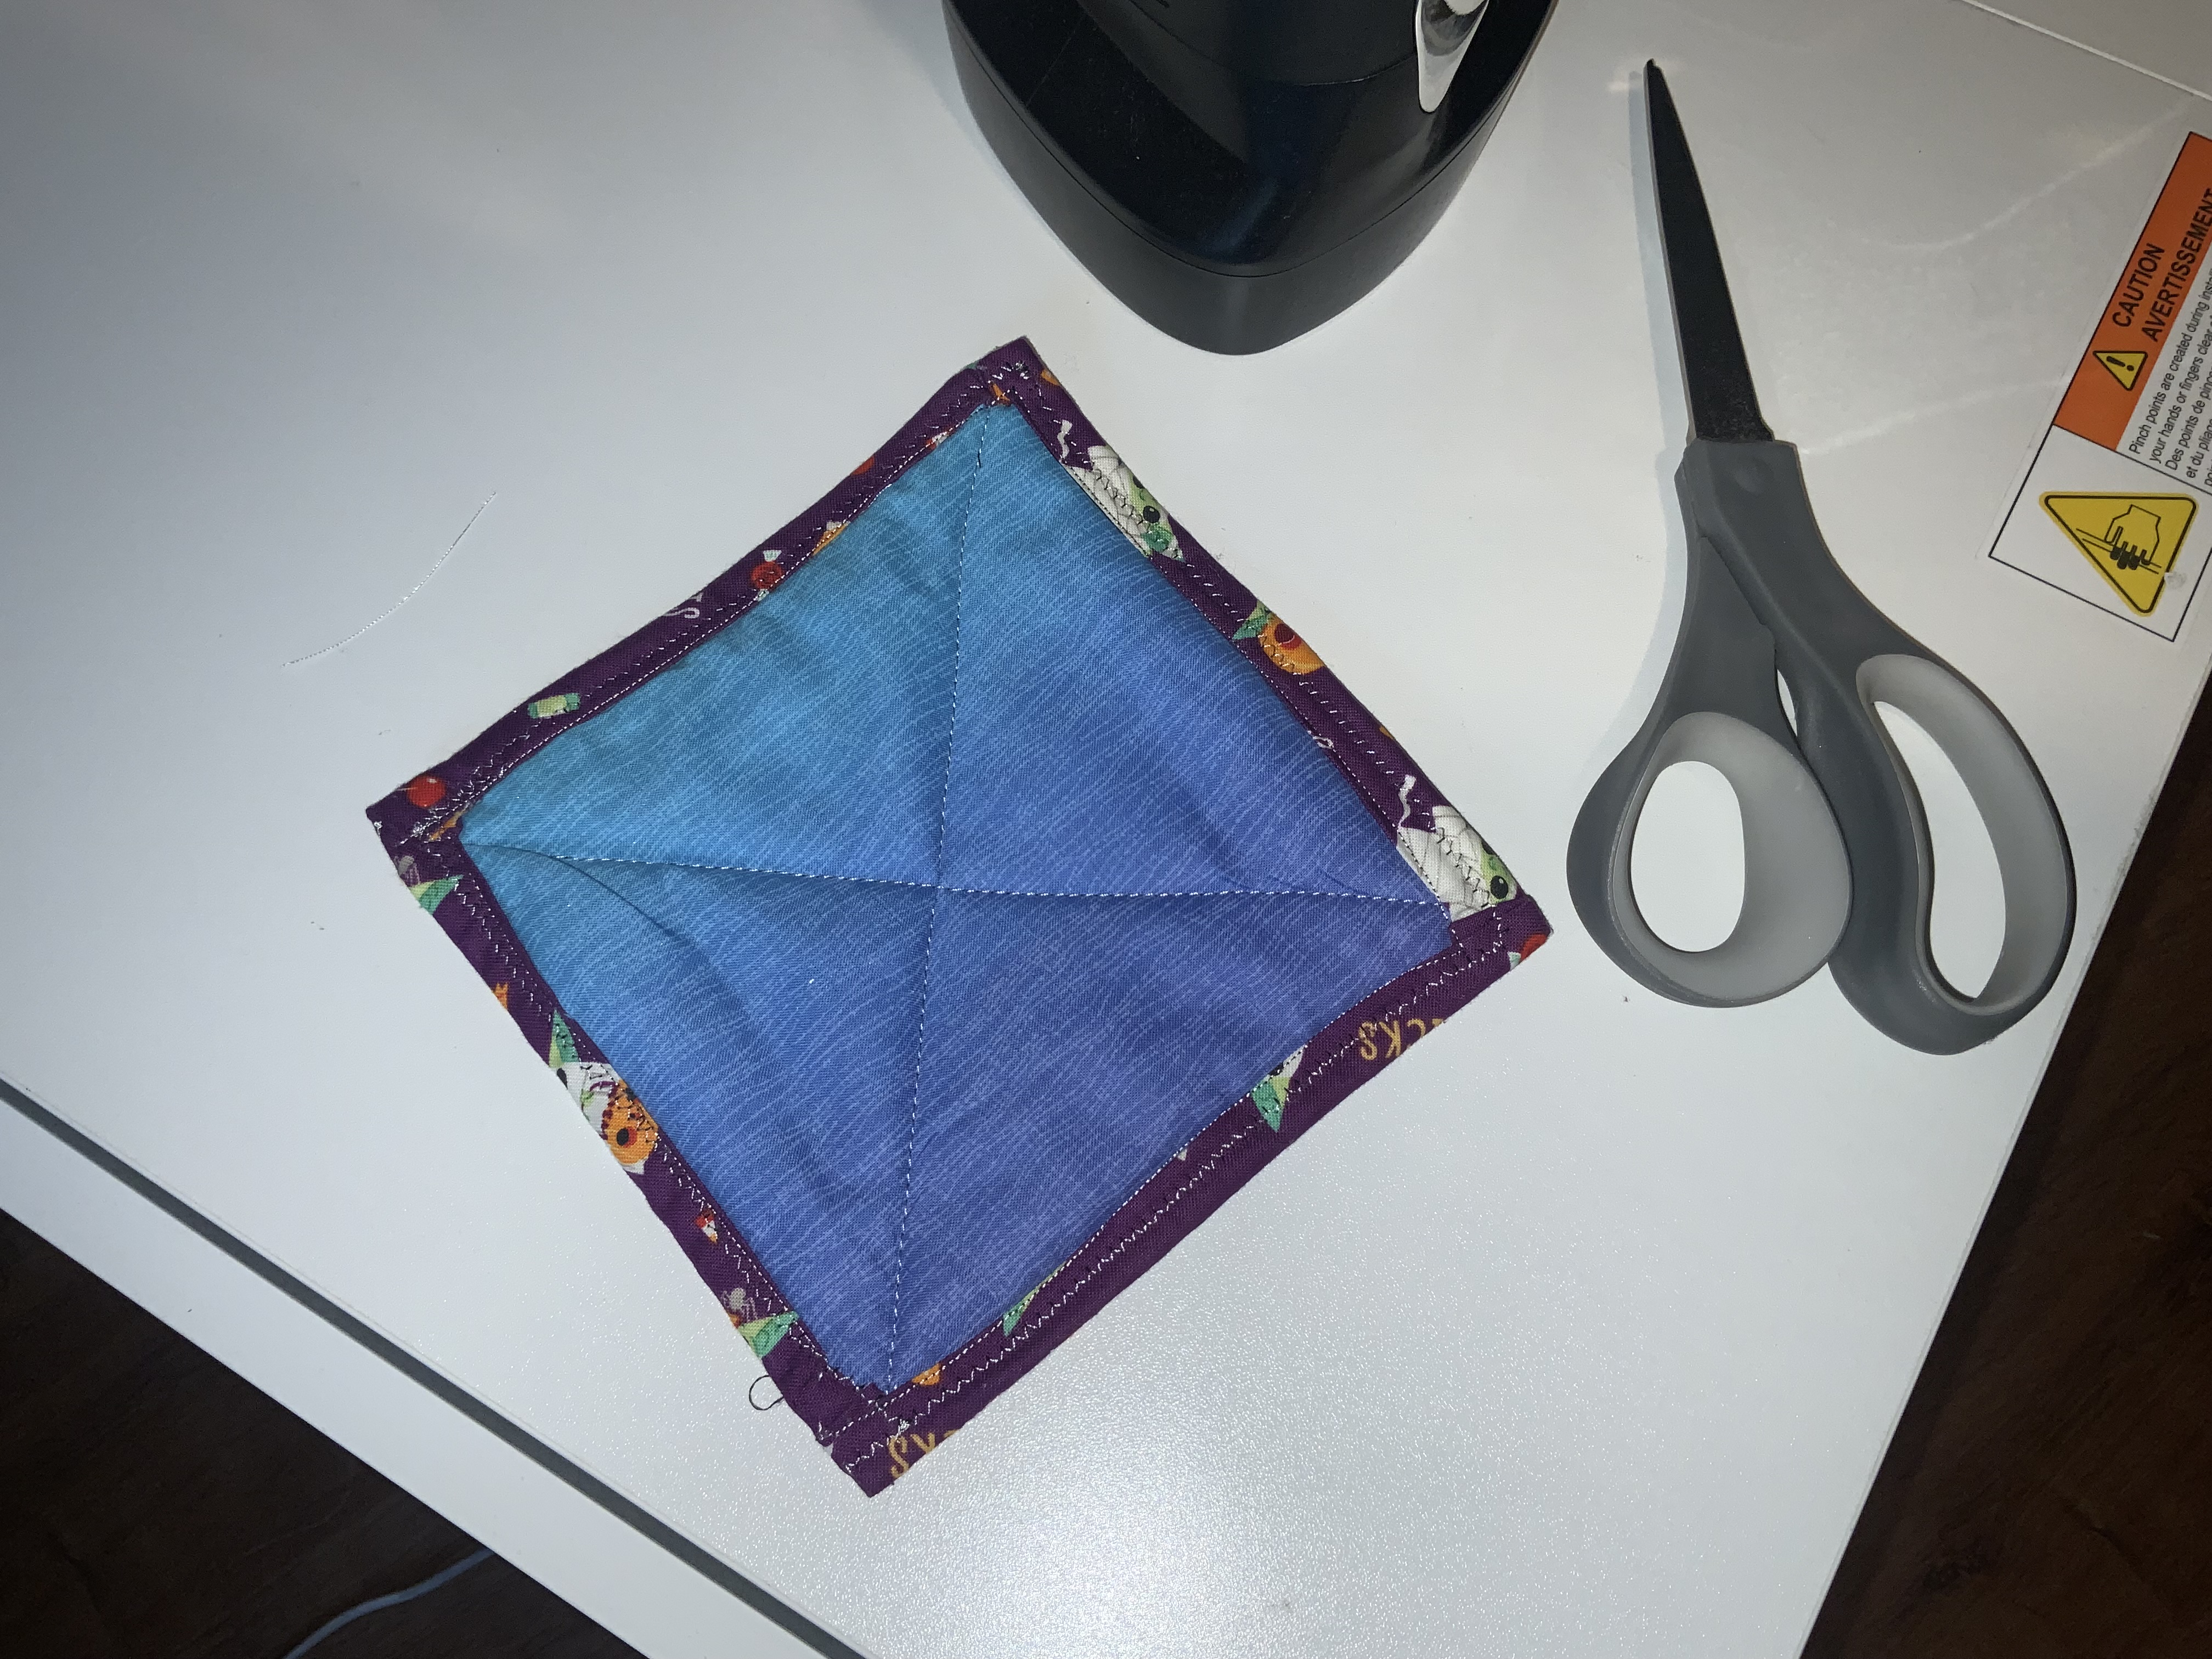
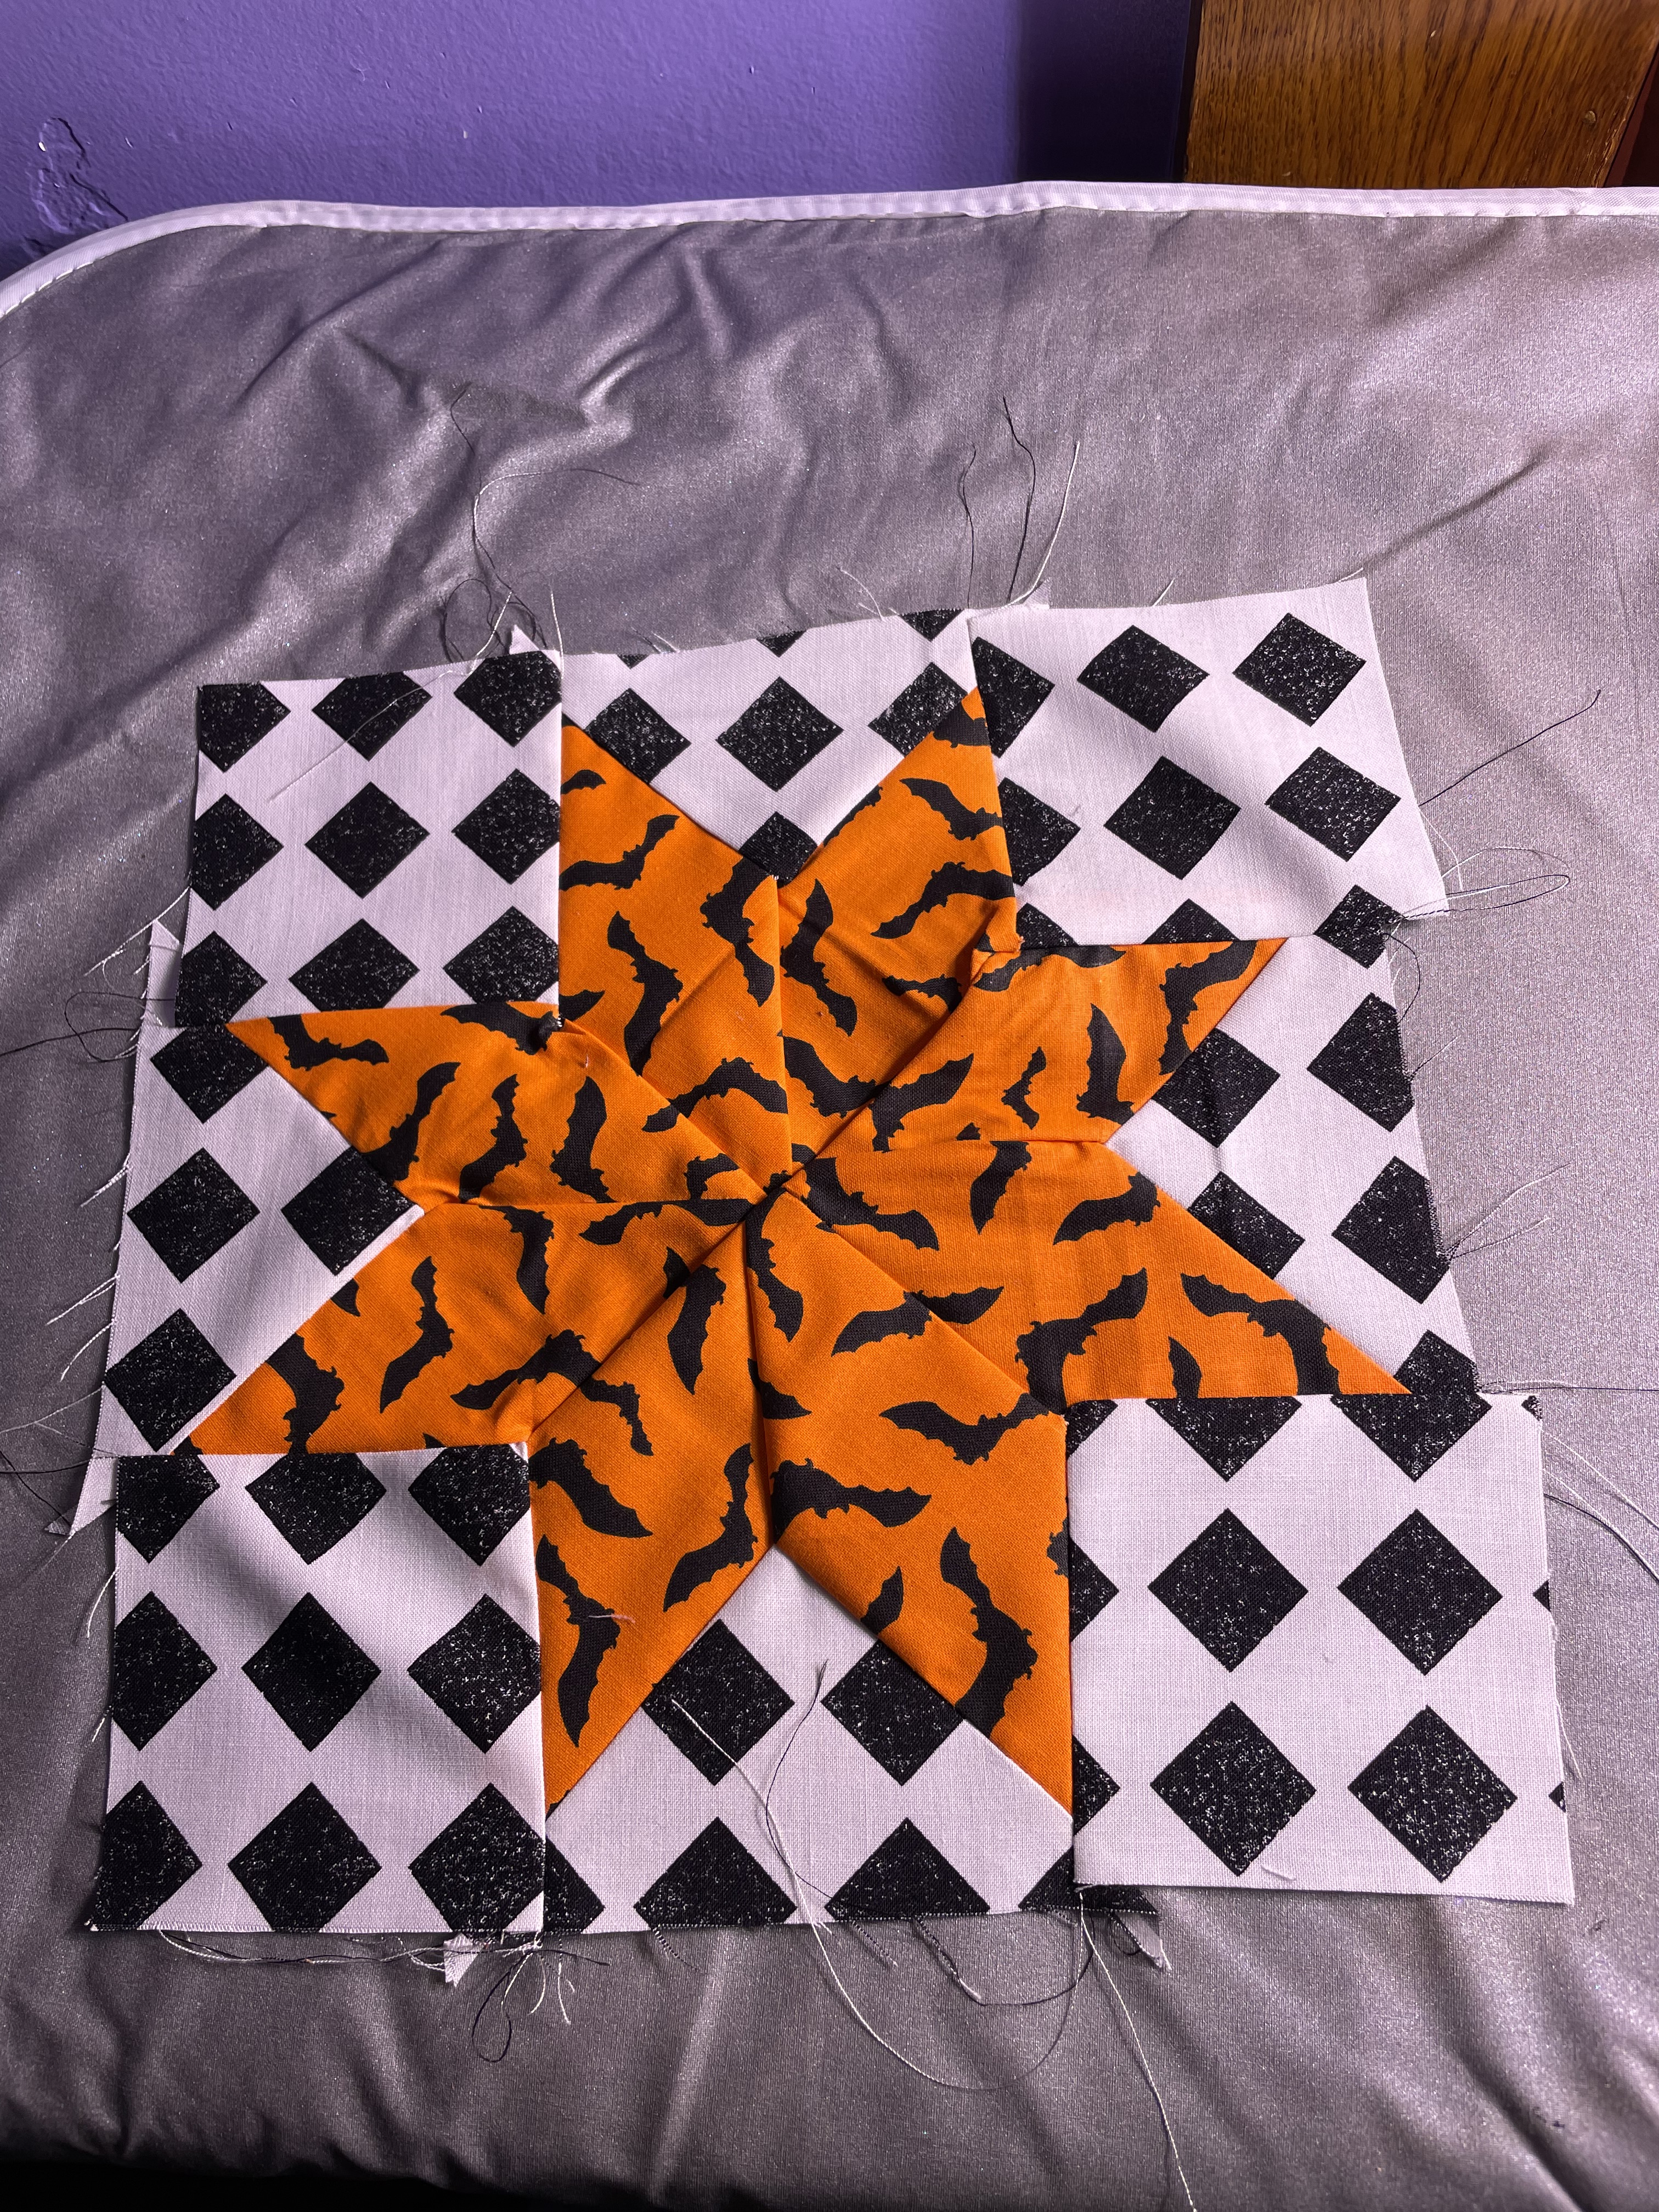
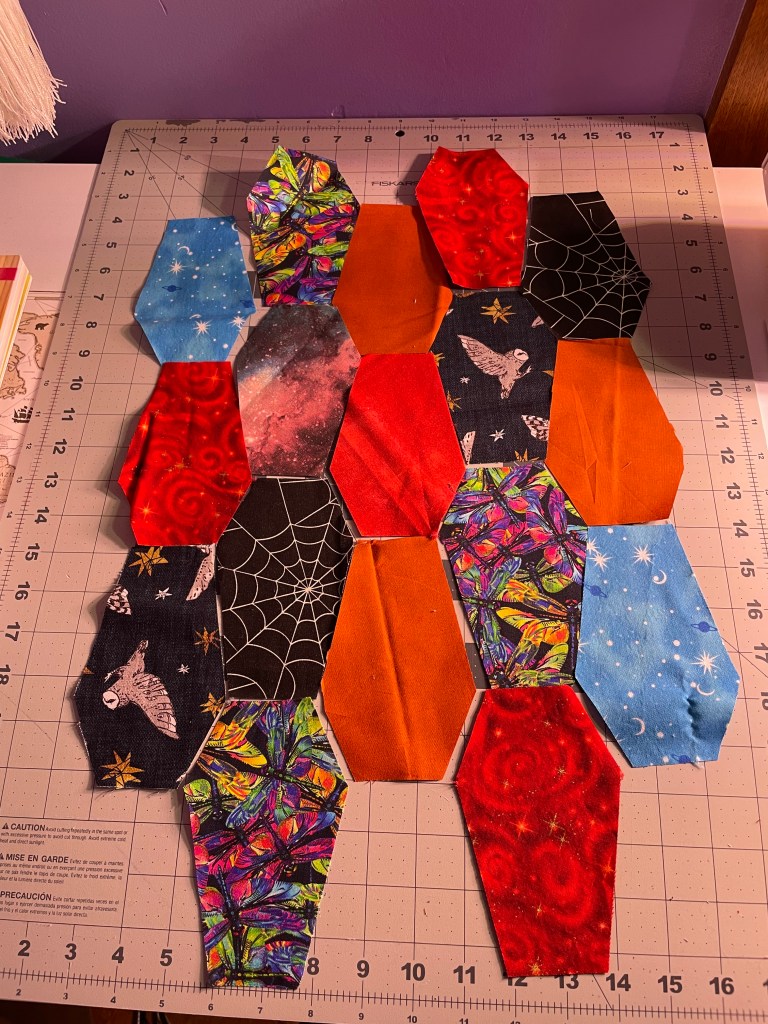
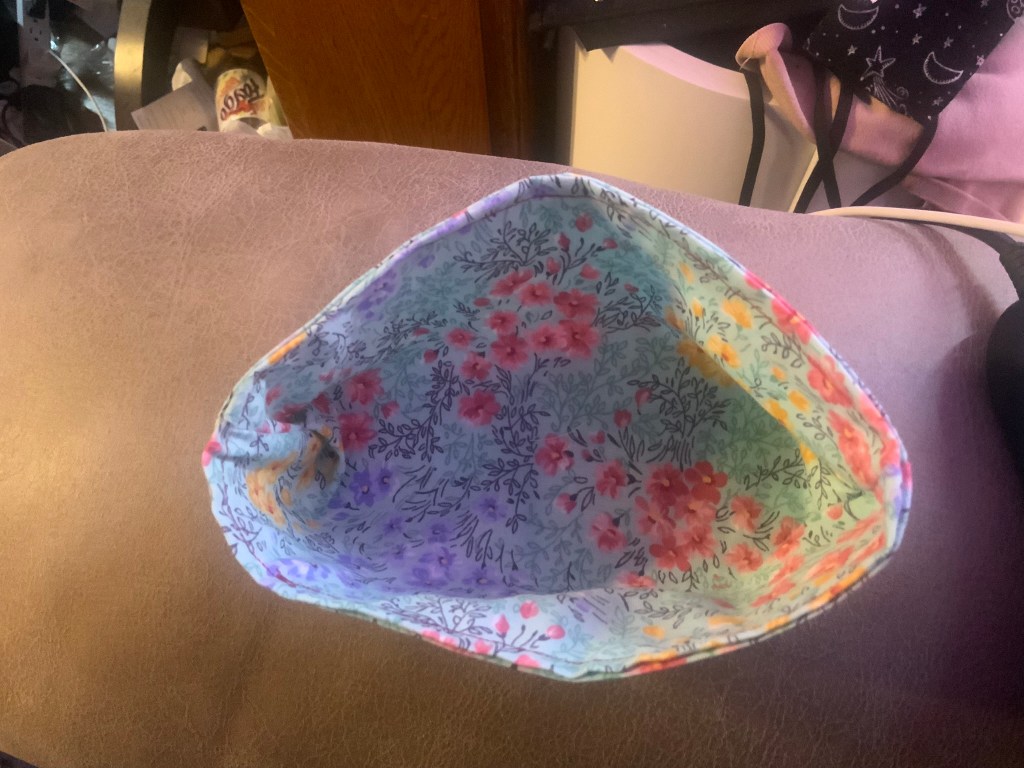
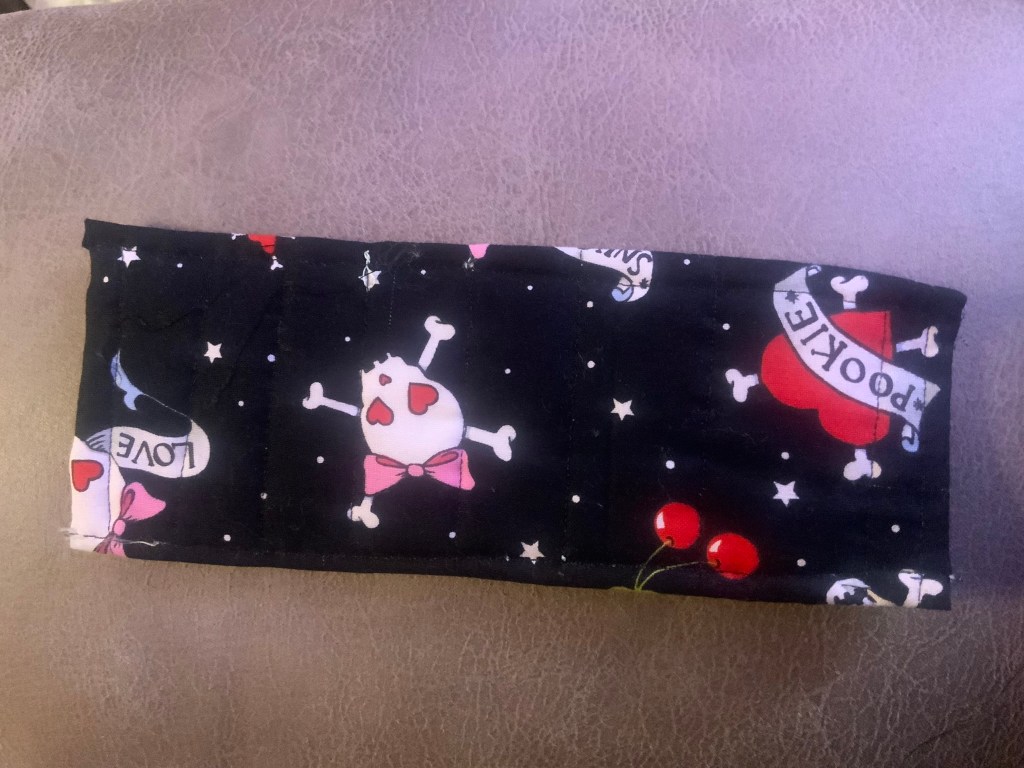
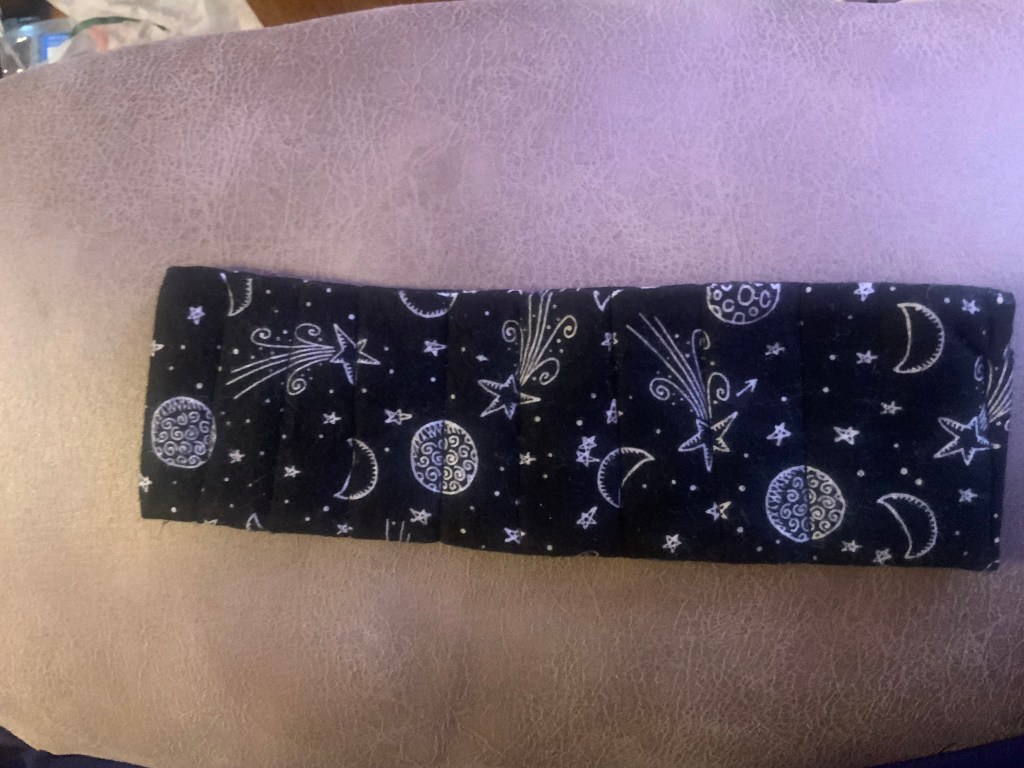
Of course, I have been doing little bits and pieces of sewing along the way, I made up a little bowl that I am thinking about putting snaps on to turn it into a pouch, as well as a couple of quilted bookmarks I’m thinking about putting in my Etsy Store for about $5 with free shipping.
This is a quick addition to fixing the crafting photos, I did spend all day yesterday sleeping! Taking a day to just completely chill and catch up on my sleep has always been my form of self care, prior to getting on an ADHD medication I would need to do this once a week to completely recharge myself. I was worried that I would be unable to ever accomplish this again since I have been super productive these past few months, and consequently I’ve been getting a little shorter in my temper than I would rather. Saturday I had a very busy day and so my body finally allowed me to have the form of rest that seems to rejuvenate me the most. Due to this I am in a much better mood and I feel like I can take on the world again. I’m not sure if this form of rest is going to be every other month, or if my body will settle out and allow me this kind of rest more often. Just a PSA, your body will let you take care of yourself and if what you need is to just sleep a day away then that is what you need.
Remember to Live Life a Little More Abstract!