End of Summer Reading

Yay! This past week was the last week of our summer reading program. We will be having a finale and prize drawing this upcoming Saturday. I’m teaching a needle tatting class to a guild that day so I will not be available. For the end of our summer reading program I ran my usual classes and two extra events. Due to this I’ve been really busy and not able to get a lot of crafting done.

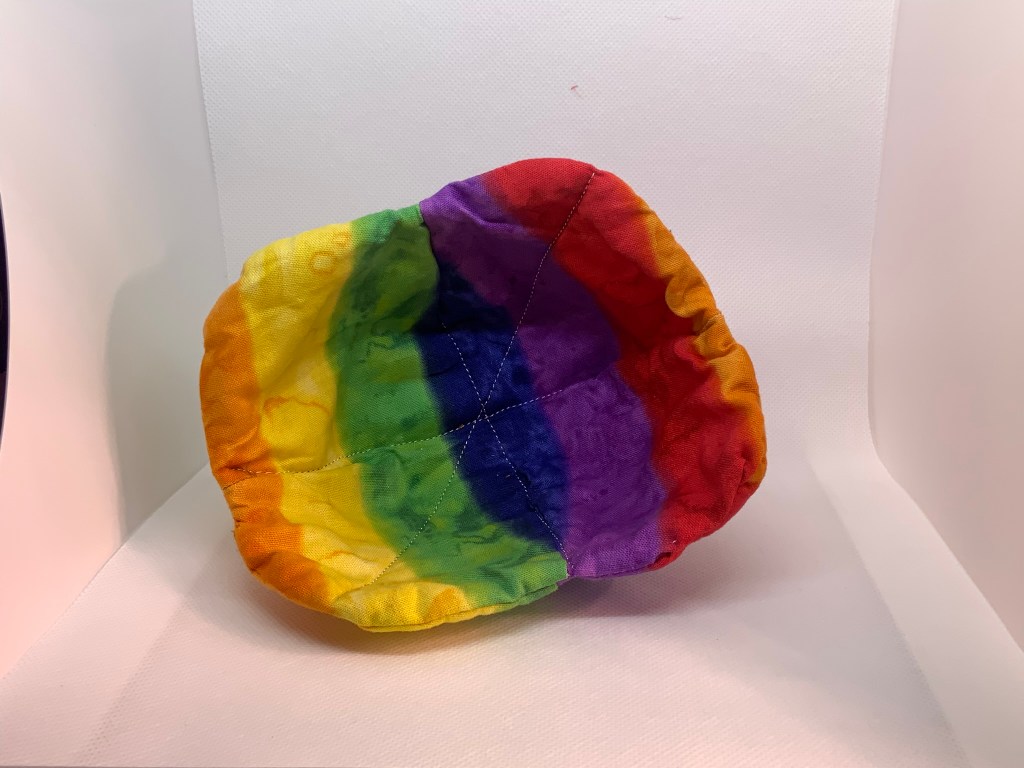
I have been working on hiding the threads for my big quilt, I’m done tying the top and bottom threads together and just need to thread each one into a needle and slide that needle between the top and bottom quilt pieces and then snip any extra thread off. This will help the threads stay together better and not allow the quilting to unravel. I did wash the quilt and it has amazing crinkle. I’ll post photos next week when I’m ready to put it in my Etsy store.

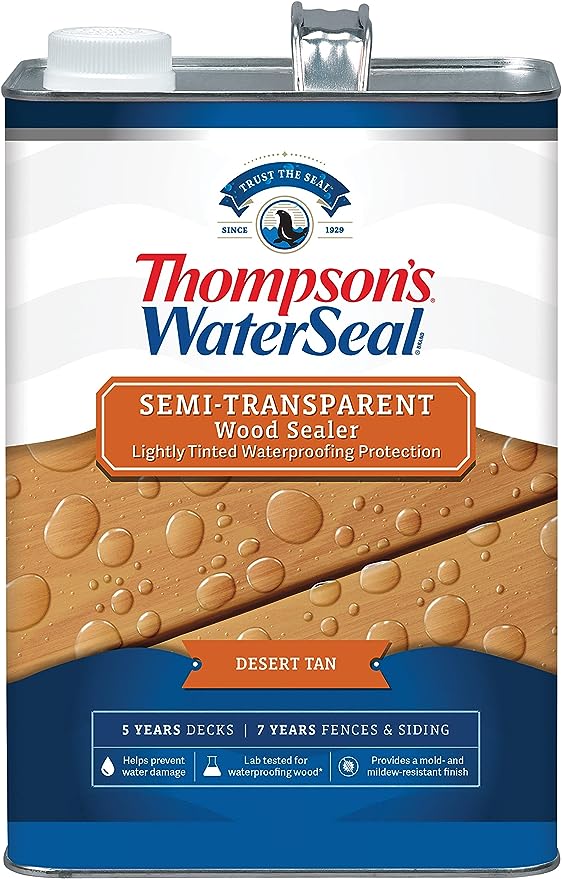
I haven’t managed to make much progress on my second Tunisian crochet square but I’m having fun with it. I have managed to make progress on a couple of projects. I put some wood filler into the cracks I’ve found on my back porch railing.

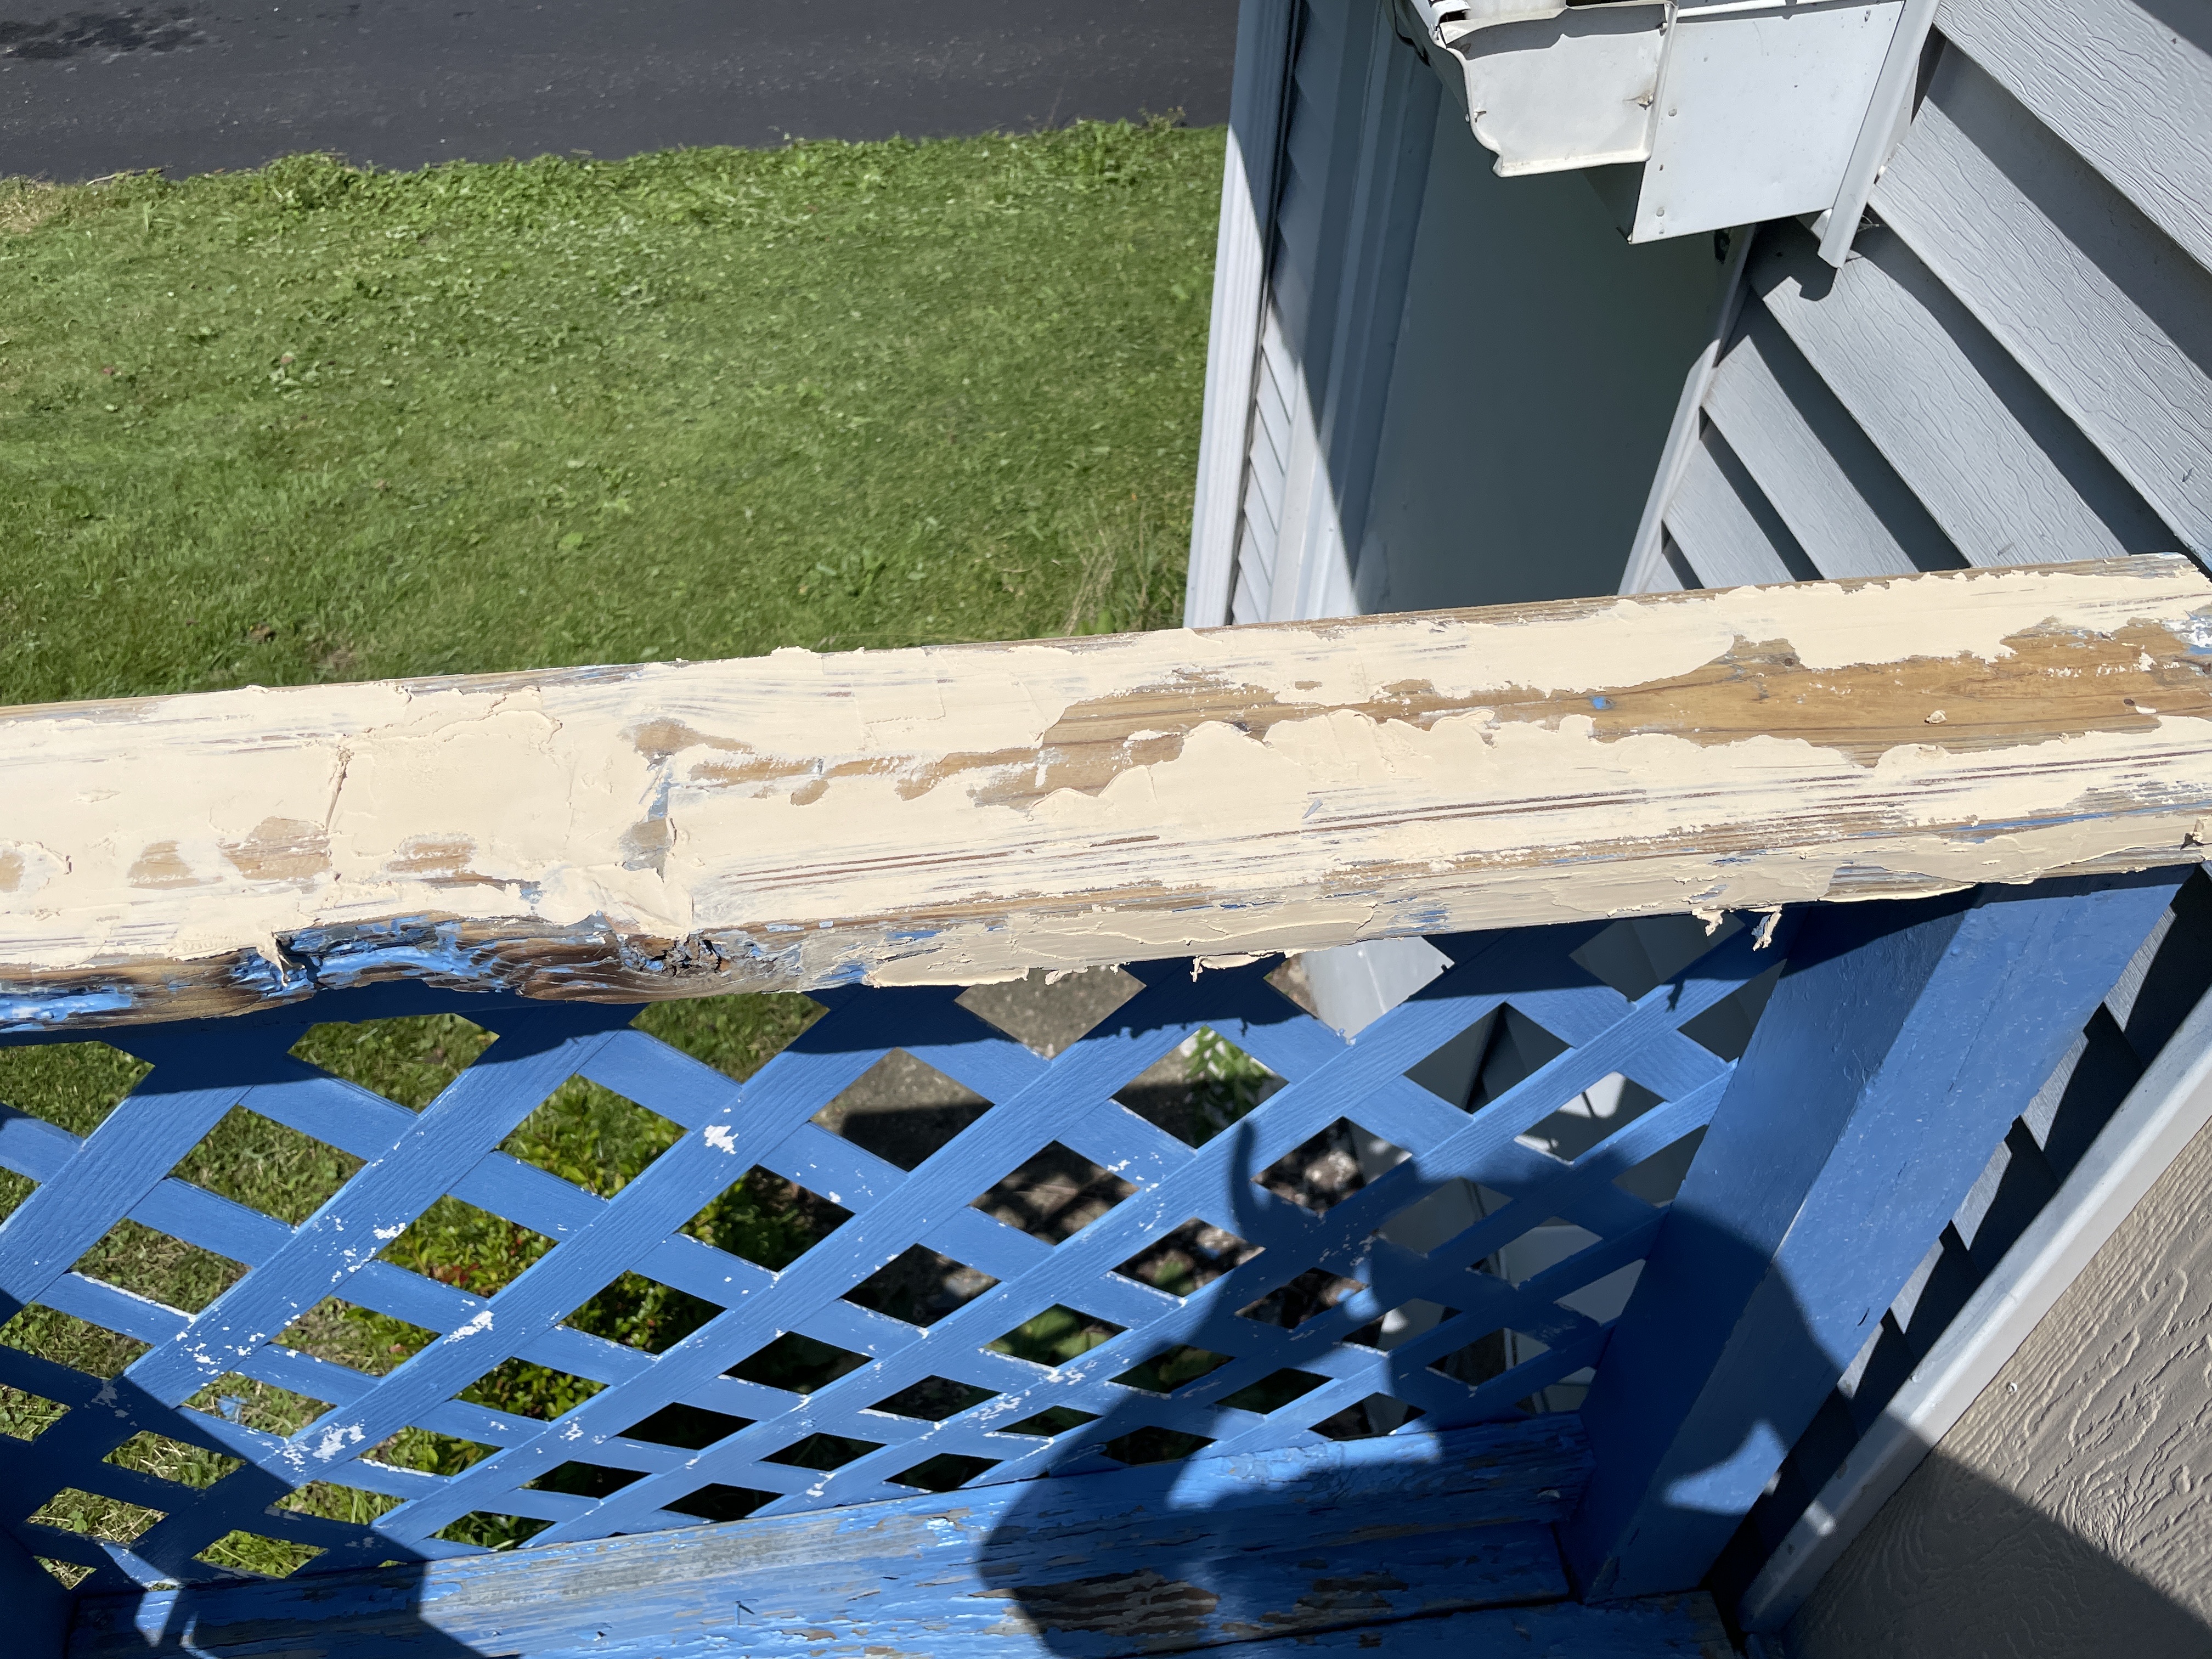
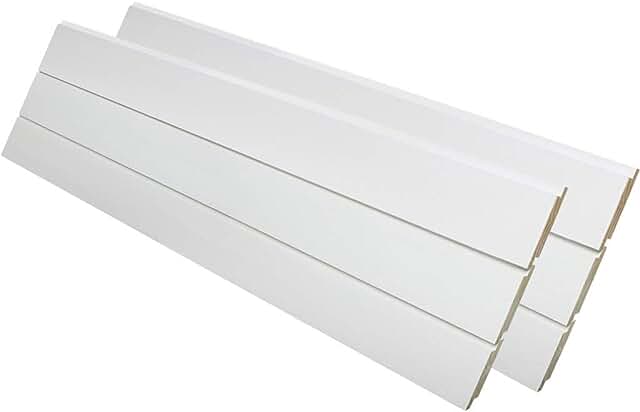
I am certainly going to have to do more sanding and possibly more filling. I cannot wait to get this ready for the winter. Speaking of prep for the winter, I’m still working on my garage. I’m going to show you the shame of my garage window and the hole I need to fill in.


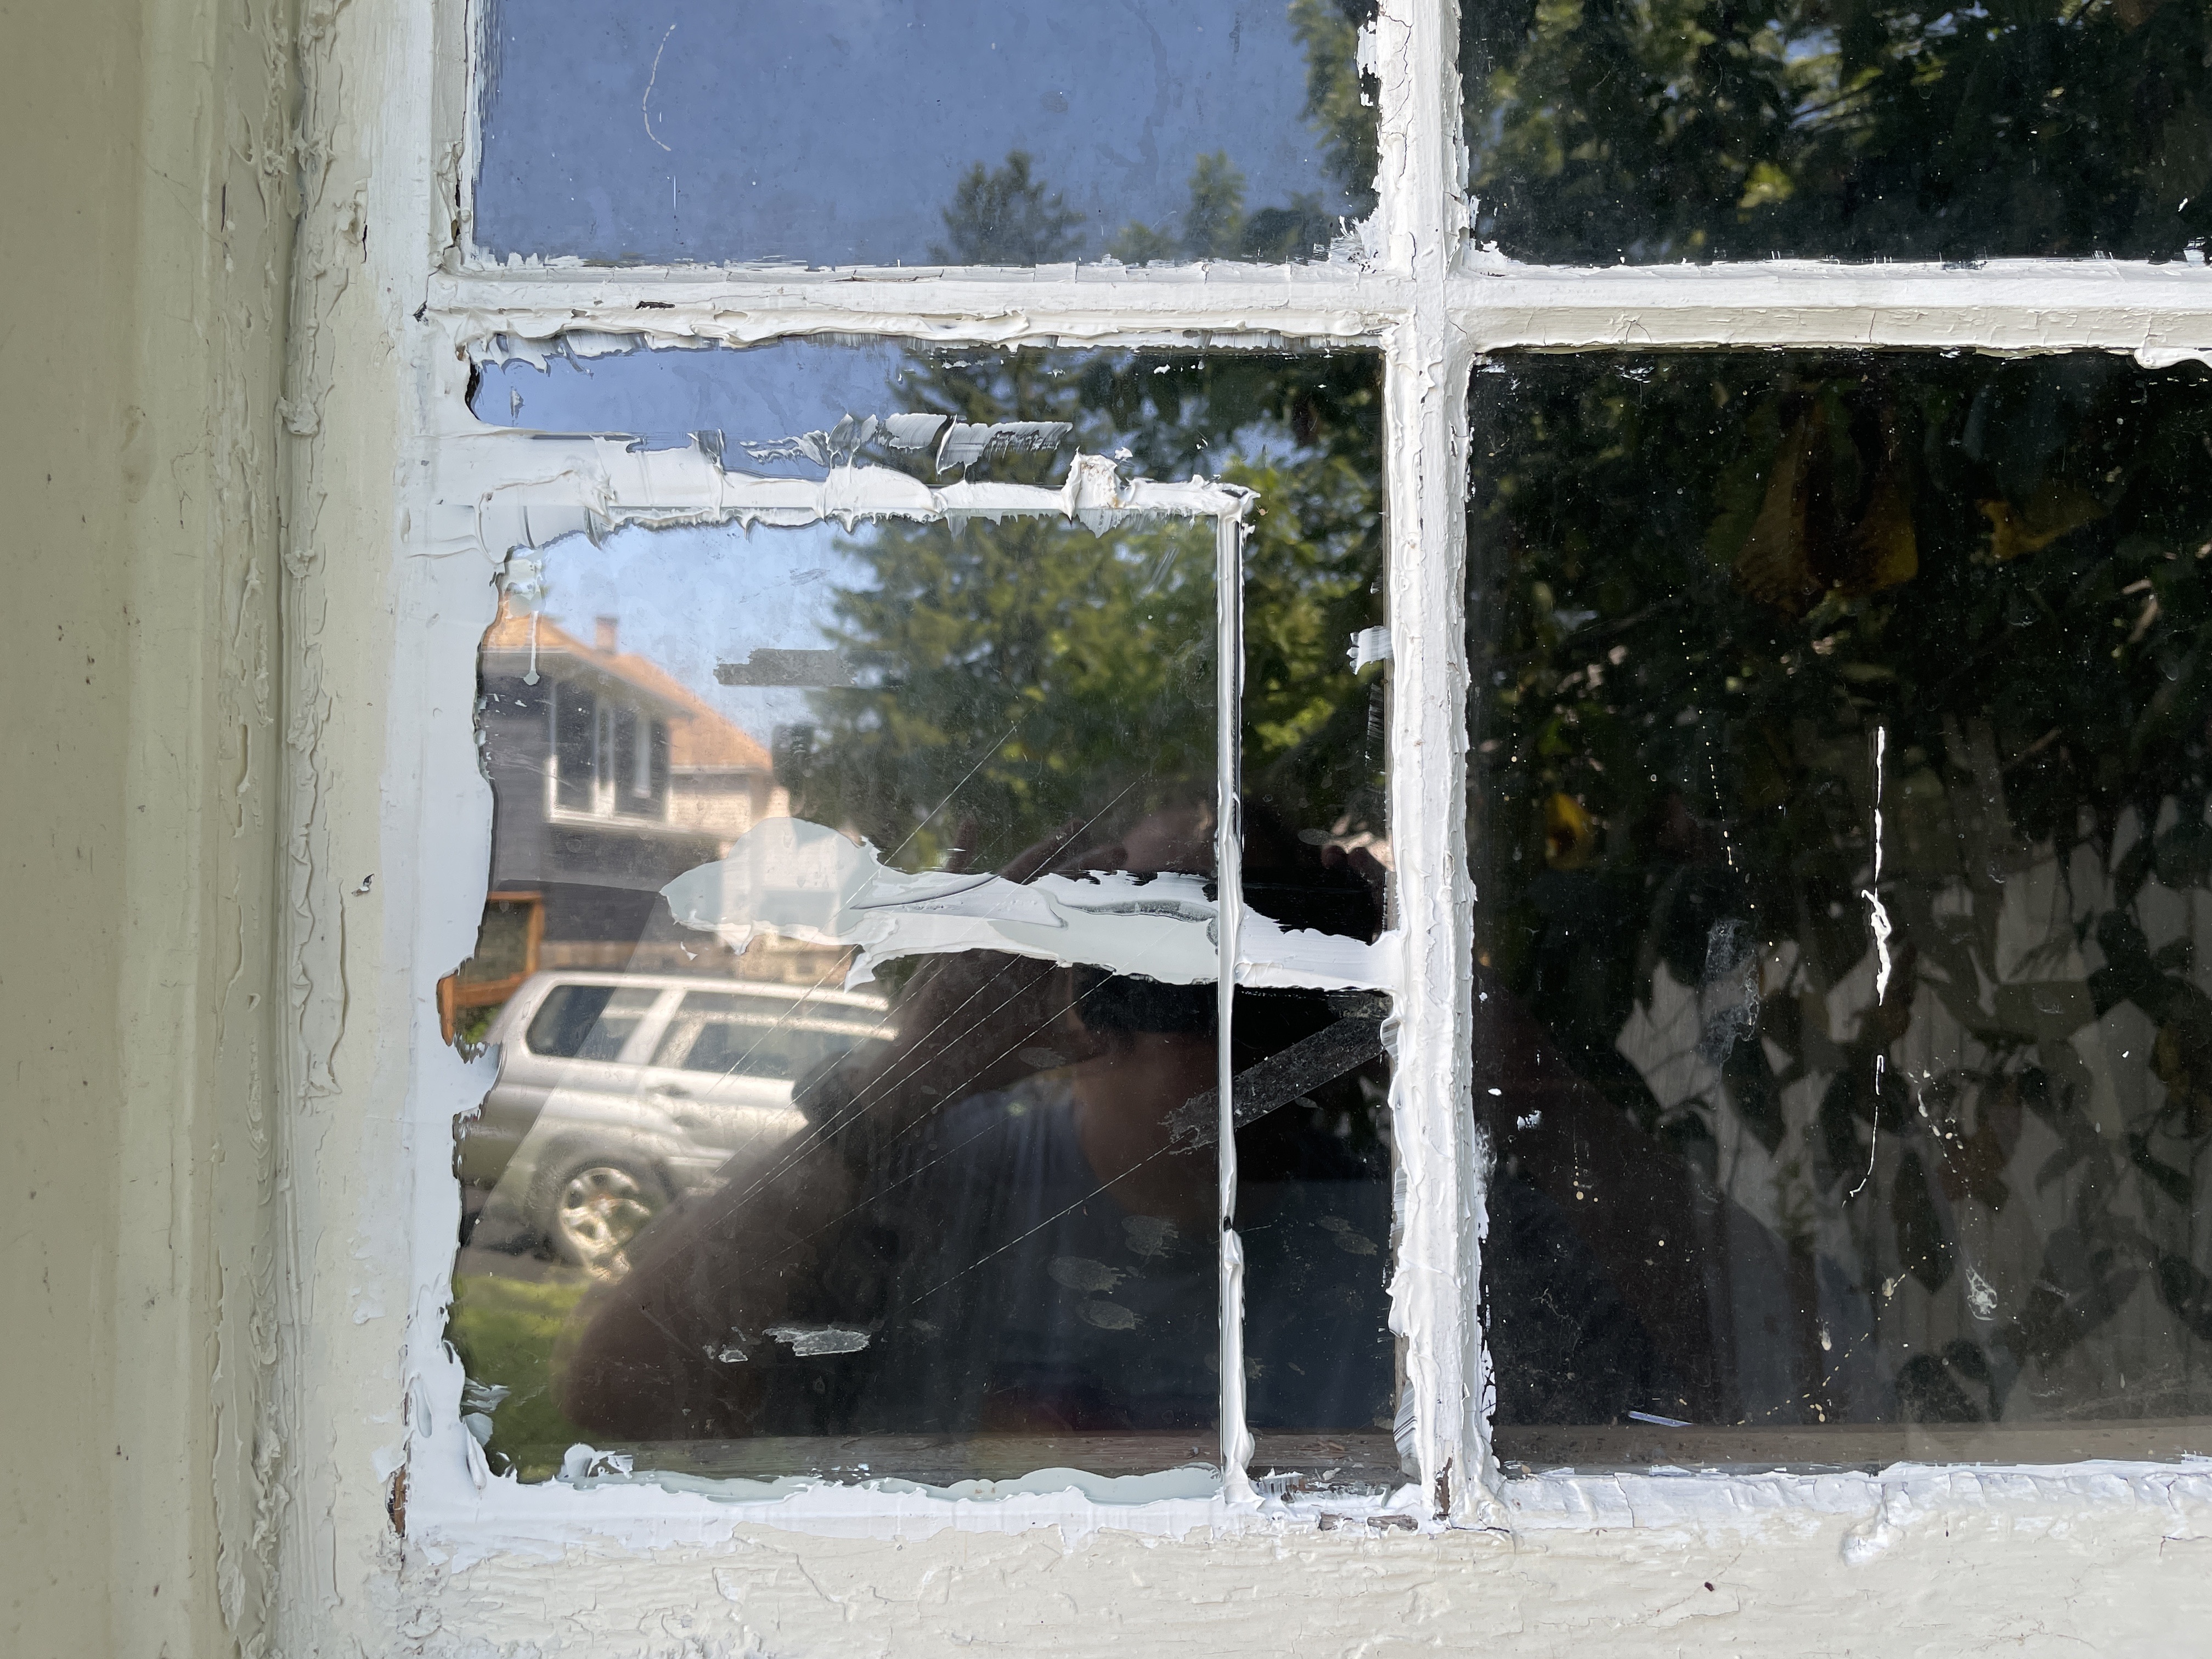
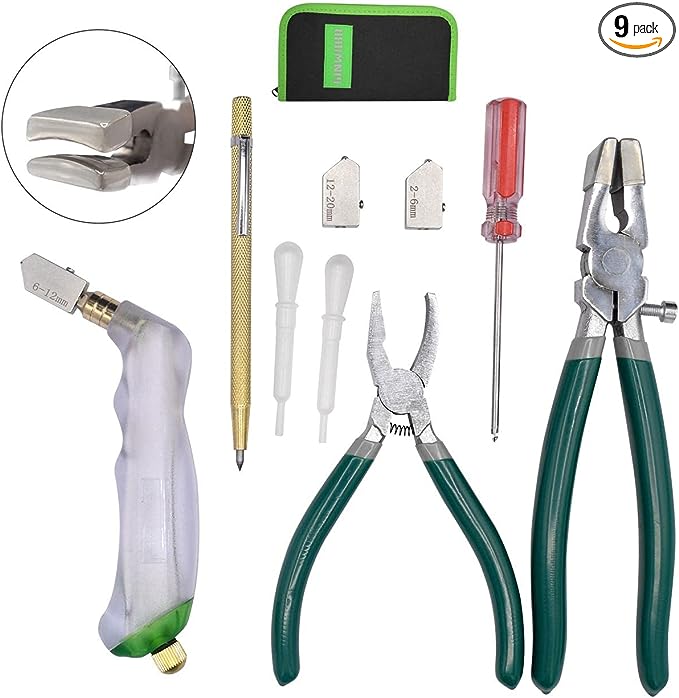
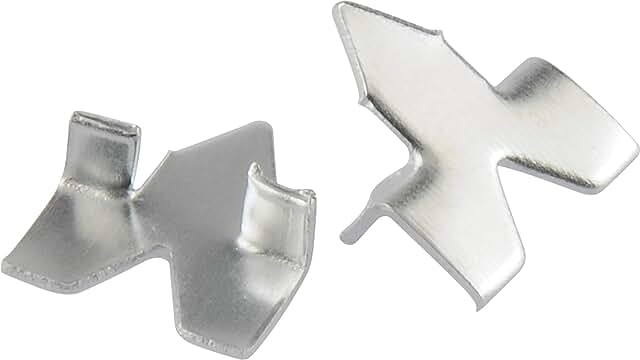
As stated in my earlier post about how to repair the window, get the right sized glass. It makes all the difference unless you are good at cutting glass…which I am obviously not good at.

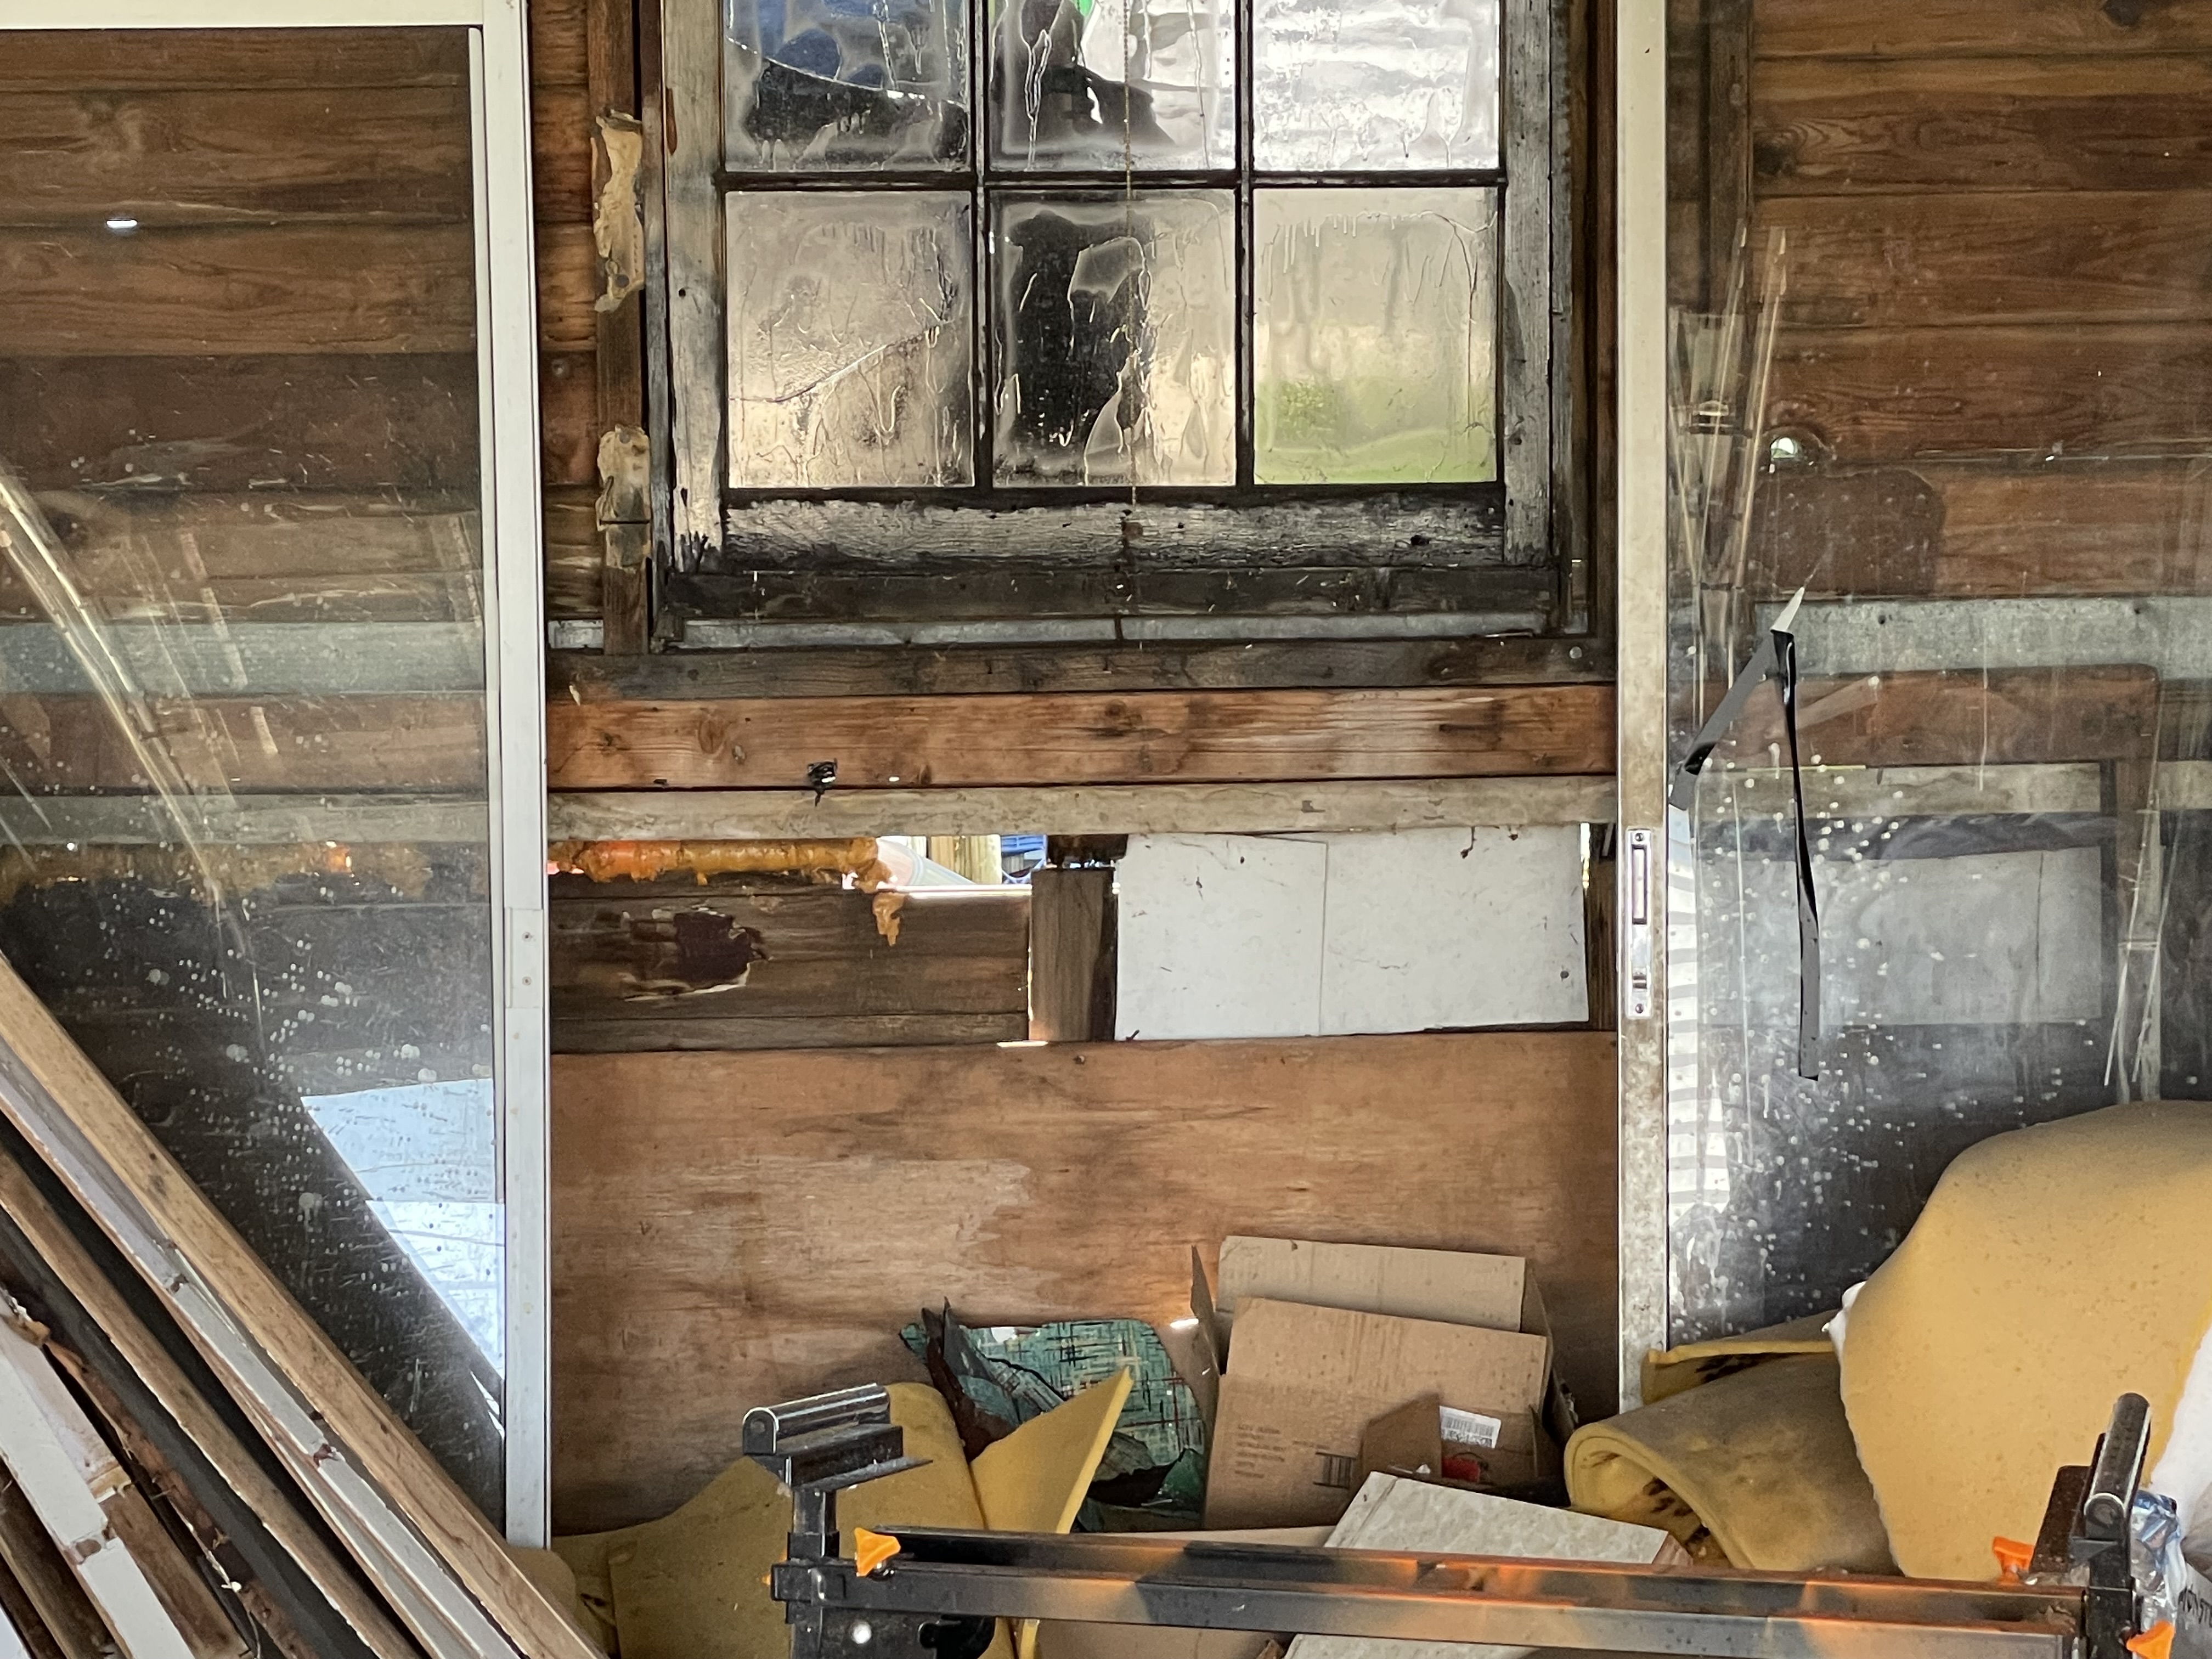
My handyman left a bunch of stuff behind that I need to figure out what to do with. I’m more concerned about getting the hole covered so that I can store my garden stuff in there for the winter. I did spray the place with all natural cat repellent as well as a bug spray to make sure I can get in there without any real problems. I’m on vacation in two weeks so I plan on doing more work at my home then, while wearing some very durable gloves.

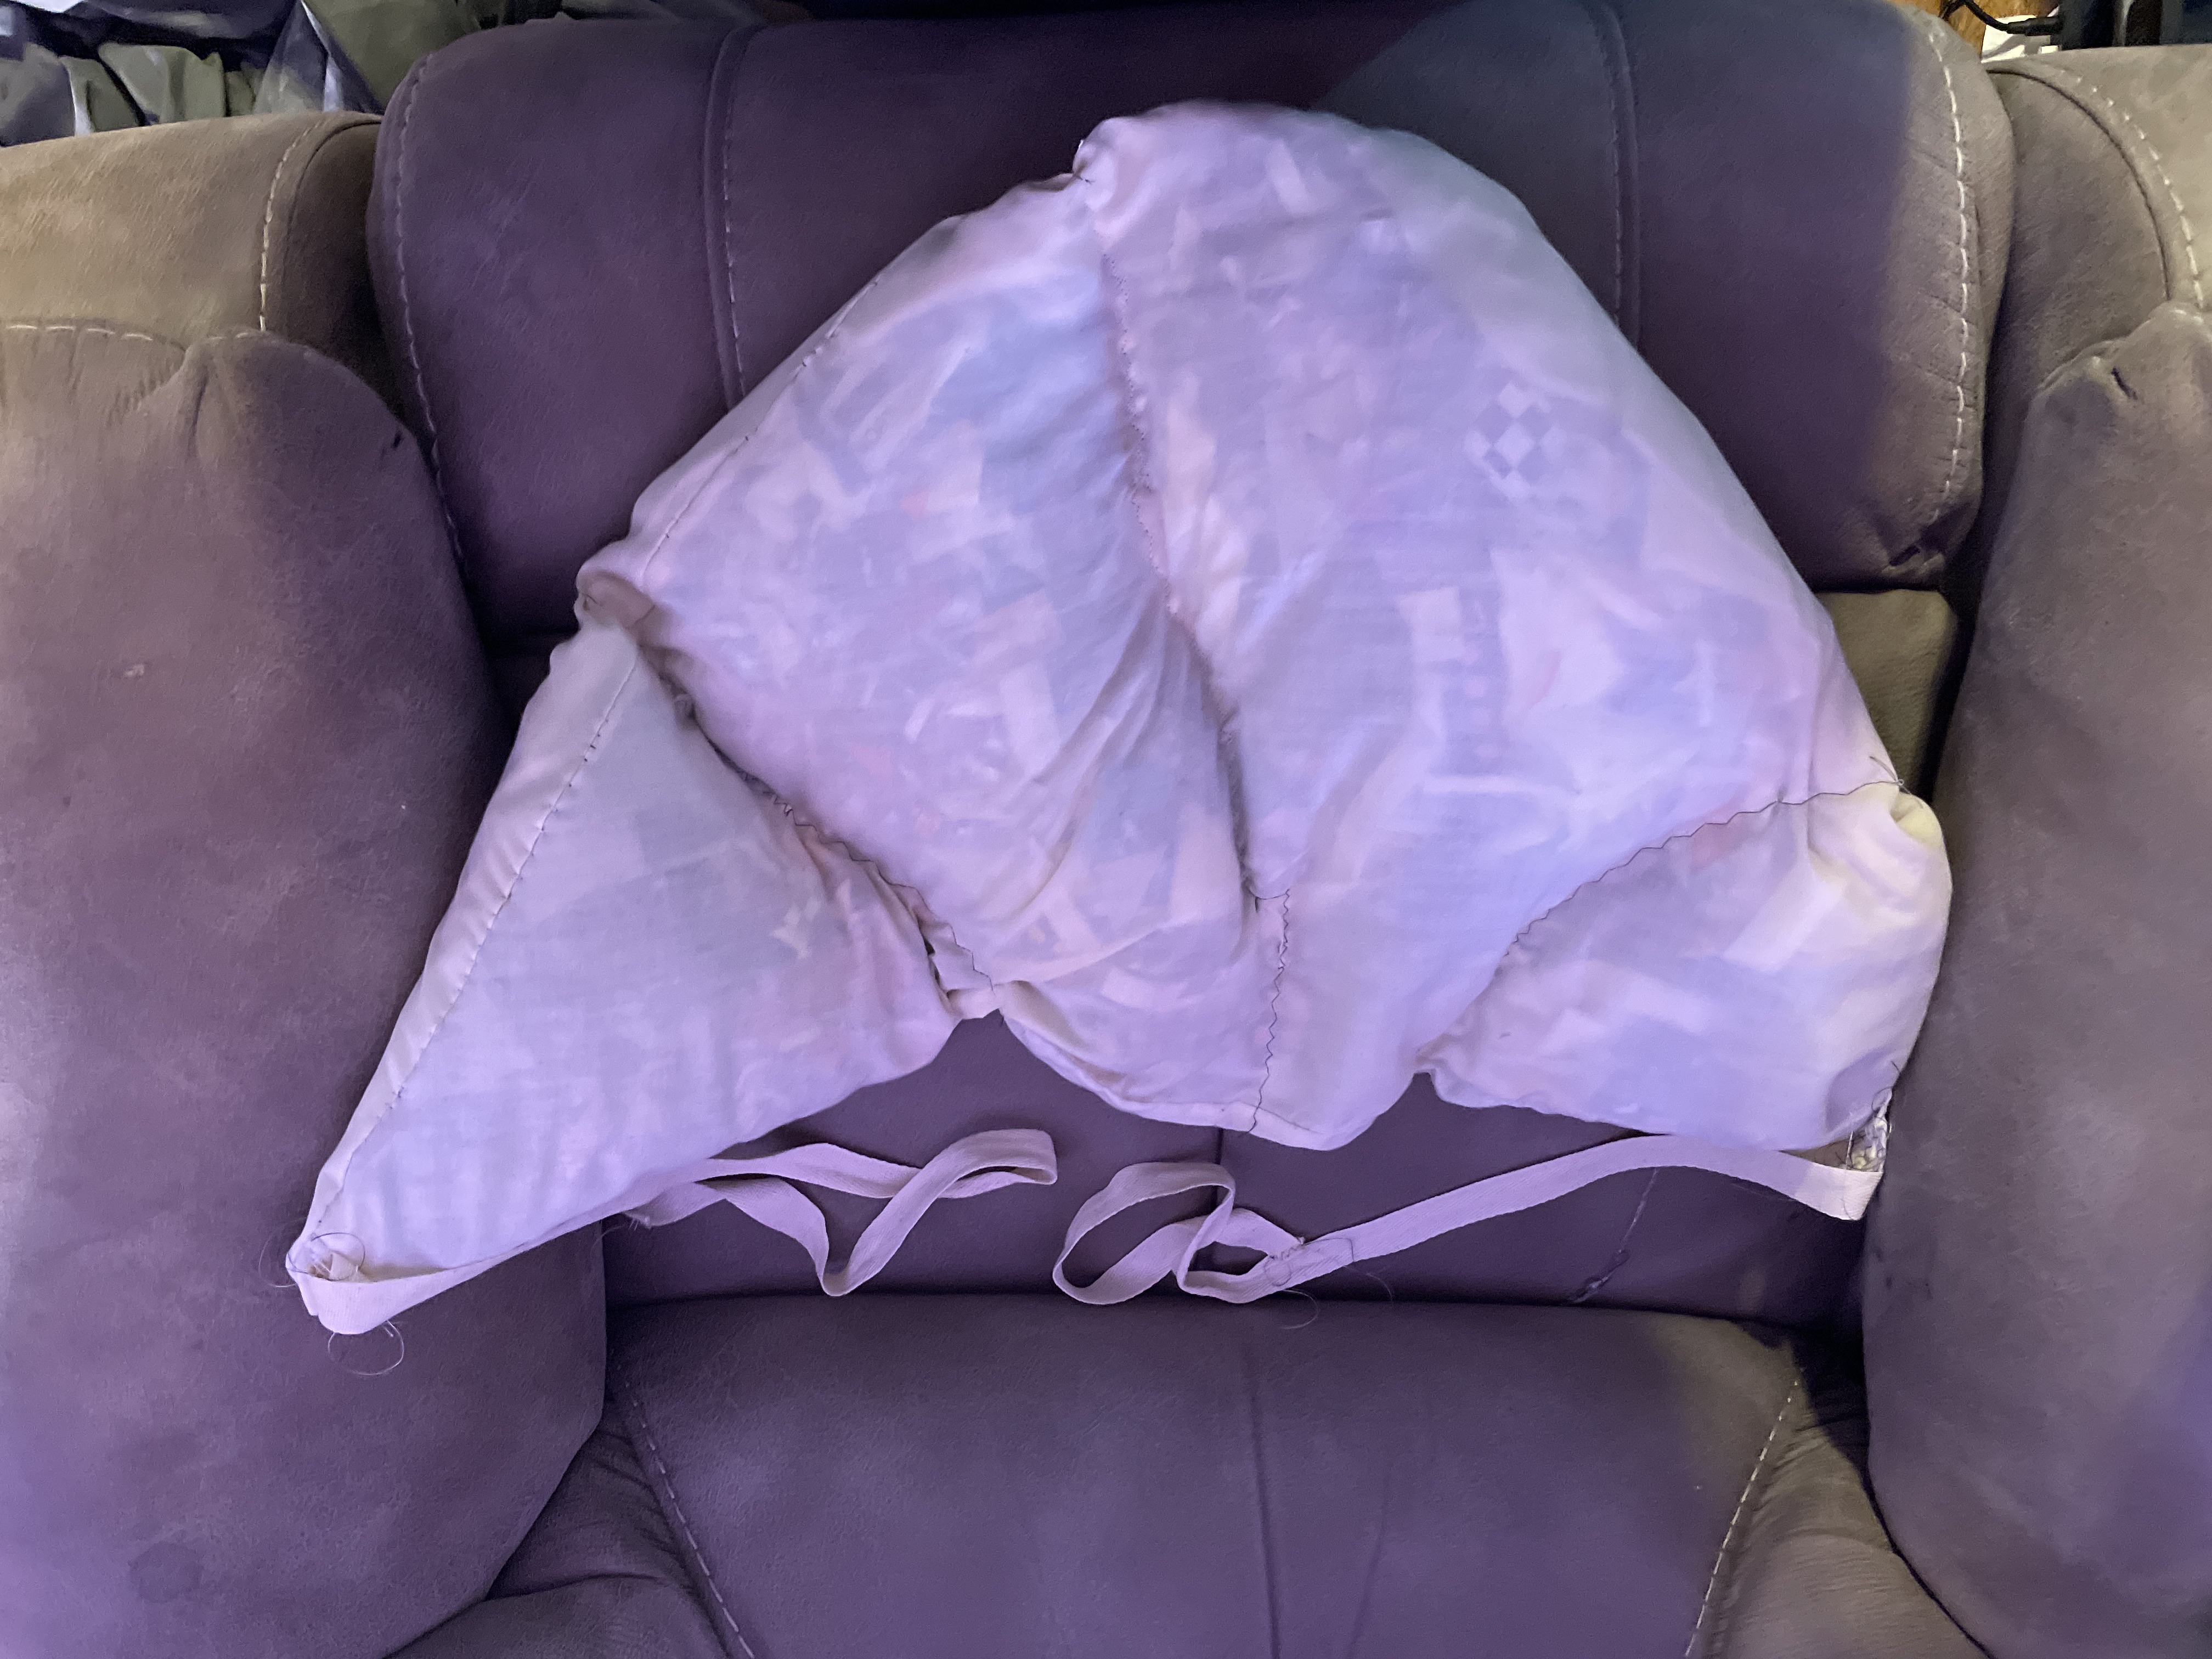
I also managed to finish a garment which is one of the few garments where you would ask your significant other ‘Does this make my butt look big enough?’ I am going to be playing the part of a mother from 1880s who is in mourning. I’m trying to put together a costume with minimal purchasing so I used an old pillowcase that I stuffed with fabric scraps and sewed in a semi circle. I then sewed a few lines to roughly keep the stuffing in place before adding in some twill tape to use as ties. This is not how you should make this garment if you want it to last and look really authentic. For a quick job this is an alright result. It will cover my entire backside and give my hips a little more padding. I’m going to try to put together my rough costume this upcoming week to see if it all works.

The final bit of news I have is that my local government is going to release a new grant this week for an opportunity to get home repairs completed. My last application contained a bunch of small things I would like to get done and my application was denied. This time I’m asking them why my last application was denied as well as asking for a list of contractors that will do repairs on my roof. I did see an article released about someone that obtained the initial 10k grant toward a roof replacement and their roof was actually leaking. I’m trying to get this repaired before it leaks, so here’s hoping.

That is it for this week. Until next time remember to Live Life A Little More Abstract

.

Who Am I This Week?

This post contains some affiliate links. Clicking on the links and making a purchase will not cost you anything extra but I may get a small stipend.

The DIY bug bit me hard this weekend, combined with realizing that the quilt I’m working on has 6 types of blocks not 5, means that there will not be any crafting content this week. I will be writing about home repairs and the products that I used/recommend to accomplish these tasks.

I did not manage to get any more paper made, I did manage to get some home renovations complete, however. When I first purchased this house the garage was a bit of a mess. Since this house was built in the early 1900s the garage was an afterthought. This means that without back-up cameras getting in and out of the garage would be a nightmare, and my old car did not have back up cameras. Even now that I have the cameras I’m still not planning on using the garage for car storage. All of this to tell you that the busted out pane of glass, hole in the back wall, and door that does not sit flush were the least of my concerns 2 years ago when I closed on the house. Now that I have several of the inside projects completed or handled in some way, I can turn to the garage…though I still need to find someone to patch my roof I’m going to hope it holds out for another year.

I managed to ‘fix’ the pane of glass…if you do not have experience cutting glass and have been working with fabric where you need to lean on the ruler to make sure it does not shift…don’t take this task on alone or get the pane professionally cut, or better yet just buy the right size of glass to begin with if you can find it!

To start with I obtained a piece of glass, that turned out too small, so the first step needs to be measure your window pane. If you can find the correct size glass, purchase it. If you cannot find the correct size then you need to either purchase one that is bigger and cut it down to size using a glass cutting set, this is the one I should have purchased

Glass Cutting Set

or special order the glass to be the correct size.

After you have the correct size glass you need Glazier’s points,

Glaziers points


I obtained the push kind because they were easy to install, and Window Glazing compound,

Window Glazing Compound

After that the install is easy.

Brush away any extra dust or debris, wipe the frame down if there is no glass in it, or pick out any glass remaining being careful to not get cut. Wearing cut proof gloves,

Cut Resistant Gloves

is probably a good idea for this step and any steps where you are playing with sharp edges.

Push the Glazing points into the window frame flush with the back where the glass pane will sit. The pointy bit goes into the frame and the sticky outy bits needs to be facing you to hold teh .

Next fit the frame of glass into place, making sure that the fit is snug.

Once you have the glass in place use the window glazing compound around the edges to seal the pane in place and prevent water from getting into the wood. I ran a line around then used a putty knife

Putty Knife

I prefer a metal edge, to smear the compound toward the outer edges helping it seal better. Within a day or two it should be dry…as long as you don’t do this in the rain…don’t do this in the rain!

My fix will work for a year or two, and then I’ll get a pane of properly sized glass and take out my mess. I might just see if I can install a new window altogether, but that seems a little to ambitious right now. It does not look pretty (at all) but it should keep the wind, and more importantly cats, out.

For my back wall I purchased some Shiplap

Shiplap

The link is to some primed shiplap which would have saved me some time since what I purchased needs finished. Once I have the Shiplap cut down to size I will need to seal it

Deck Sealer

with the same kind of sealer I purchased for my front deck and back steps. After that I will use my nail gun

Nail Gun

to nail the boards into place covering the hole. I am not sure what I did before I had a nail gun!

Of course in addition to all of this I decided that August is the perfect time to do all of the home improvement projects, so I will also be sanding off the spray paint I used on my steps last year. Well, I say I’m sanding it off but most if it has peeled off already but there is some stubborn spots. After talking with someone that works in a home improvement store I decided against a cordless variety and I purchased

Random Orbital Sander

to help me get the back steps as well as my front porch prepped to be finished. I hope to get the back steps done by the end of the week, and work on the front porch while I’m on vacation the first full week of September. That is about it for home improvement projects this past week, though I’ll post progress photos on my back steps if I make any progress, though they are calling for rain most of this week.

Until next time remember to Live Life A Little More Abstract!

New Storage and New Photos

As you can probably tell, I managed to get my light box set up to take some new photos of the items that I have and will have for sale on the etsy website. I love how the lights and white background work together to make the items look more visible. I know that I still have a little bit of editing work to do on the photos but for now I love how they look and hope to have the listings updated by next week. There is an update to my setup however!

My family gave me a (very generous) gift card to Michaels. Last week Michaels had a half price sale on their storage items. This means that I got the two storage units for $30 out of pocket. Then I had a coupon that arrived from Michaels for $10, due in part to my recent purchase, so the table top was about $20 out of pocket. As you can tell I adore this set up and already have it fixed up to take my photos and work on some projects.

I think that is all for this week, I have not had time to do much crafting between getting my desk set up and working on a minor plumbing issue. Here is hoping that the plumbing is fixed for now.

Until next time Remember to Live Life a Little More Abstract!