
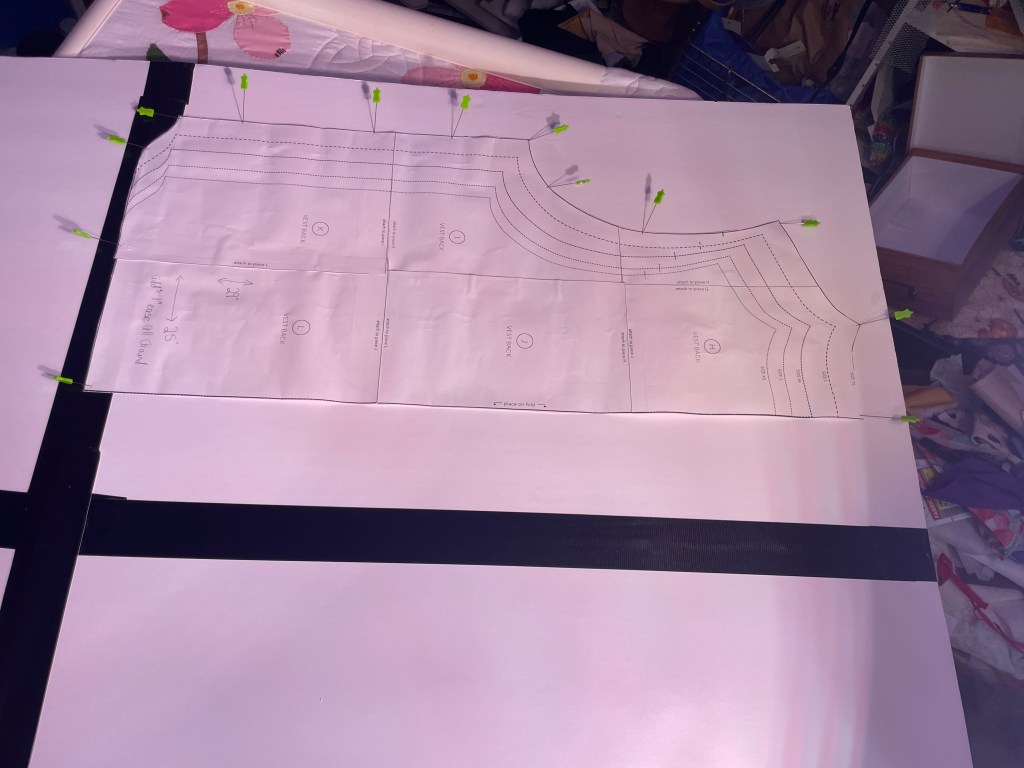
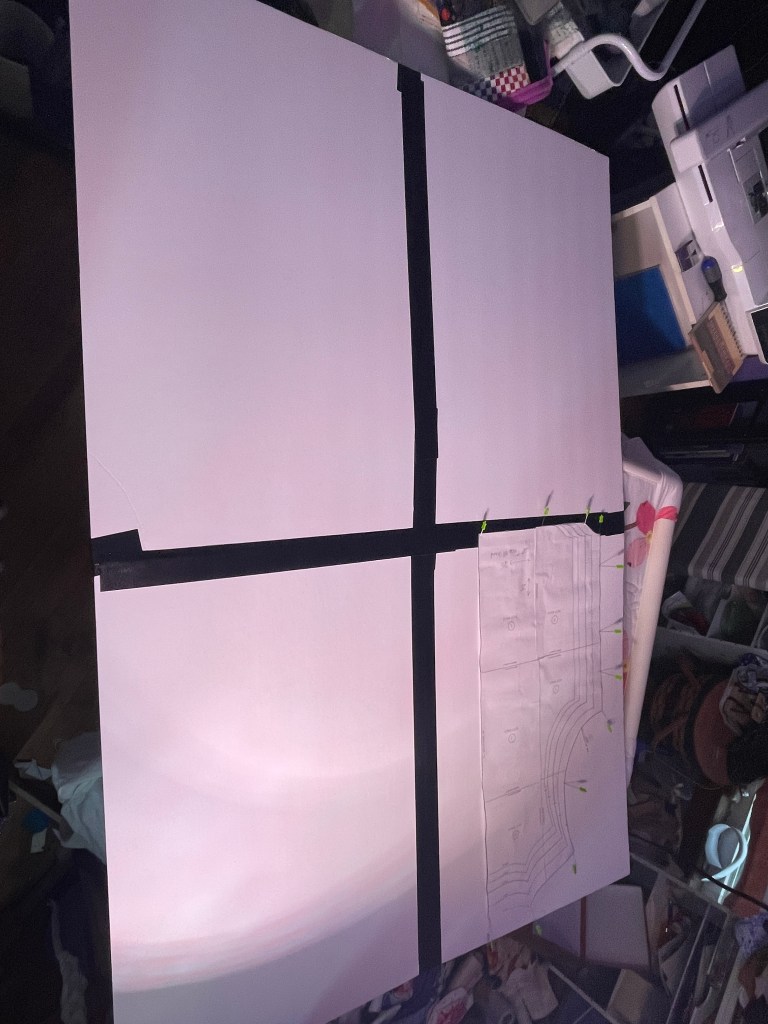
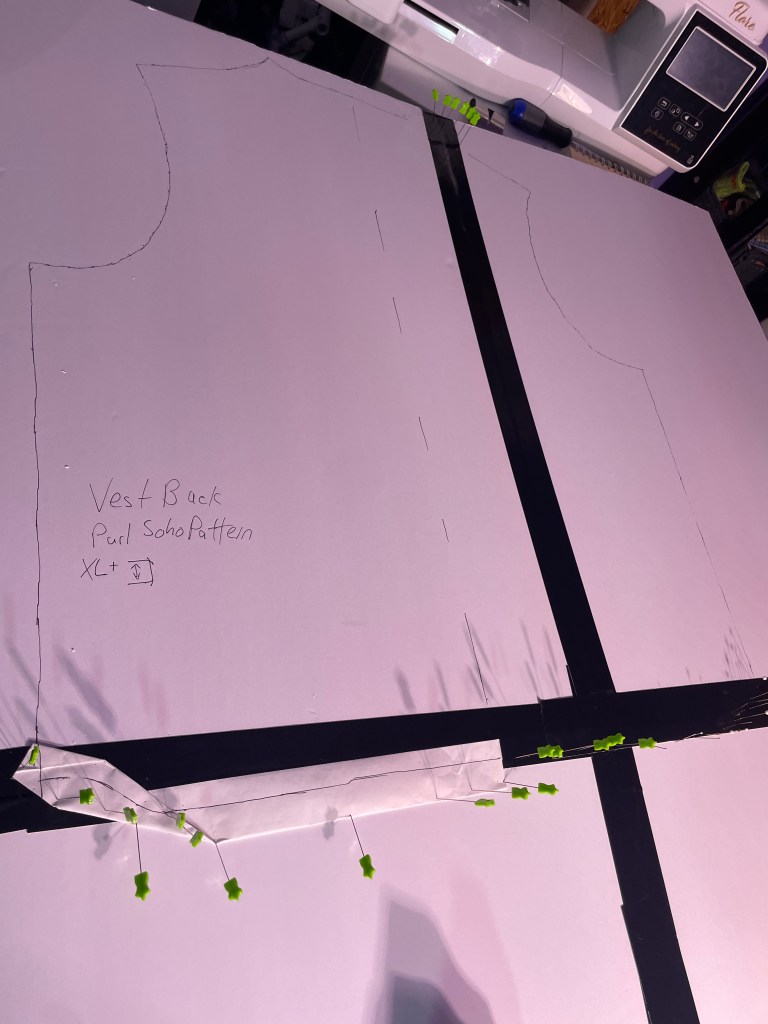
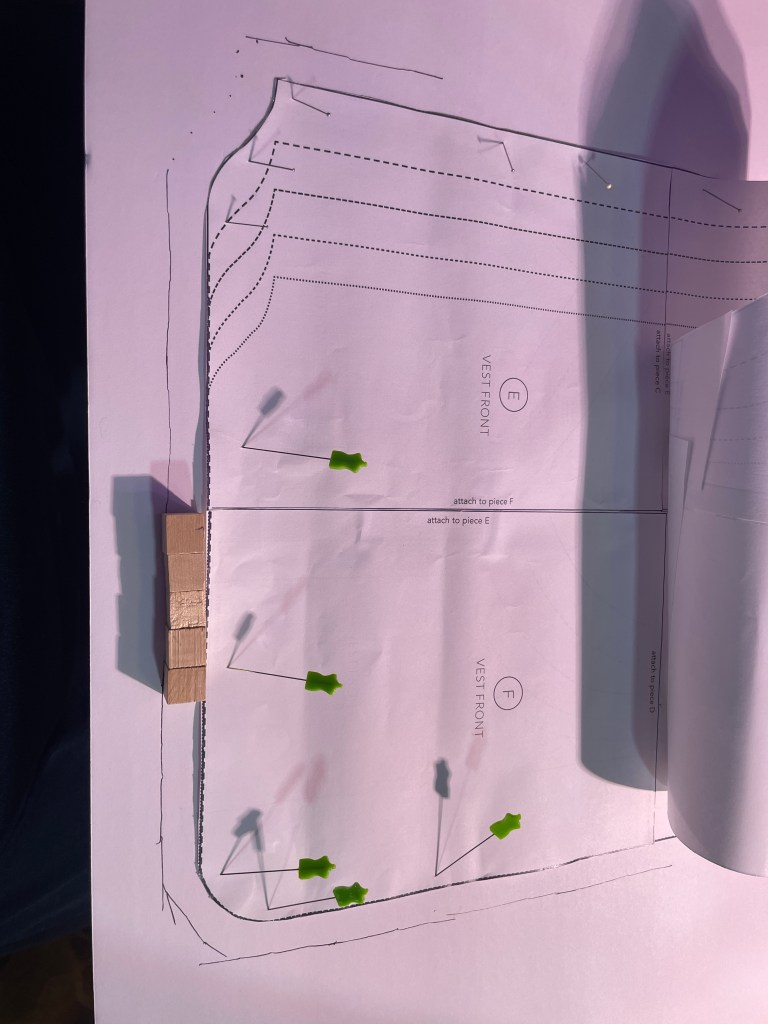
I have been on a bit of a journey this year to try to make my own clothing in a style that I enjoy. After some financial and emotional difficulties, I have also been trying to regain my passion for the crafts that I love and enjoy. To fulfill both of these, and not have to cut into any hand woven cloth, I have decided that I want to weave a vest. I did not want to purchase one of the vest templates out of wood, however. I am a larger woman and know that they do not come in my size. I printed out the free vest pattern from Purl Soho and added on an inch around all edges to size up the Large size to fit my dimensions. Originally I had planned to use only pins, about 16 per inch, to create the warp. Upon looking at the vest loom available at Woolery I decided to add in slits to create a more supportive base for the warp. I can see pins flicking out and ruining the entire thing. I did add another 1/2 inch with blue tape so that I can mark out where the slits need to be made for the warp threads. This will also let me know how far down I need to cut the slits to keep them even. I also plan on putting tape on top of the warp thread edges so that they do not pop off and mess up everything.
Since this is more of a loom I plan on having the warp threads going horizontally on the finished piece so that the longer weft threads, since I will likely have color changes, will be going vertically on the finished piece. As I said earlier I am on the larger size so I do not need anything that will emphasize that. I also plan on making a bog jacket, which I believe I mentioned in an earlier post. This will be updated as I make progress winding the warp and warping the loom.
My aunt’s quilt is down to the last 3 flowers for me to reinforce the applique by hand, then I get to finish the machine quilting using my embroidery machine. After that I need to make the tag, bind the quilt, wash the quilt, and get it sent off.
Remember to Live Life a Little More Abstract!
